


There are 2 main menu tabs in ApexSQL Restore.
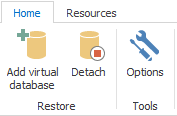
Home tab contains ApexSQL Restore general commands to start restore wizards, attach or detach virtual databases or access application options:
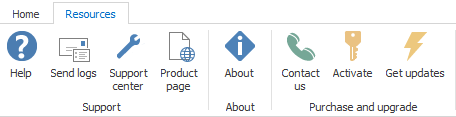
The “Resources” tab allows users to contact ApexSQL support, access application help and product page or handle activation and update related tasks:
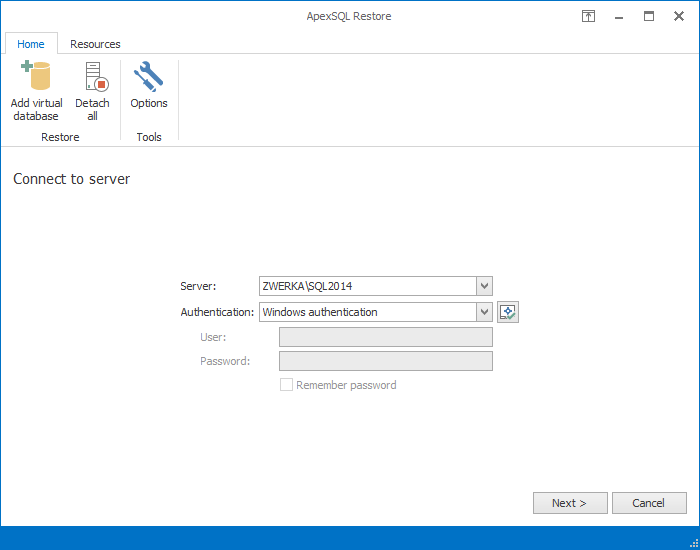
When a restore wizard is started, by clicking on the “Add virtual database” button in the main ribbon, users first need to select a SQL Server instance where they want to restore their backup, choose authentication method and provide valid connection credentials:
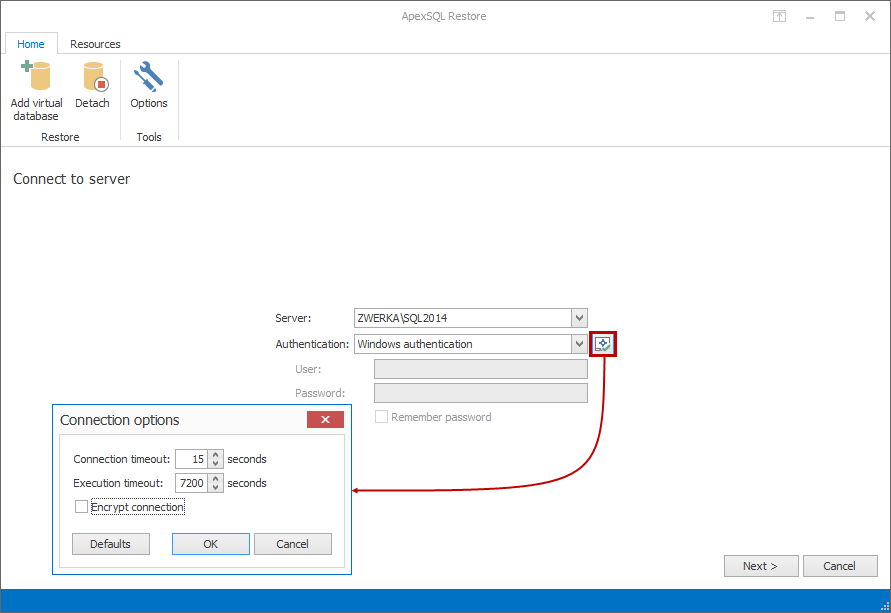
Connection options dialog allows users to set connection timeout, execution timeout and to mark connection encryption:
When adding backups to restore, users can add multiple backup files and backup sets, or choose to only include specific backups included in a single backup file by checking only specific files within the backup set. Also, users can define the restore path where the database files will be stored, and define a name for restored database:

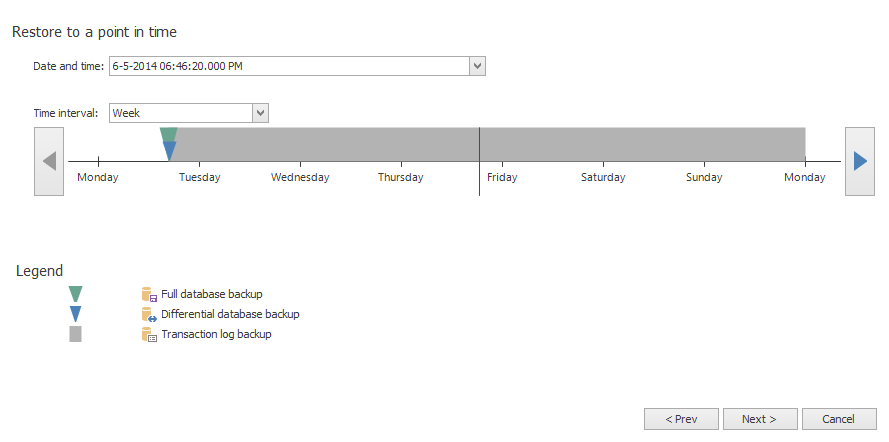
ApexSQL Restore allows users to restore database backups to the time when backup was created, or to any specific point in time. Users simply need to mark the exact date/time moment on the restore time line which also graphically shows when full, differential and transaction log backups have been created, and the database will be restored to the specified point in time:
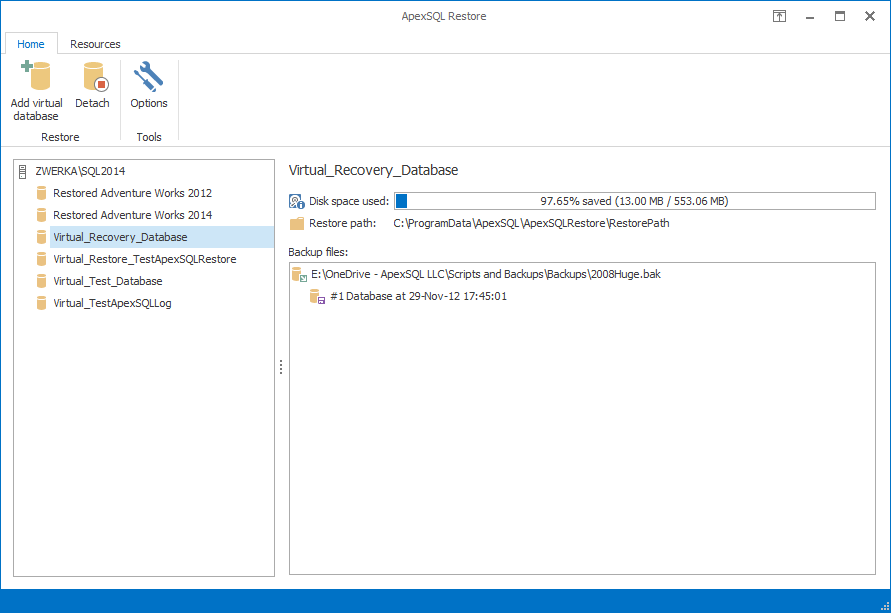
Database backups restored as virtual databases can be seen in the main form of ApexSQL Restore, and can be accesses from the SQL Server Management Studio or another similar tool, where they can be used as any other live database. ApexSQL Restore main form also offers information on the backup files included in the restore process, as well as information on disk space used and saved:
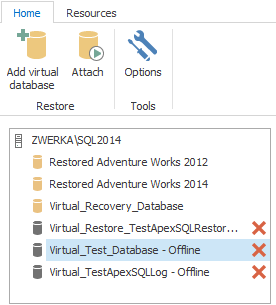
When users have completed their work with the virtually restored databases, they can simply take them offline from the application main form by selecting that database and clicking on the “Detach” button in the main ribbon. While this completely removes the database from the SQL Server instance, detached database will remain in the databases list, and users can simply bring them back online by a simple click on the “Attach” button:
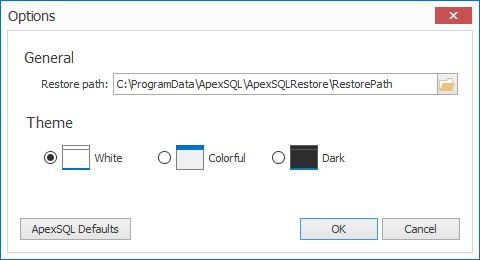
Application options allow users to set default restore path or to choose one of the available 3 themes:
April 10, 2017


