


The ApexSQL CI/CD toolkit Web dashboard is a standalone web dashboard that allows quick set up, configuration and execution of CI/CD workflow pipelines initiated manually, on a schedule or on a commit.
The ApexSQL CI/CD toolkit Web dashboard is a single-page application that is consisted of 5 main views (Pipeline, Activity, Data sources, Options, Resources):
Pipeline view
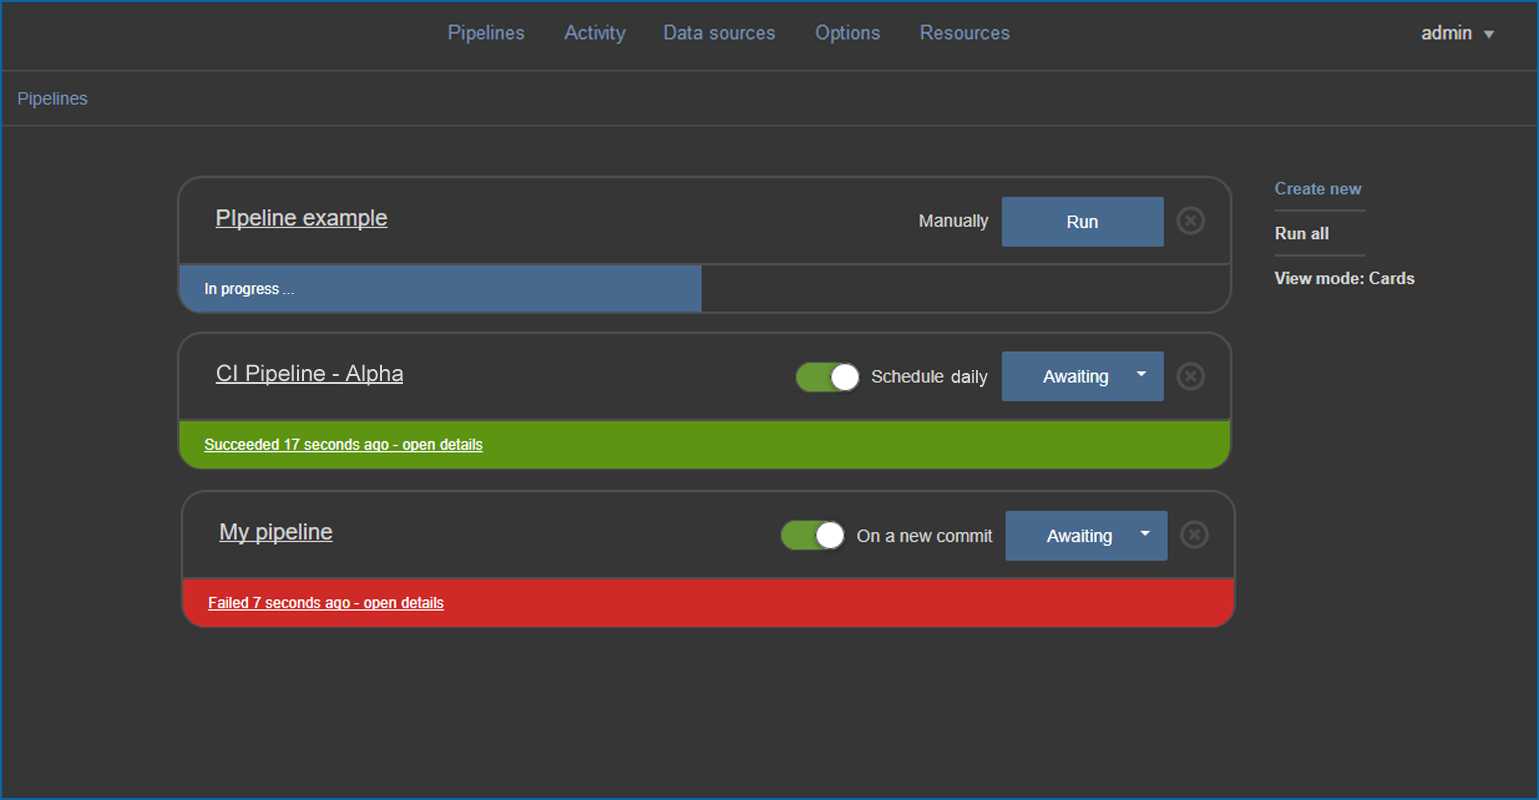
Shows all created pipelines and their information like, name, type, status and summary. From this view pipelines can be created, edited, removed and run

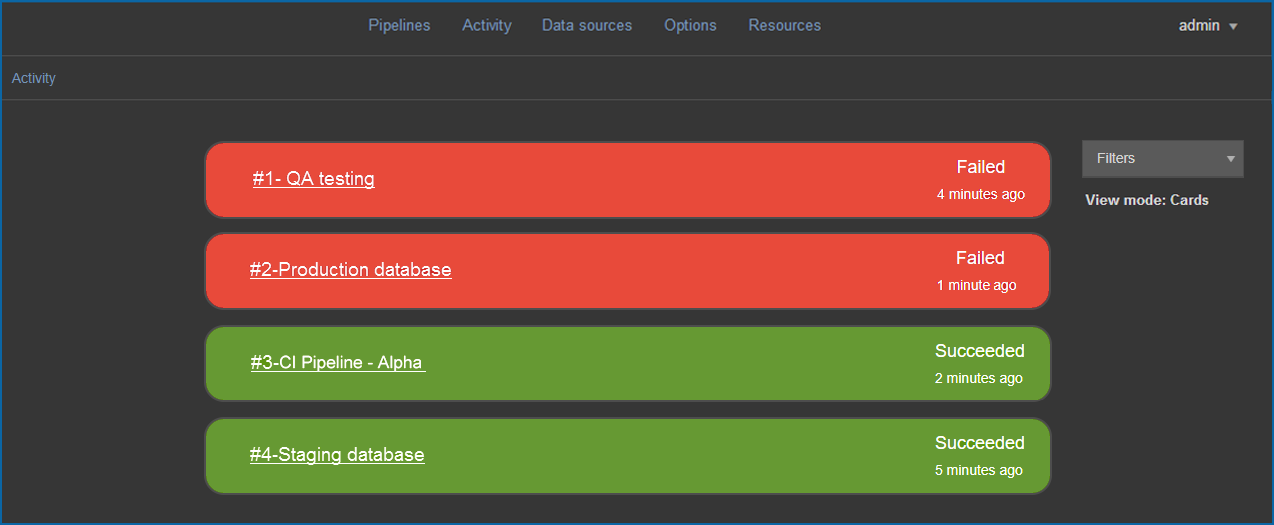
Activity view
Shows the history of all executed pipelines. All history can be filtered by their execution result (“Succeeded” or “Failed”):

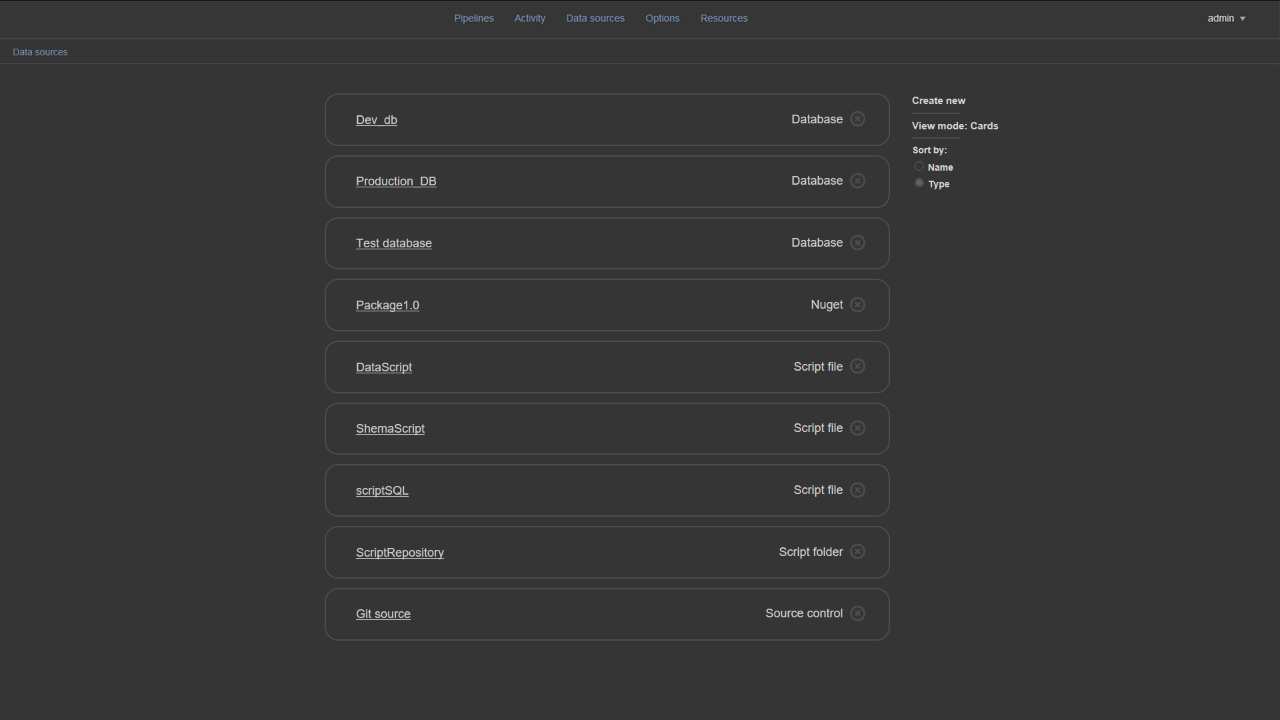
Data sources view
Shows all created data sources and provides options for creating new data sources and editing or deleting existing ones. Existing data sources can be sorted by name or by type and viewed in a form of cards or arranged as a table:
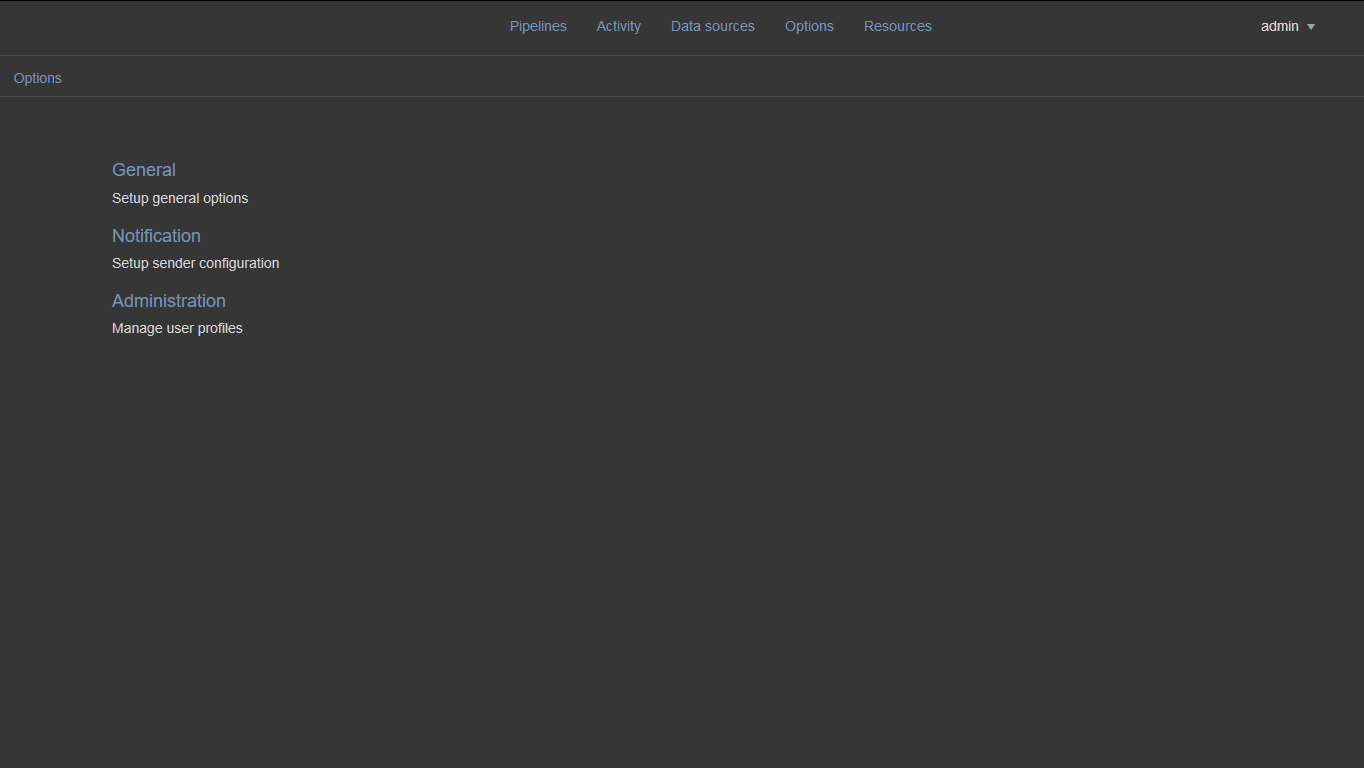
Options view
Allows navigation into General, Notification and Administration options:
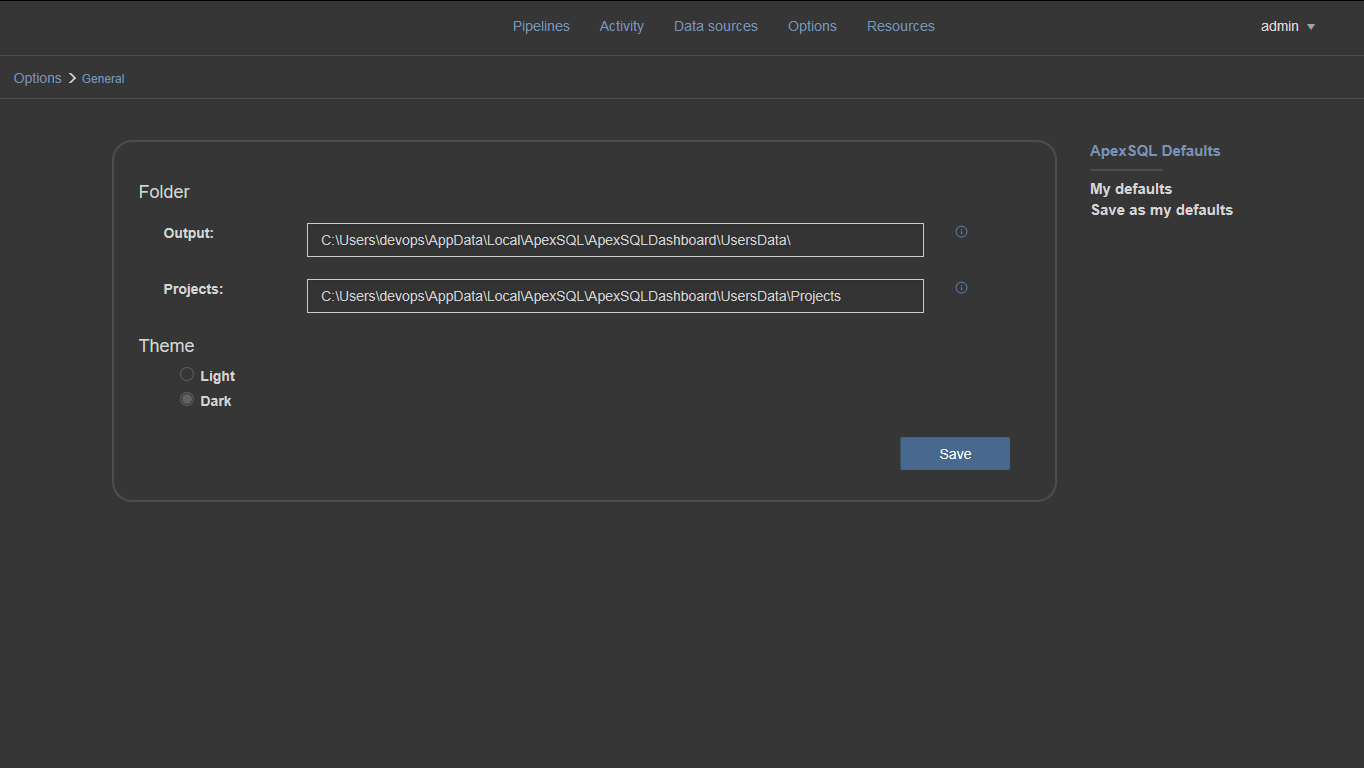
The General options view is used for setting up general options of the ApexSQL CI/CD toolkit Web dashboard. Setting up the working folders paths or choosing visual styles can be done within this view:
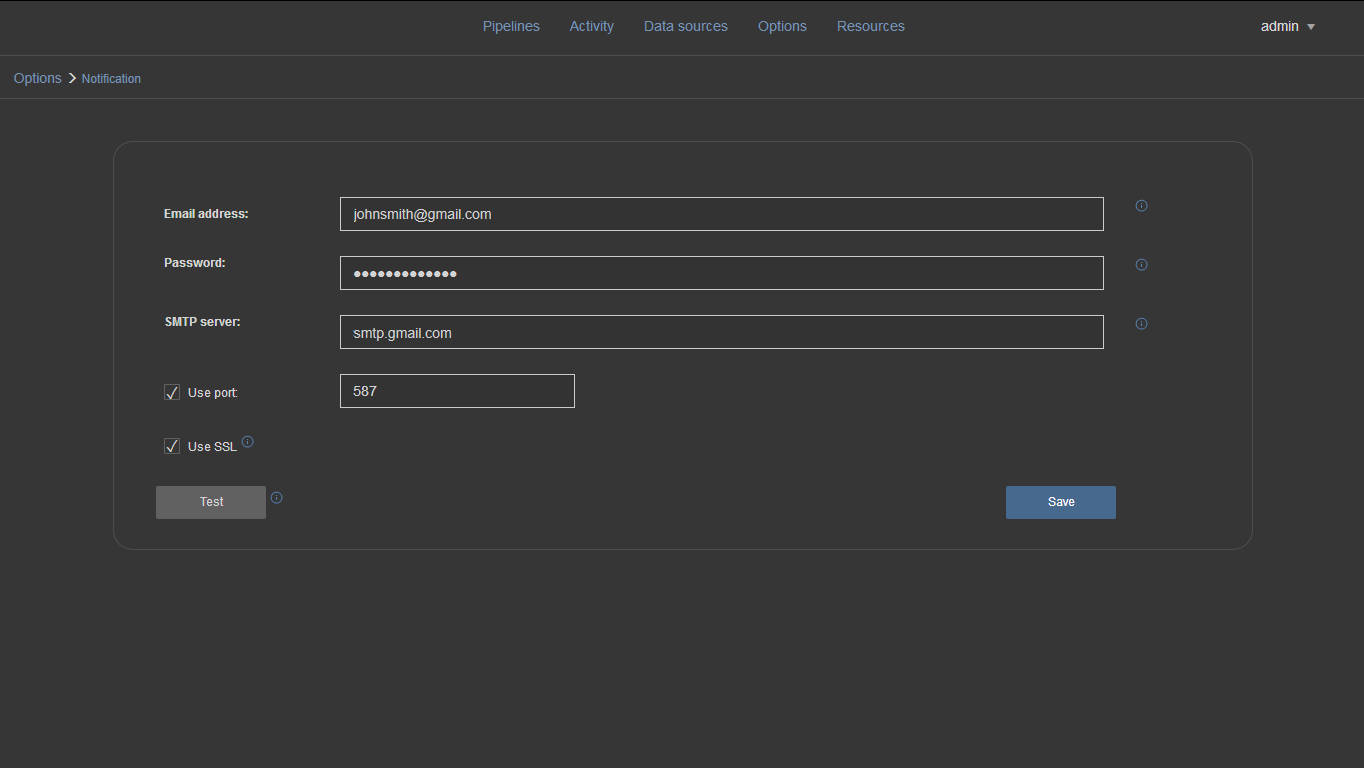
The Notification options view contains email/sender configuration used for pushing notifications:
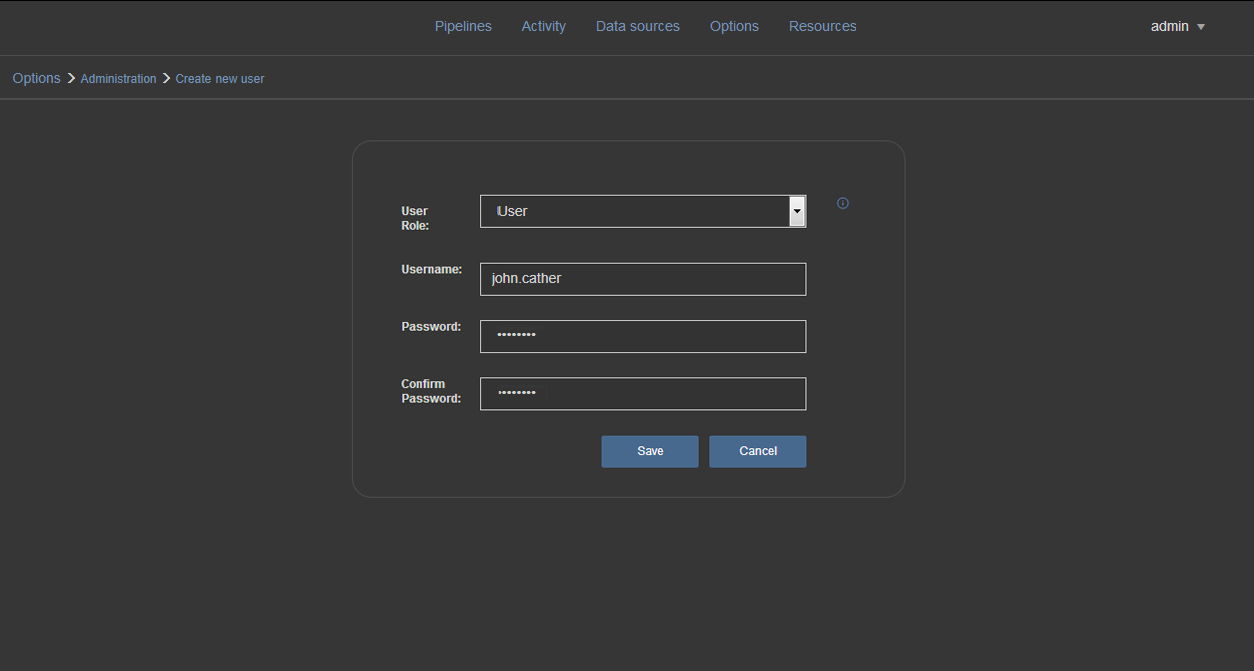
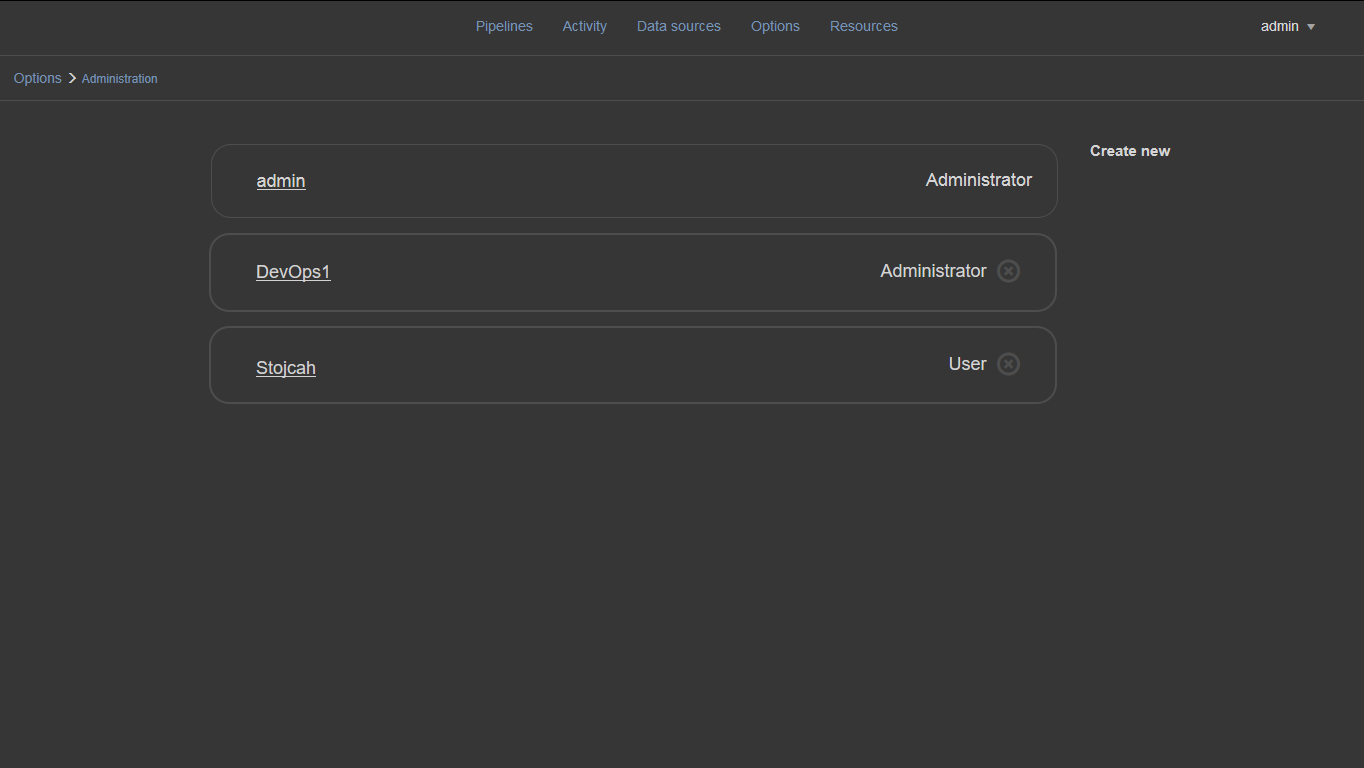
The Administration options view provides authenticated user management. Within this view, users can be created with their assigned roles, edited or removed:
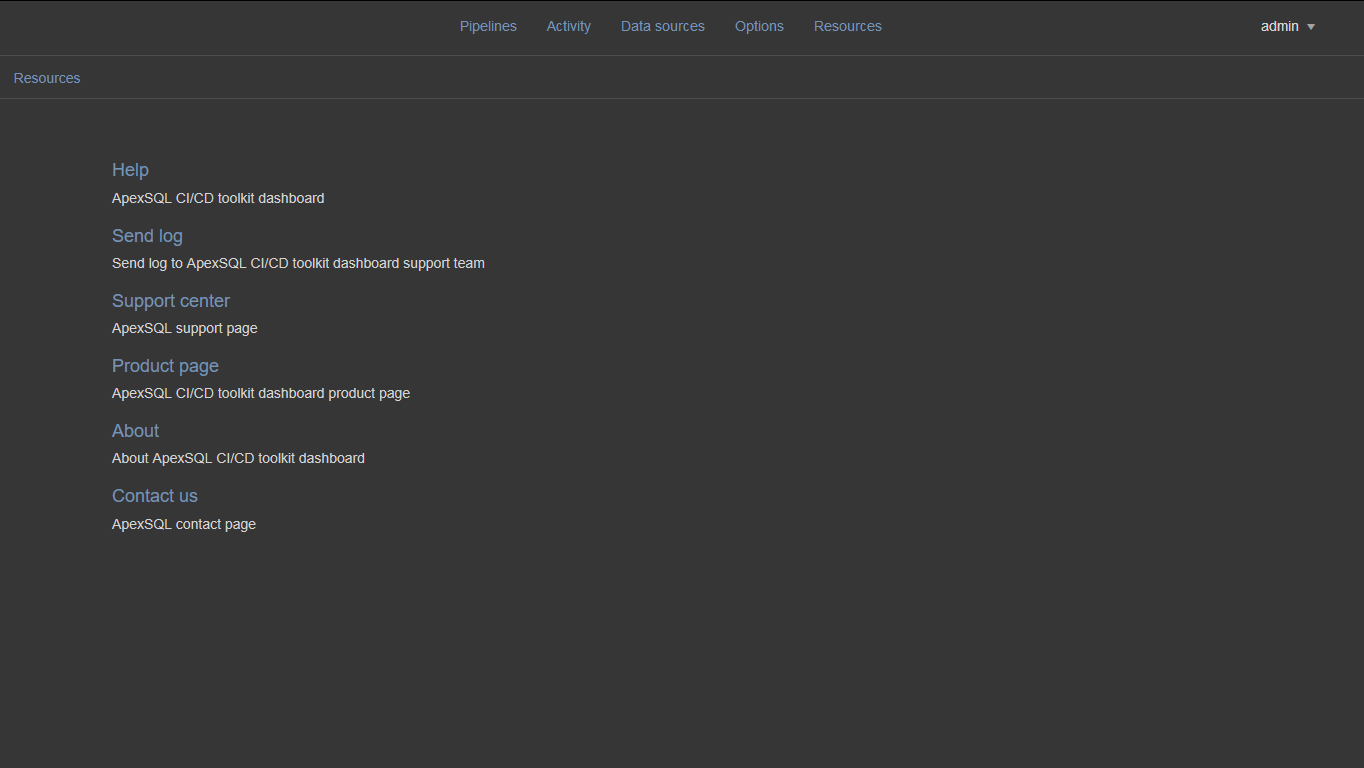
Resources view
Shows support and information options for ApexSQL applications:
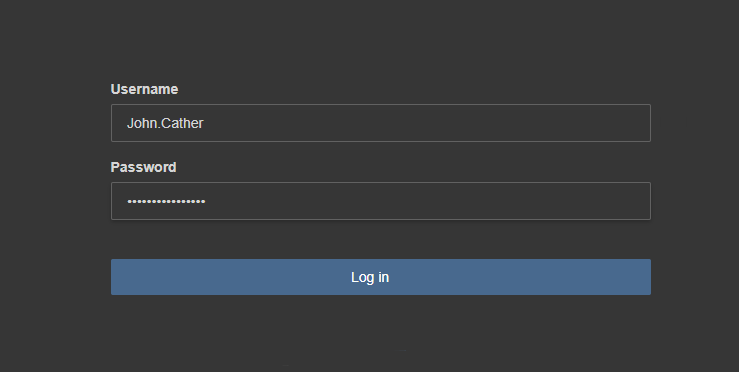
When starting ApexSQL CI/CD toolkit Web dashboard, the Login screen will be displayed where user login credentials are required:
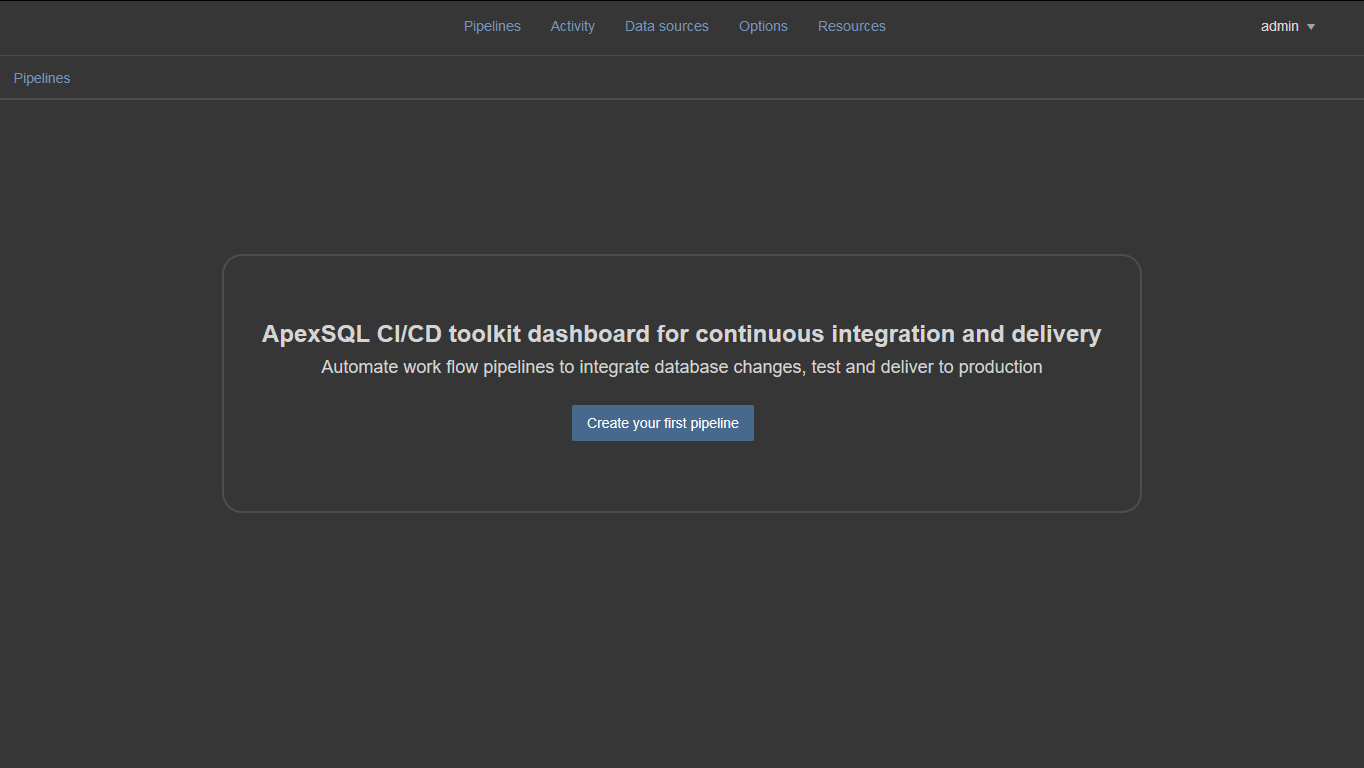
Once logged in, the Welcome view will be displayed if there are no already existing CI/CD pipelines.
New pipeline
By clicking the Create your first pipeline button, the New pipeline view will be opened. In this view the initial fields of the new pipeline like the name, description and build number format need to be filled out. Also, the option how the pipeline will be triggered needs to be chosen:
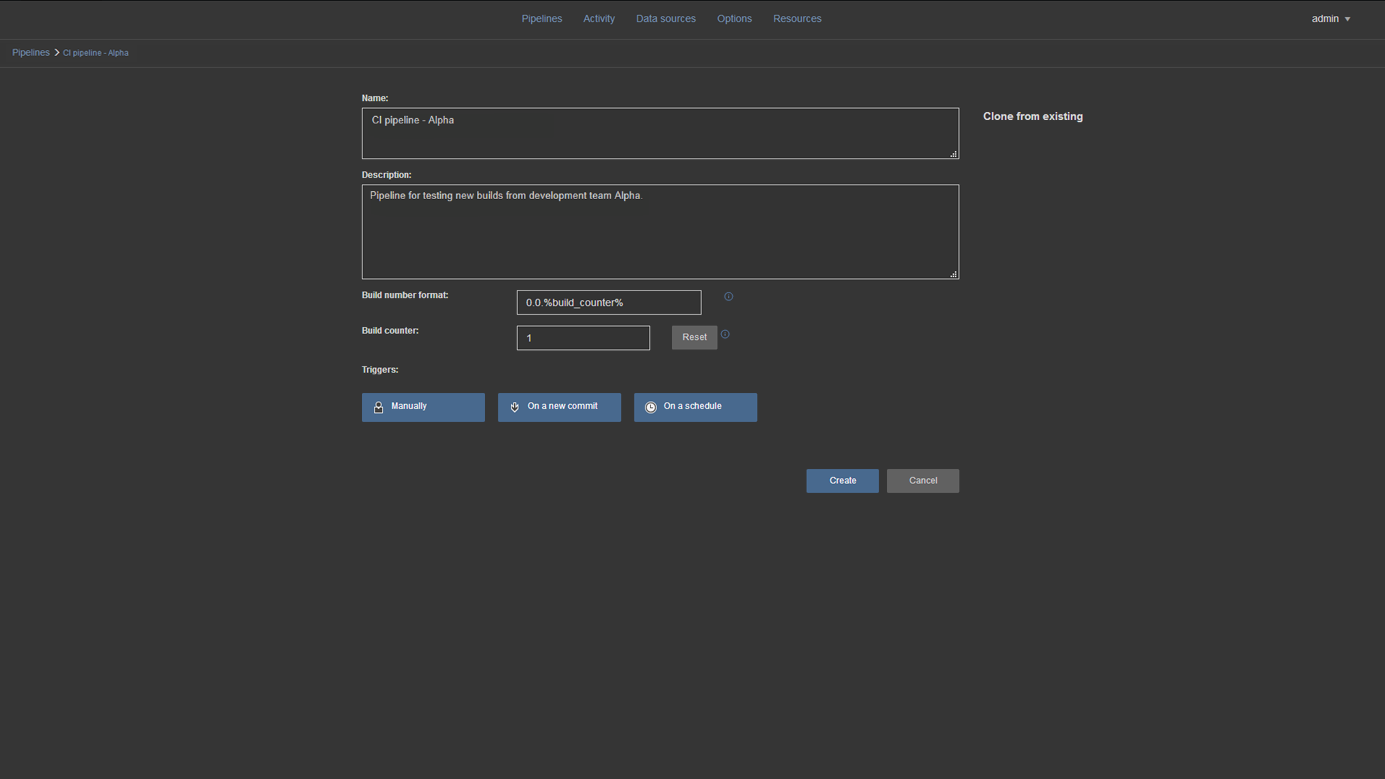
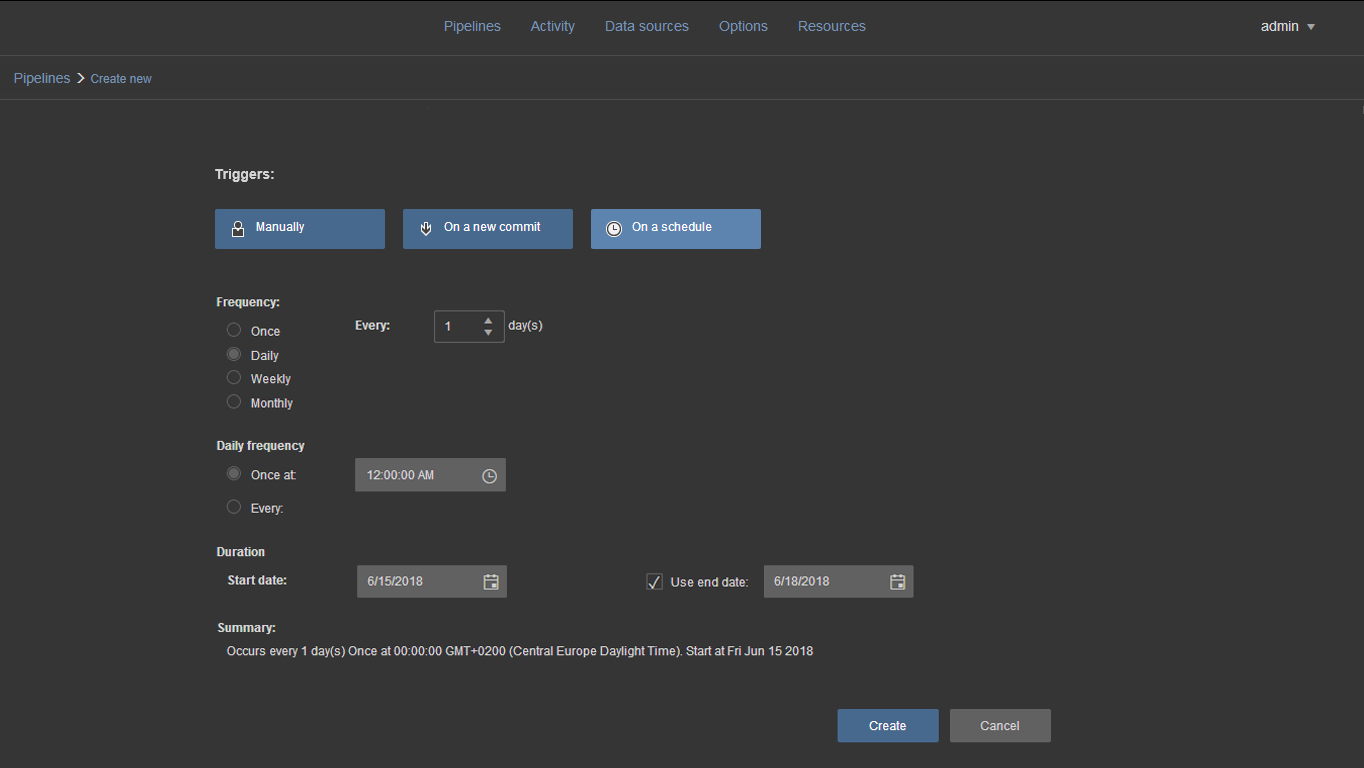
The pipelines can be triggered Manually, On a new commit or On a schedule:
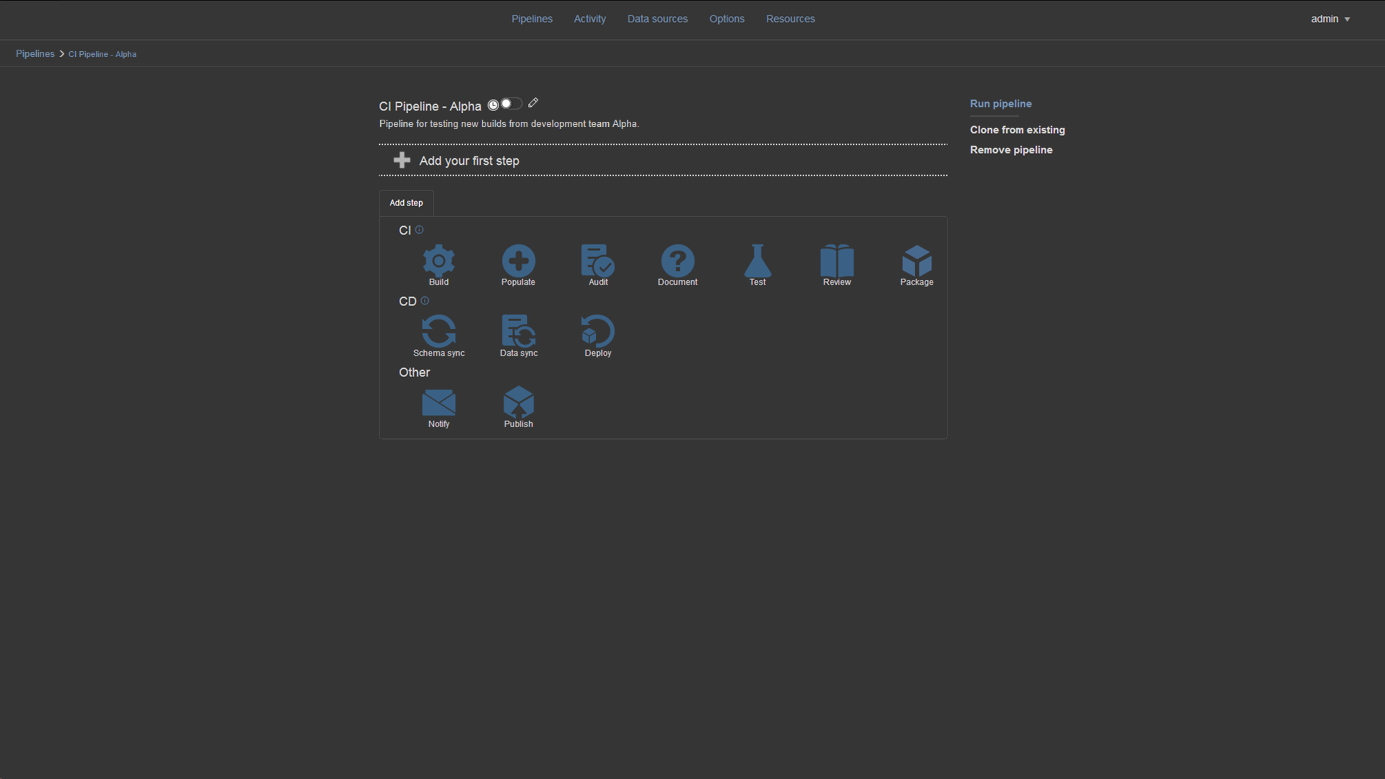
Once the pipeline is created it will be shown in the Pipelines view:
To add CI/CD steps to an existing pipeline, click on a pipeline and the pipeline configuration view will be shown. This view contains two sections.
Upper section contains chosen pipeline steps and in this area it is possible to create, remove, reorder or disable steps to customize the selected pipeline:
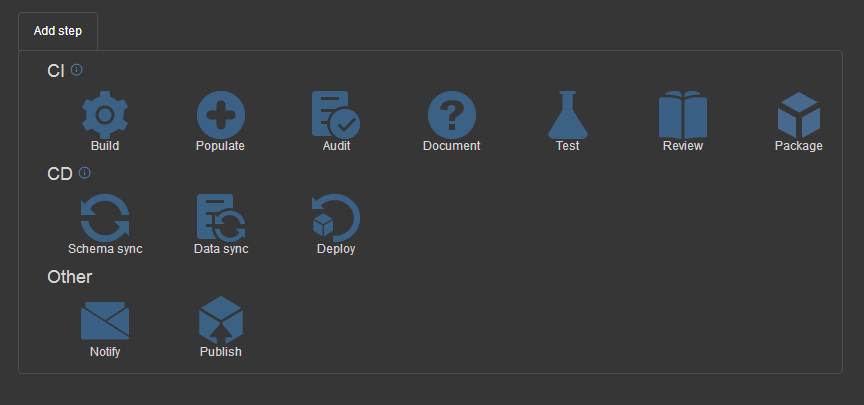
The other section, labeled Add step, contains icons that represent pipeline steps grouped by the type of pipeline. New steps can be added by dragging the step icon from the Add step section to the upper section. Steps can be dropped between already added steps or before/after any step. The order of executed steps can be changed, by using the up and down buttons on the left side of the step cards.
Each of the steps can be disabled, with the toggle button on the right side of the card that represents step. Disabled steps will remain in the pipeline but will be ignored during processing.
Clicking on the Run pipeline link, pipeline steps are executed in the exact order in which they were arranged in the pipeline:
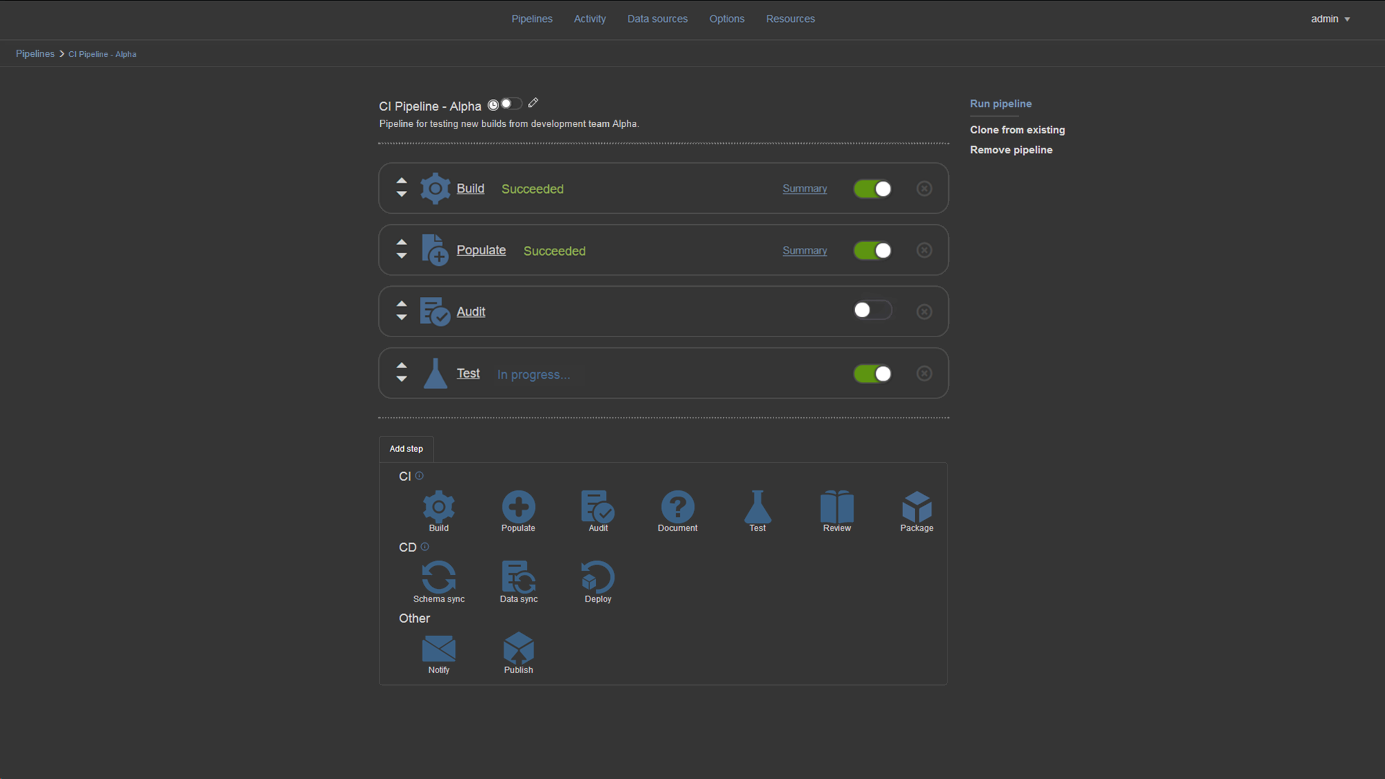
The status of each currently running and completed steps will be shown: beside its name the step card contains links to the summary and any reports created from the step e.g. Data change report.
CI/CD and other steps
ApexSQL CI/CD toolkit Web dashboard support 12 different steps, separated into 3 groups: CI, CD and Other
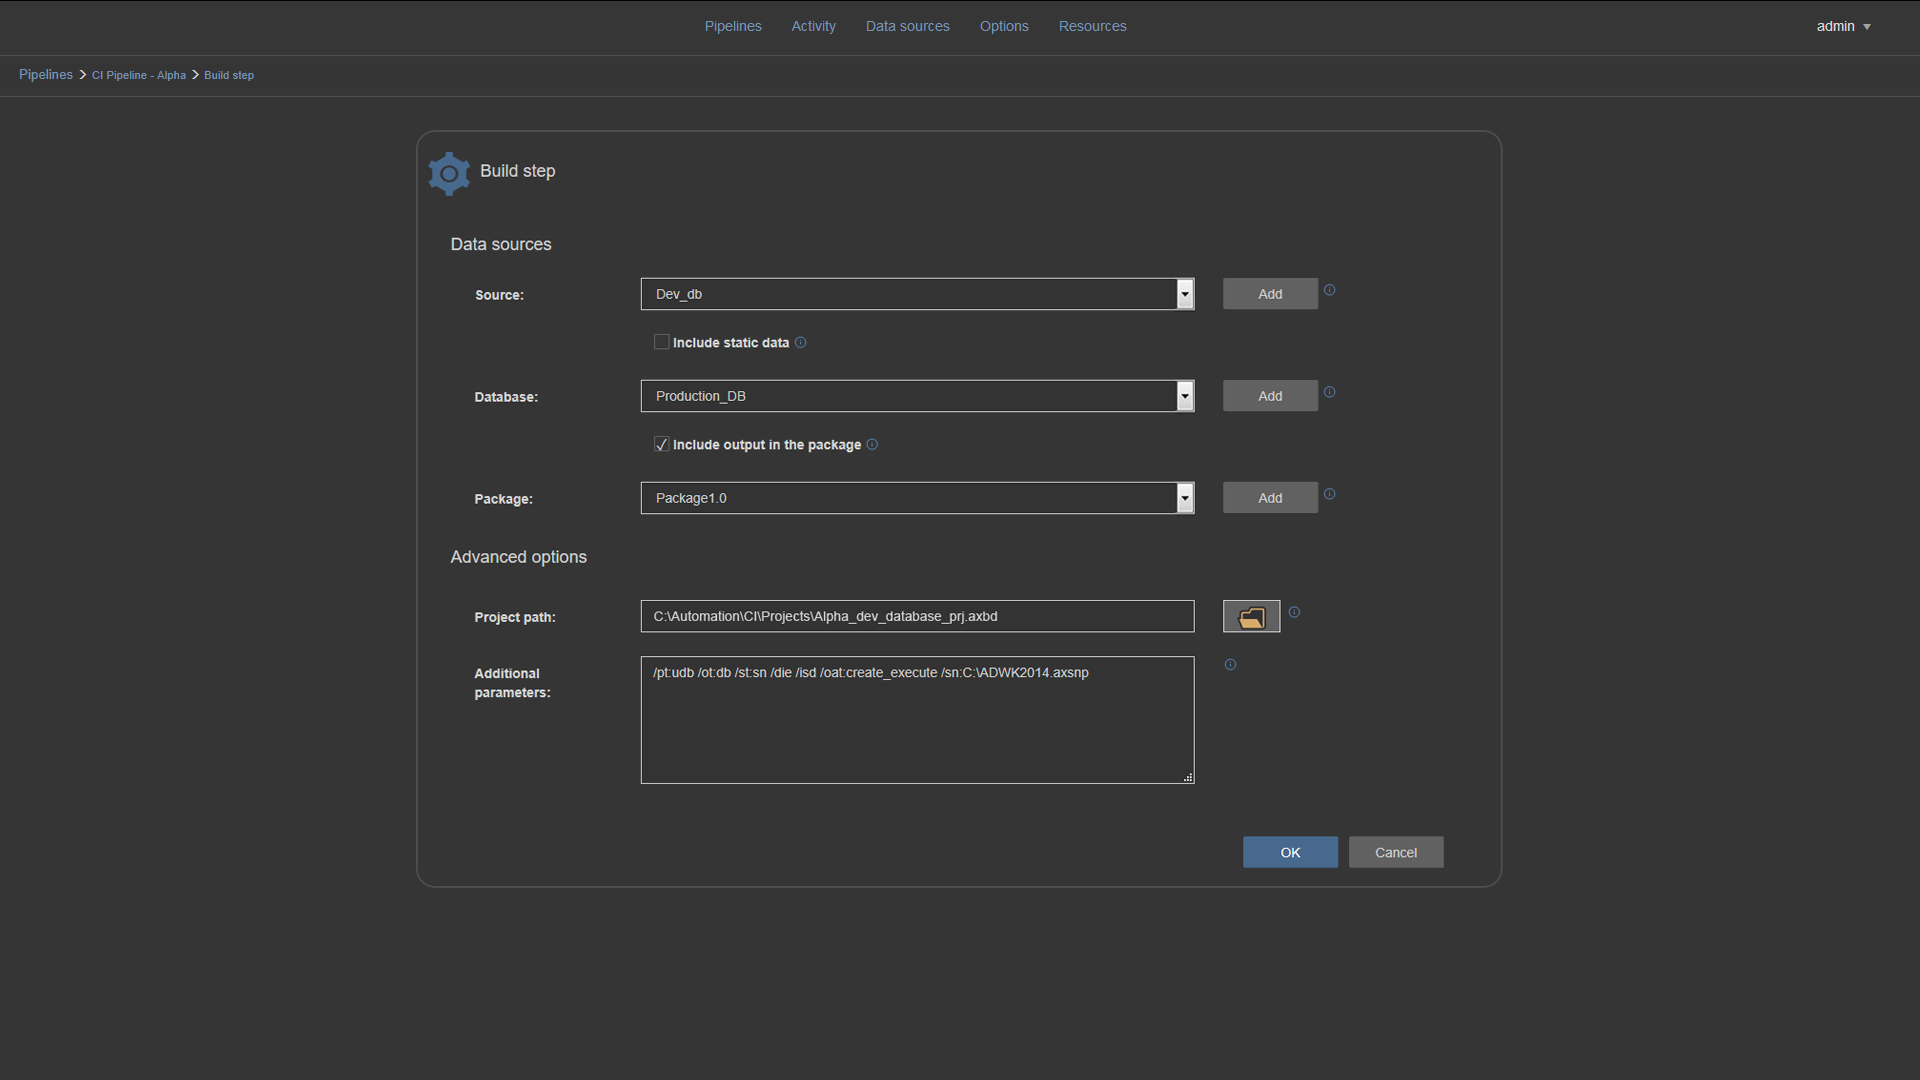
The Build step (ApexSQL Build) creates a SQL database, with or without static data, using a scripted database from source control:
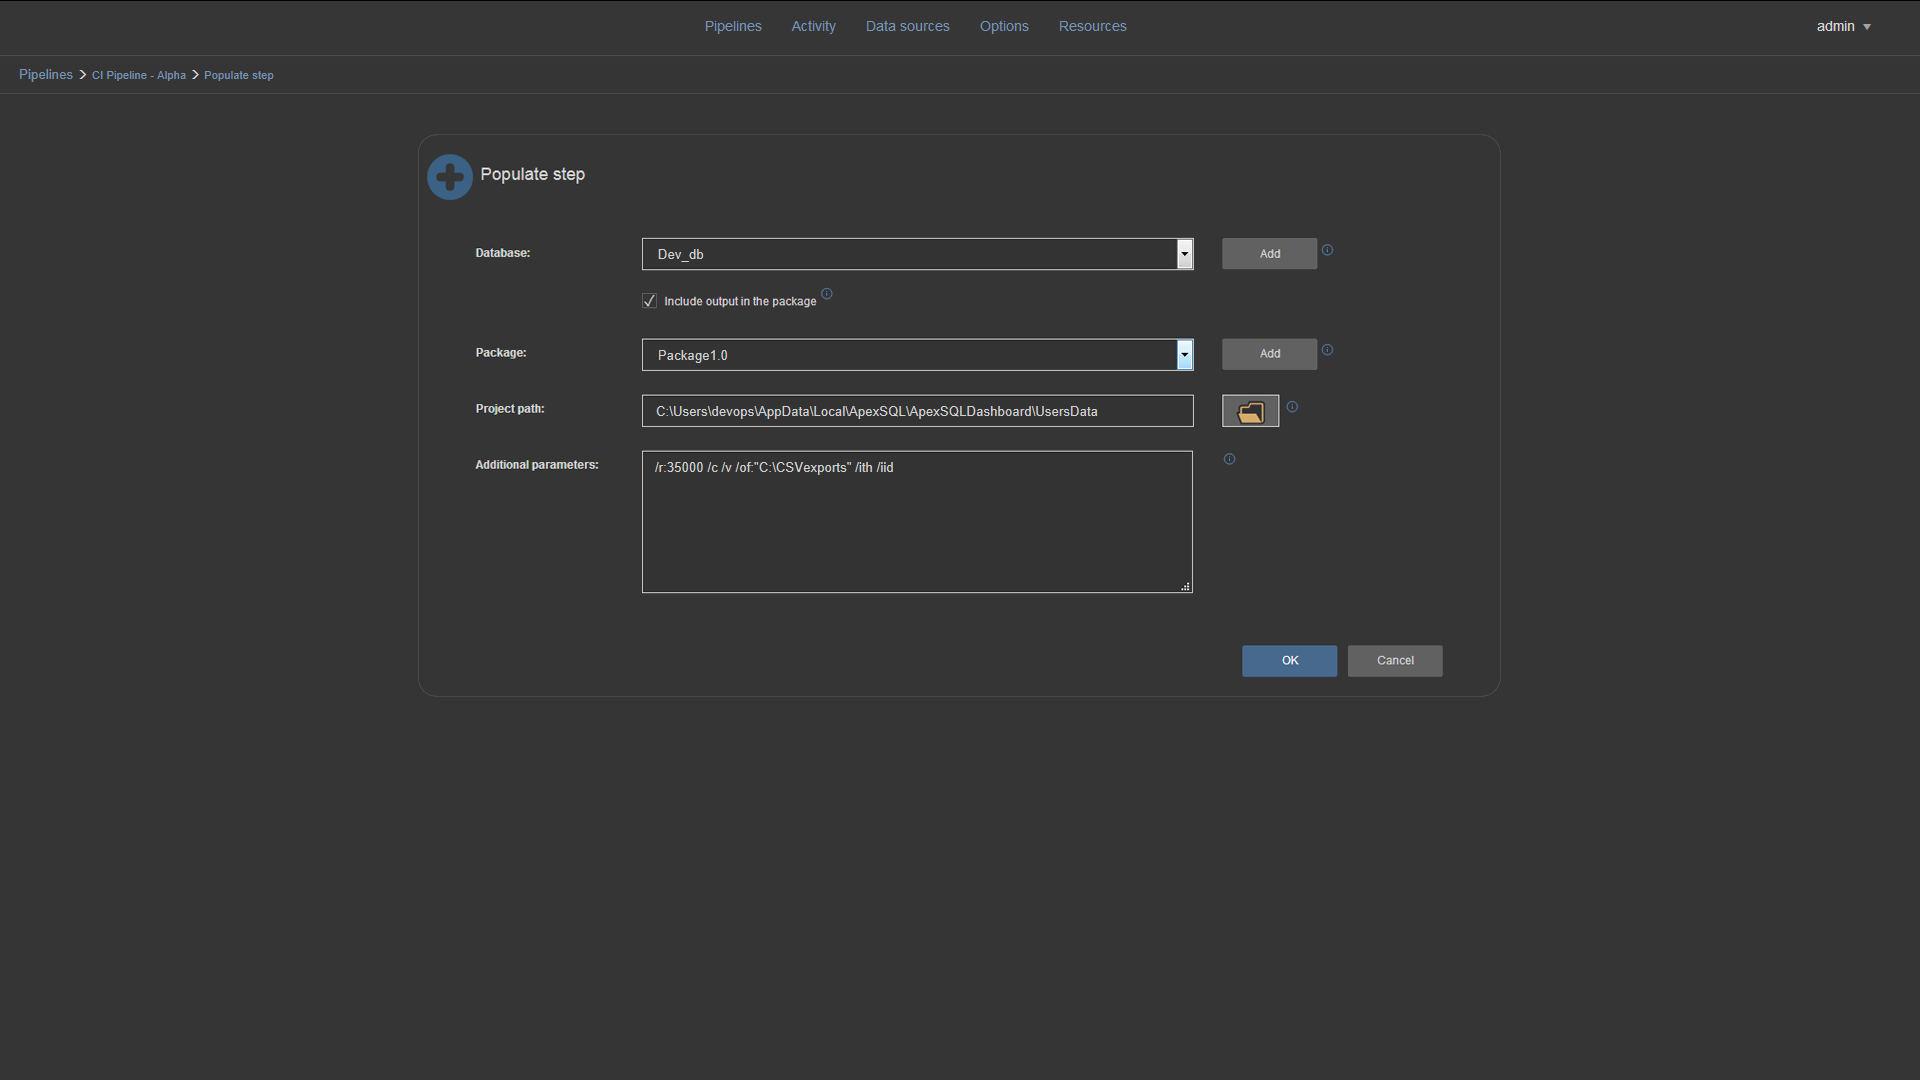
The Populate step (ApexSQL Generate) fills empty tables with generated synthetic data for test purposes:
The Audit step (ApexSQL Trigger) integrates trigger-based audit trails and reporting into newly designed, change sensitive database objects:

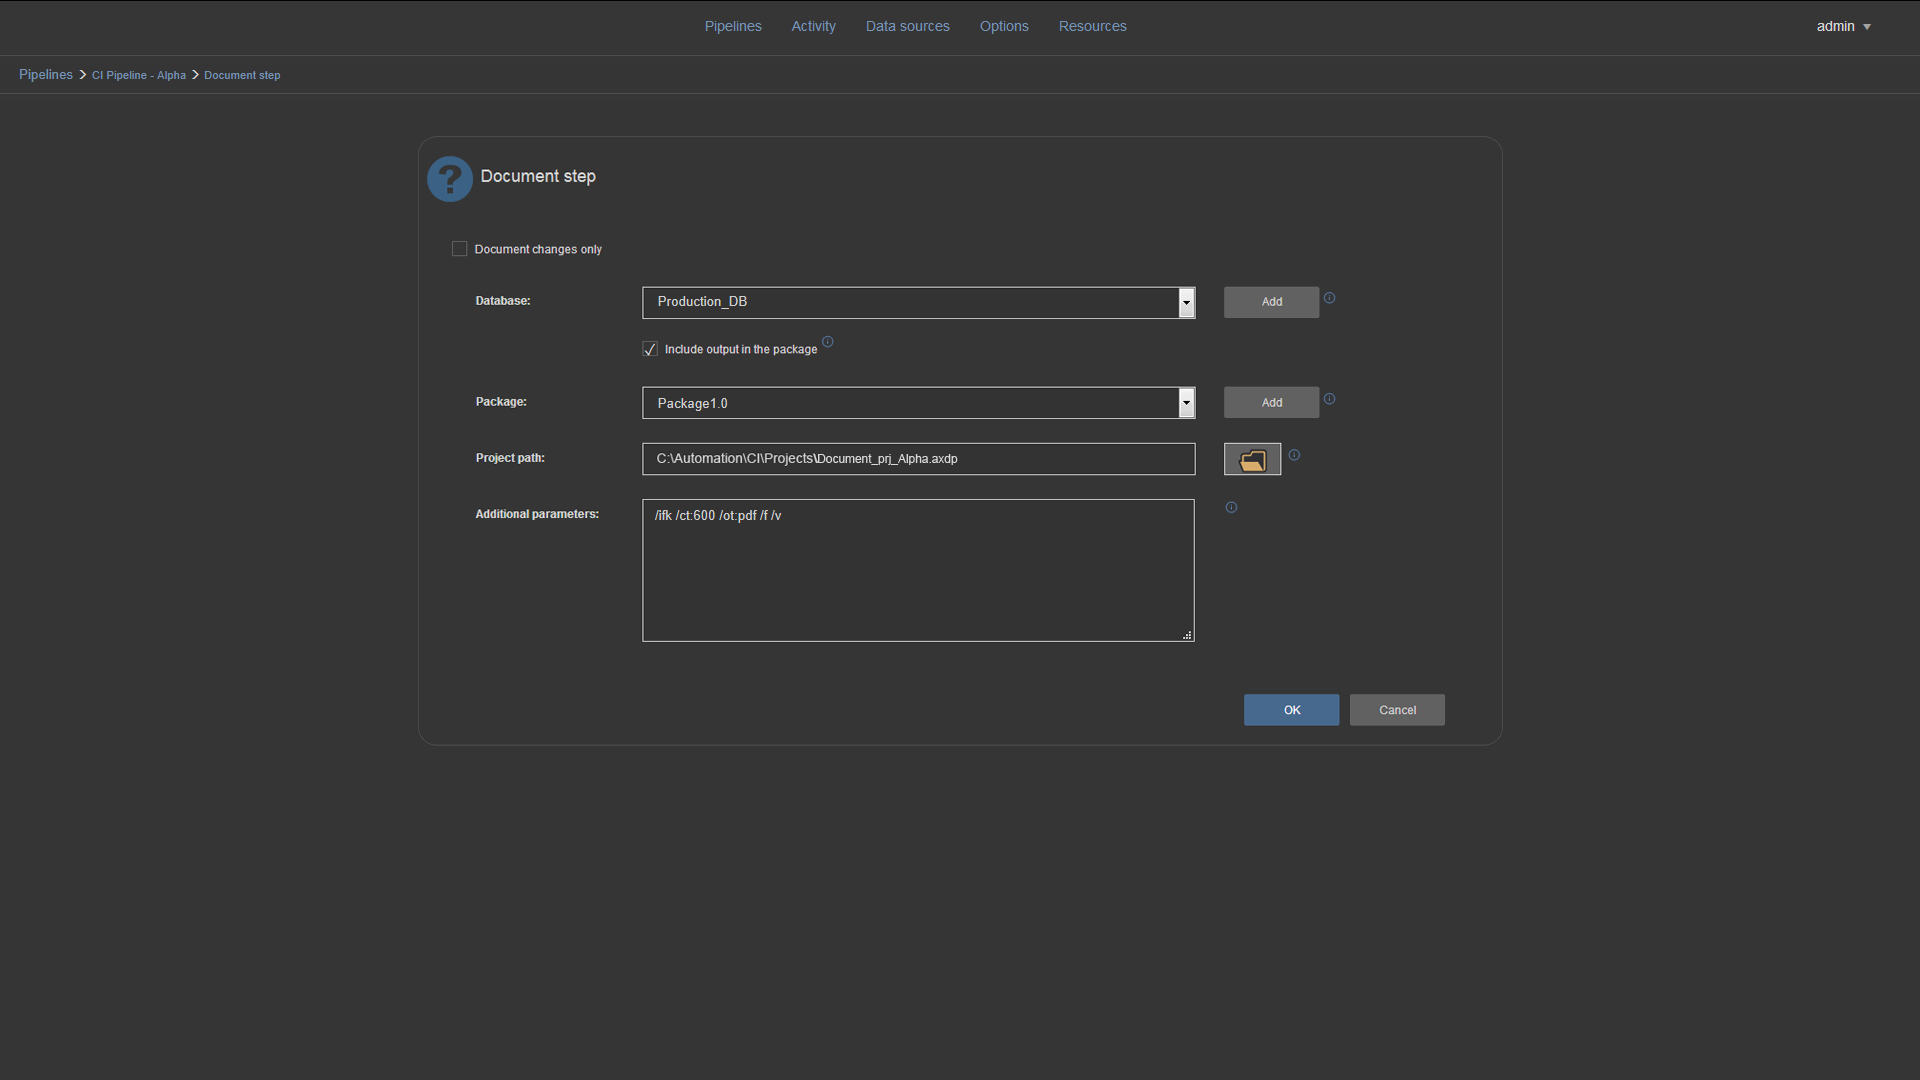
The Document step (ApexSQL Doc) generates documentation of the new SQL database or the delta:
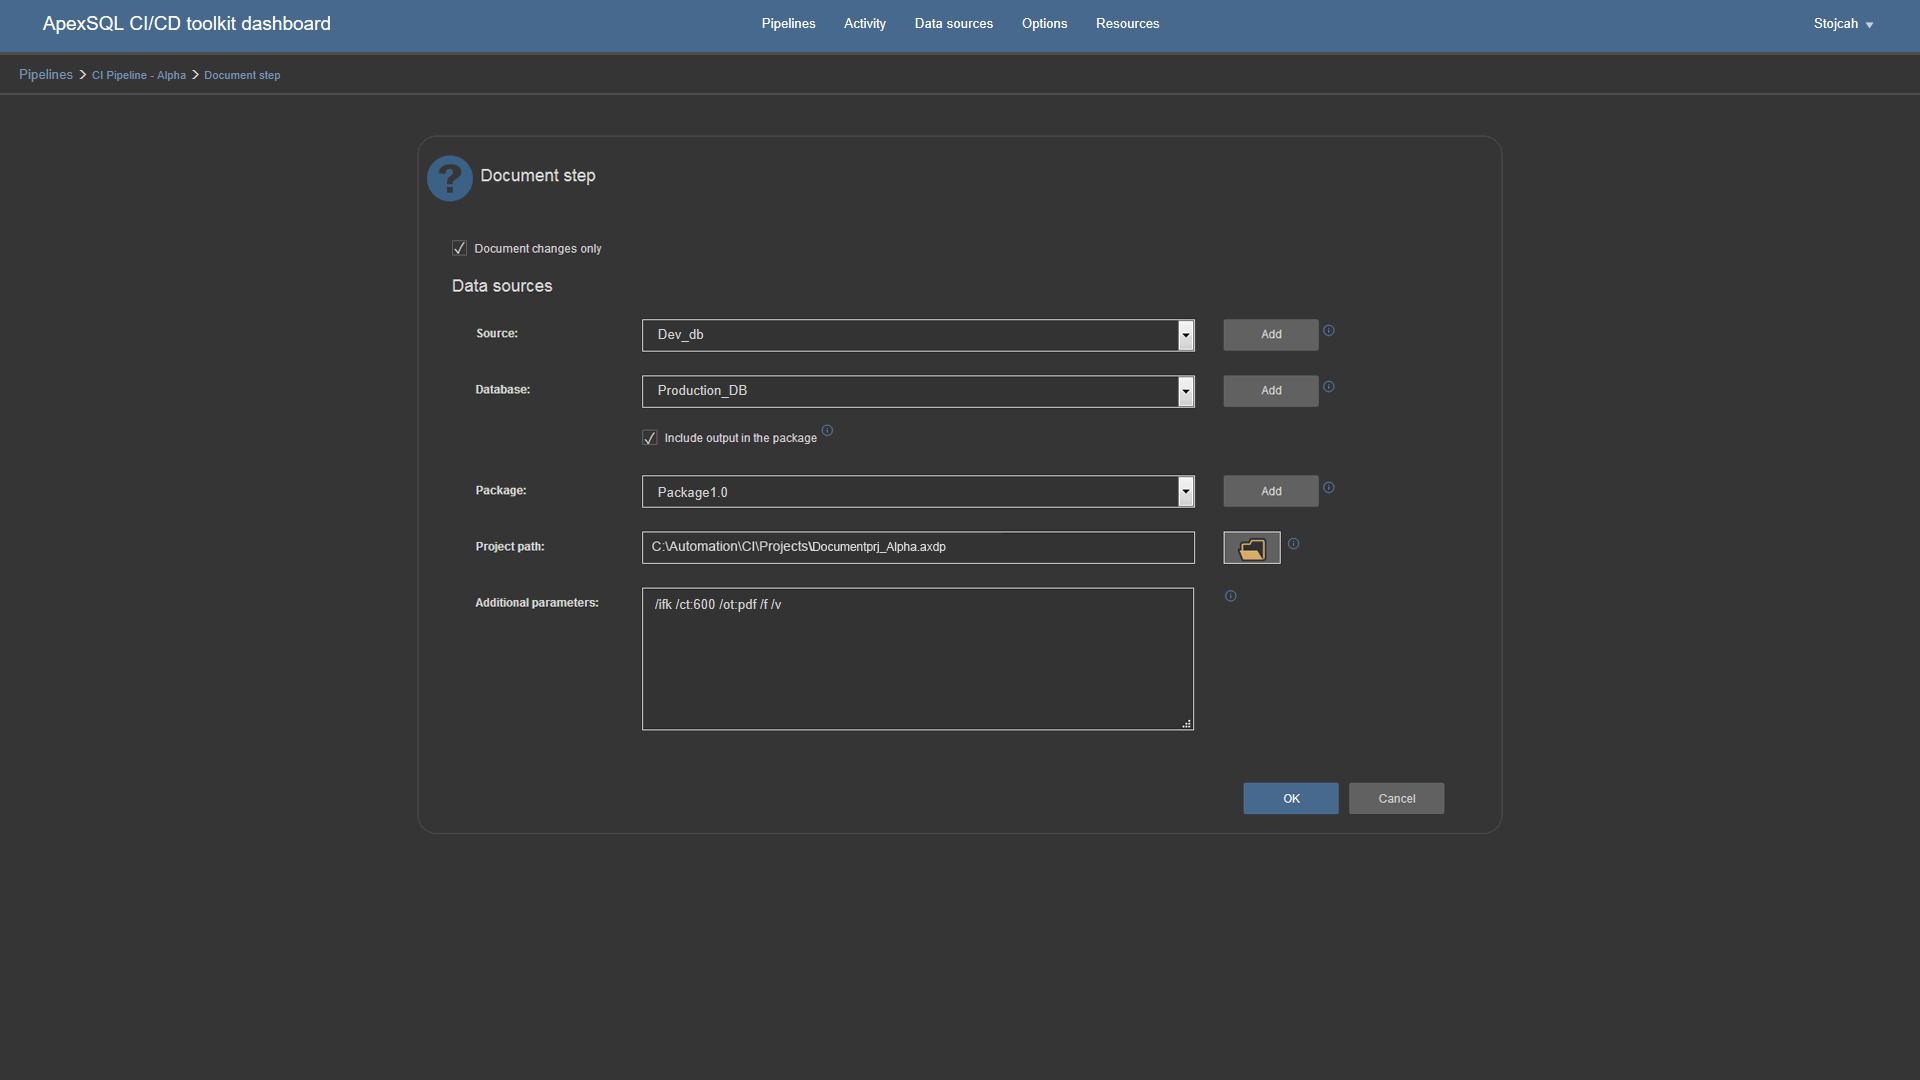
By checking the Document changes only option the Document step can be also configured to generate differential snapshot documentation, between development and production databases:
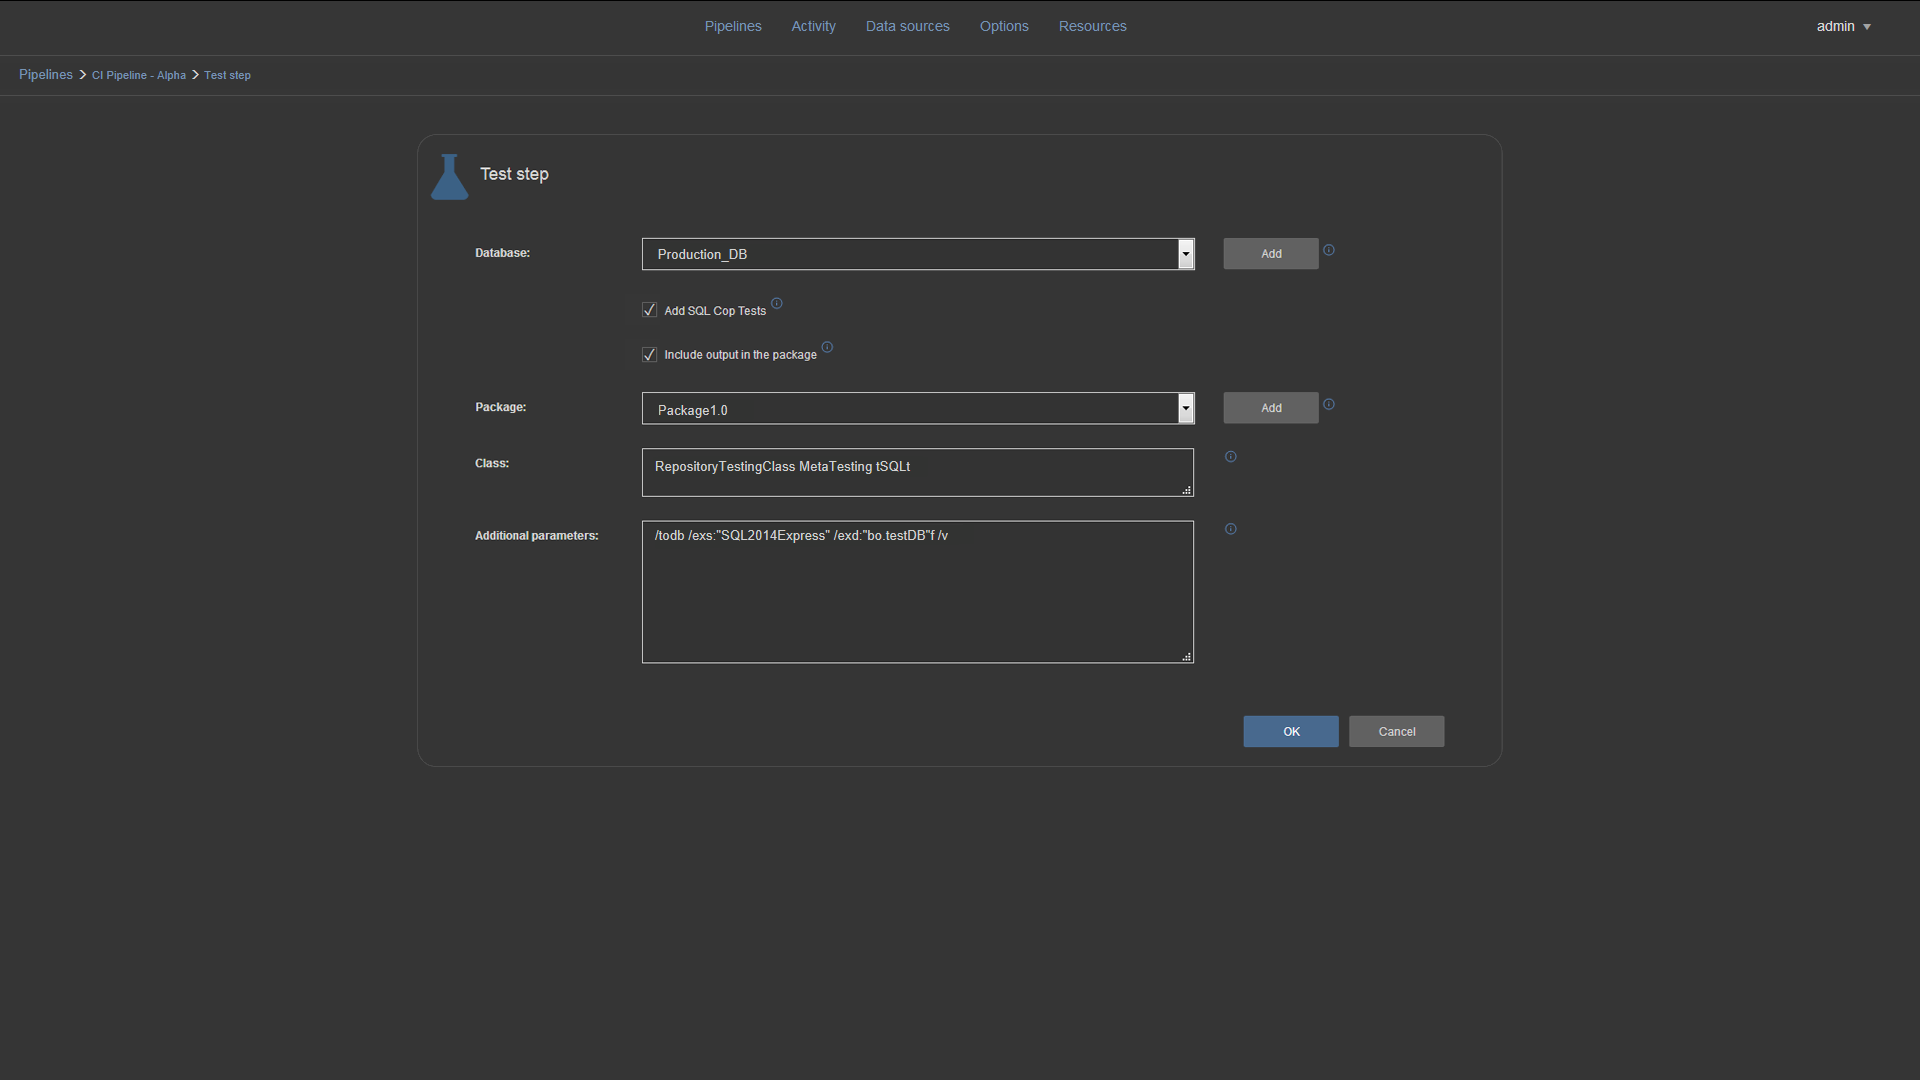
The Test step (ApexSQL Unit Test) is used for creating, organizing and running SQL database unit tests:
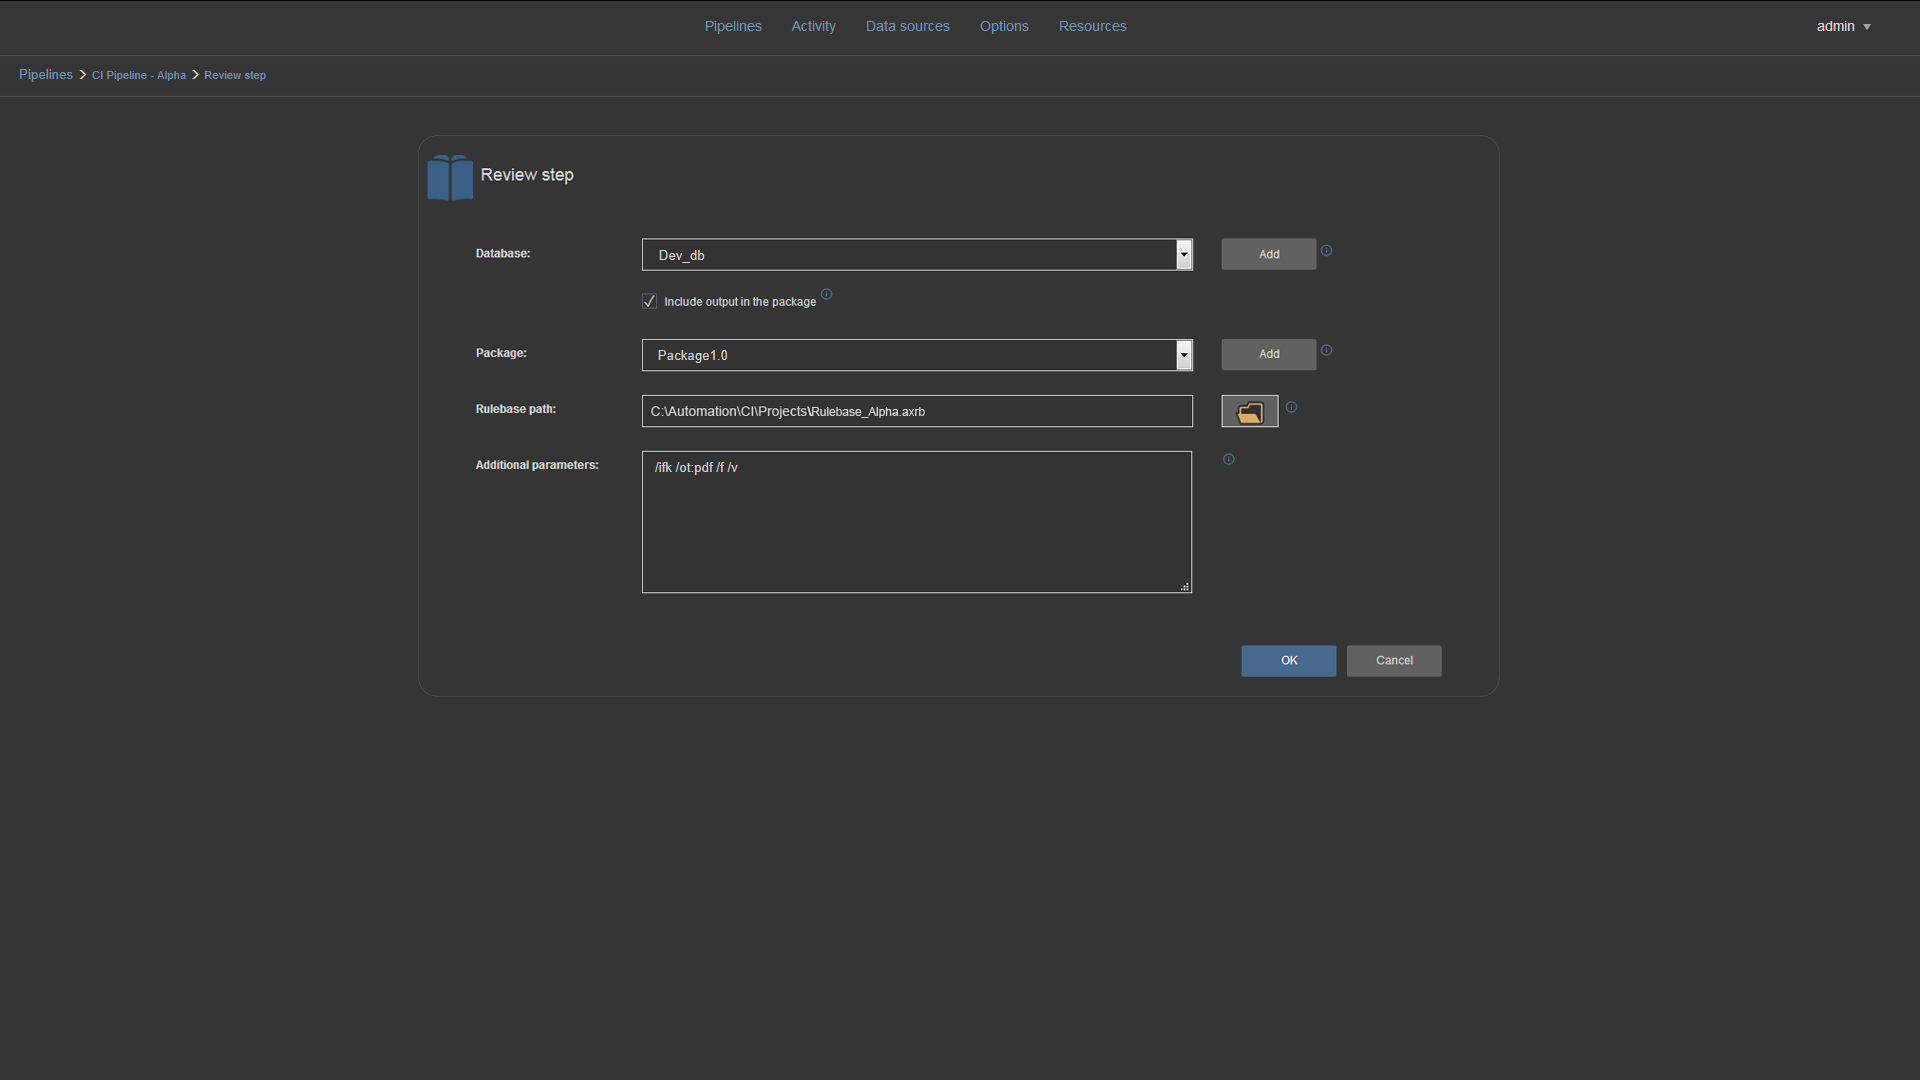
The Review step (ApexSQL Enforce) enforces database best practices by reviewing, detecting and fixing issues:
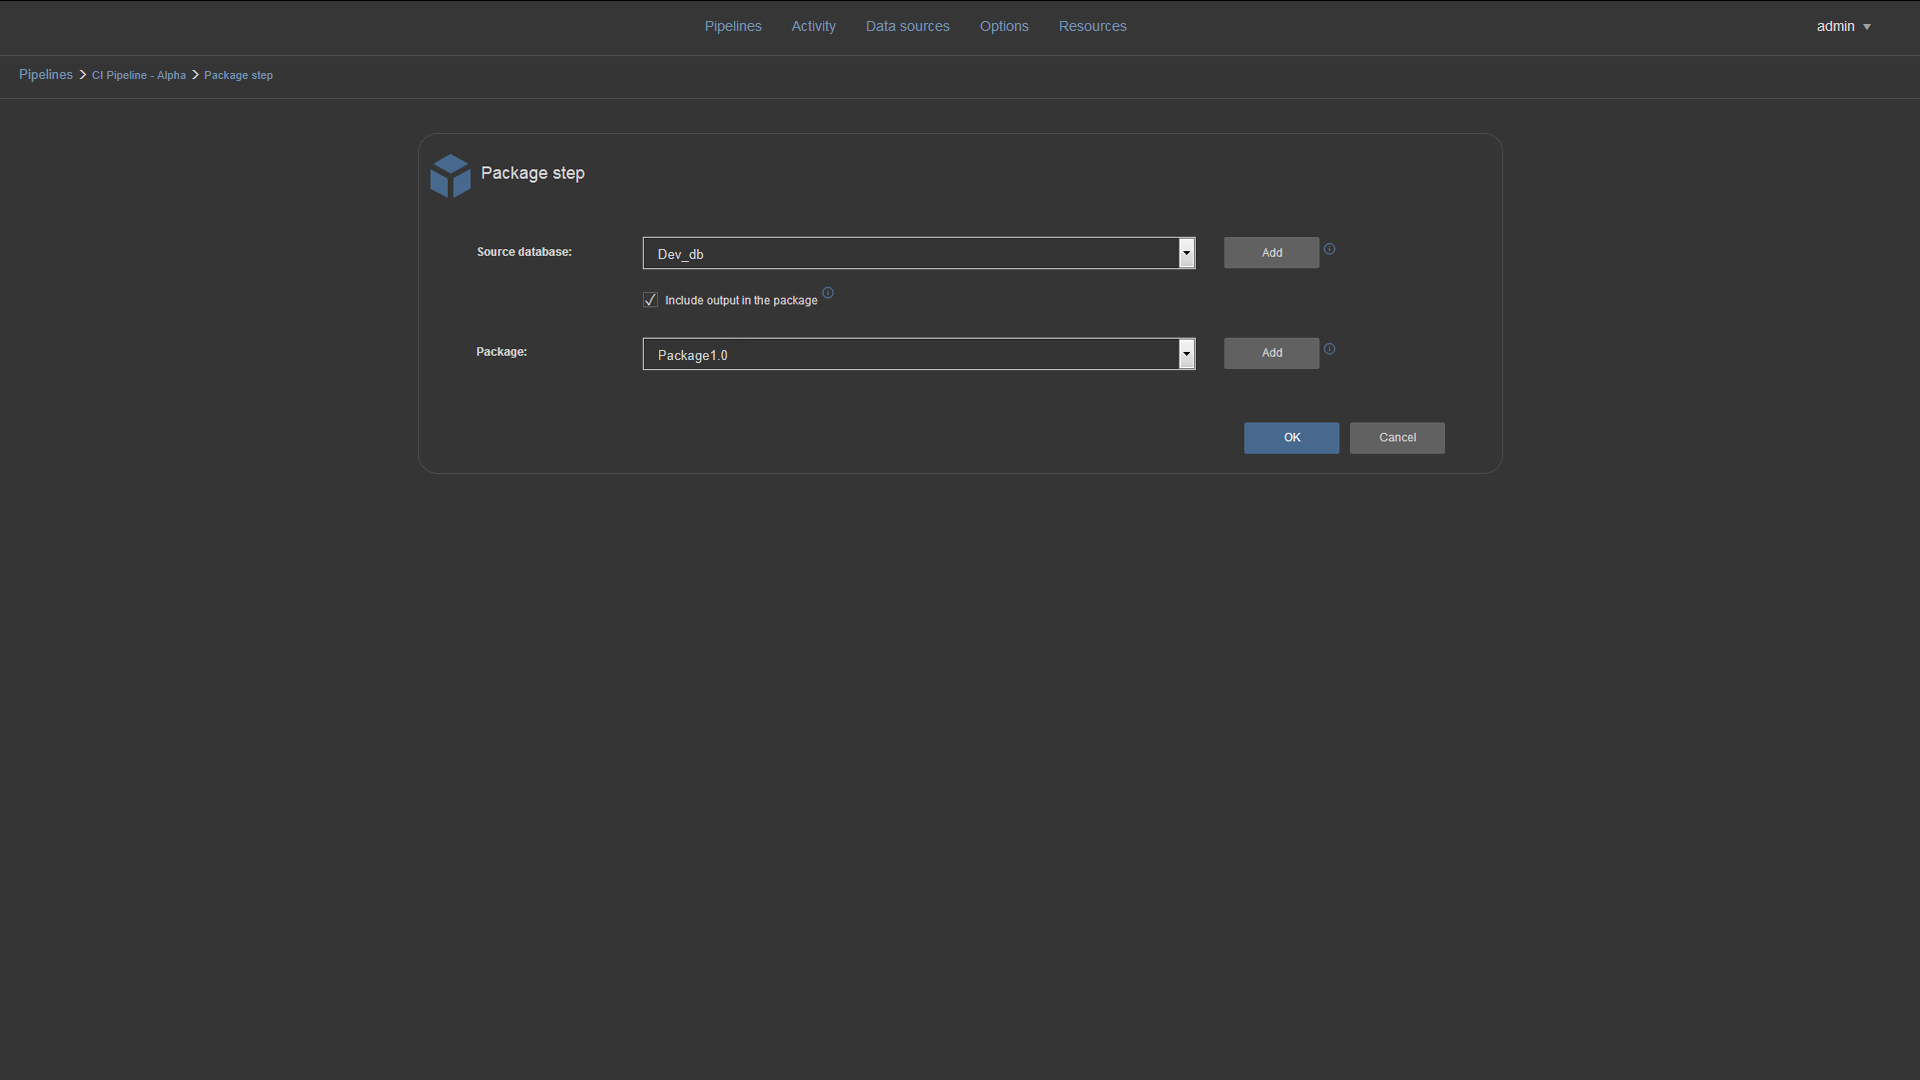
The Package step creates a package from the source database which includes the database schema (including triggers from Audit step) and static data but does not include any synthetic data from the Populate step and unit tests:
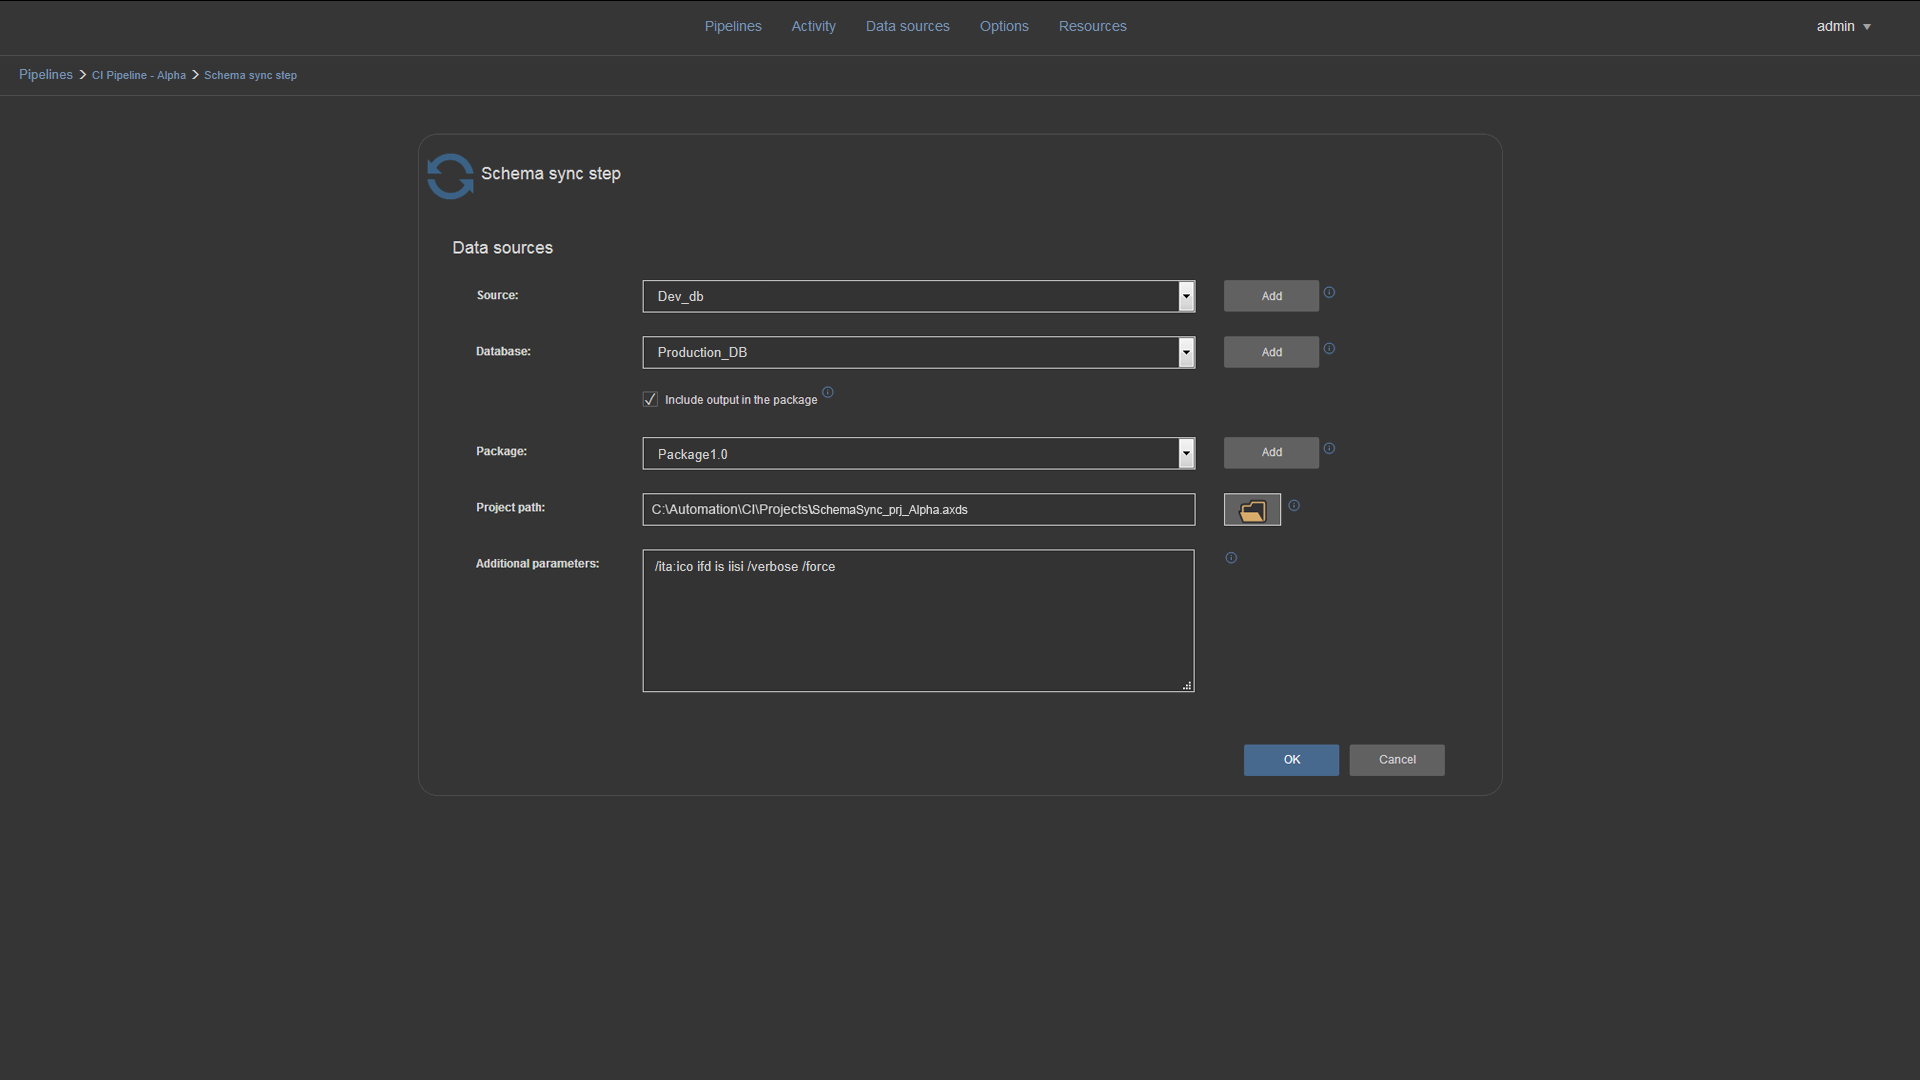
The Schema sync step (ApexSQL Diff) is used to compare SQL Server database schemas and create a script for schema synchronisation:
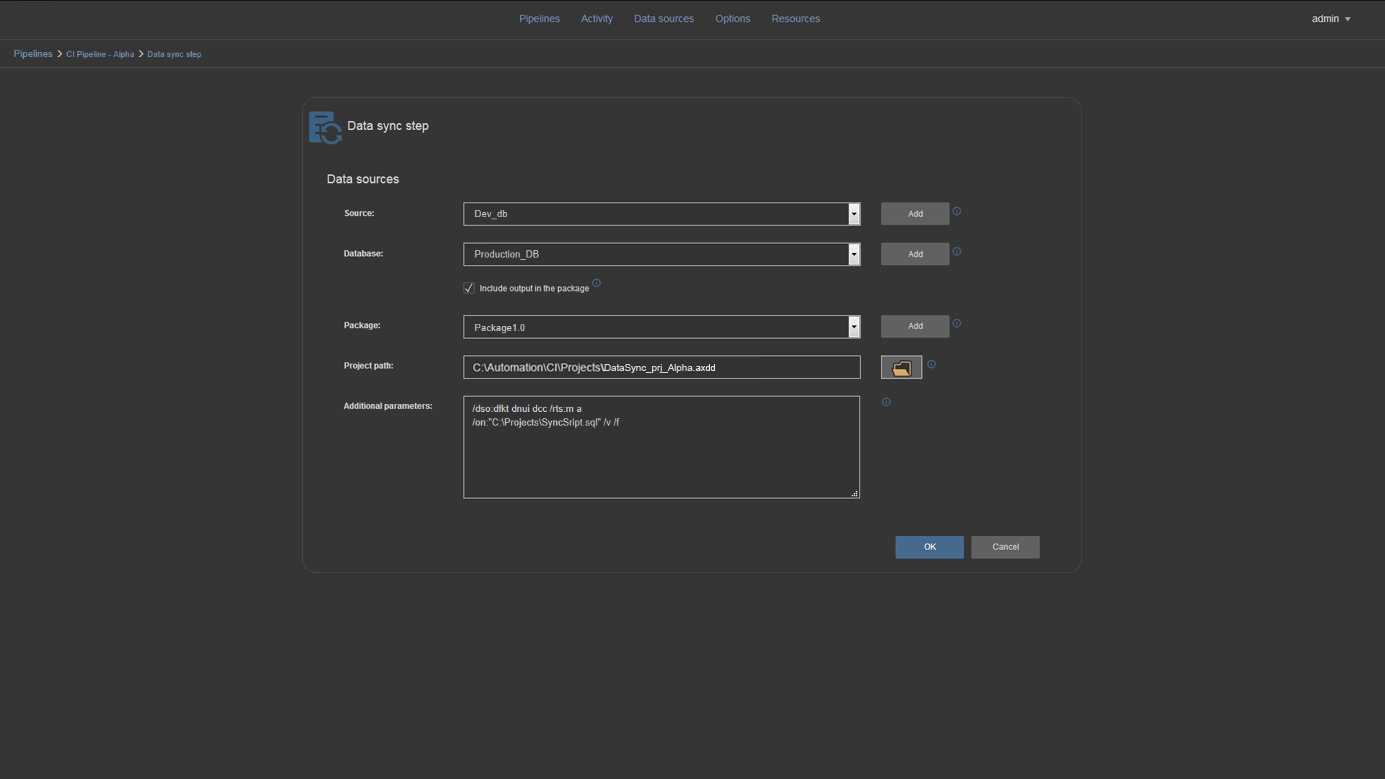
The Data sync step (ApexSQL Data Diff) is used to compare SQL Server database data and create a script for data synchronisation:
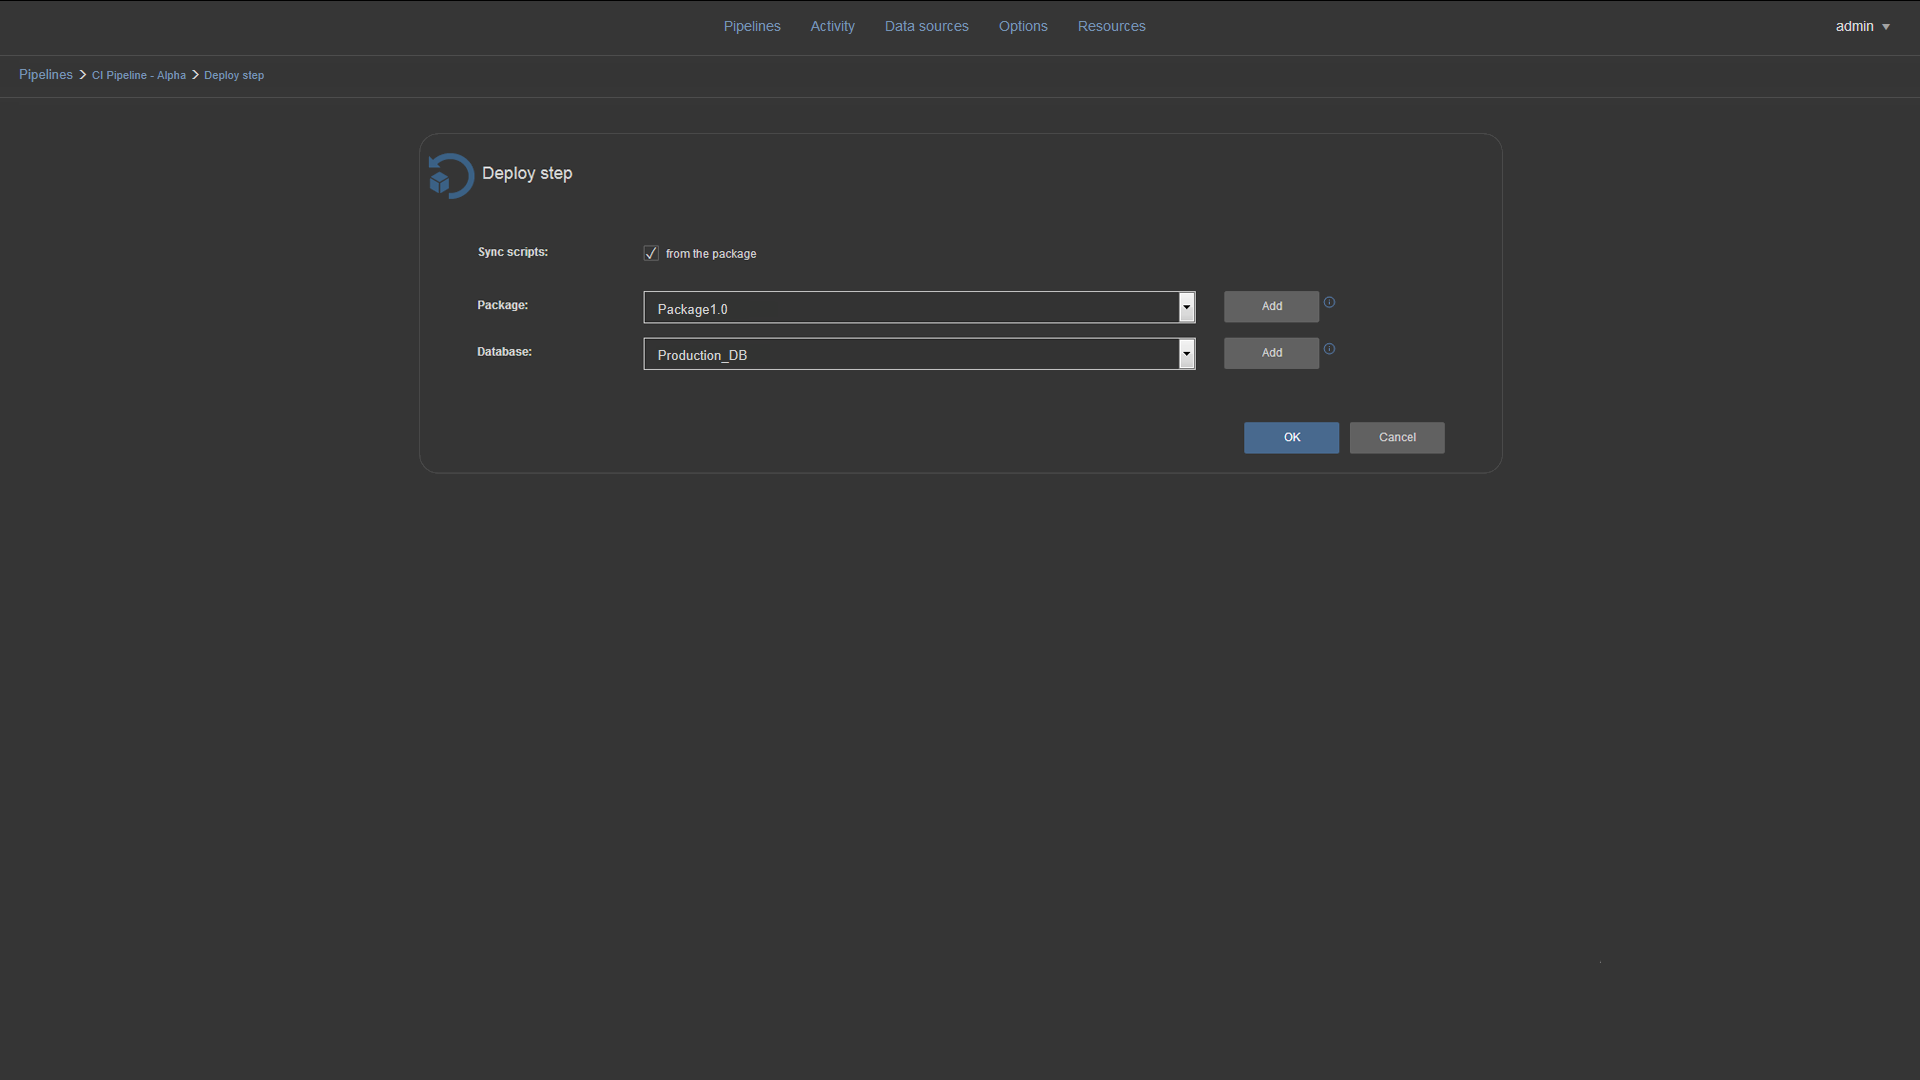
The Deploy step is used to execute Schema and Data sync scripts from package created in previous steps to target database:
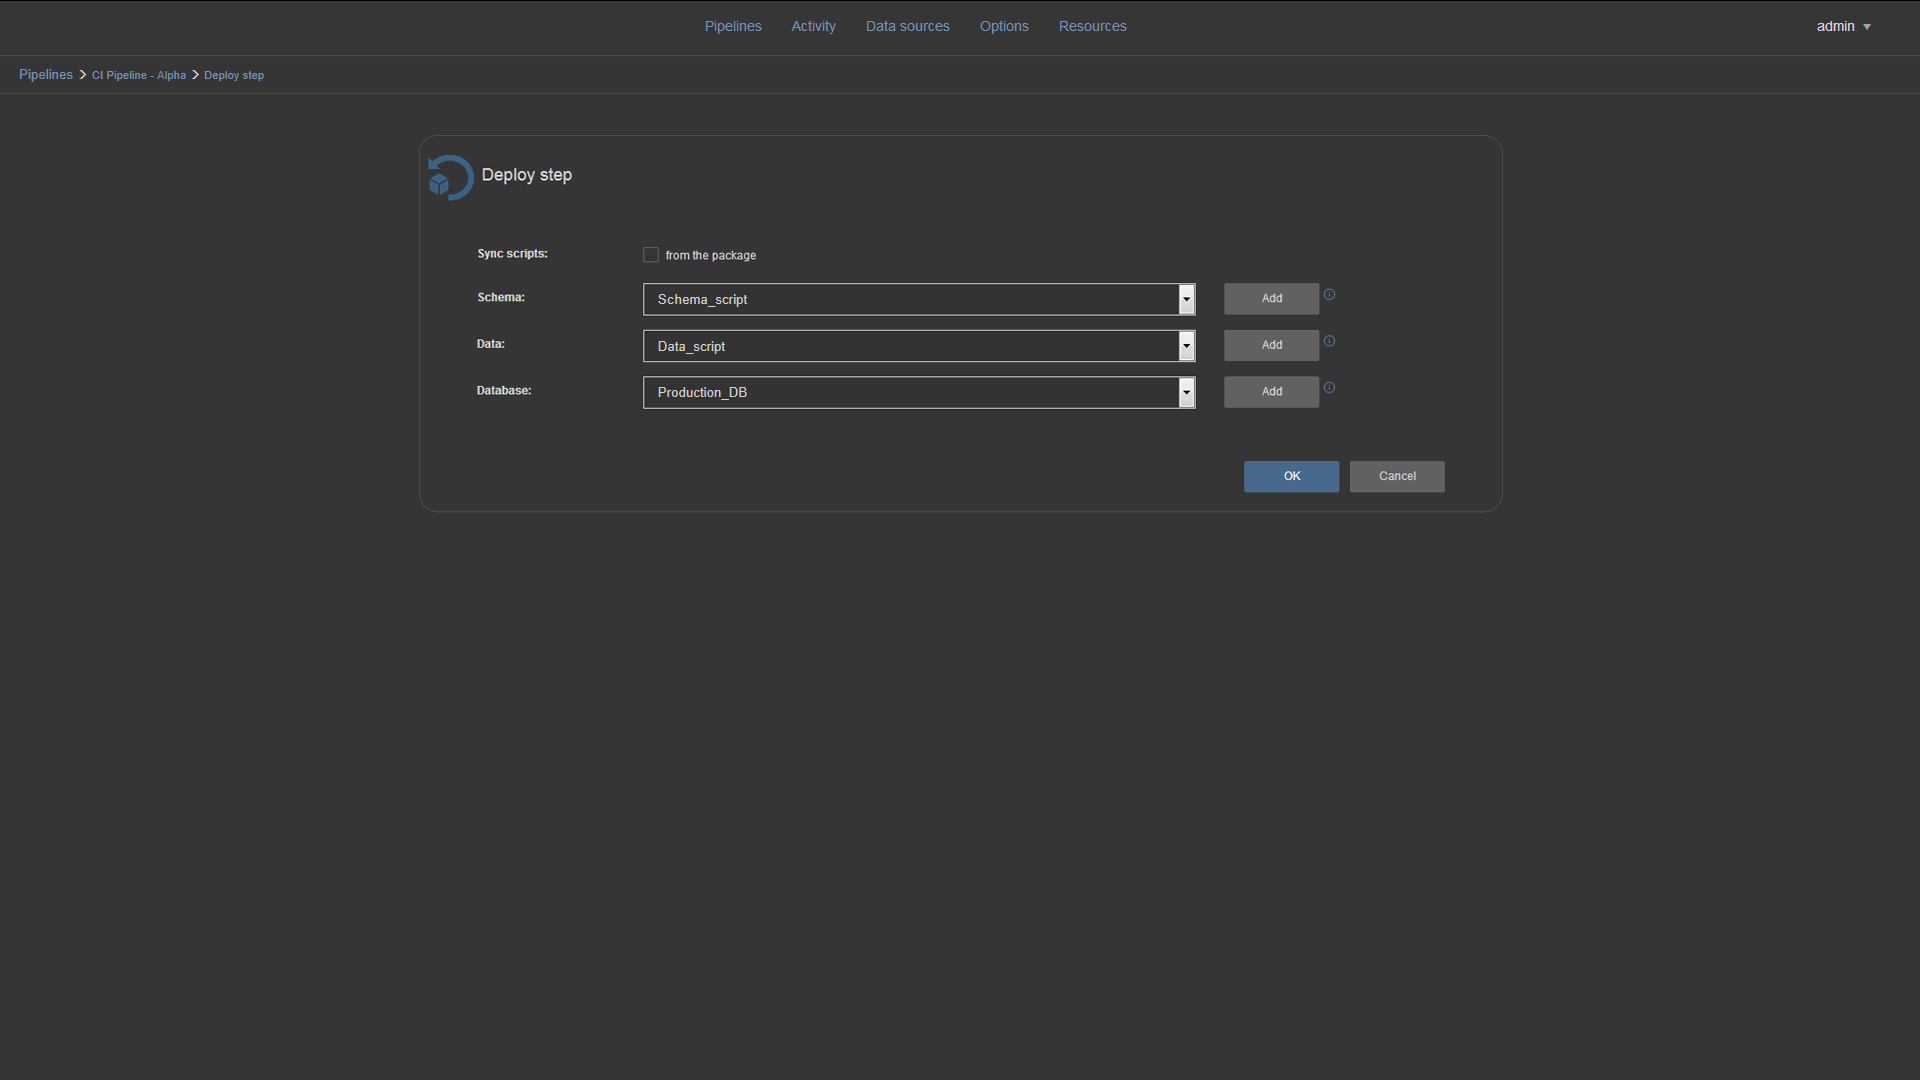
Or, if From the package checkbox is unmarked, it can execute previously created Schema and Data scripts directly:
The Notify step is used to send automated email with the report of the pipeline execution result. The parameters that need to be set are: destination emails, subject and email body.
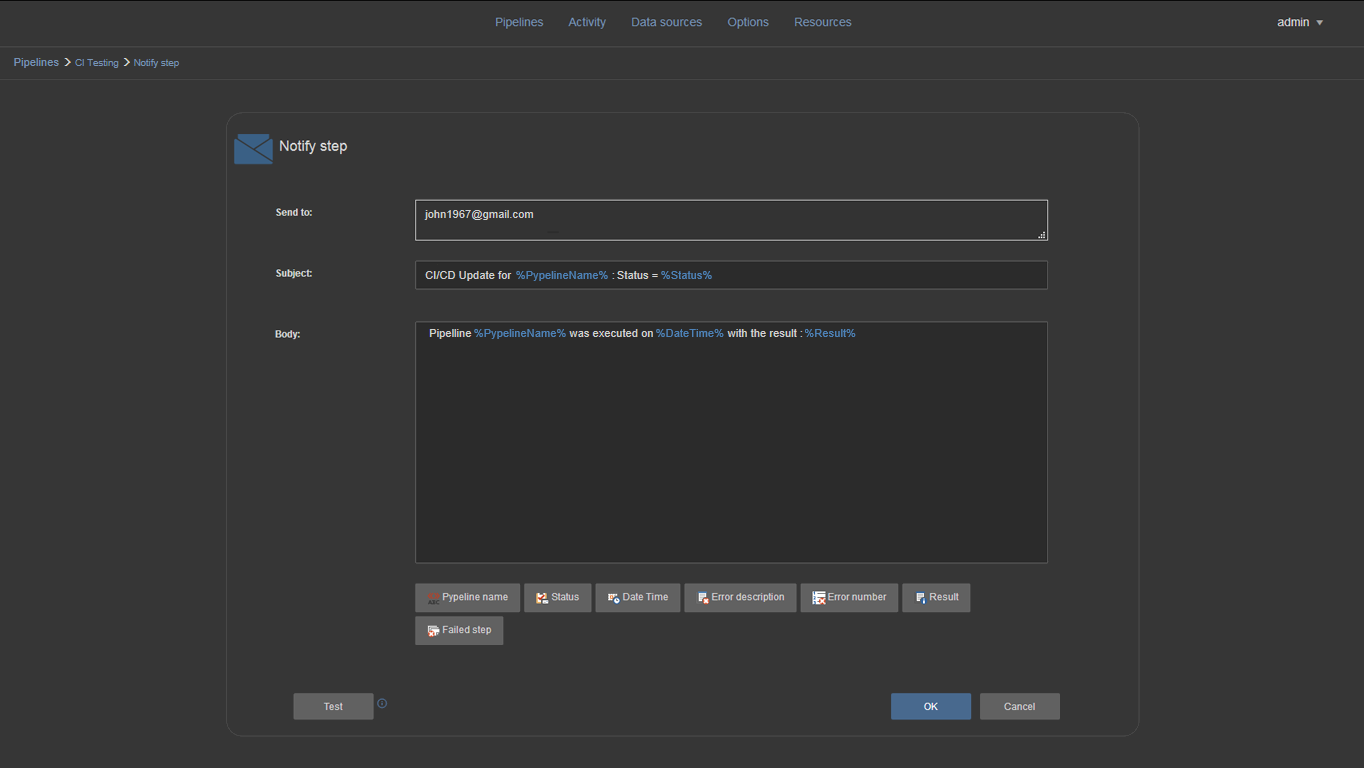
Notify steps can be inserted anywhere between other steps in pipeline. They can be used for sending execution status reports like initiation or completion of the pipeline to notify the QA teams for example, or in case of a failure to notify the developer team.
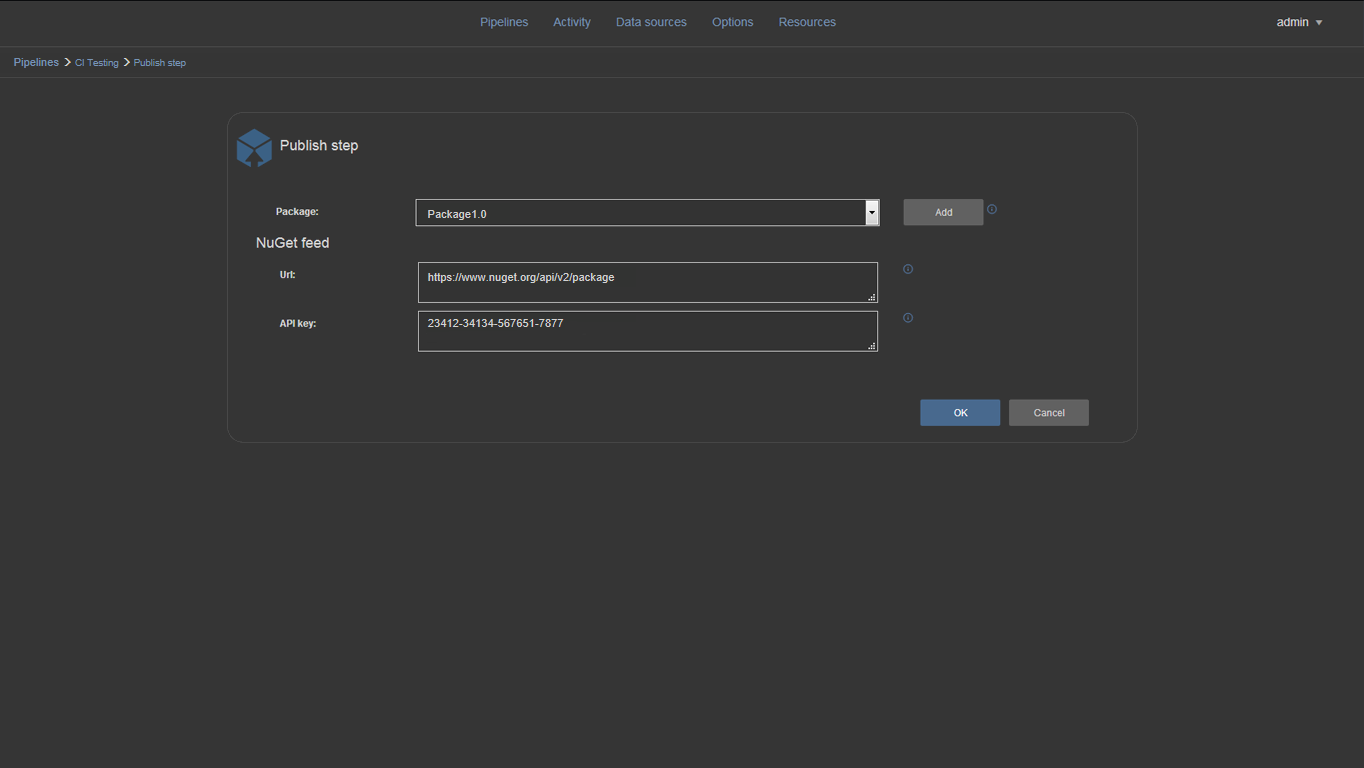
The Publish step publishes the selected NuGet package to designated NuGet feed. For this operation proper URL needs to be provided and the API key for the feed authentication:
Other features
Once the steps are executed through a pipeline the full history of every pipeline result can be seen in the Activity view:
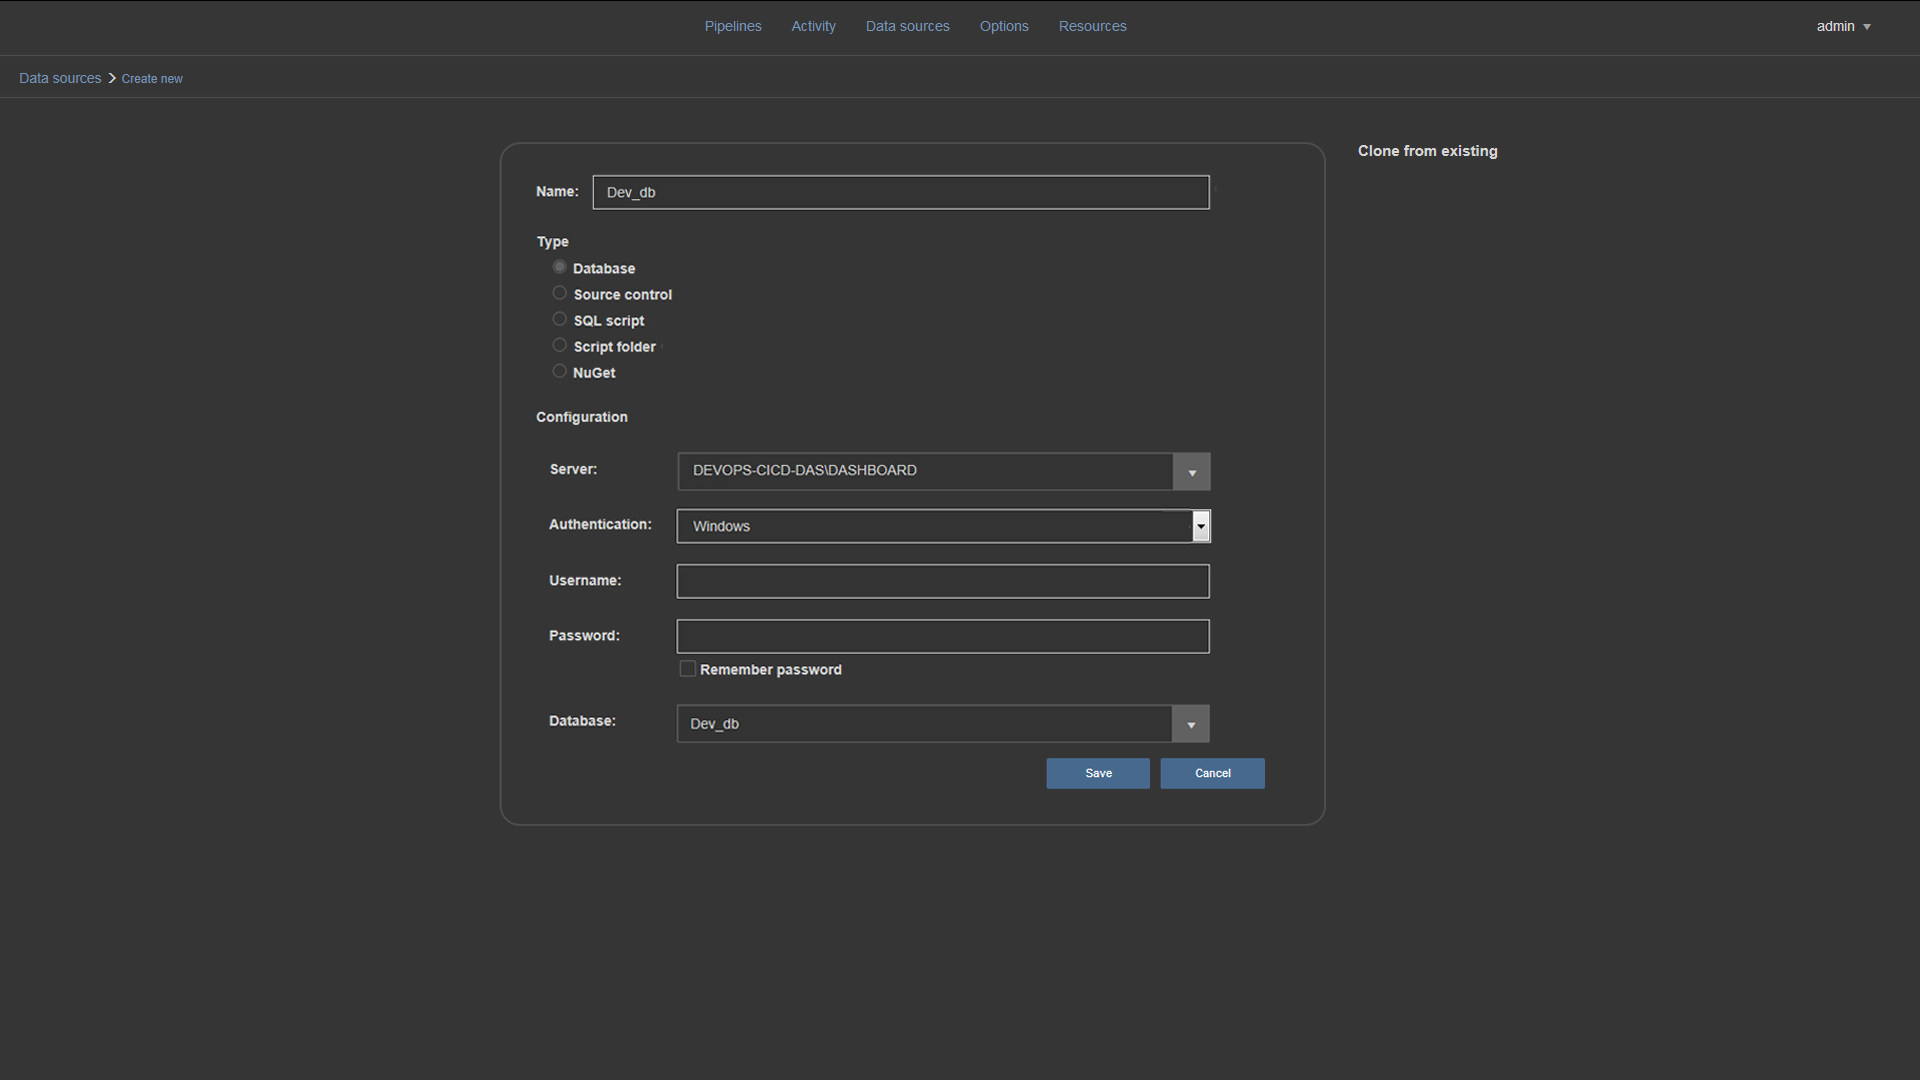
Another great feature in ApexSQL CI/CD toolkit Web dashboard is the Data sources view which has the function to manage and create custom data sources. This view can be also accessed from any step that uses data sources. When creation of a data source is completed it can easily be used in any step in any pipeline, just by choosing an item from a dropdown list:

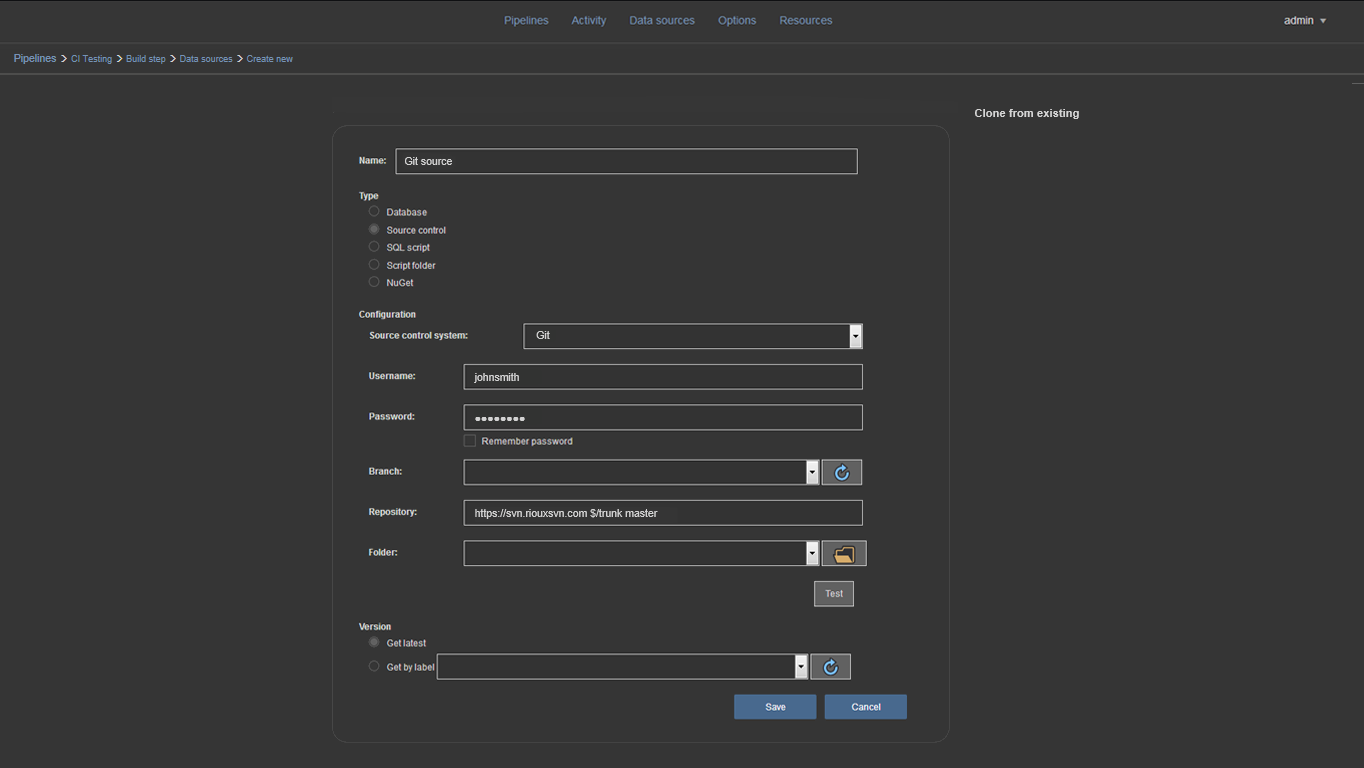
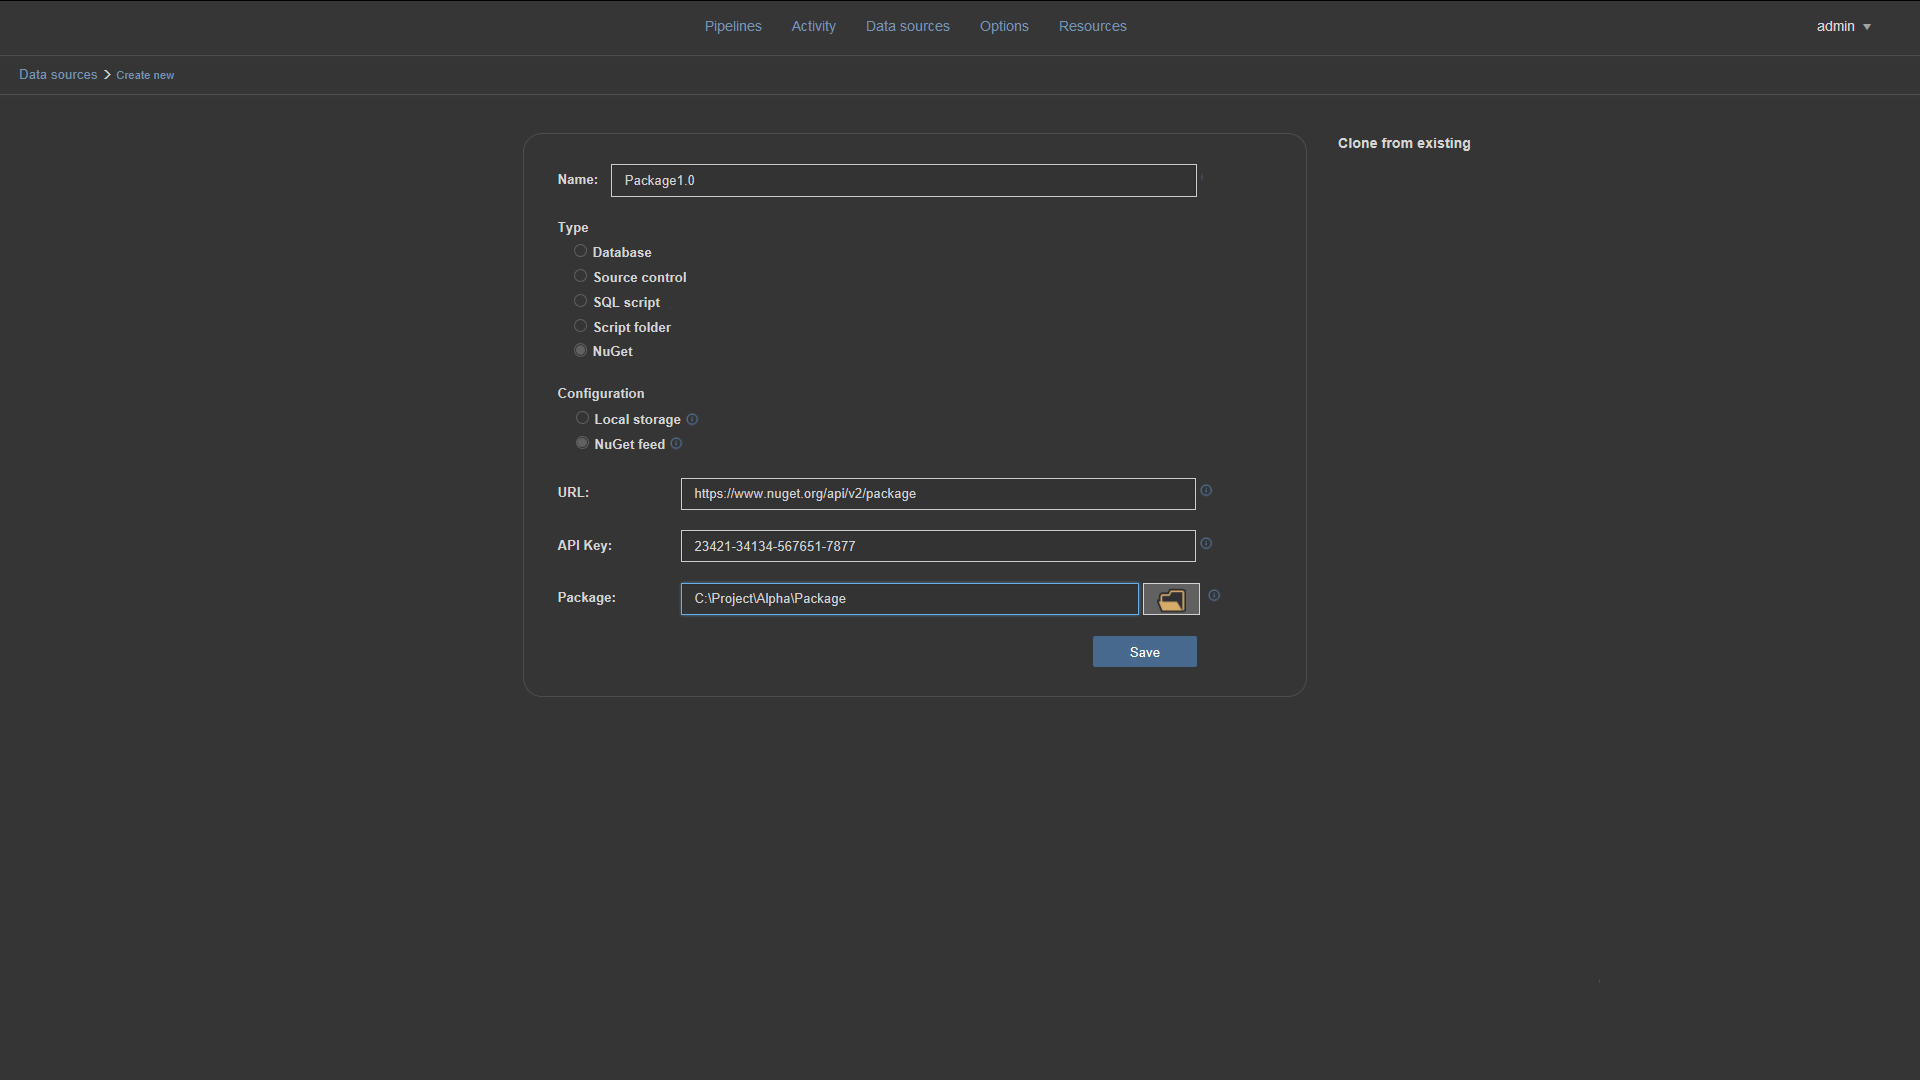
All properties of a data source can be configured, depending on the data source type: Database, Source control, NuGet, SQL Script, Script folder.
For NuGet data source, the package name needs to be provided where parameter references have to be supported, additionally the URL and API Key need to be provided:
To keep informed of new features and upcoming product releases, please see What’s next.
March 20, 2018


