


Along with other UI updates for our tools including visual themes, new colors and iconography, 4K and high resolution support and general UIX improvements of features and functionality, we’ve updated our installer to streamline the installation process and improve the aesthetics
Installing add-ins using the single installer

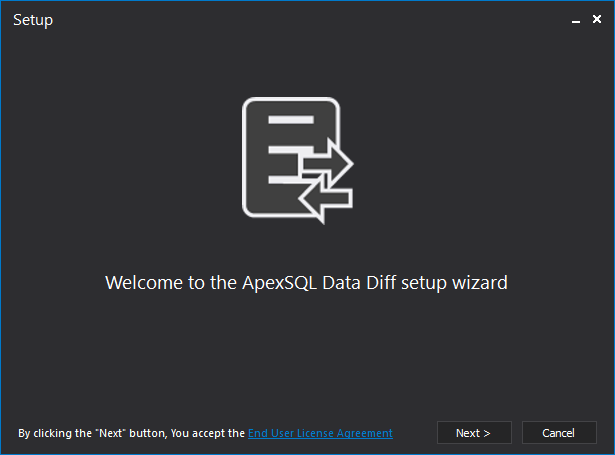
To approve the ApexSQL End user license agreement (EULA), click on the link on the bottom of the ApexSQL software setup window:
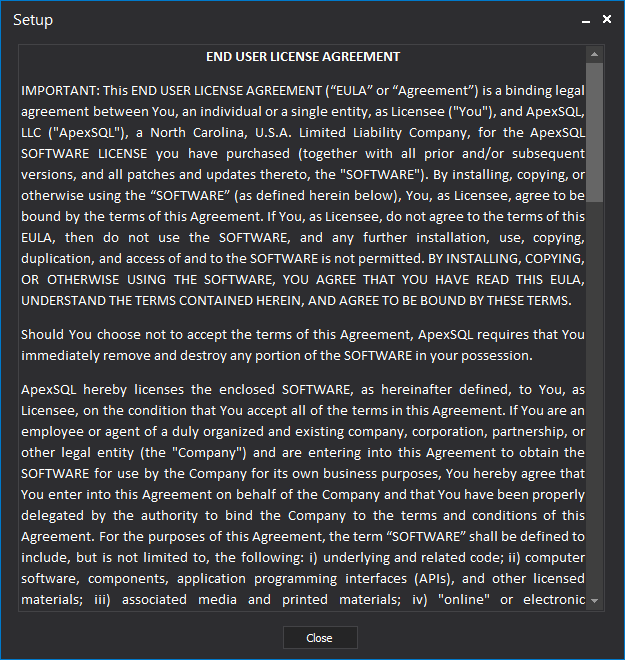
If you agree with the terms, click the Close button and press the Next button to continue with the installation process.
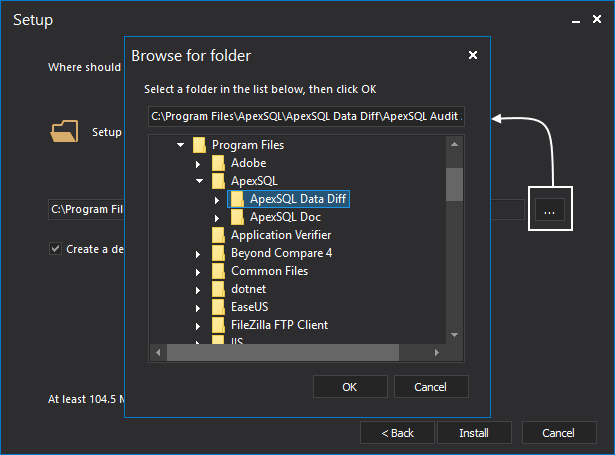
The next ApexSQL software setup window contains information about the installation folder path.
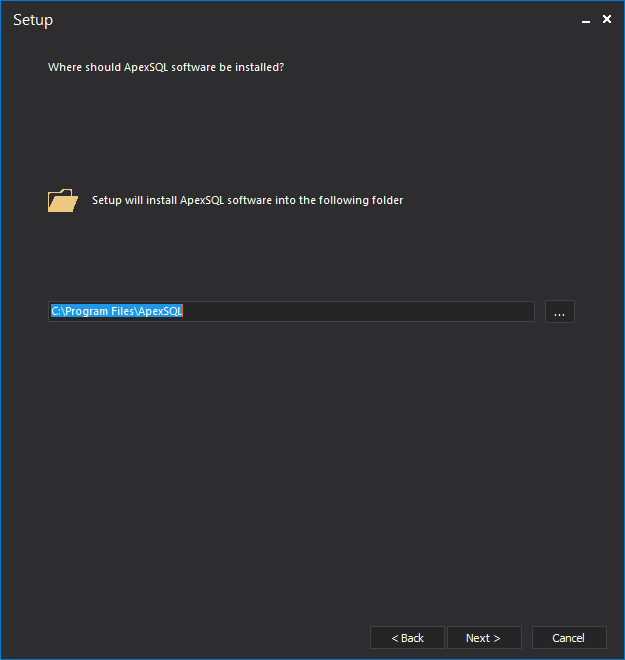
When the installation folder path is set, click the OK button and then the Next button to continue with the installation process.
In the next ApexSQL software setup window you will be shown all ApexSQL tools, divided as the standalone applications and add-ins:
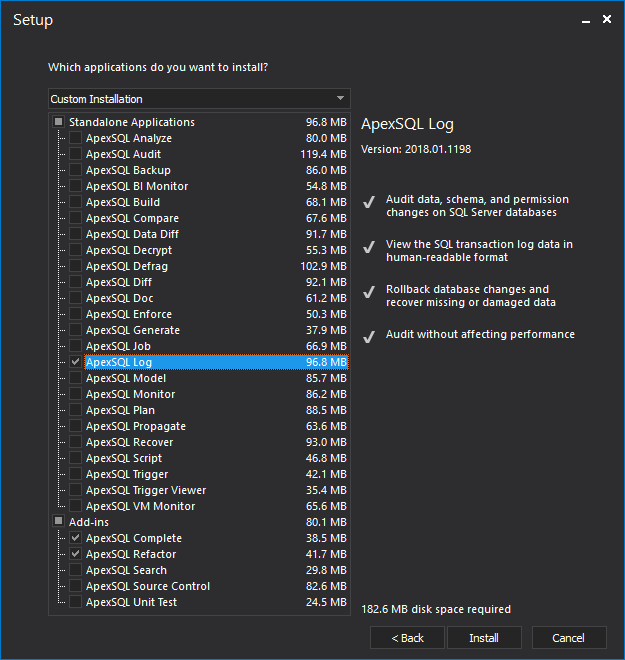
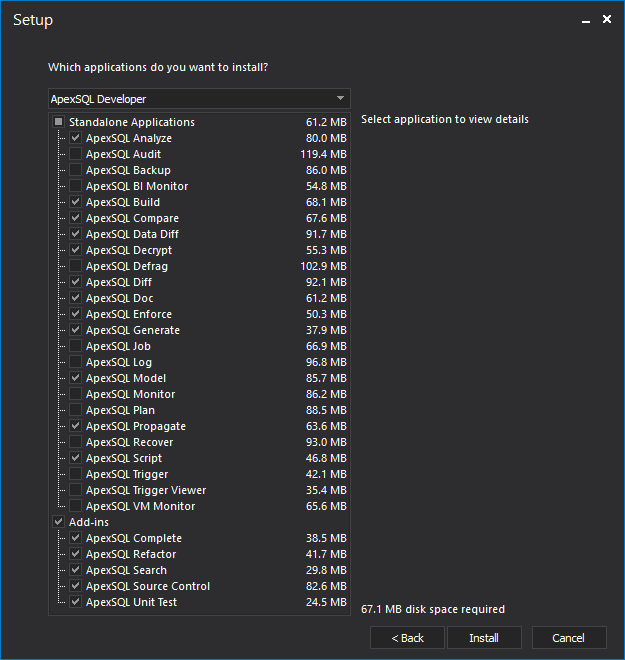
More than one add-in can be chosen for installation at the same time by checking it on the list. Also, you can pick from one of several installation profiles, including ApexSQL Universal (Full installation), ApexSQL Developer, ApexSQL DBA and Custom Installation. ApexSQL Developer, for example, will select all developer tools as shown below
After choosing the add-in or add-ins to be installed, click the Install button.
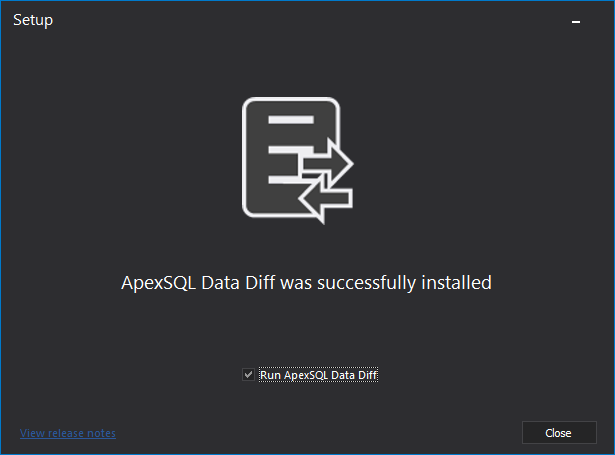
The last dialog that appears in the installation steps is the dialog which shows that the installation process is successfully finished:
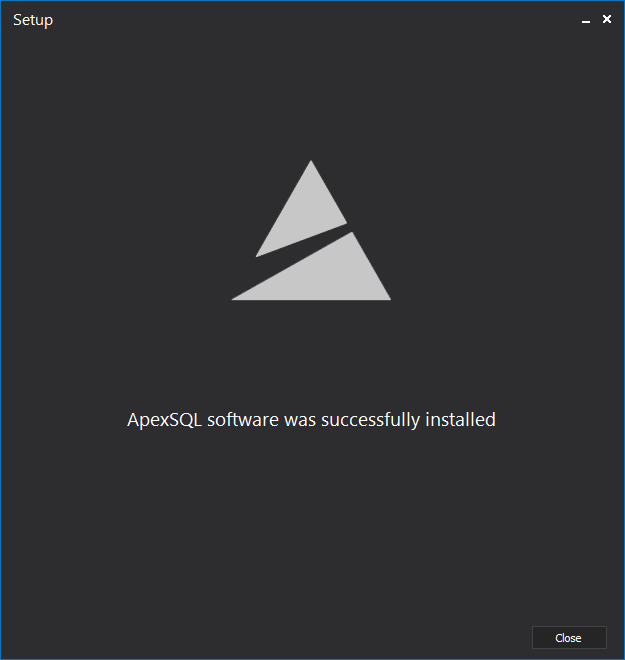
Click the Close button to close the ApexSQL installation wizard.
Installing add-ins using the Individual installer

The default installation folder path is <drive_letter>:\Program Files\ApexSQL, but it can be changed by clicking the Browse for folder button:
For SQL Server Management Studio (SSMS) add-ins in the Host integration step will be listed all supported SSMS instances.
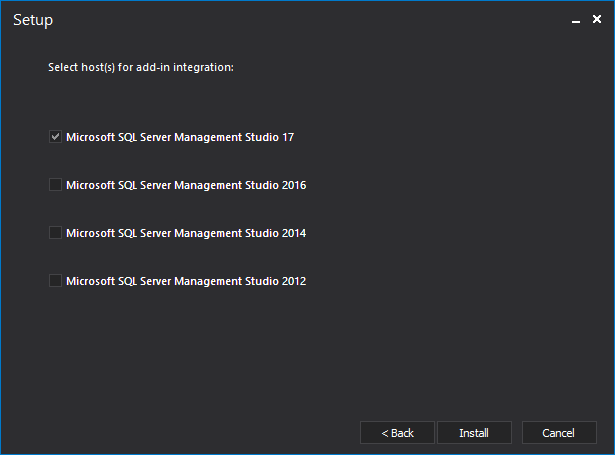
To integrate the add-ins only in specific SSMS and/or Visual Studio instances, check only them and uncheck the other listed instances and click the Install button:
If the installation process goes well, the following window will appear:
We hope you have enjoyed this quick walk-through of our new installation experience. Happy installing!
September 5, 2018


