


The login window of ApexSQL CI/CD dashboard. This window is shown when ApexSQL CI/CD dashboard is first started:
ApexSQL CI/CD dashboard main page showing the created pipelines in “Cards” view mode:
Any pipelines in progress, will show a progress meter and fill in the sub-section in blue, progressively, as the pipelines complete.

ApexSQL CI/CD dashboard page showing the created pipelines in “Table” view mode:
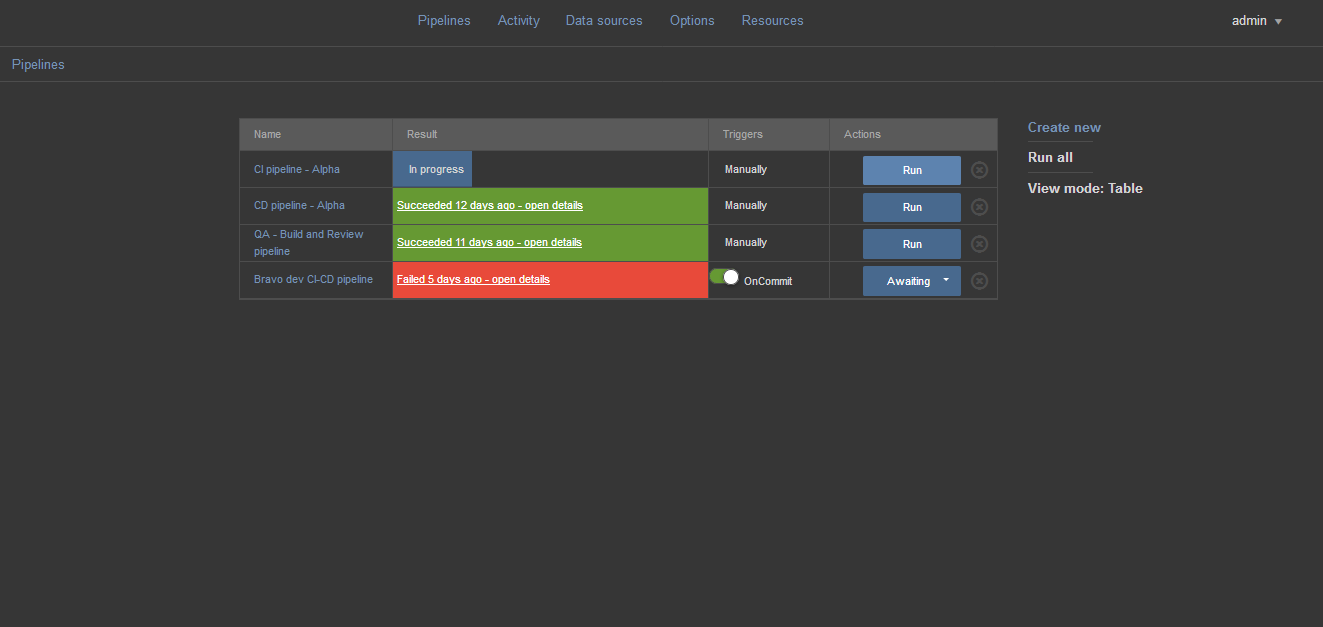
The same progress meter effect will be shown for pipelines that are currently processing.
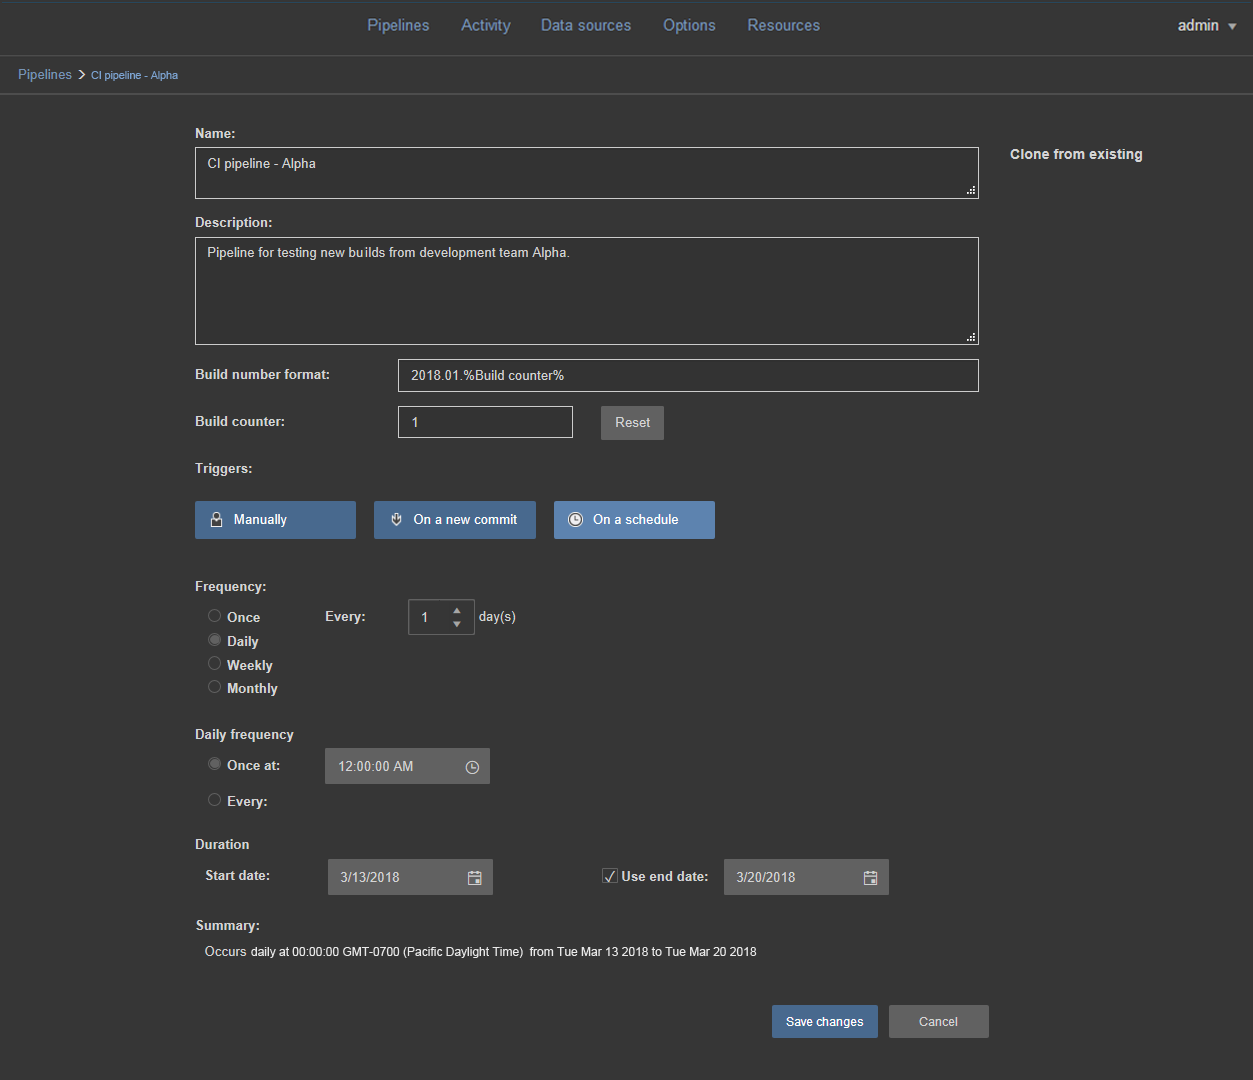
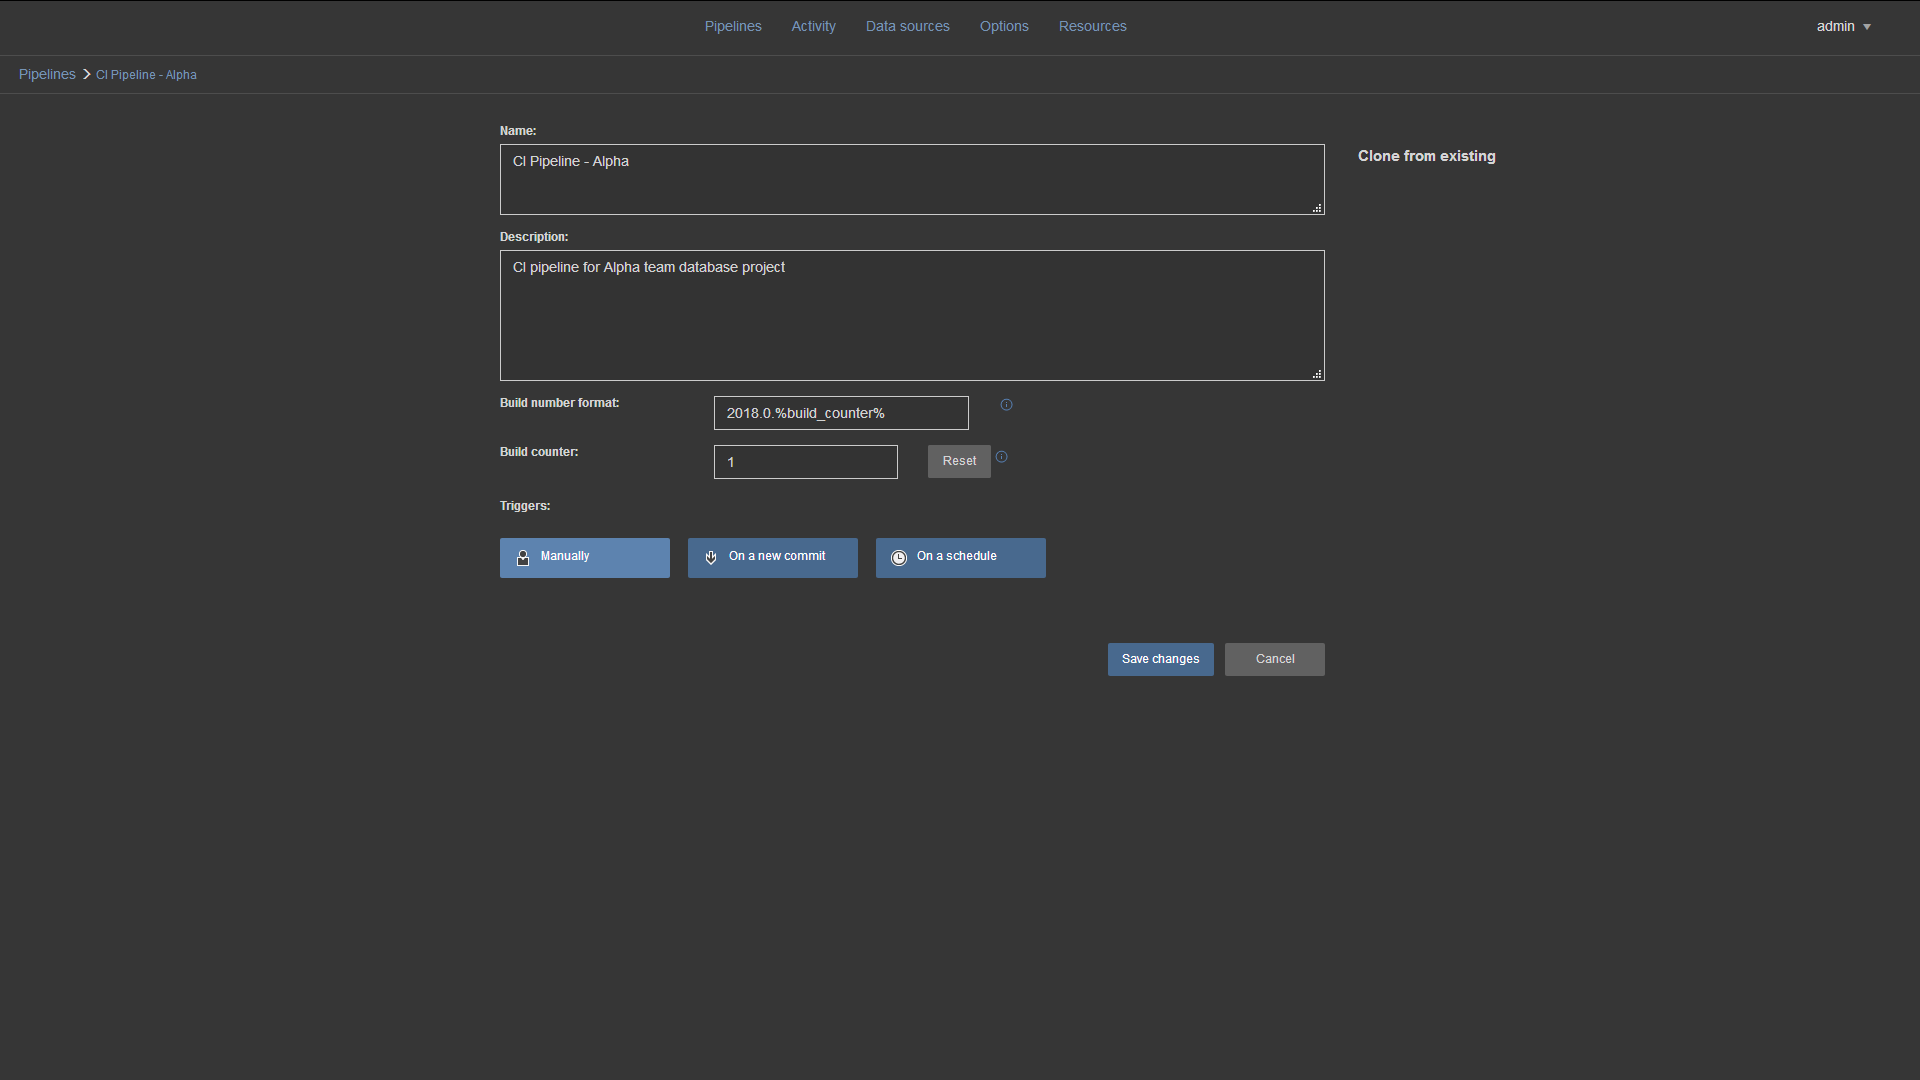
The “Create new” pipeline page is used for creating a new pipeline that will be used in the CI/CD process. In the picture below “Create new” page is shown when creating a pipeline that will be triggered on a schedule:
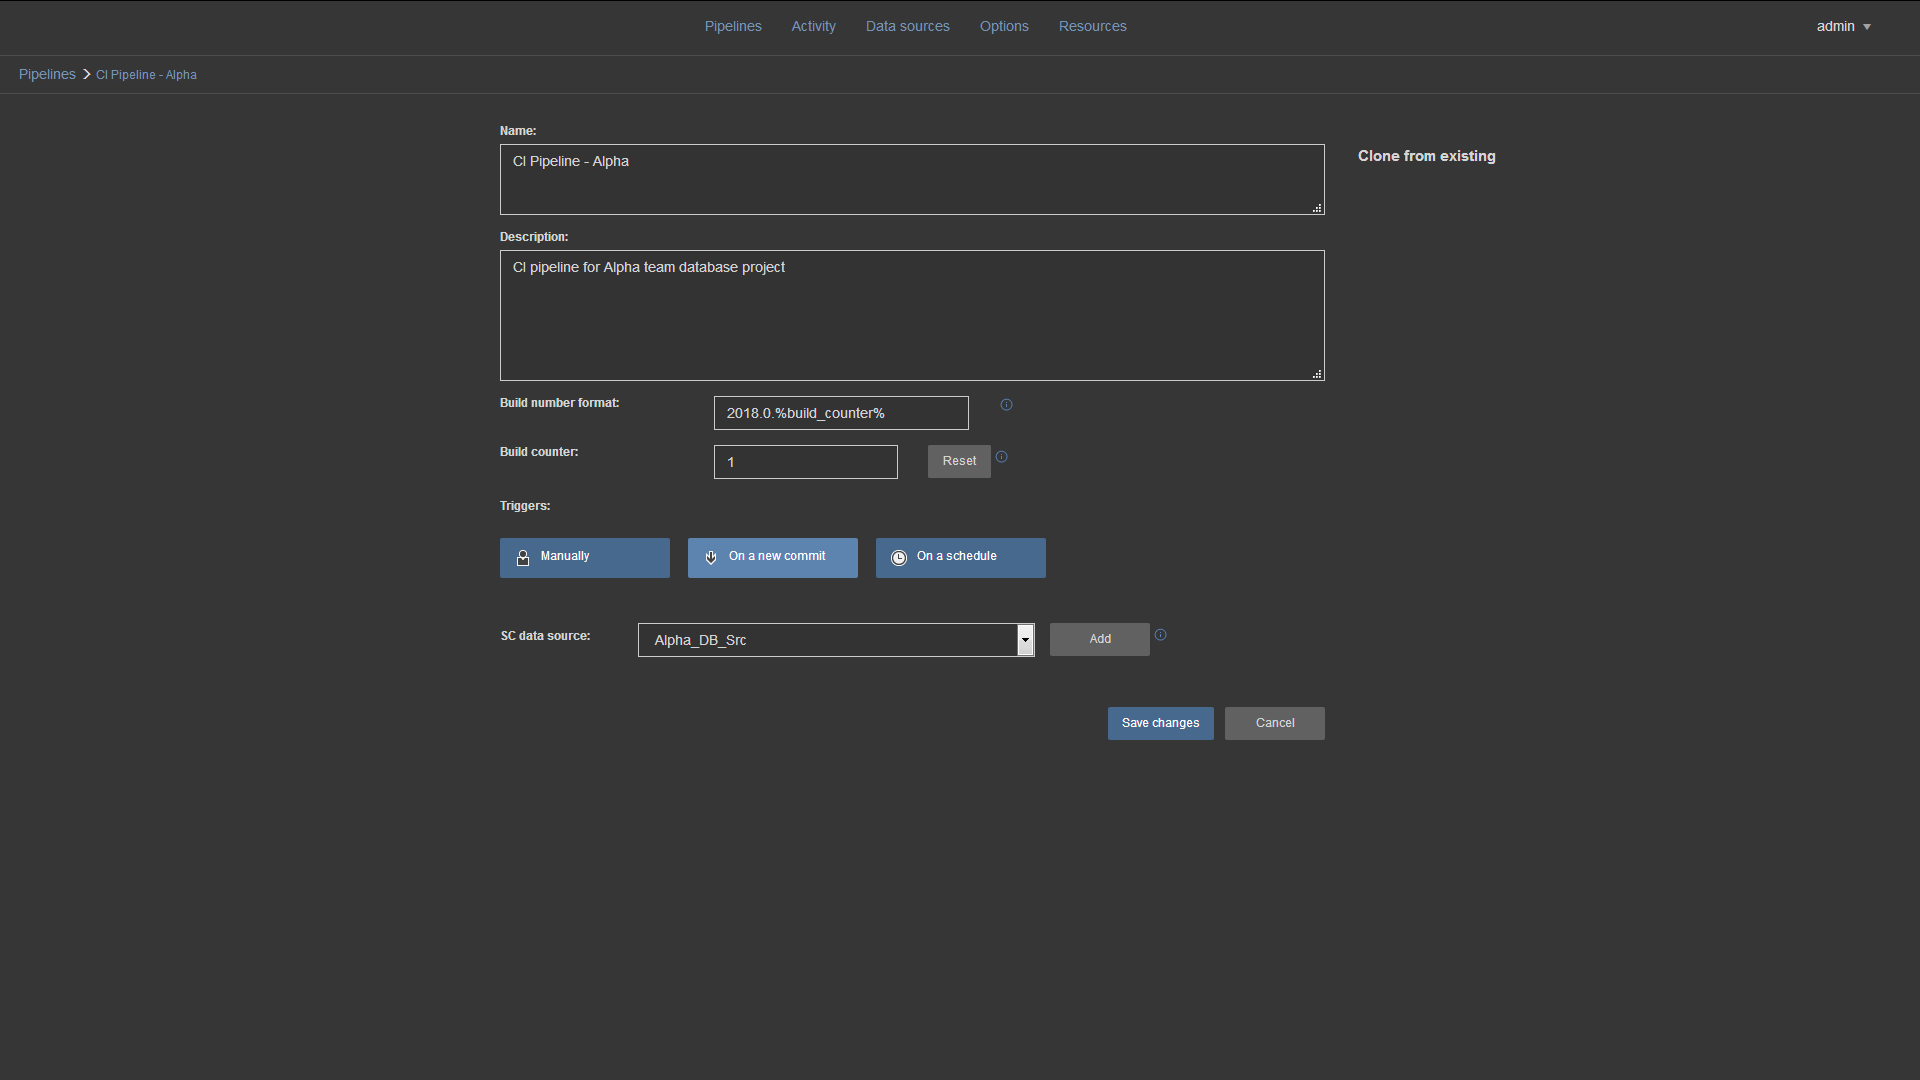
The “Create new” pipeline page with its options, when creating a pipeline that will be triggered on a new commit:
The “Create new” pipeline page, when creating a pipeline that will be triggered manually:
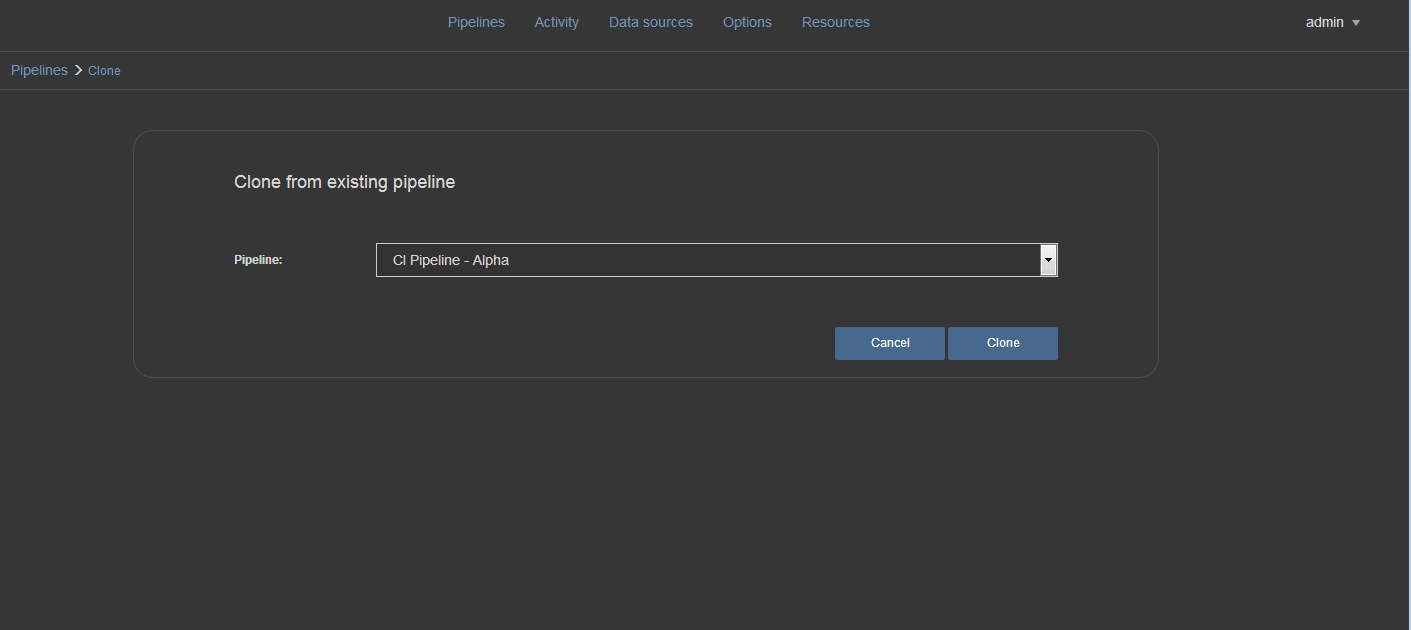
The Clone page is used when creating a new pipeline by cloning it from another pipeline:
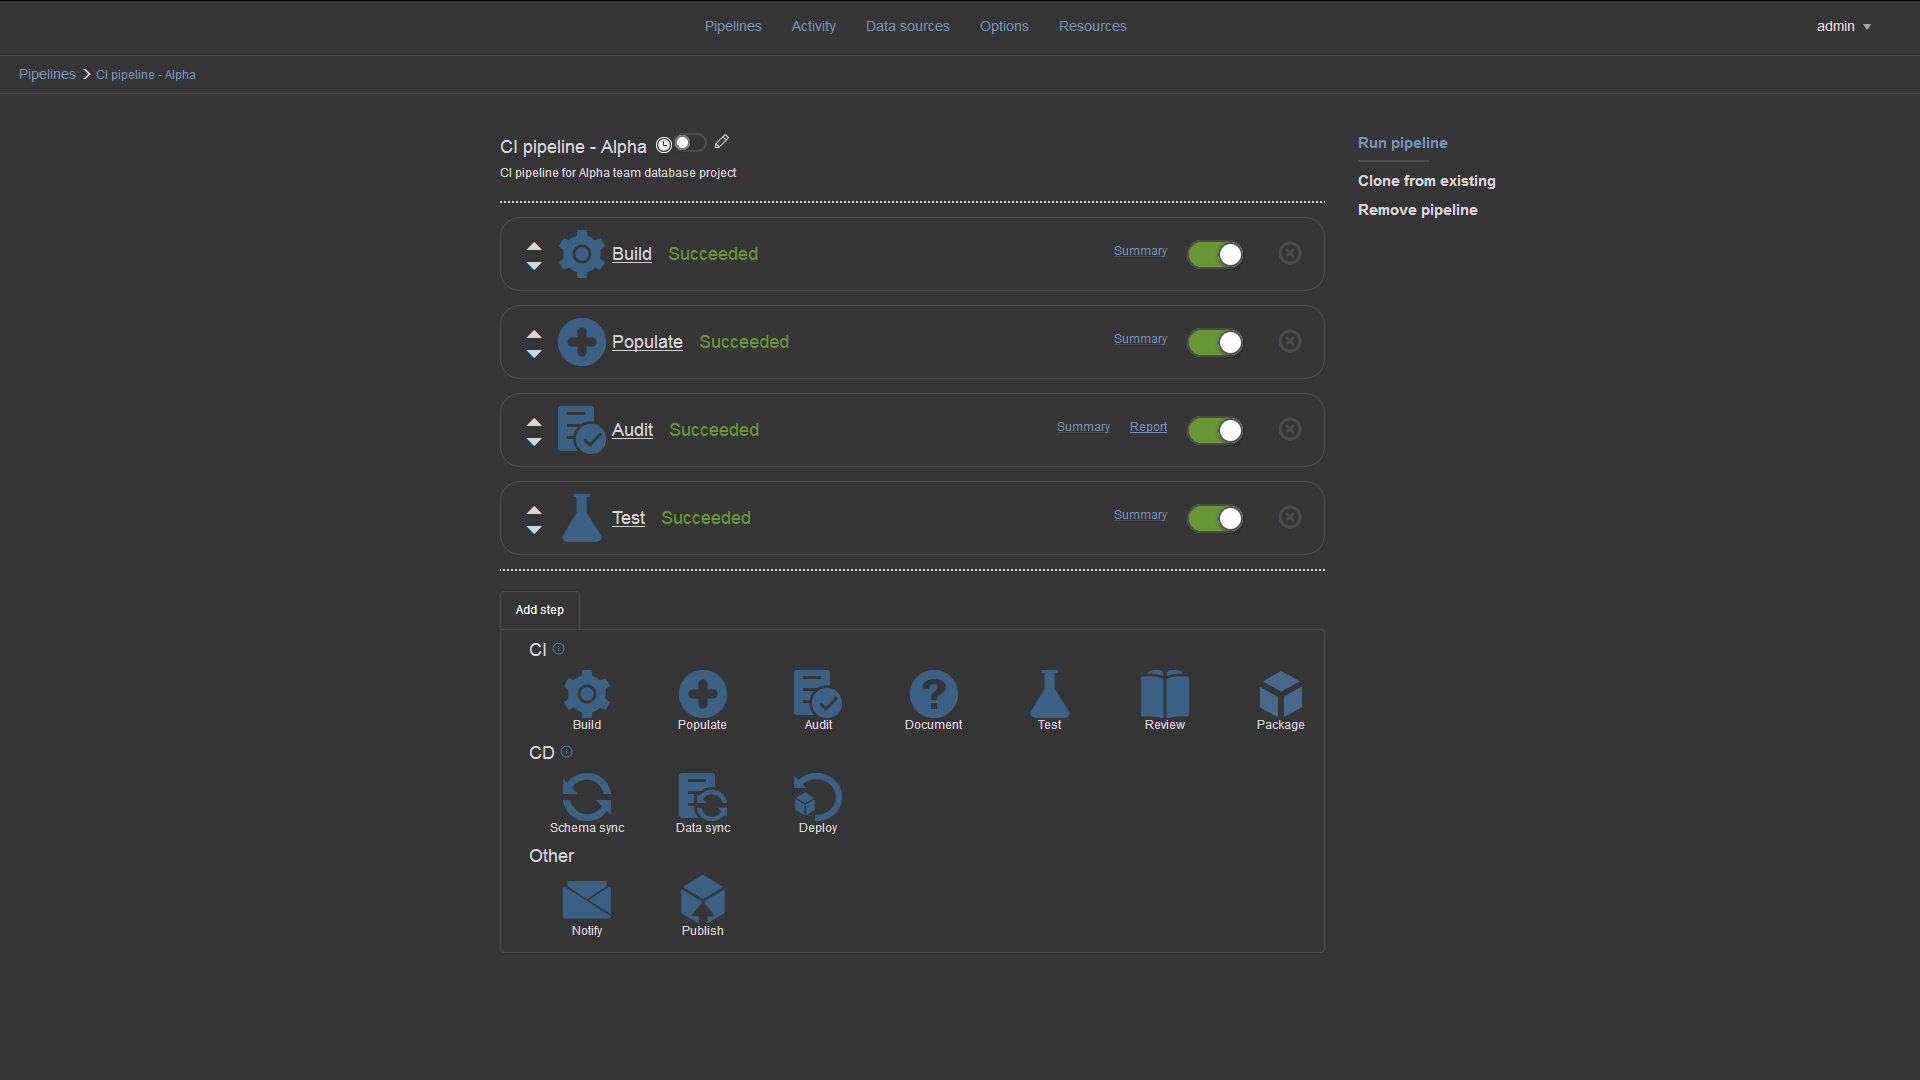
The pipeline configuration view page, with executed CI steps. This page is used to add, remove, change the order or disable steps to customize pipelines:
New steps can be added by clicking on the step icon in the “Add step” section.
The order of steps can be changed, moved ahead or back, in the process with the up and down icons on the right.
Steps can be turned off, with the toggle button on the right, which will keep the step in the pipeline but otherwise ignore it during processing.
For completed steps, the step summary and any reports generated from the step e.g. Schema change report, can be accessed via the respective links.
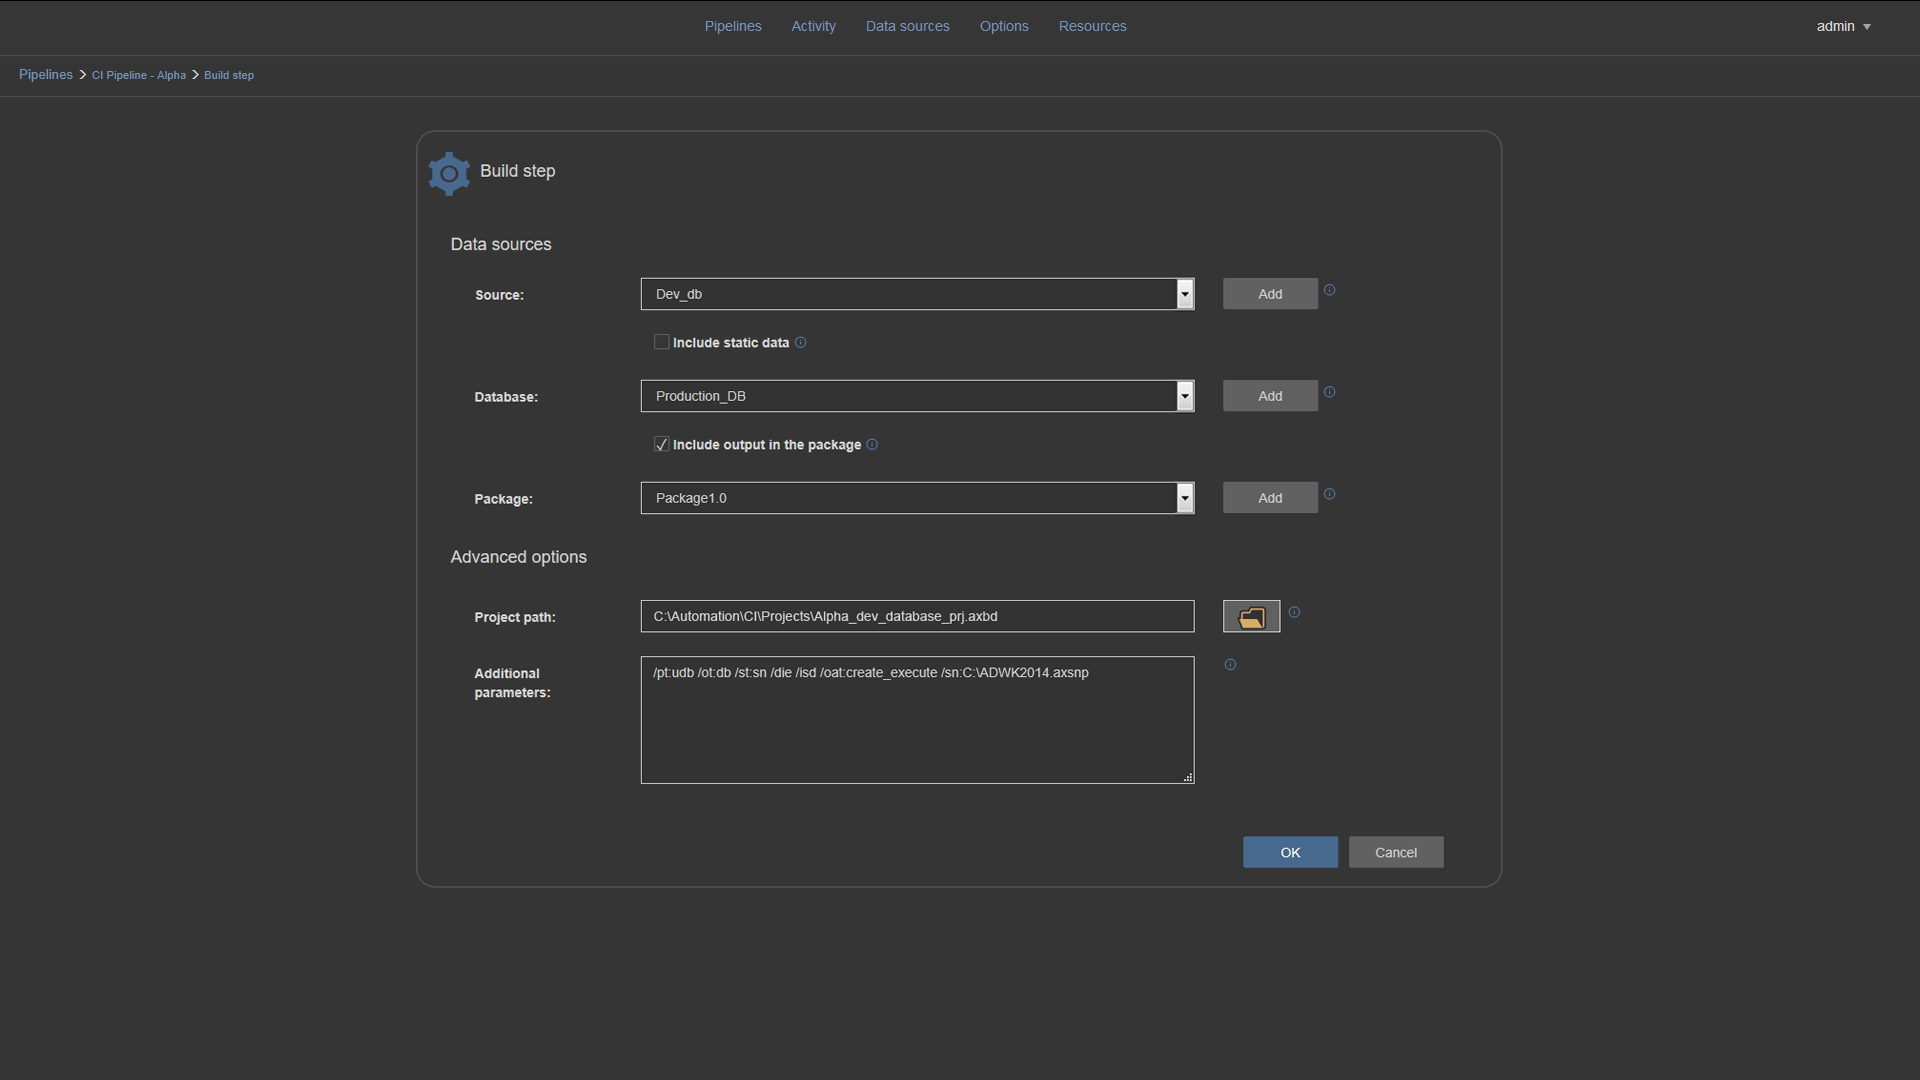
The Build step page is used to manage the Build step (with ApexSQL Build) to set various settings or override settings that exist in the project file by specifying additional parameters:
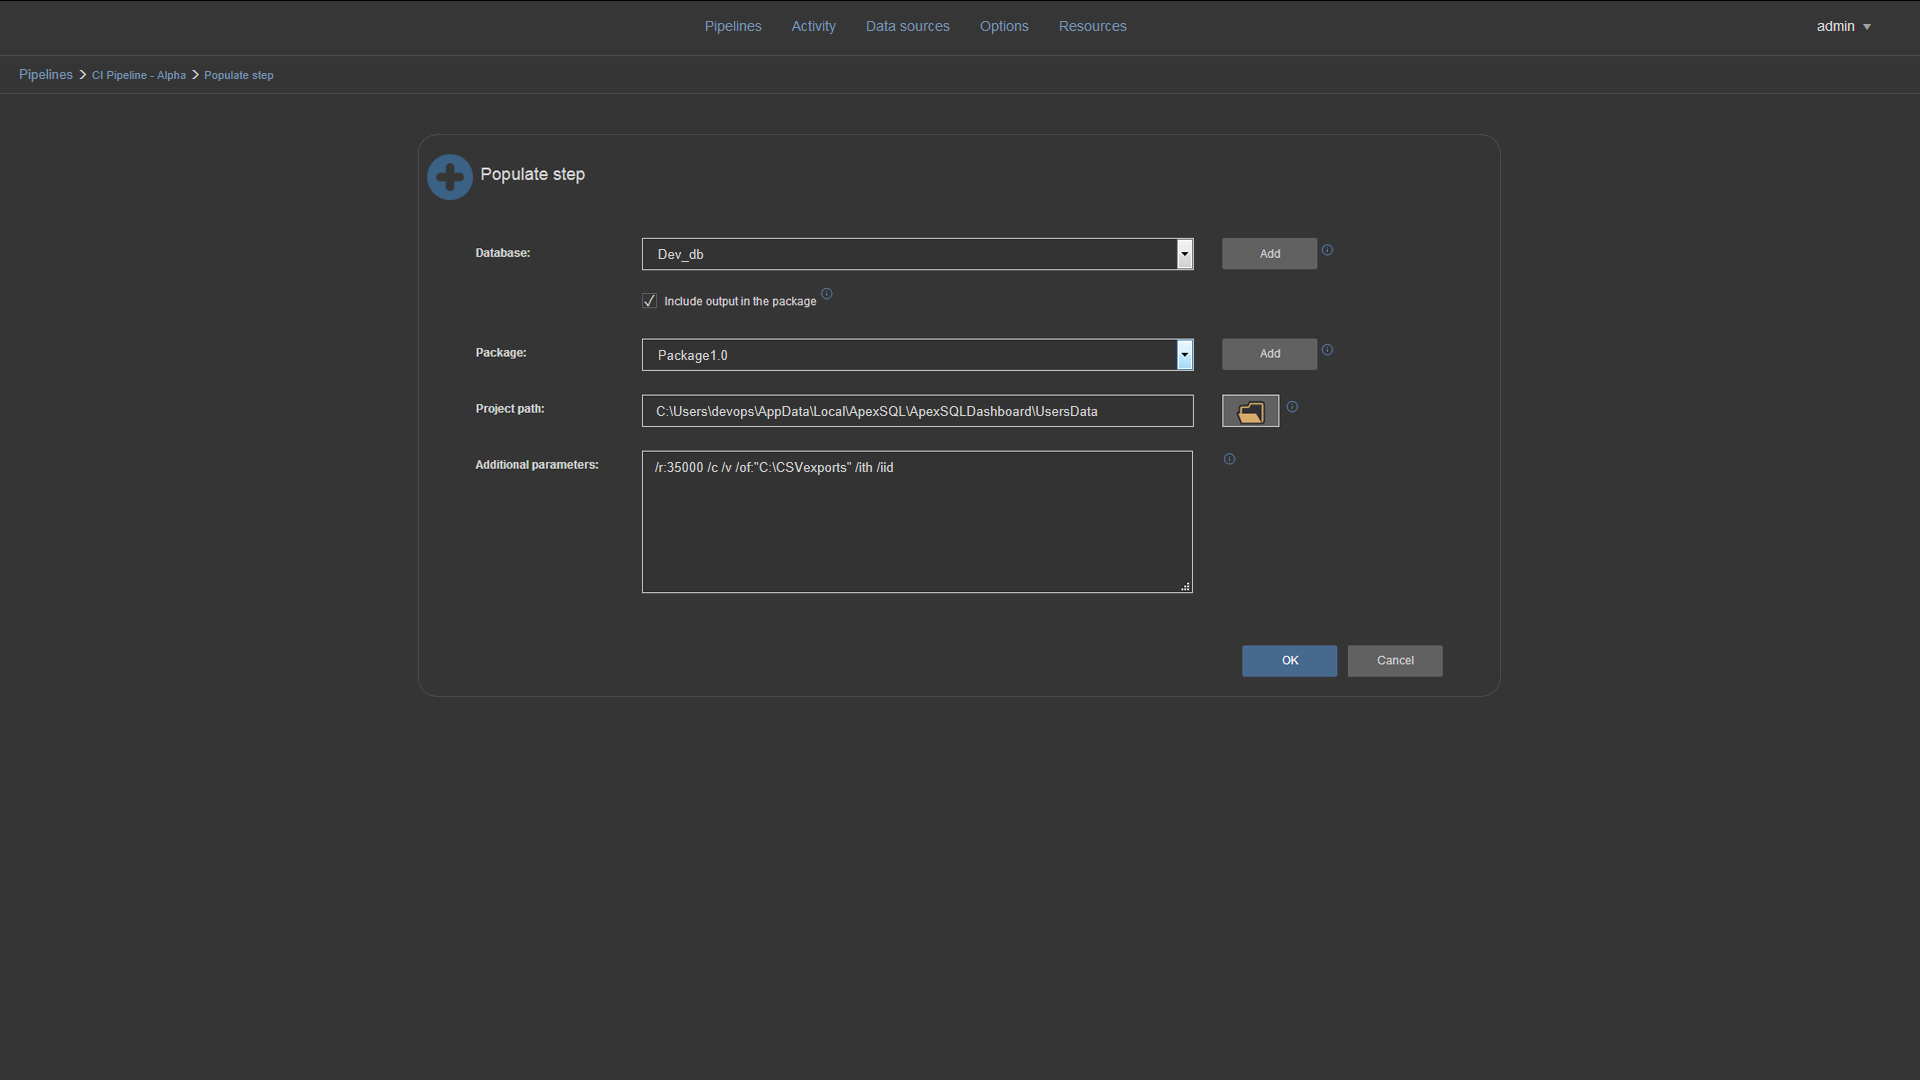
The Populate (ApexSQL Generate) step page with available settings and additional populate parameters:
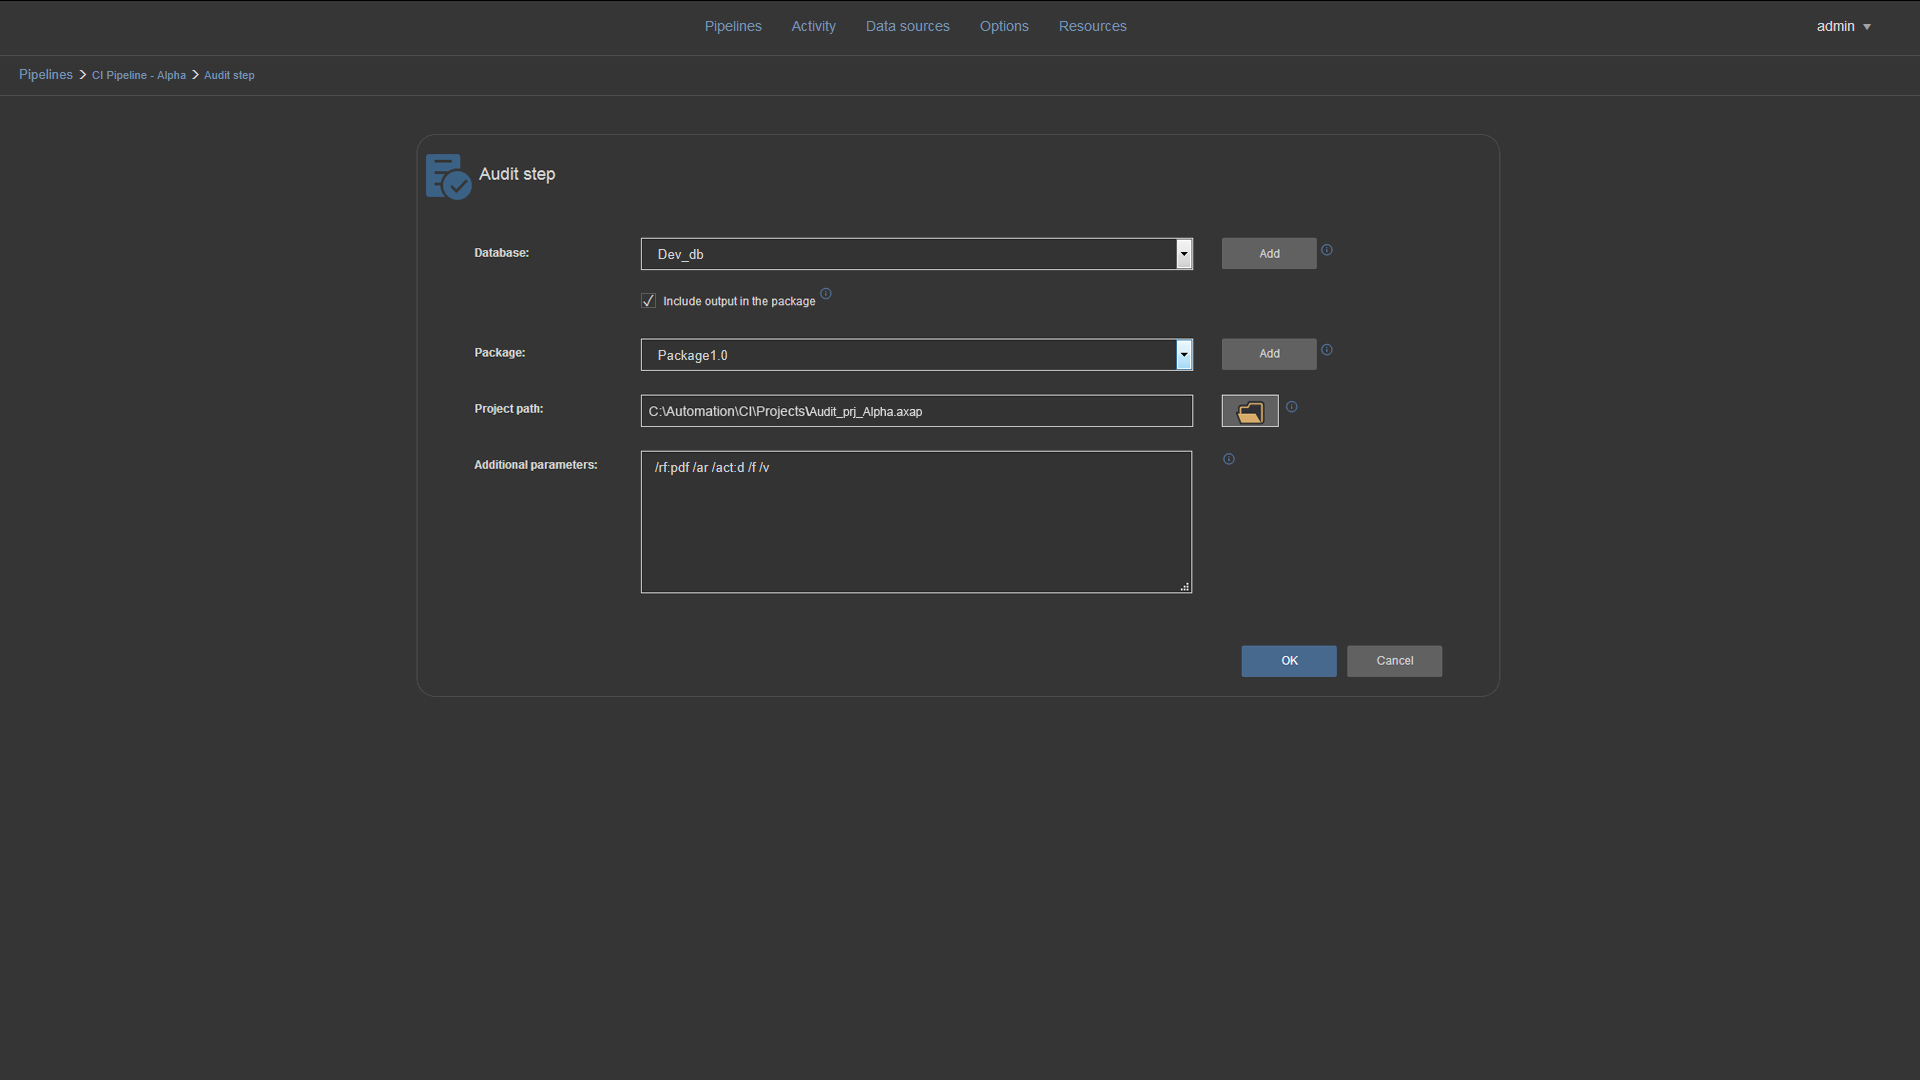
The Audit step (ApexSQL Trigger) page with available settings and additional parameters:
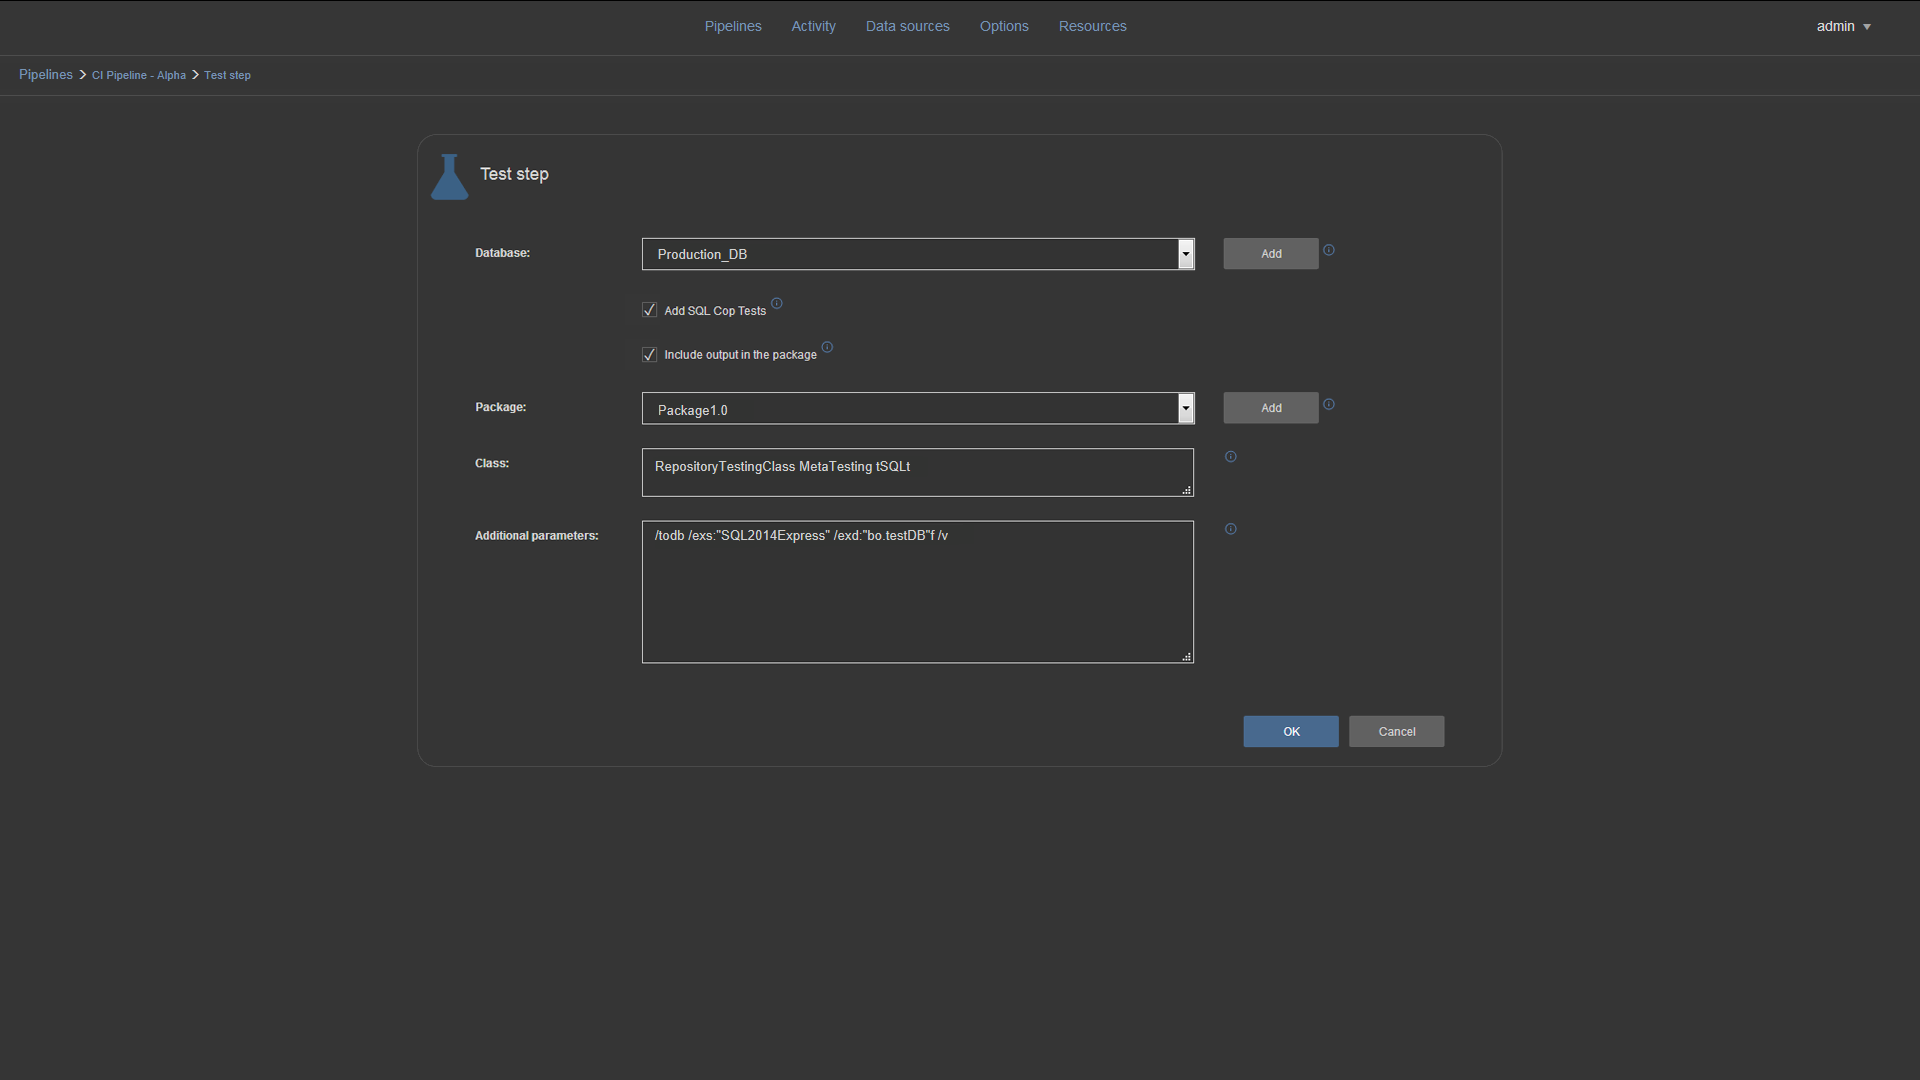
Test step page (ApexSQL Unit Test) with available settings and additional test parameters:
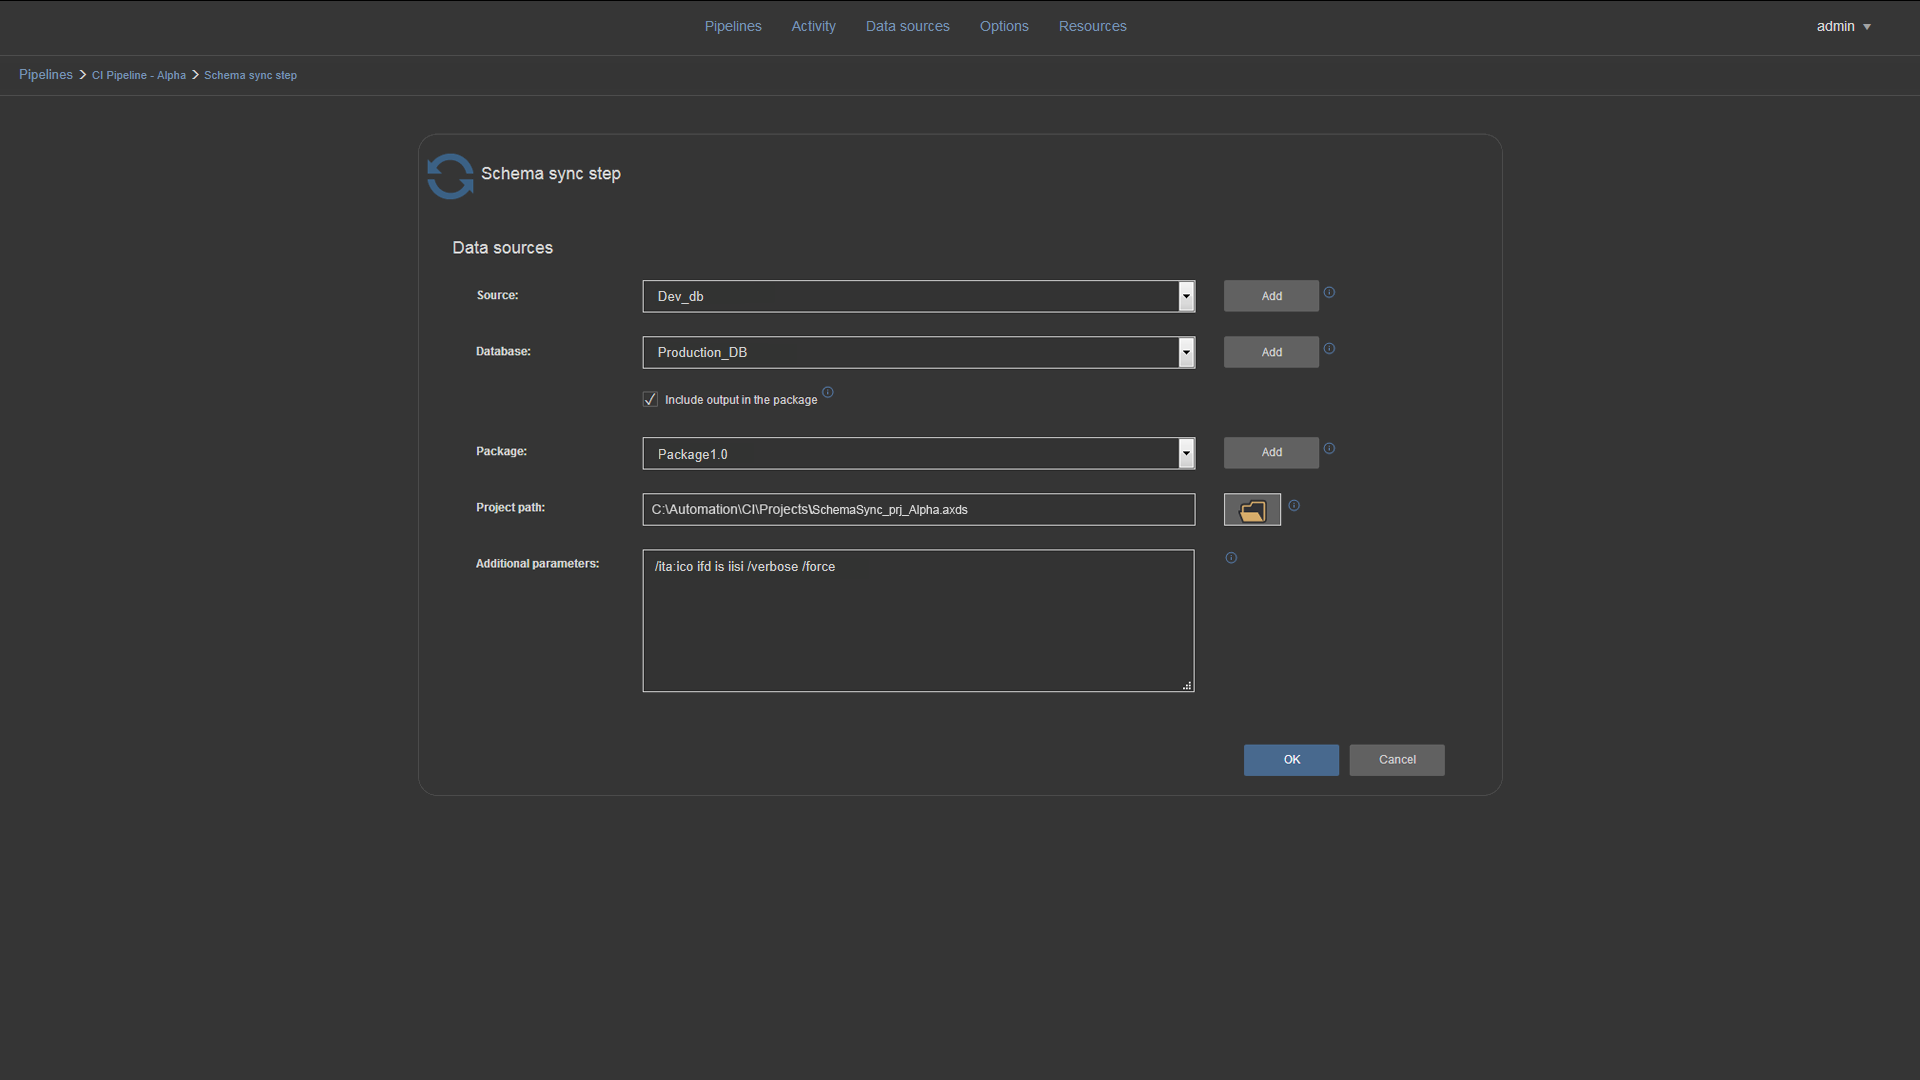
The Schema sync (ApexSQL Diff) step page with available settings and additional schema sync parameters:
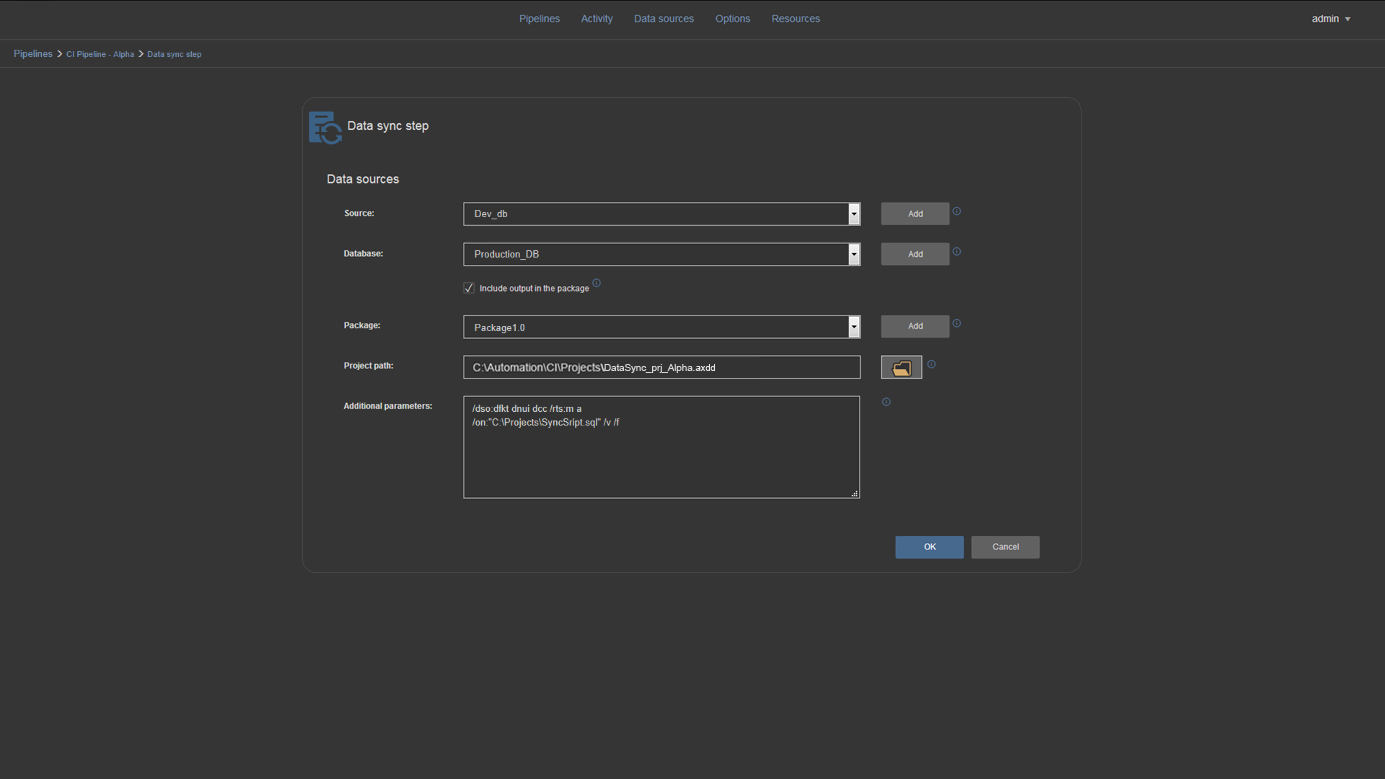
The Data sync (ApexSQL Data Diff) step page with available settings and additional data sync parameters:
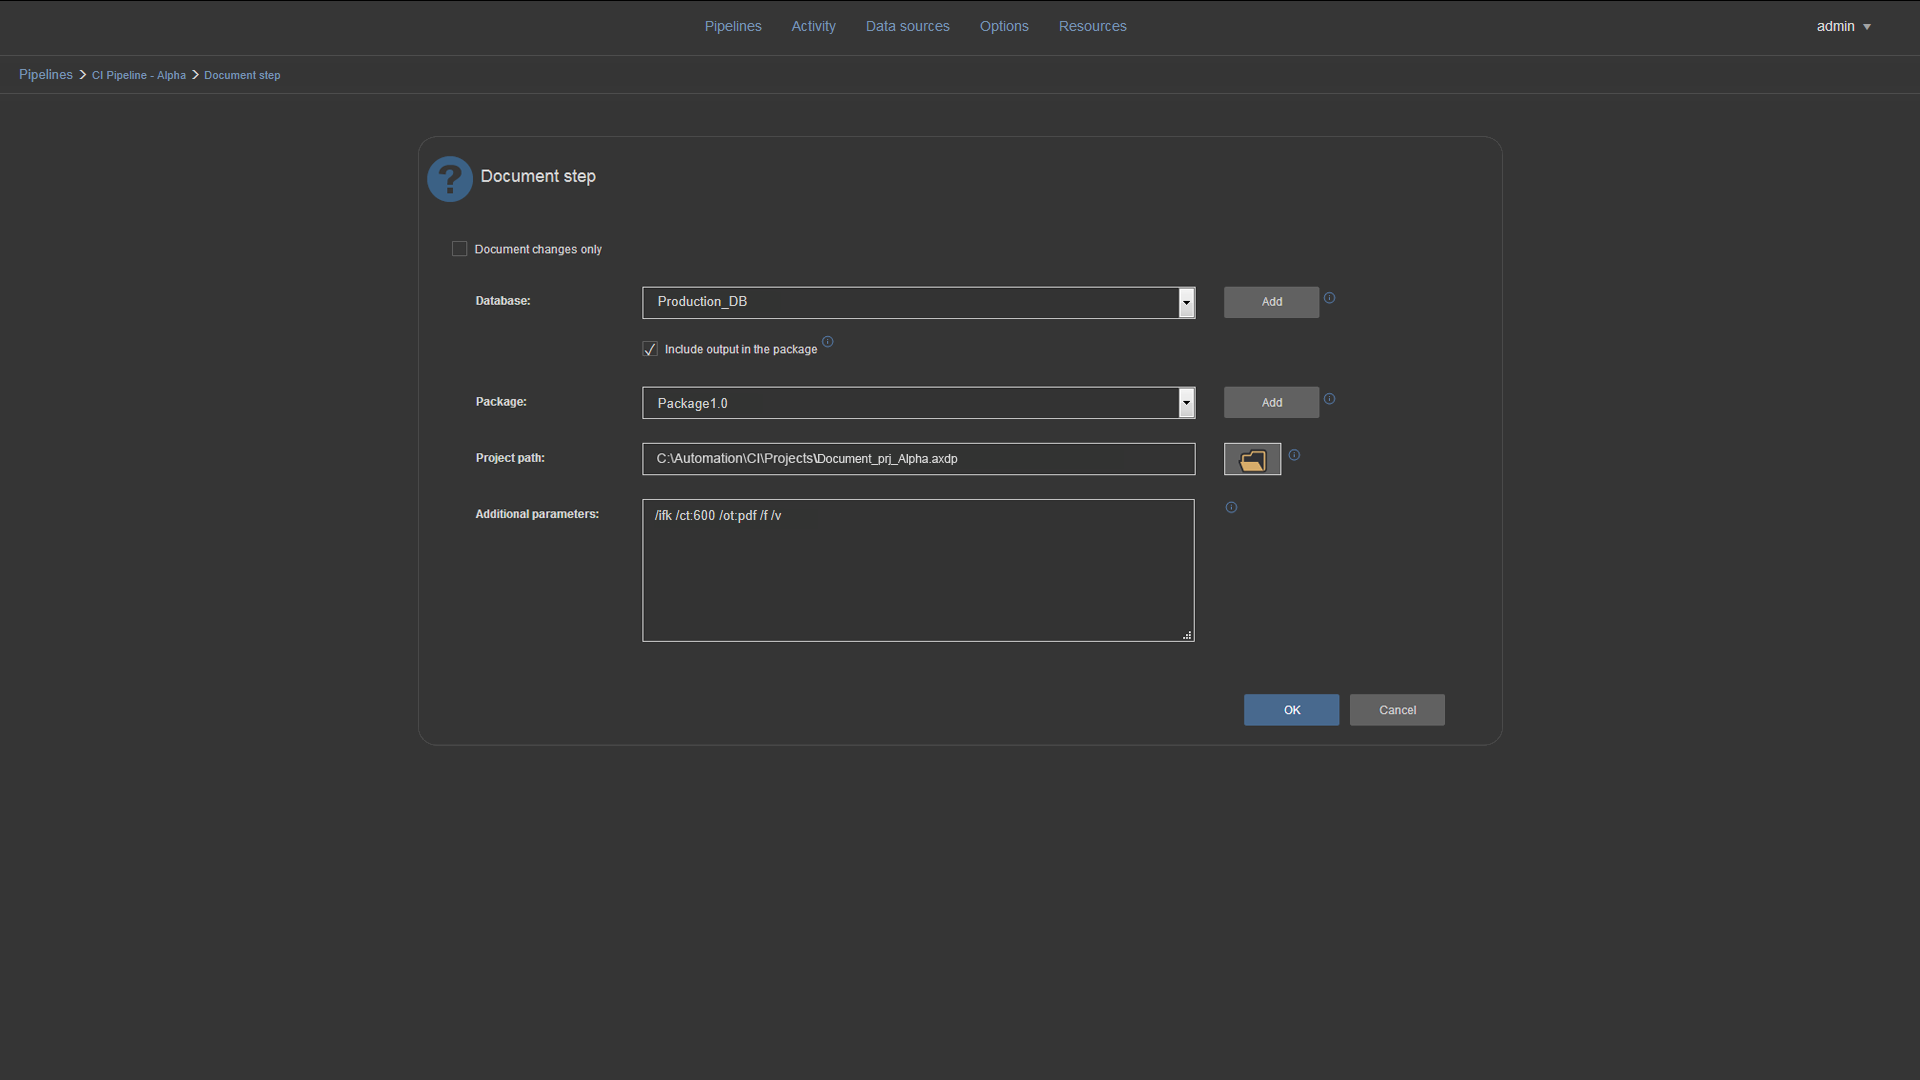
The Document (ApexSQL Doc) step page with available settings and additional documentation parameters:
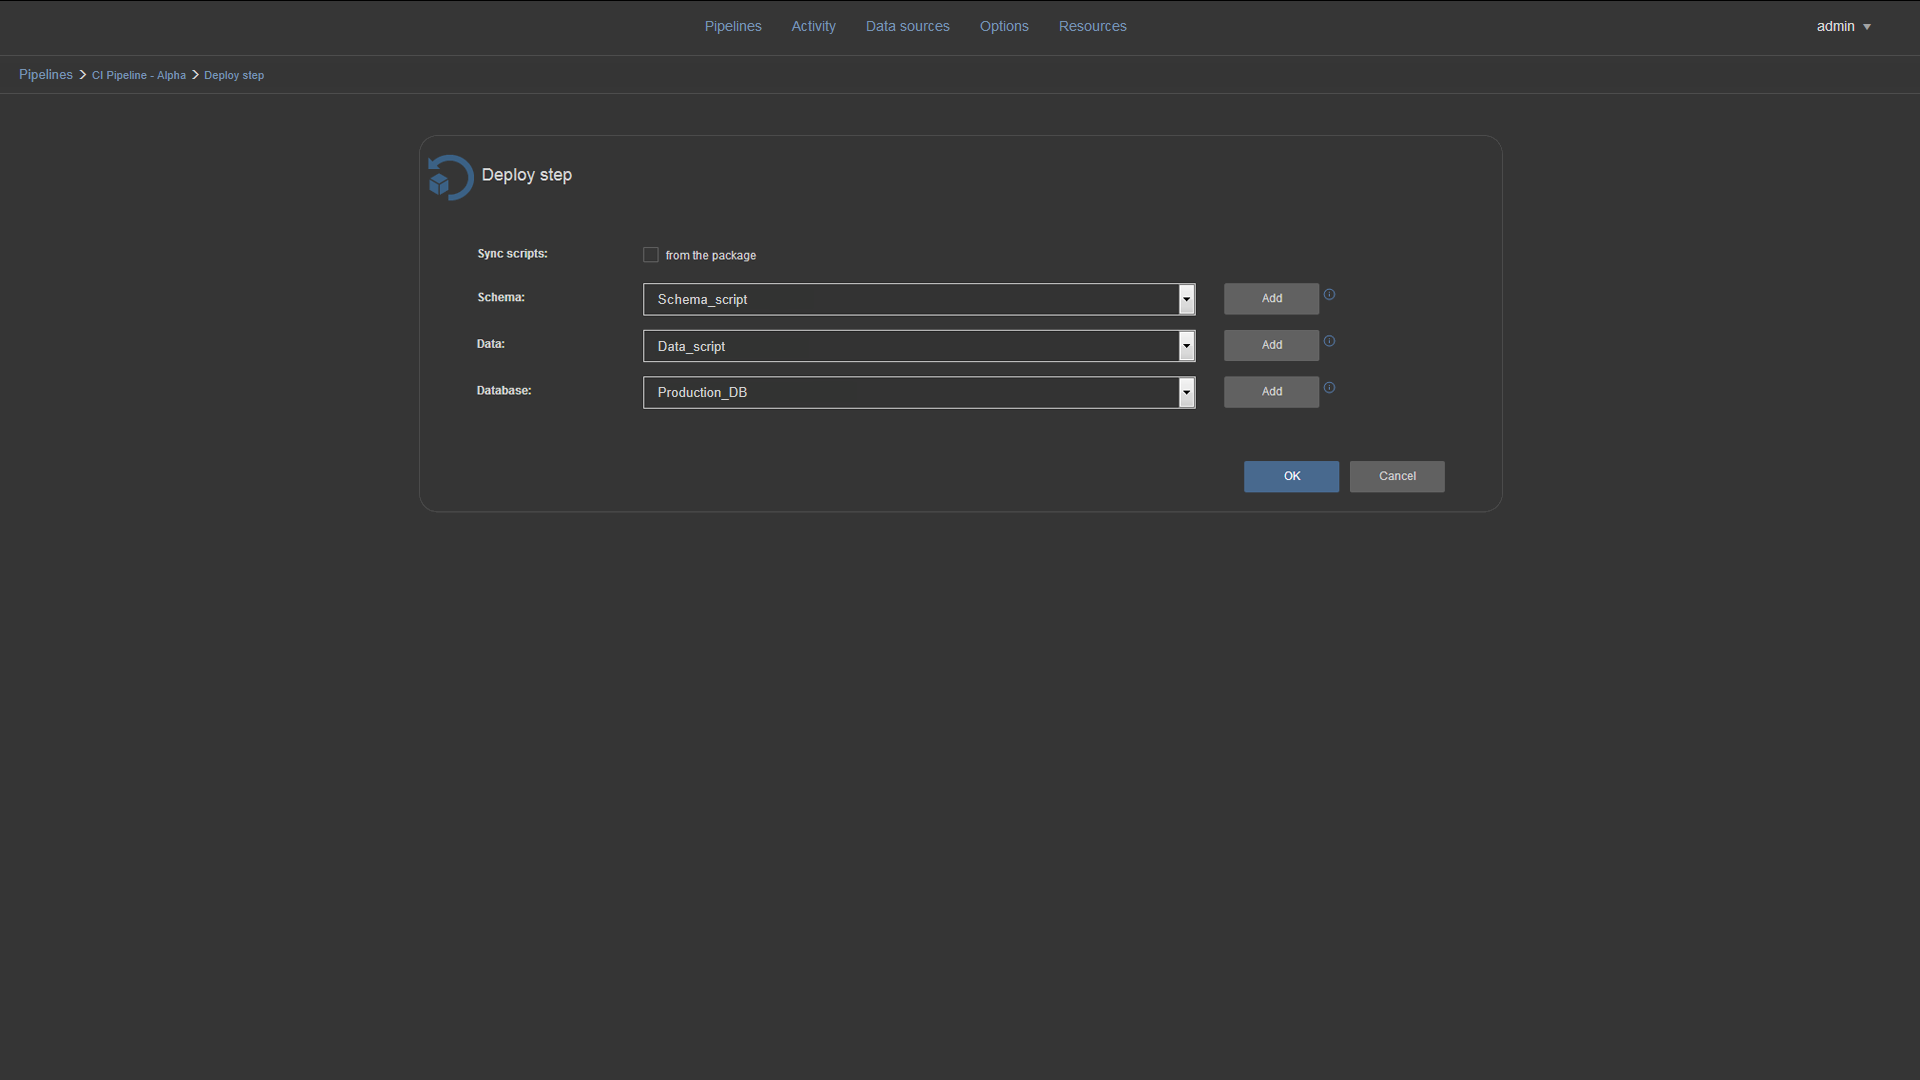
The Deploy step page with available settings:
Notify step with email configuration settings. This page is used for configuring email notifications for any and all events including a pipeline starting and ending as well as individual steps starting, finishing, failing and/or succeeding:

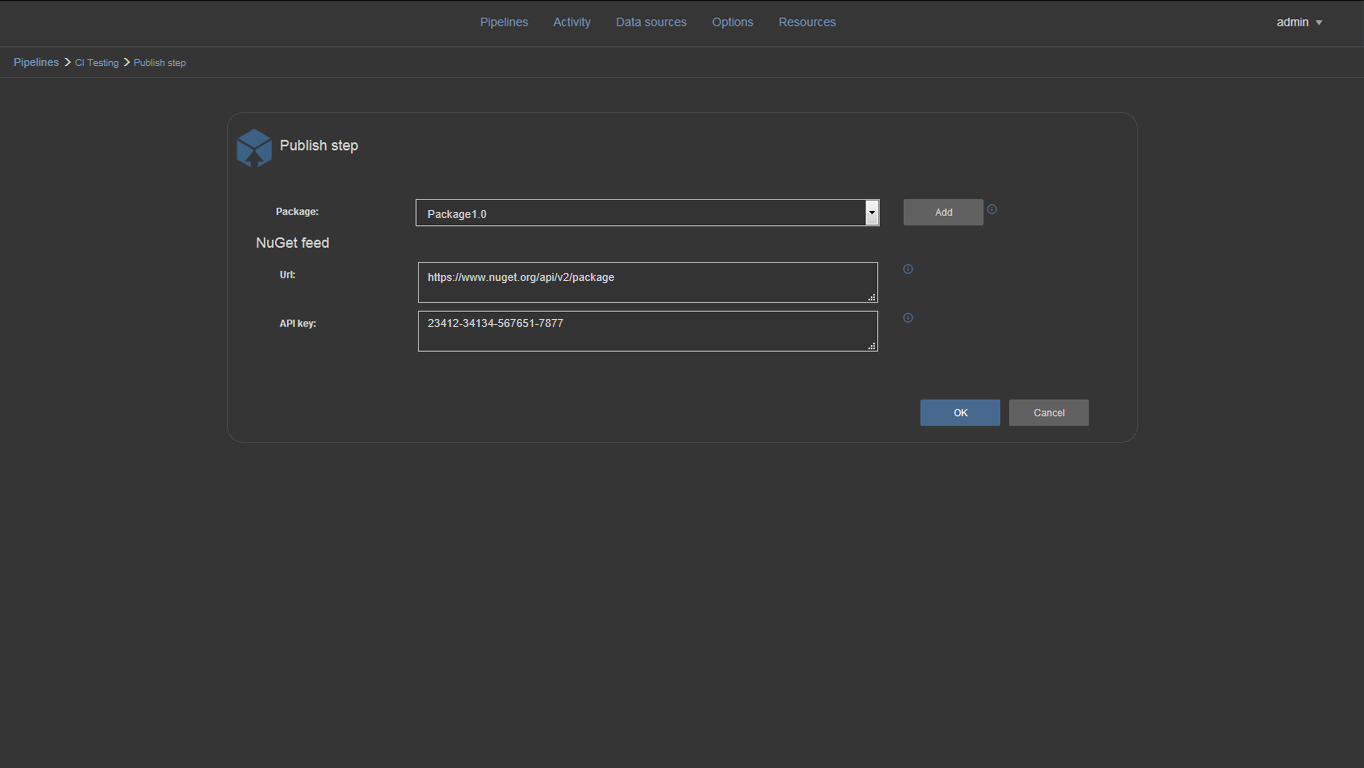
Publish step page with available settings and additional publish parameters:
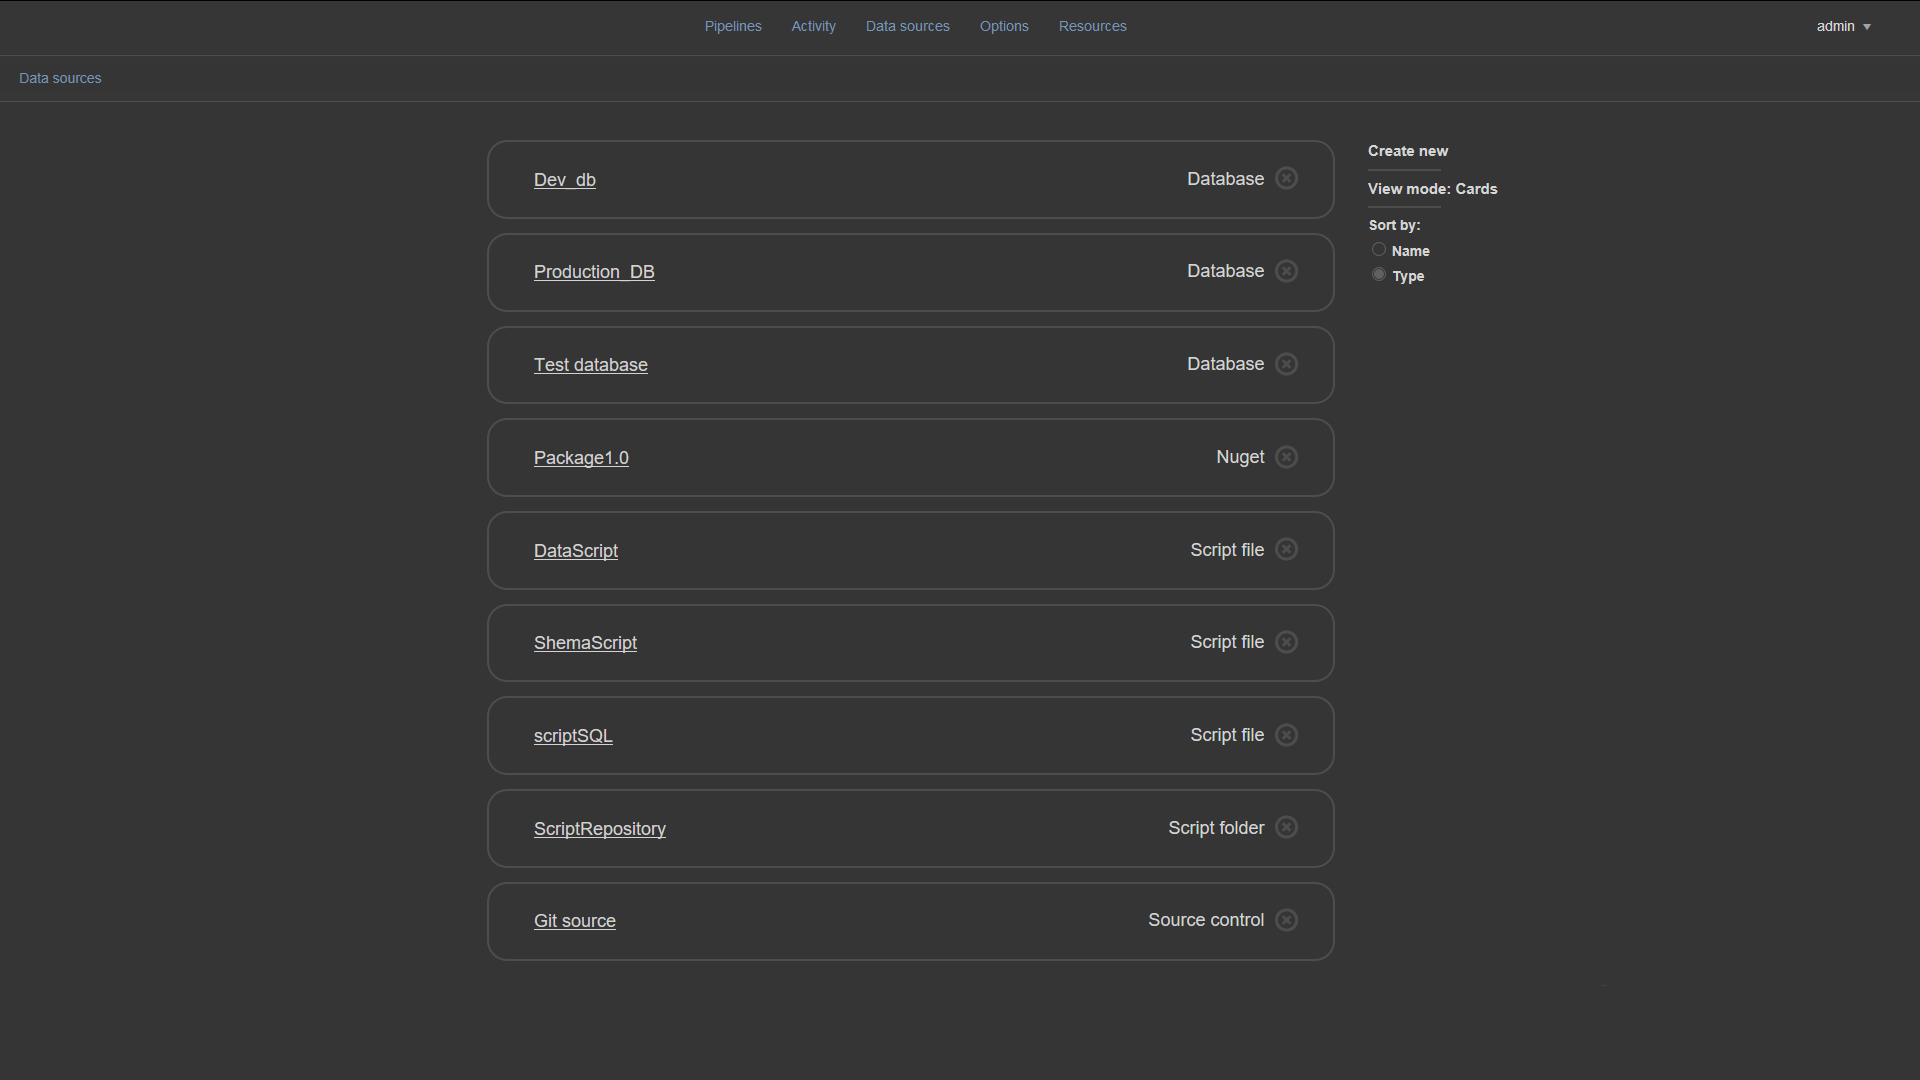
Data sources page showing configured data sources that are used in the CI/CD process:
This allows for setting up a data source once and then being able to consume it, throughout the pipeline configuration process.
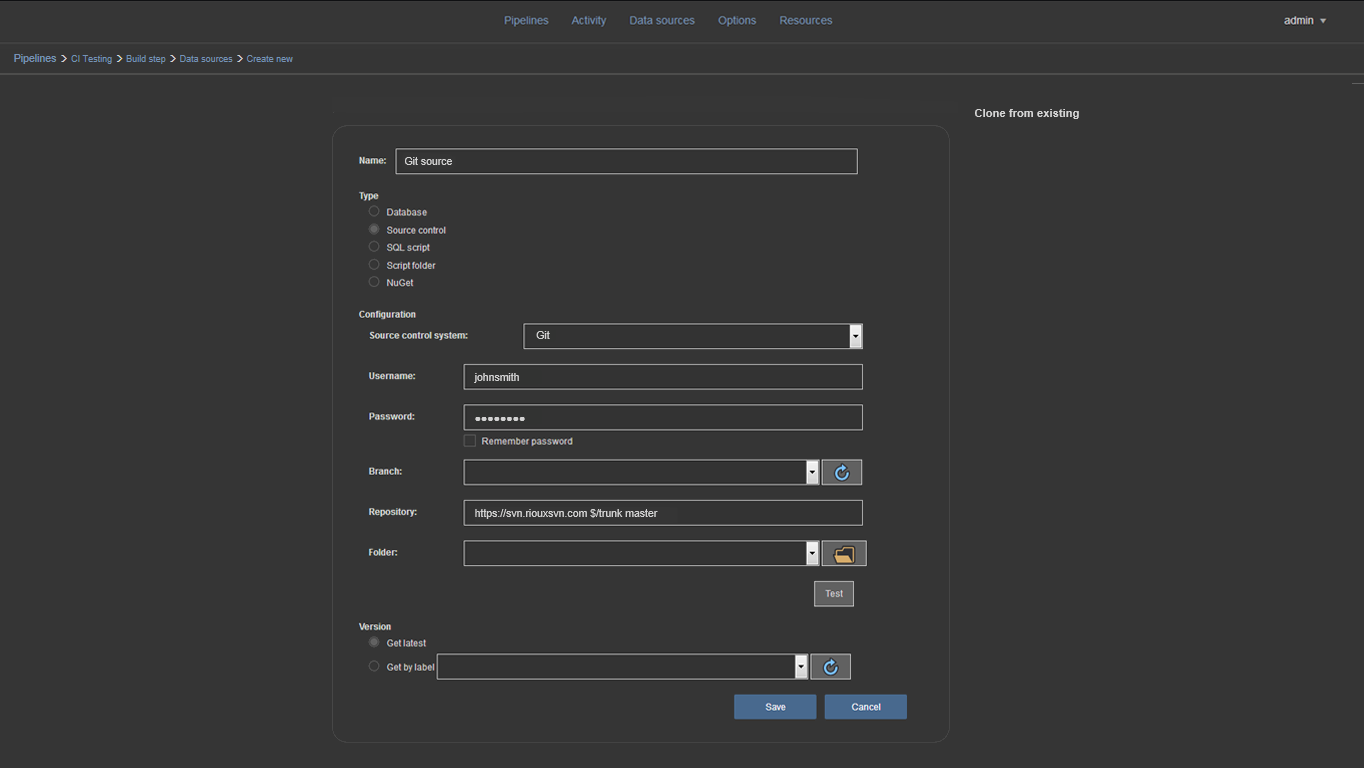
Data source page with available configuration settings for Source control and Git:
Data source page with available configuration settings for Source control and TFS:

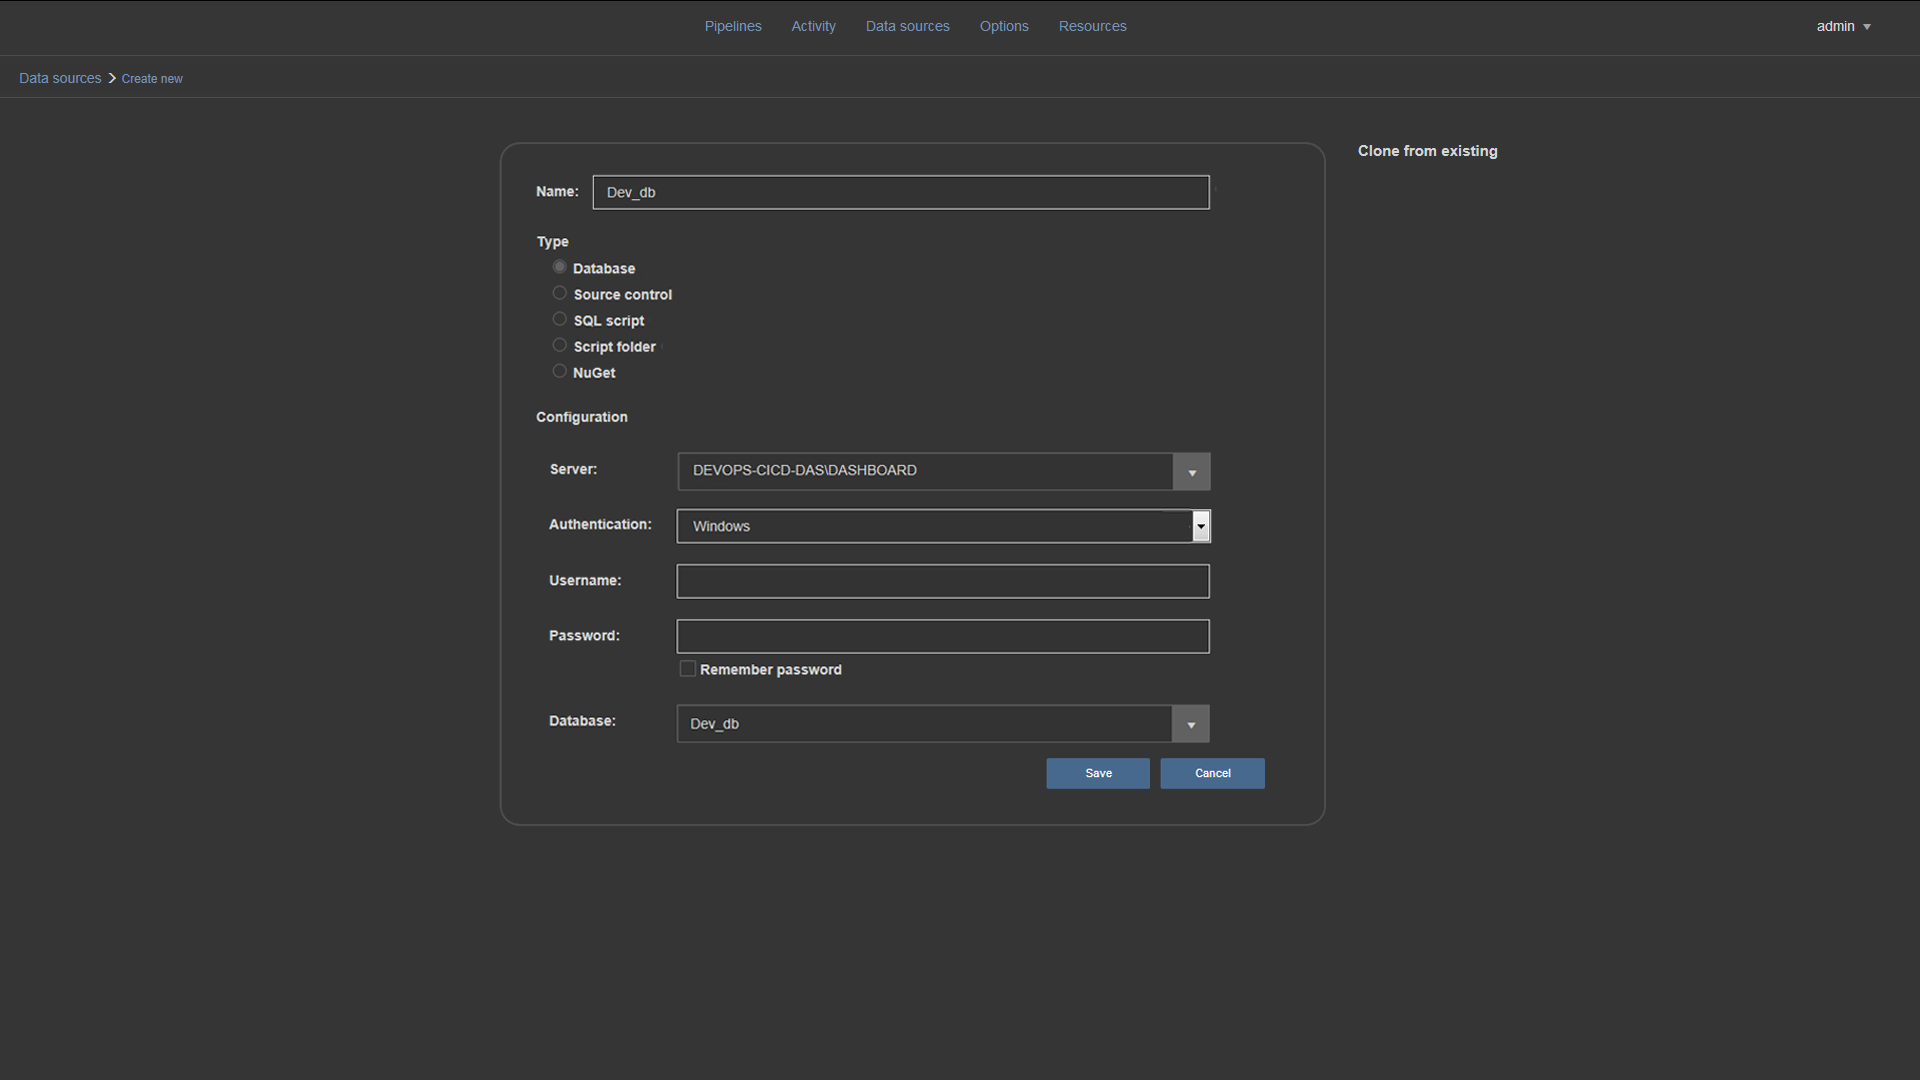
Data source page with available configuration settings for a SQL Server database:
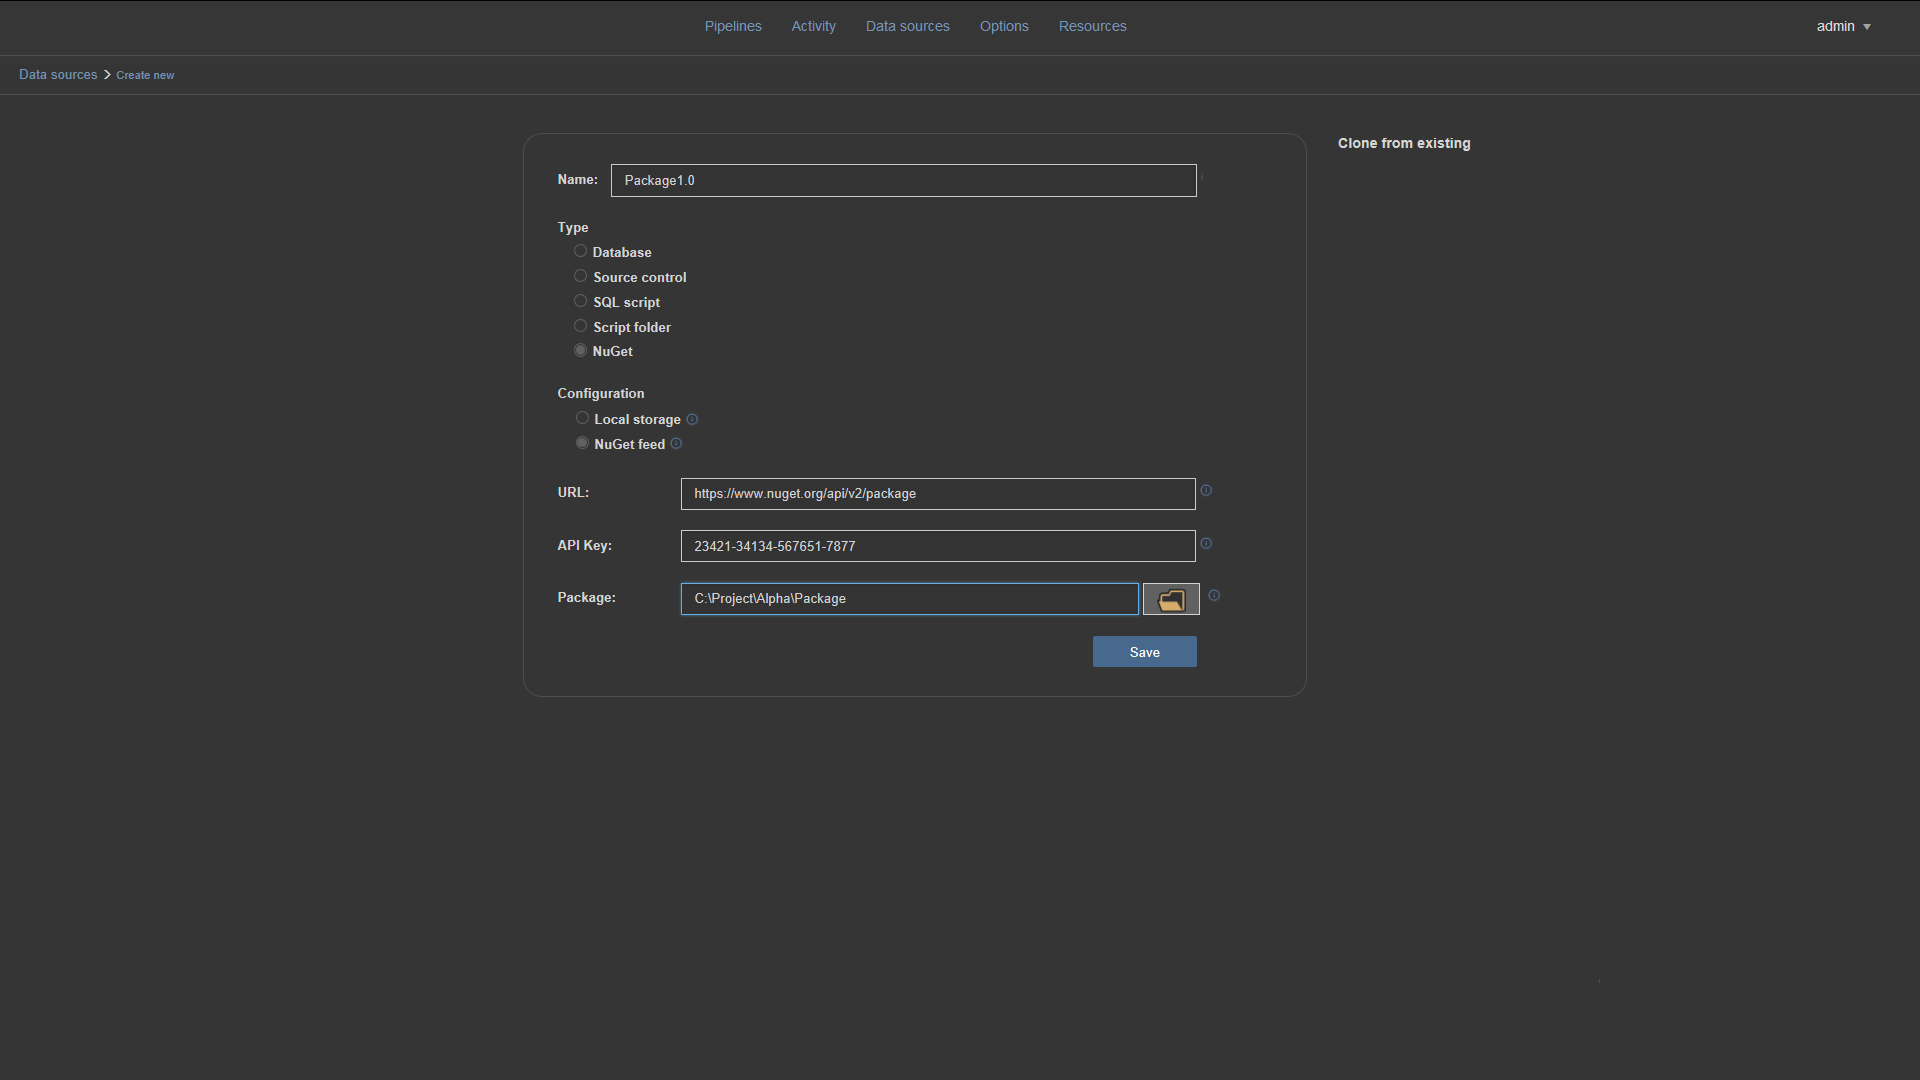
Data source page with available configuration settings for a NuGet package:
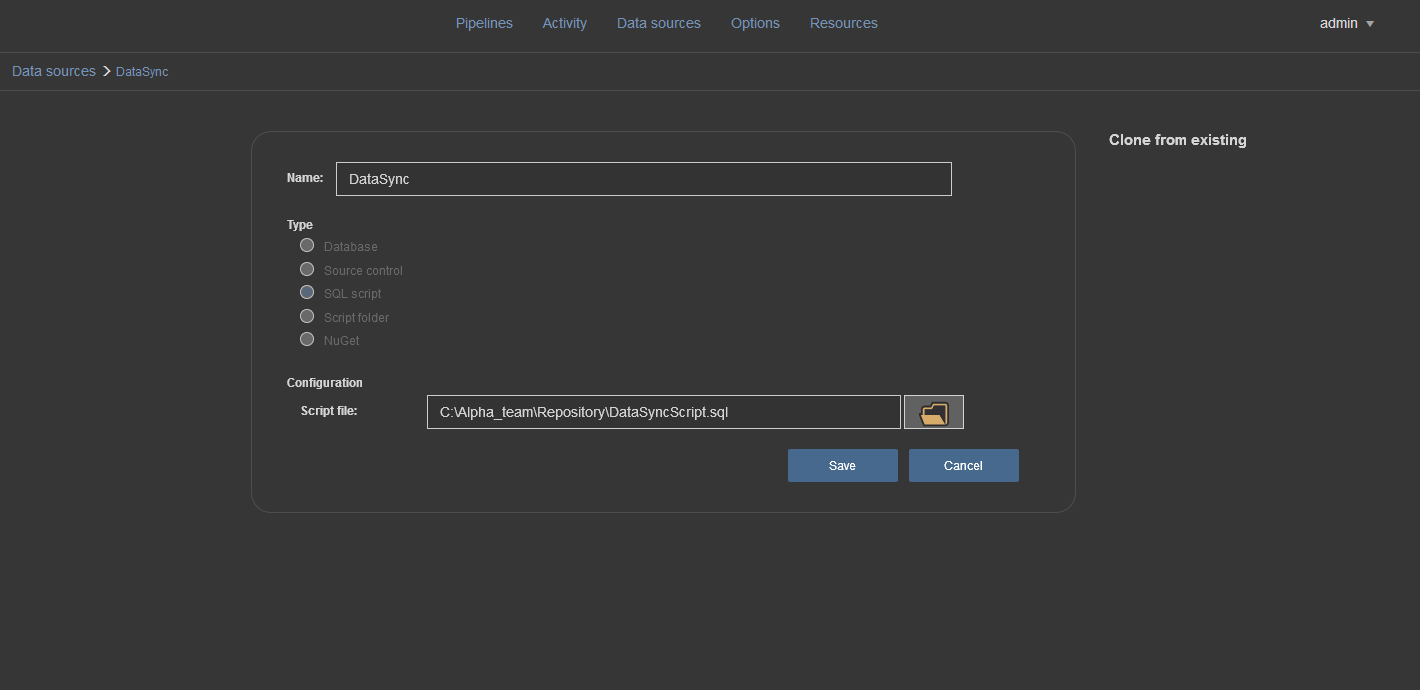
Data source page with available configuration settings for a SQL script:
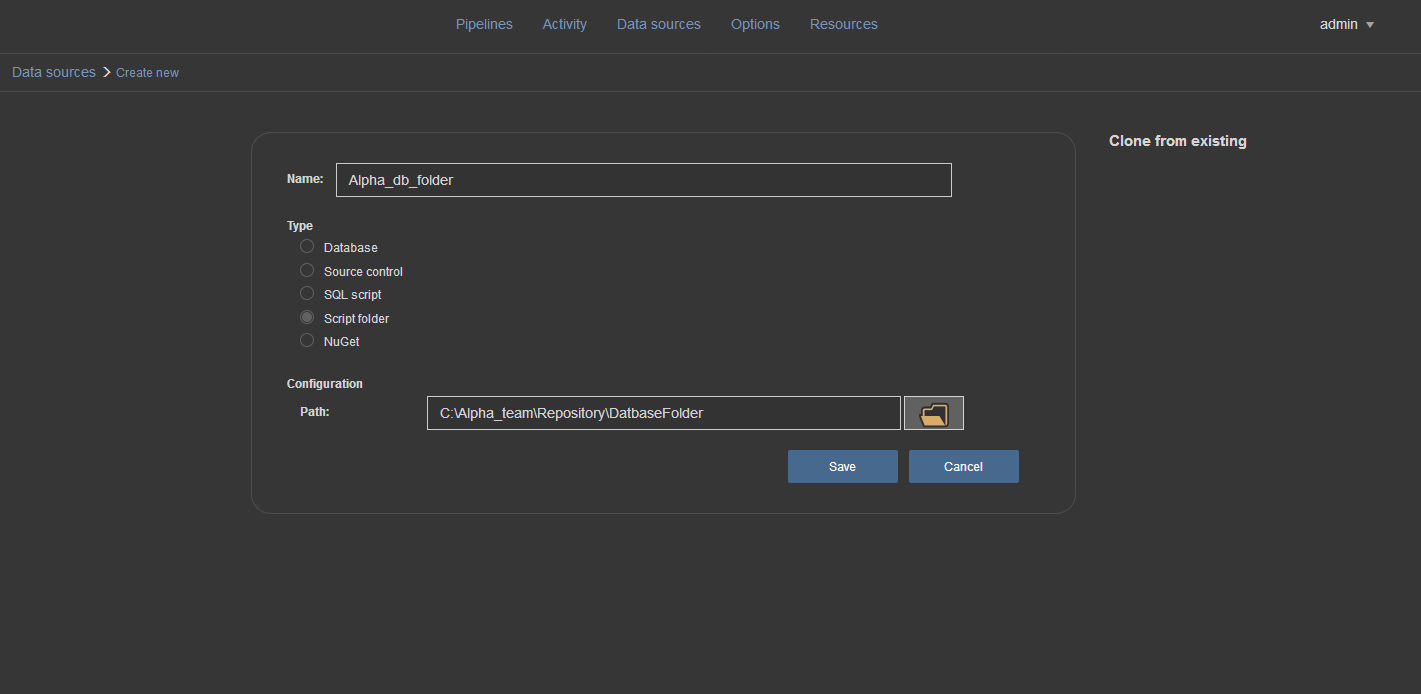
Data source page with available configuration settings for a script folder:
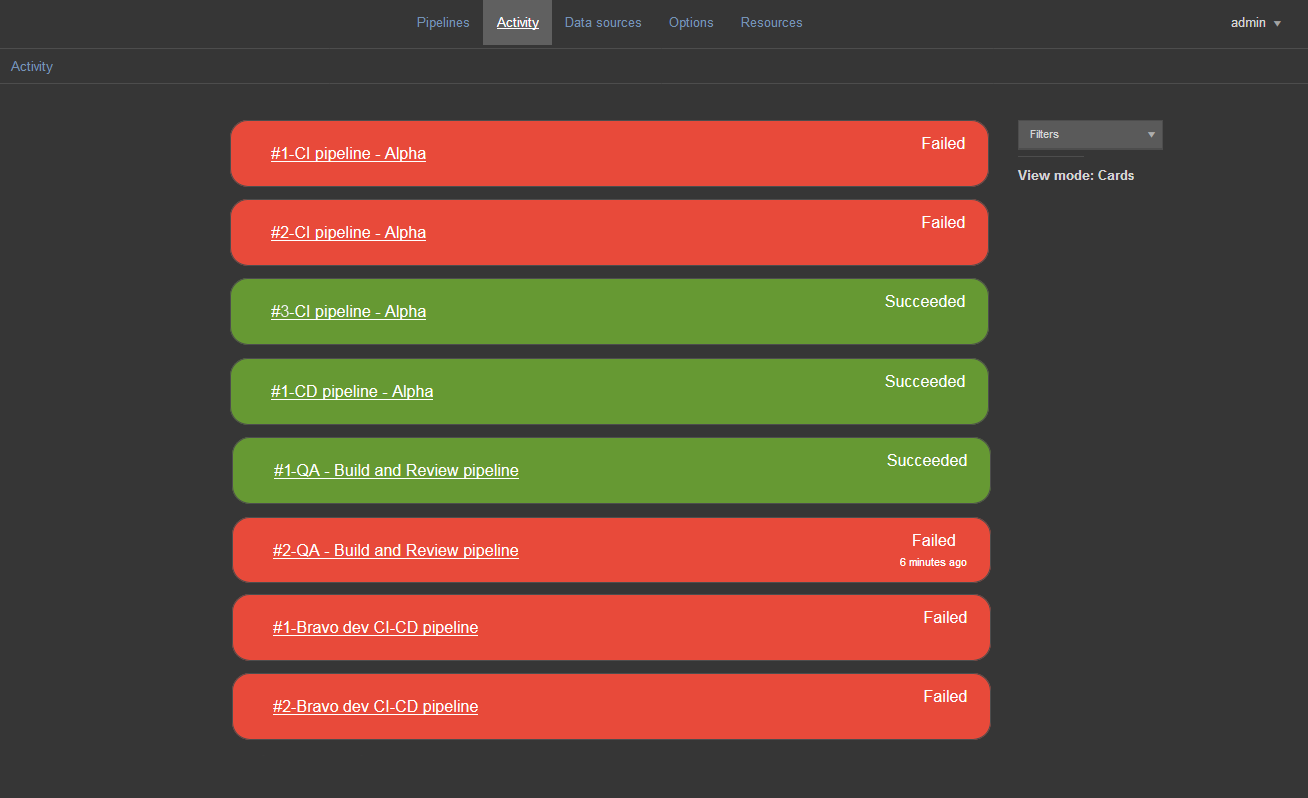
The Activity page is used for viewing all recently run pipelines by name, last run date and status:
By clicking on the pipeline name, the individual pipeline steps can be viewed to isolate the source of any errors/failure.
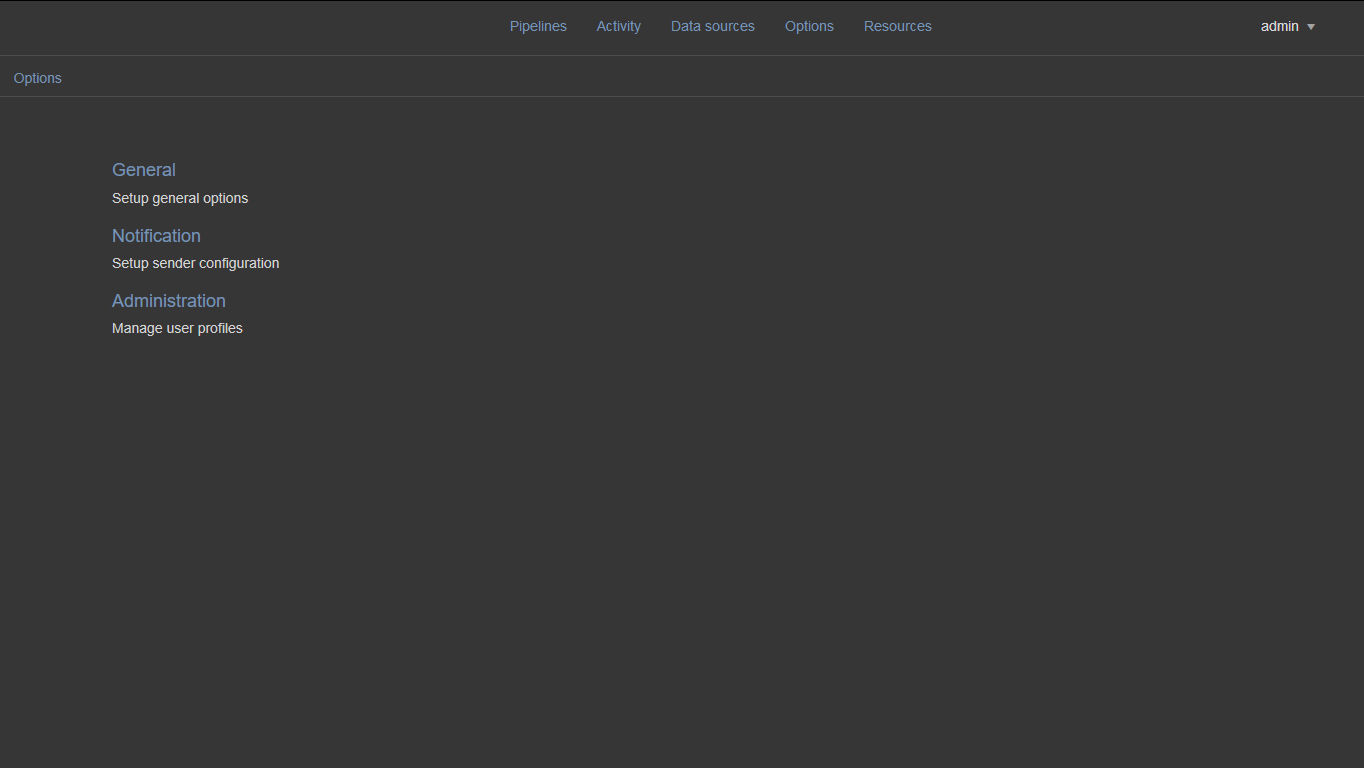
The Options main page with links to general, notification and administration option pages:
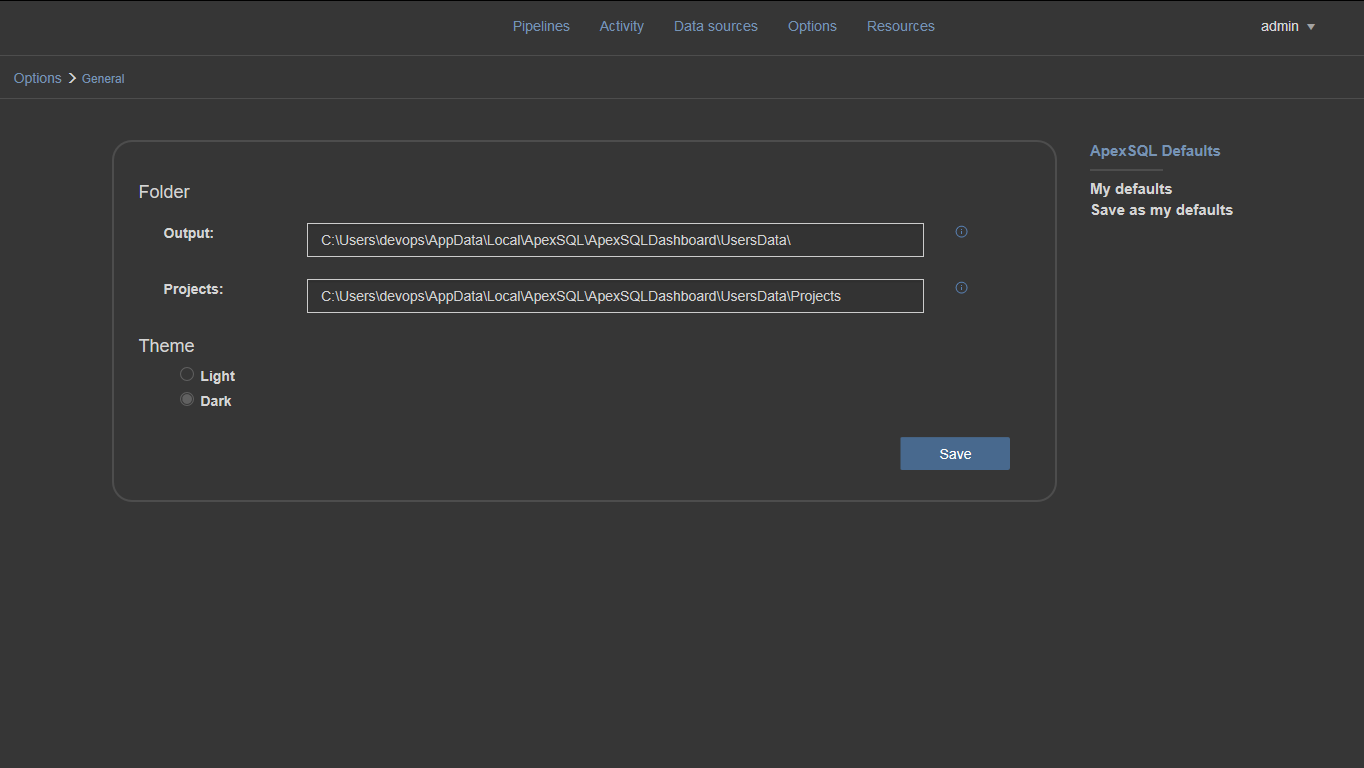
General options page with its options:
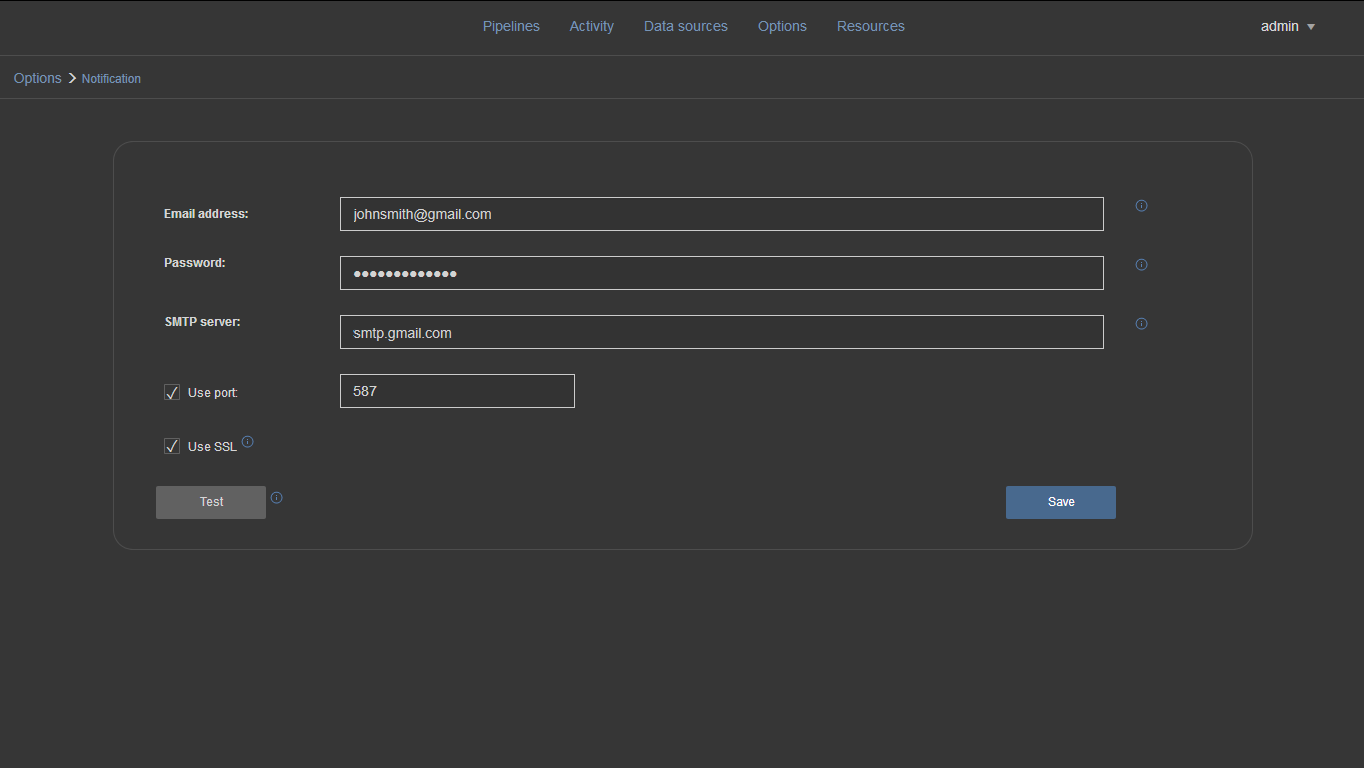
Notification options page with its options:
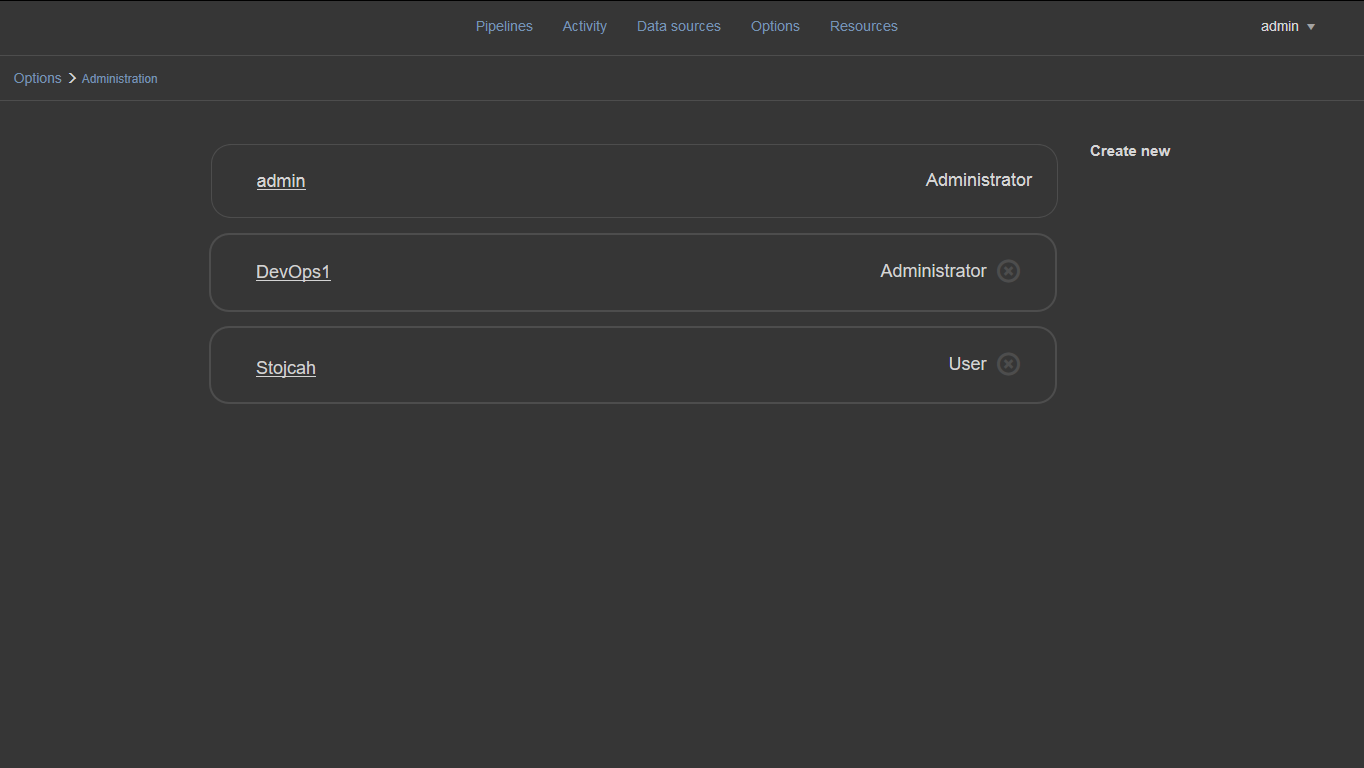
Administration page is used for managing user accounts by creating new or deleting existing user accounts:
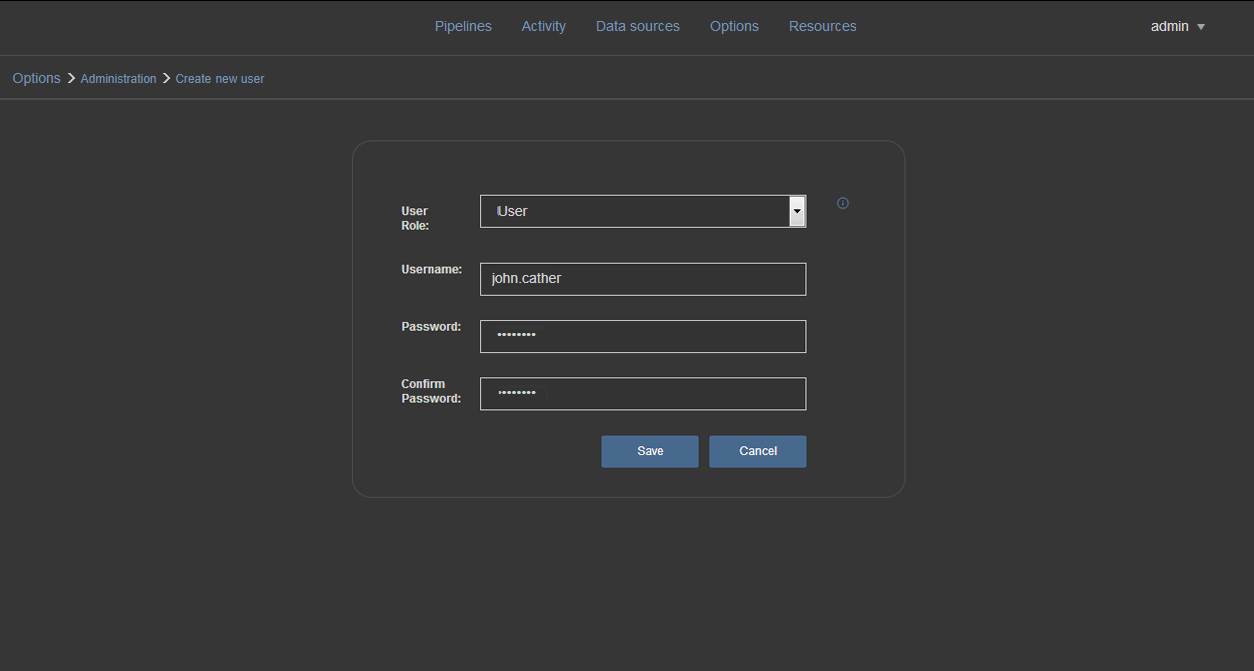
When clicking the “Create new” button, a new page will open where the details for creating a new user need to be entered:
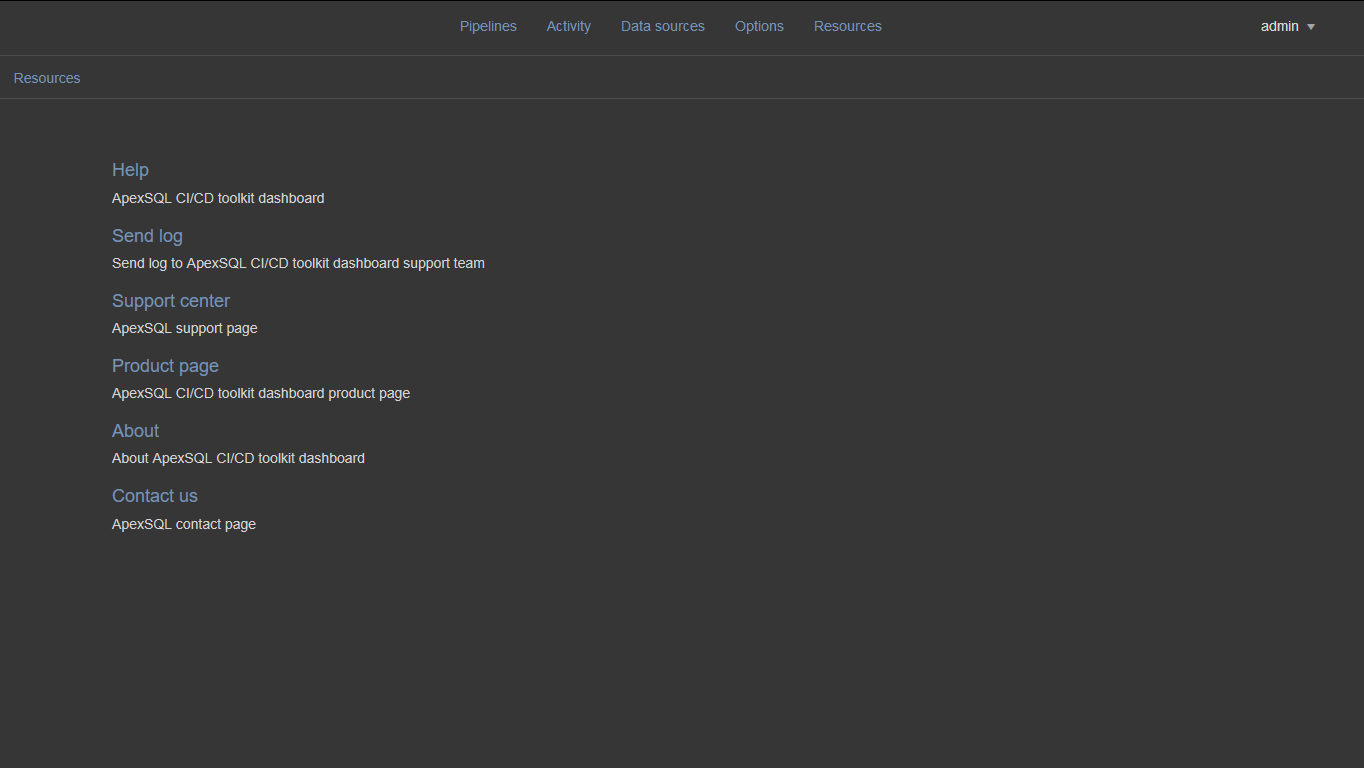
The Resources page with its link to other pages:
November 17, 2017


