


Installation
The ApexSQL Compare installation wizard is a simple 3-step task.
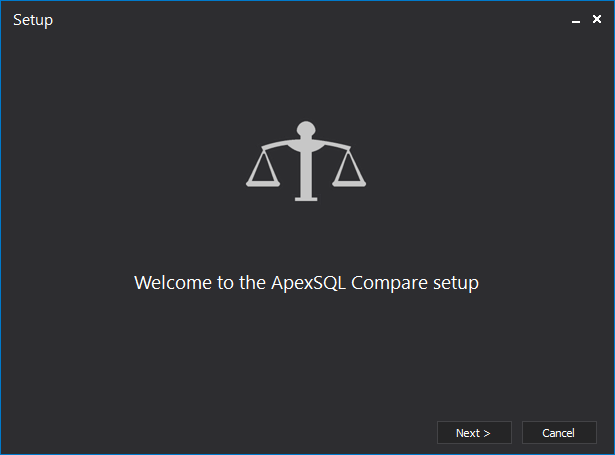
The first step of installation is welcome screen of the ApexSQL Compare wizard:
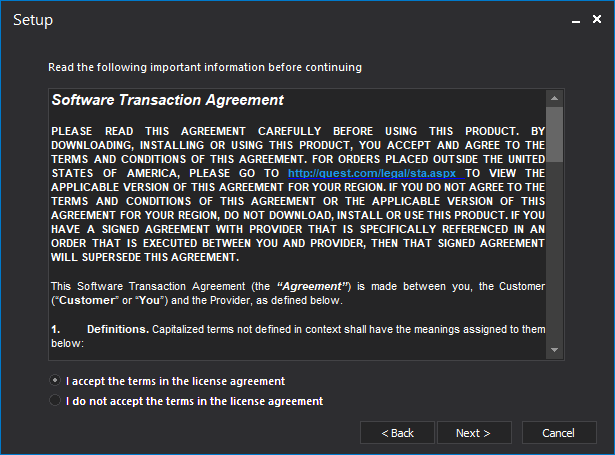
In this step, users can review the ApexSQL license agreement:
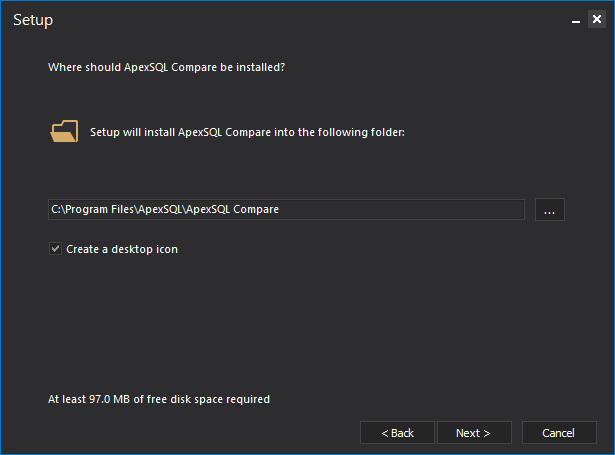
The next installation step allows users to choose installation folder and option for creating a desktop icon:
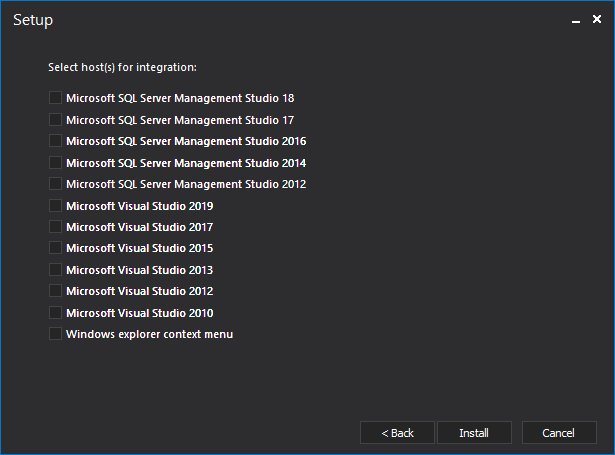
In the next installation step, the user will be given the option to select one or more hosts e.g. SSMS for add-in integration:
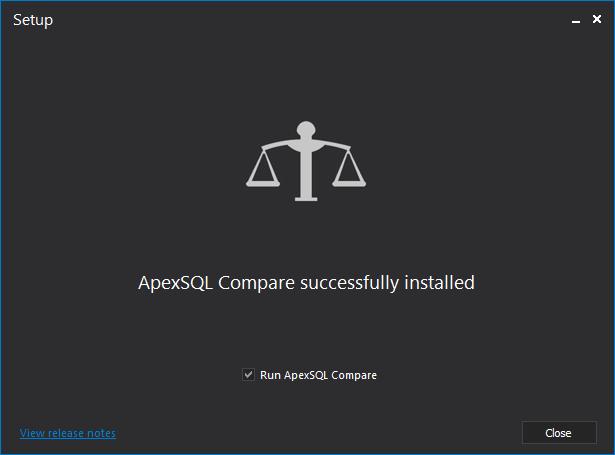
The final step confirms finishing of the installation and allows users to directly run ApexSQL Compare from here:
ApexSQL Compare provides the ability to compare files and folders of your choosing. Although it can compare a variety of script languages and also compare file folders, ApexSQL Compare is tightly coupled with SQL Server, SQL Server Management Studio, and Visual Studio. It is a free product, so you just need to download it and you are ready to go.
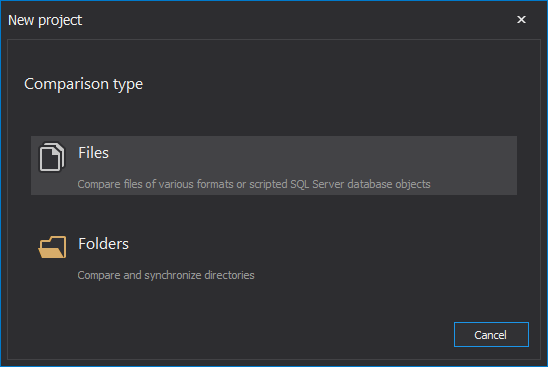
Once the application is downloaded, installed and run the New project window is shown where two comparison types can be chosen: 1) Files or 2) Folders comparison type:
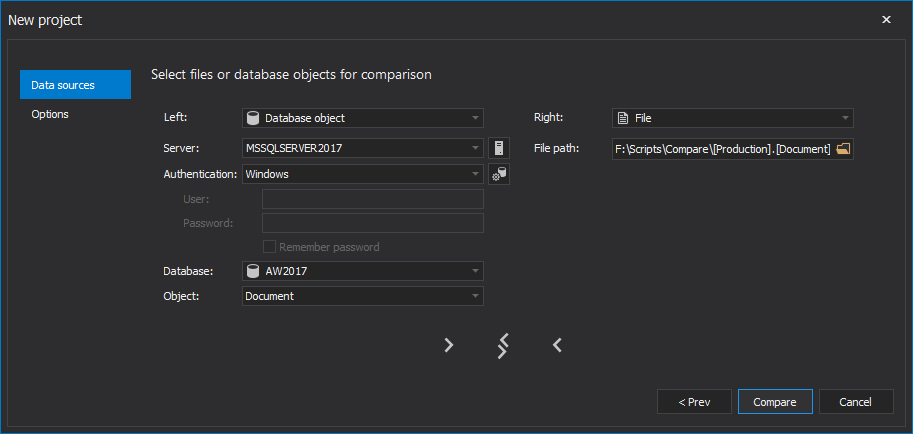
If the Files comparison is selected, under the Data sources tab, files or database objects can be selected for the comparison:
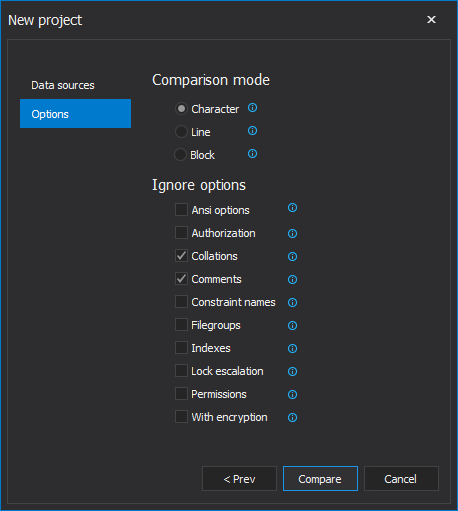
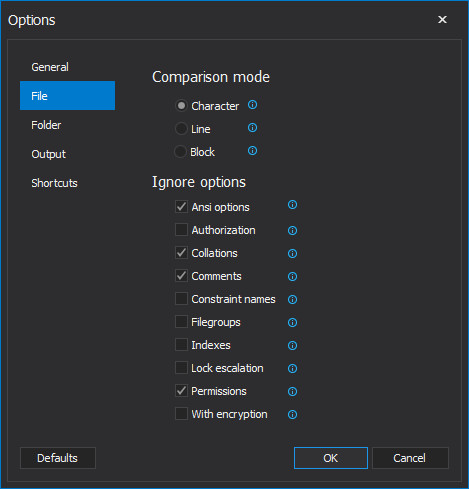
In Options tab, three Comparison modes (Character, Line, and Block) can be chosen and along with various Ignore options, if specific part of scripts or objects should be ignored during the comparison:
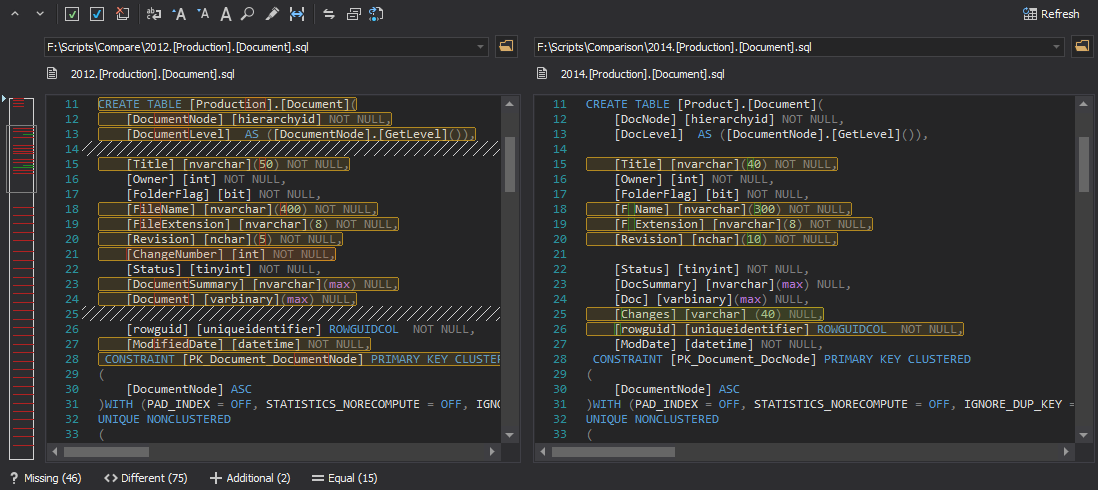
After setting up the desired options and files for the comparison, click the Compare button and once the comparison is done, the comparison results are shown for the selected files:

The Merge view is not shown by default, but when selected via the Merge button in the Home tab, under the Actions group, it shows the Merge view panel where the merge script is generated, based on the checked differences from the left and/or right side:
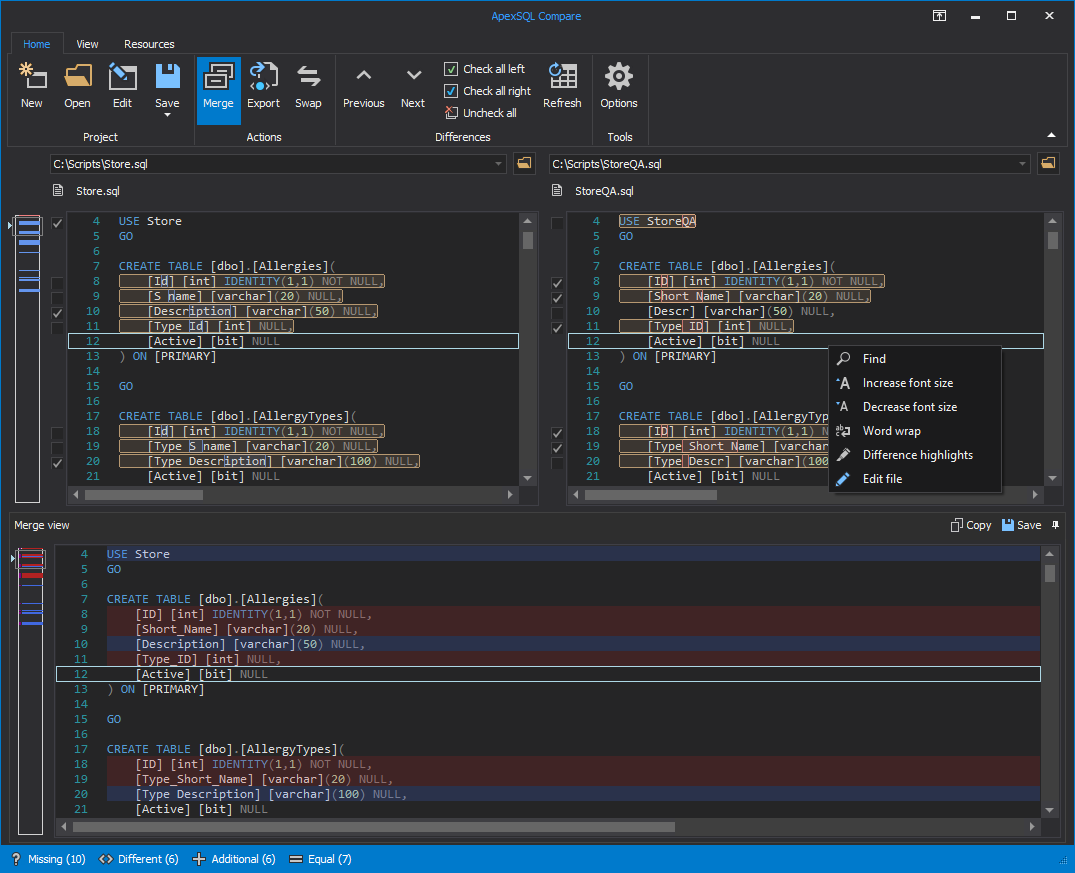
Merge script can be created by:
- Employing only differences from the left side
- Employing only differences for the right side
- Employing differences from the left and the right side
- Employing combination of the differences from the left and the right side
Copy/Save buttons are located on the on the top-right corner of the Merge view panel which are used for to copy/paste the resulting merge script:
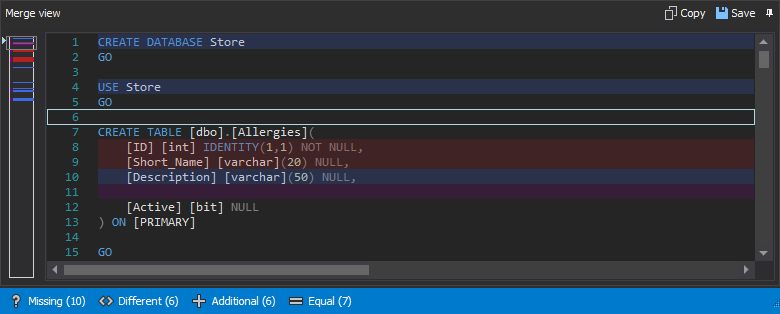
The Status bar is located below the Merge view panel, and provides relevant information regarding the number of Missing/Different/Additional/Equal rows.
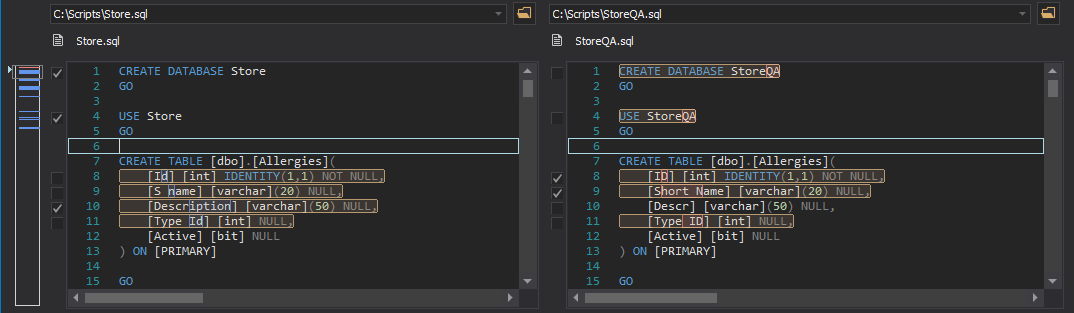
If the Character comparison mode is selected in the Options tab, different rows of compared files/SQL objects are highlighted, and also the differences on character level according to a corresponding color. This makes the information much easier to see:
When the Files comparison type is chosen, above the files/SQL objects panels that are compared, three are different tabs. Starting from the Home tab, which consists of the following:

- New creates a new project
- Open opens an existing project
- Edit allows to edit an existing project
- Save saves the current project with options to Save as or Save as batch
- Merge shows/hides the Merge view panel that allows to create merge script
- Export allows exporting of comparison differences to a HTML report
- Swap swaps the places of left and right compared file/SQL object
- Previous/Next is used to go to the previous/next difference
- Check all left will check all different lines on the left-side panel
- Check all right will check all different lines on the right-side panel
- Uncheck all will uncheck all left and right different lines, allowing to check individual left/right differences
- Refresh is used to refresh compared files/SQL objects, so if any changes are made on the original files/objects it will be instantly shown
- Options opens the Options window where we can access various application options
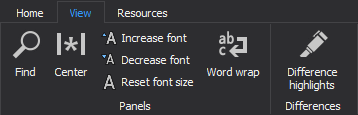
After the Home tab, there is the View tab, with some useful options like:
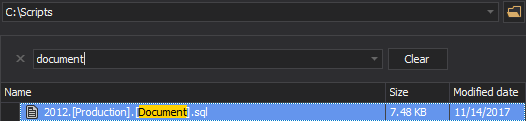
Also, below the Merge view panel, there is the Find panel, which allows to search in all of the panels:

When clicking the right mouse button to any of the panels the drop-down menu appears that consists of:
- Find which shows/hides the find panel for further search
- Increase/Decrease/Reset font size buttons increase/decrease/reset font size in all panels
- Word wrap button will wrap loaded file/SQL object to fit the comparison window
- Difference highlights opens its window and allows quick customization of colors for difference highlighting:
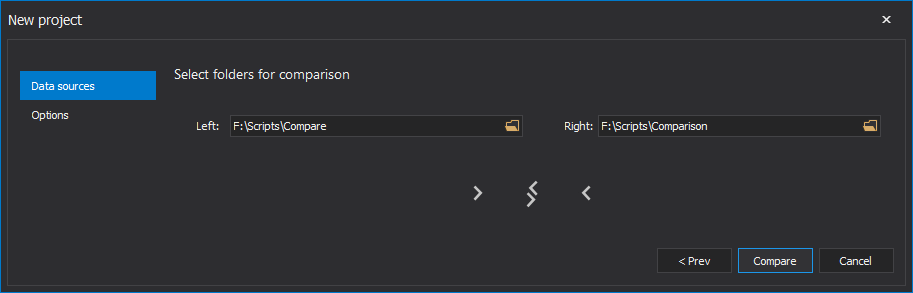
If the Folders comparison type is chosen in the New project window, in the Data sources tab it can be chosen which folders need to be compared:
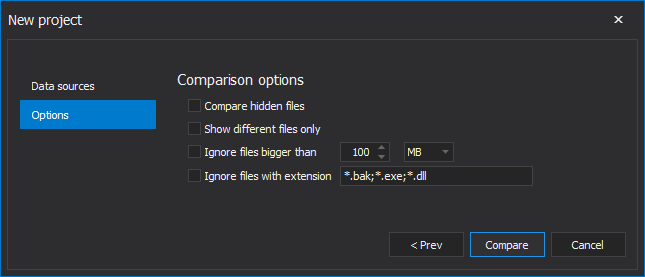
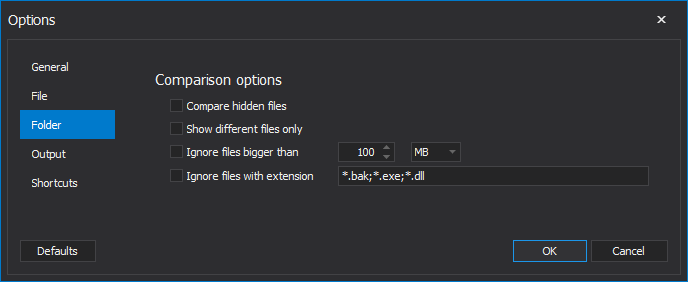
When clicking on Edit button and selecting Options tab, there are several Comparison options, which when selected, filter the folder content shown when doing comparison:
Once the desired folders are selected, along with options for different comparison filtering, click the Compare button. After the comparison is done, the comparison results are as shown:
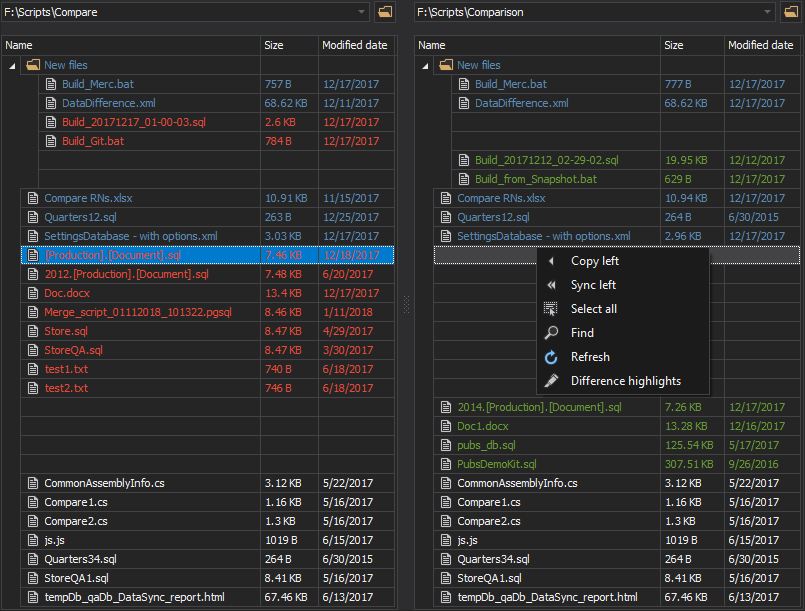
Below the compared folders panels, there is the Status bar, which provides us useful information regarding the number of Missing/Different/Additional/Equal files.
The Folders comparison type has its set of tabs (note that Folders comparison type tabs have different action buttons from the File comparison type tabs), starting from the Home tab:

- Copy right will copy selected file(s) from left to right folder
- Copy left will copy selected file(s) from right to left folder
- Sync left will synchronize all files from right to left folder
- Sync right will synchronize all files from right to left folder
- Export which export comparison differences
- Swap that swaps contents form right/left to the left/right panel
- Previous moves to the previous difference
- Next moves to the next difference
- Refresh which refreshes comparison panels if something in the files/folders is changed
In the View tab, the following action buttons are shown:
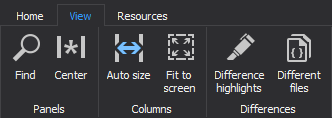
- Find button in the View tab opens the Find panel, which can be used to search in the individual panels:
- Center will center the left and right panels
- Auto size will auto size grid columns
- Fit to screen will fit grid columns to screen
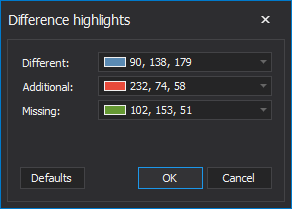
- Difference highlights will show the difference highlights options (Different/Additional/Missing
- Different files will show different files only
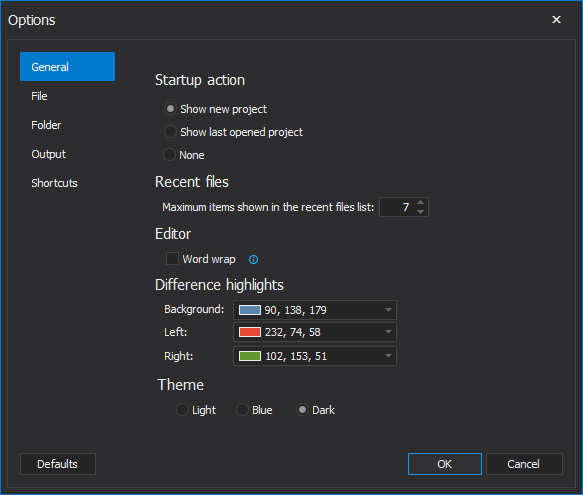
ApexSQL Compare offers various options that can be set to make the comparison easier and more efficient. All relevant options can be found in the Home tab by clicking on the Options button. The Options window opens up, and the General tab is shown as default and several options that can be checked:
- What startup action will the application take (Show new project, Show last opened project or none of the above)
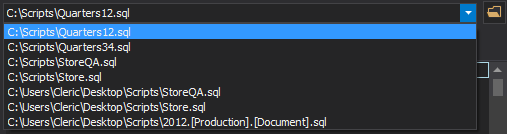
- Setting up the maximum items shown in the recent files list:
- Turning on the Word wrap which wraps the text in the comparison window
- Changing the colors for the Difference highlights (Different/Missing/Additional)
- Choosing between light/blue/dark theme:
In the File tab, choose between Character, Line or Block comparison mode. In addition, the Ignore options can be set, to ensure that certain parts of the script don’t get included in the comparison:
In the Folder tab, the Comparison options can be set, to find and check which files will be included or excluded from the comparison process:
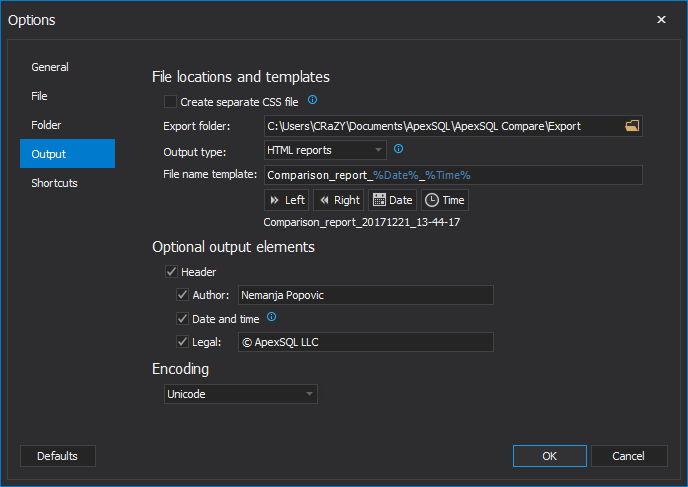
In the Output tab, File locations and templates in addition with the Optional output elements and Encoding can be found:
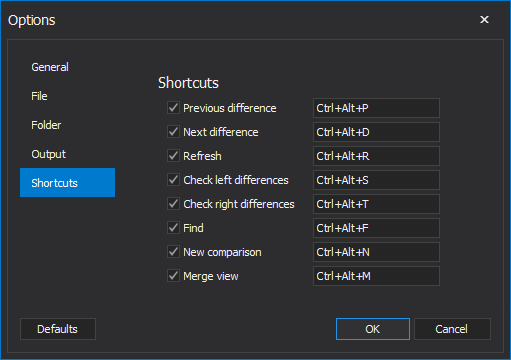
In the Shortcuts tab, default shortcuts are shown and they can be customized based on the preference:
ApexSQL Compare offers full Visual Studio and SQL Server Management Studio integration, which once installed, adds the additional option called ApexSQL in the navigation bar of SQL Server Management Studio:
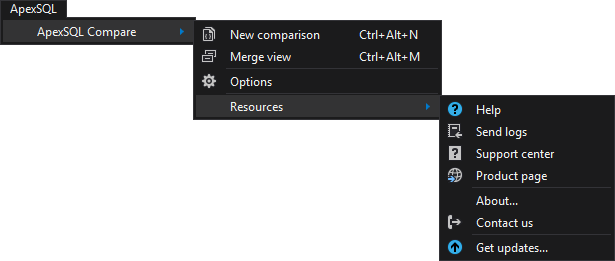
A new File comparison can be launched with the click on the New comparison command, which can be found in the ApexSQL Compare’s main menu. Once started, desired files can be chosen with a click on the Browse button on the upper-right side of both panels:
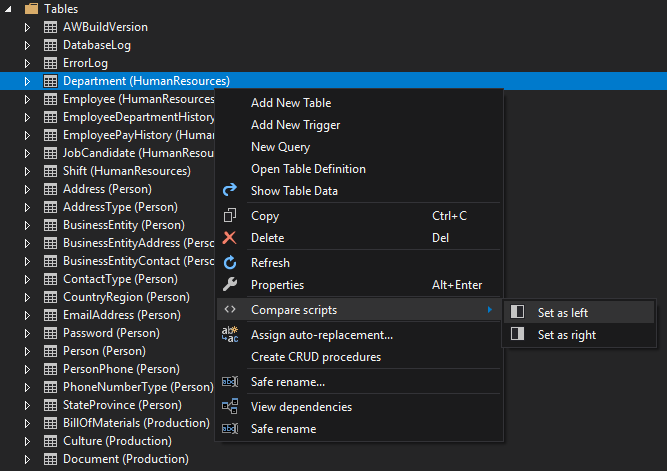
A useful feature of ApexSQL Compare is that it can compare SQL Server objects just by right clicking on an object in the Object Explorer → Compare scripts → Set as left/right:
As it is for the ApexSQL Compare standalone application, by default the Merge view panel is not visible and it can be shown with a click on the Merge view button from ApexSQL Compare main menu, or the button on the top of the comparison window:

ApexSQL Compare add-in has all the options for comparing files implemented as its standalone application counterpart.
Resources
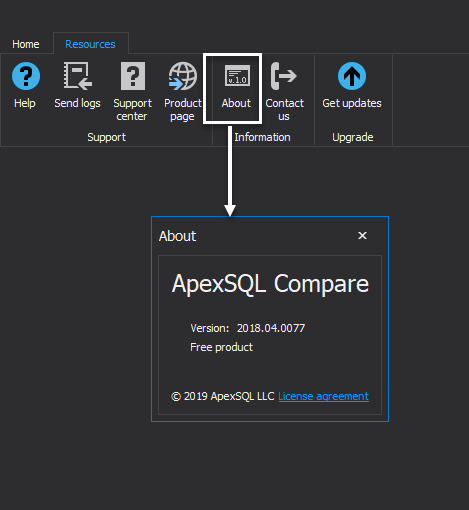
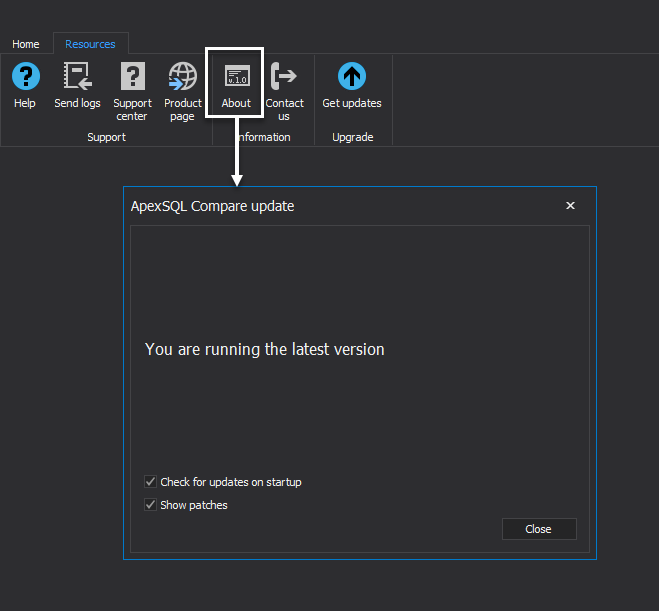
Click on the About button under the Resources tab to show the details of the application version:
Under the Get updates window, ApexSQL Compare offers user enables for the latest available version of the tool, possibility for checking for updates on start and available patches. Click on the Get updates button under the Resources tab, and ApexSQL Compare update window will appear:
December 20, 2017


