


Installation
The ApexSQL Diff installation wizard is a simple 3-step task.
The first step of installation is welcome screen of the ApexSQL Diff wizard:
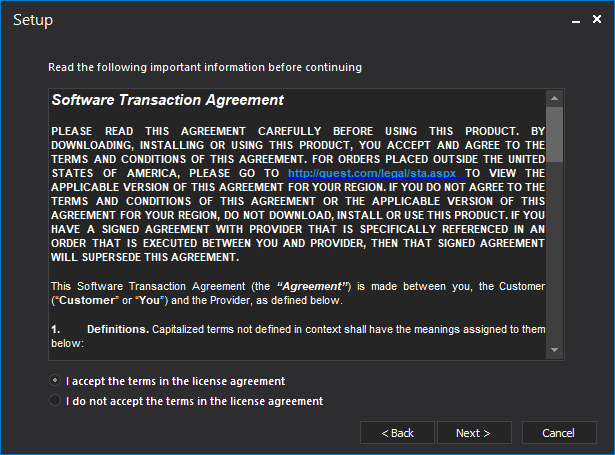
In this step, users can review the ApexSQL license agreement:
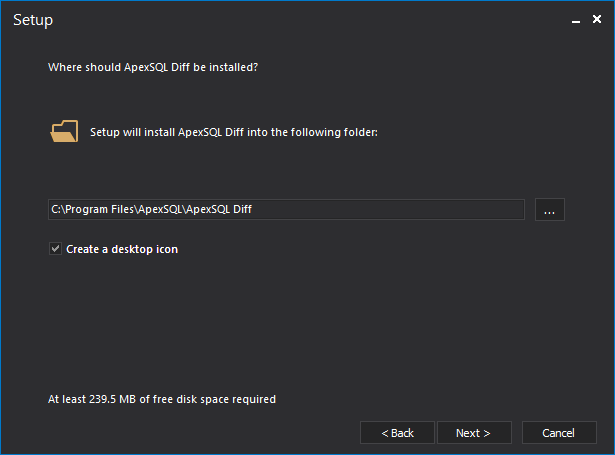
The next installation step allows users to choose installation folder and option for creating a desktop icon:
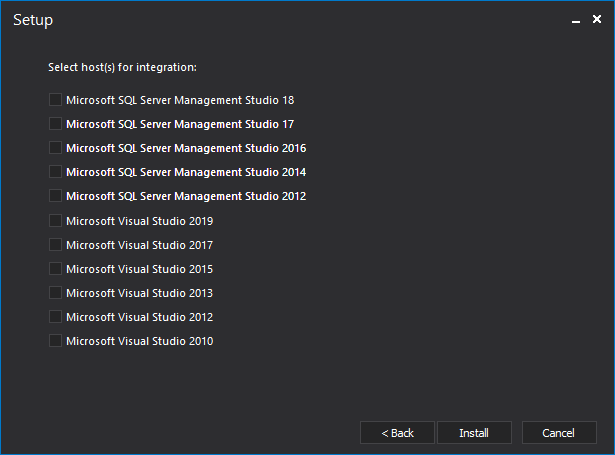
In the next installation step, the user will be given the option to select one or more hosts e.g. SSMS for add-in integration:
The final step confirms finishing of the installation and allows users to directly run ApexSQL Diff from here:

Once the application is started, by default the Project management window is presented:
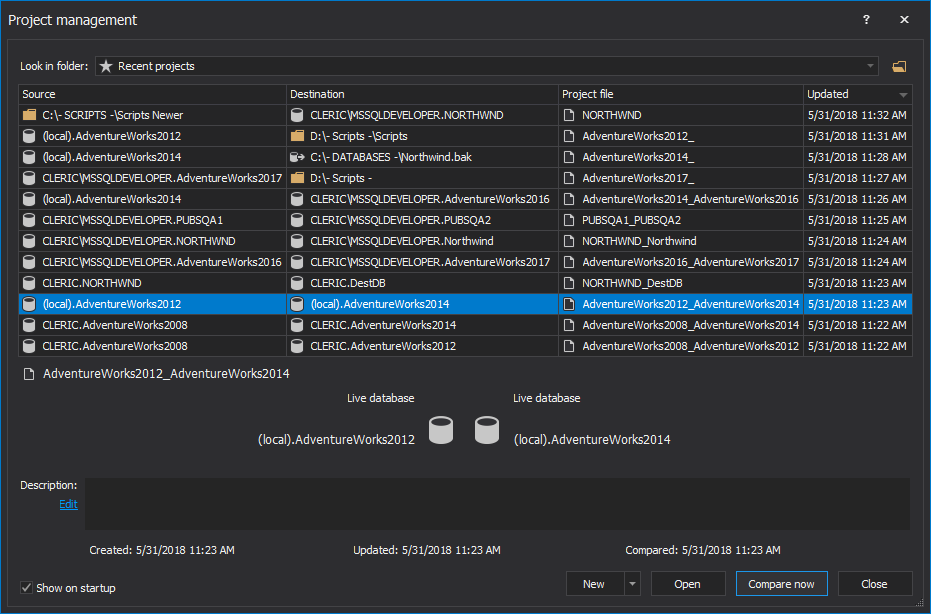
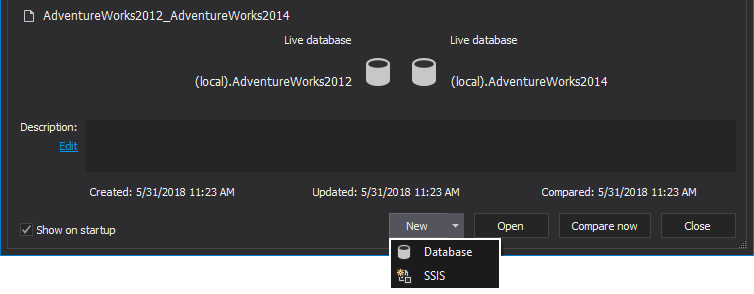
From where recent project can be opened or compared now, a new database or SSIS project can be started with a click on the New button:
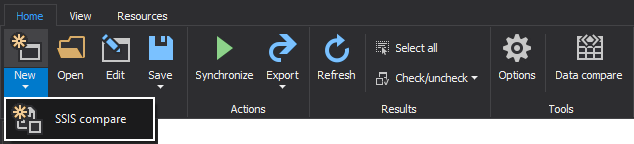
New project can also be initiated with a click on the New button located in the Projects section of the Home tab:
There are three Ribbon tabs in the main application window of ApexSQL Diff:
- The Home tab that contains actions which are grouped in the Projects, Actions, Results and Tools sections:
- The View tab which consists of Layouts, Grouping, Columns and Panels sections:
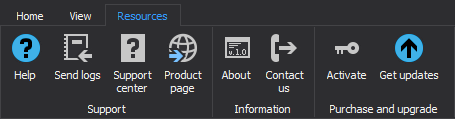
- There is also the Resources tab with the Support, Information and Purchase and upgrade sections, where more information about the product, support, activation and updates can be found:


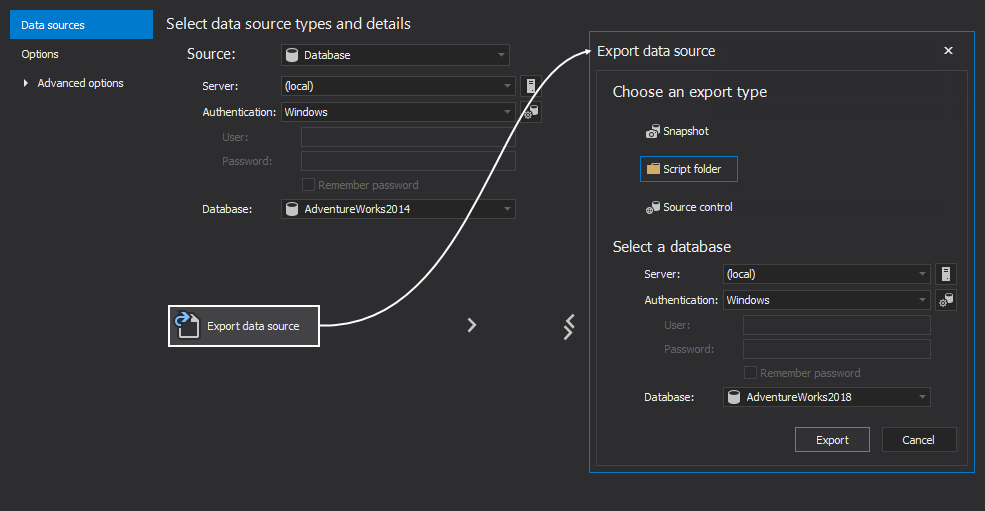
Once the New button is clicked and the Database is selected for a new project, the New project window is presented, along with the Data sources tab, from which the following data sources can be chosen:

Additionally, there is the Export data sources button that allows users to export SQL database into three export types:
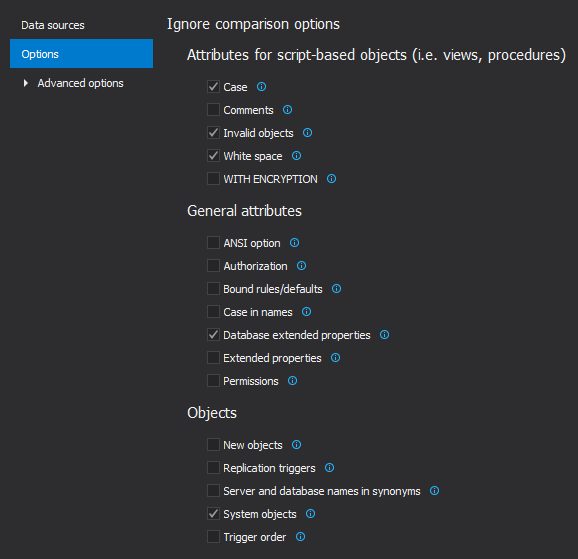
The next tab in the New project window is the Options tab that consists of the Ignore comparison options, Synchronization options, Optional output elements options, and Owners in the synchronization script options:
Once clicked, the Advanced options tab opens additional tabs with its options. The first one is the Schema mapping tab, which automatically maps schema pairs with the same name in source and destination data sources by default, and it also allows users custom schema mapping:

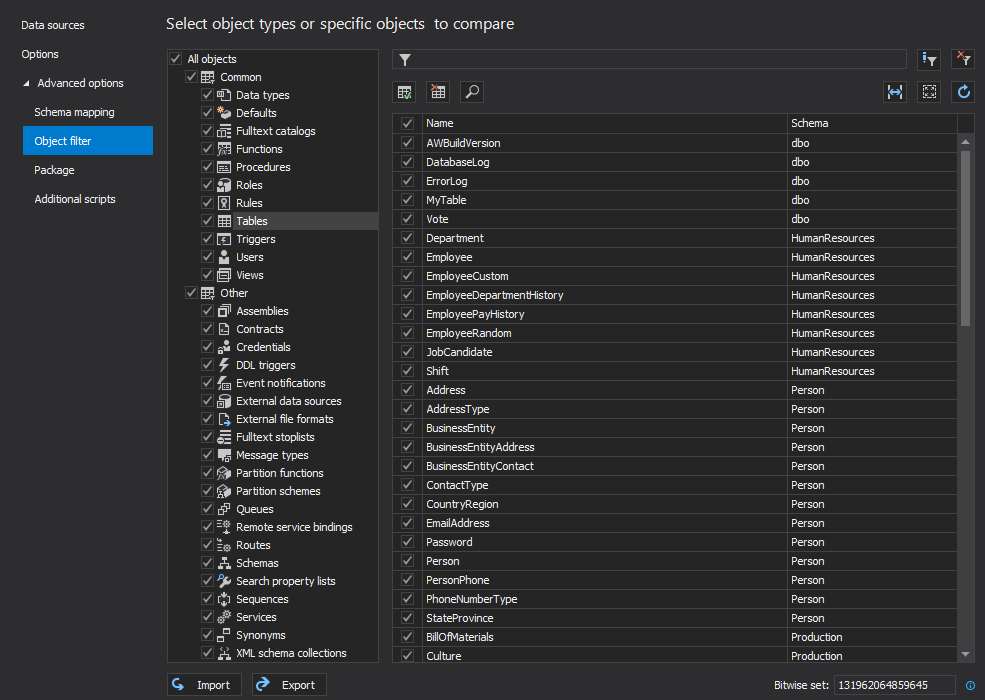
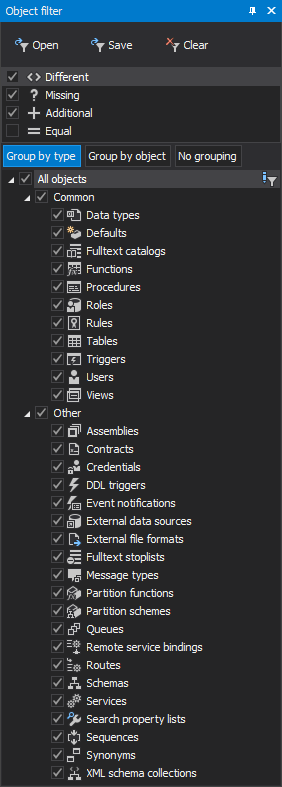
In the Object filter tab various different object types or specific objects can be selected, so they are included into comparison process:
Package tab consists of options for installer packages, such as using compression for the installer package, error handling, logging of package execution and optional package information that can be set for additional package customization:

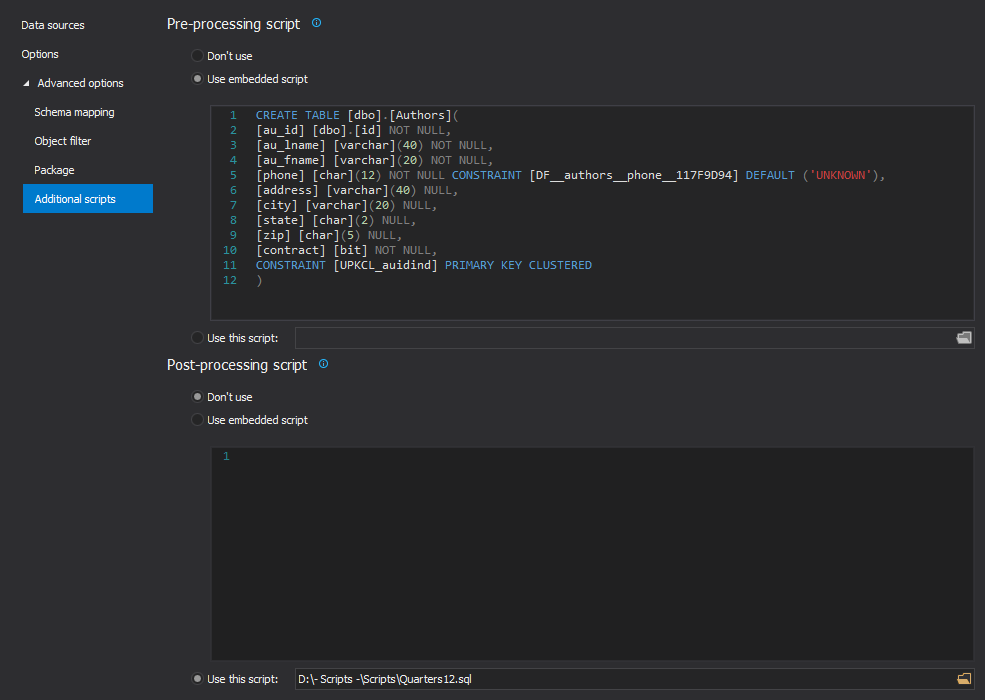
Last in the tab selection is the Additional scripts tab, that allows users to load or write the pre or post processing scripts, which will be executed before or after the synchronization:
After data sources are set, along with all desired options, and the Compare button is clicked in the New project window, the results of comparison are presented in the Results grid:
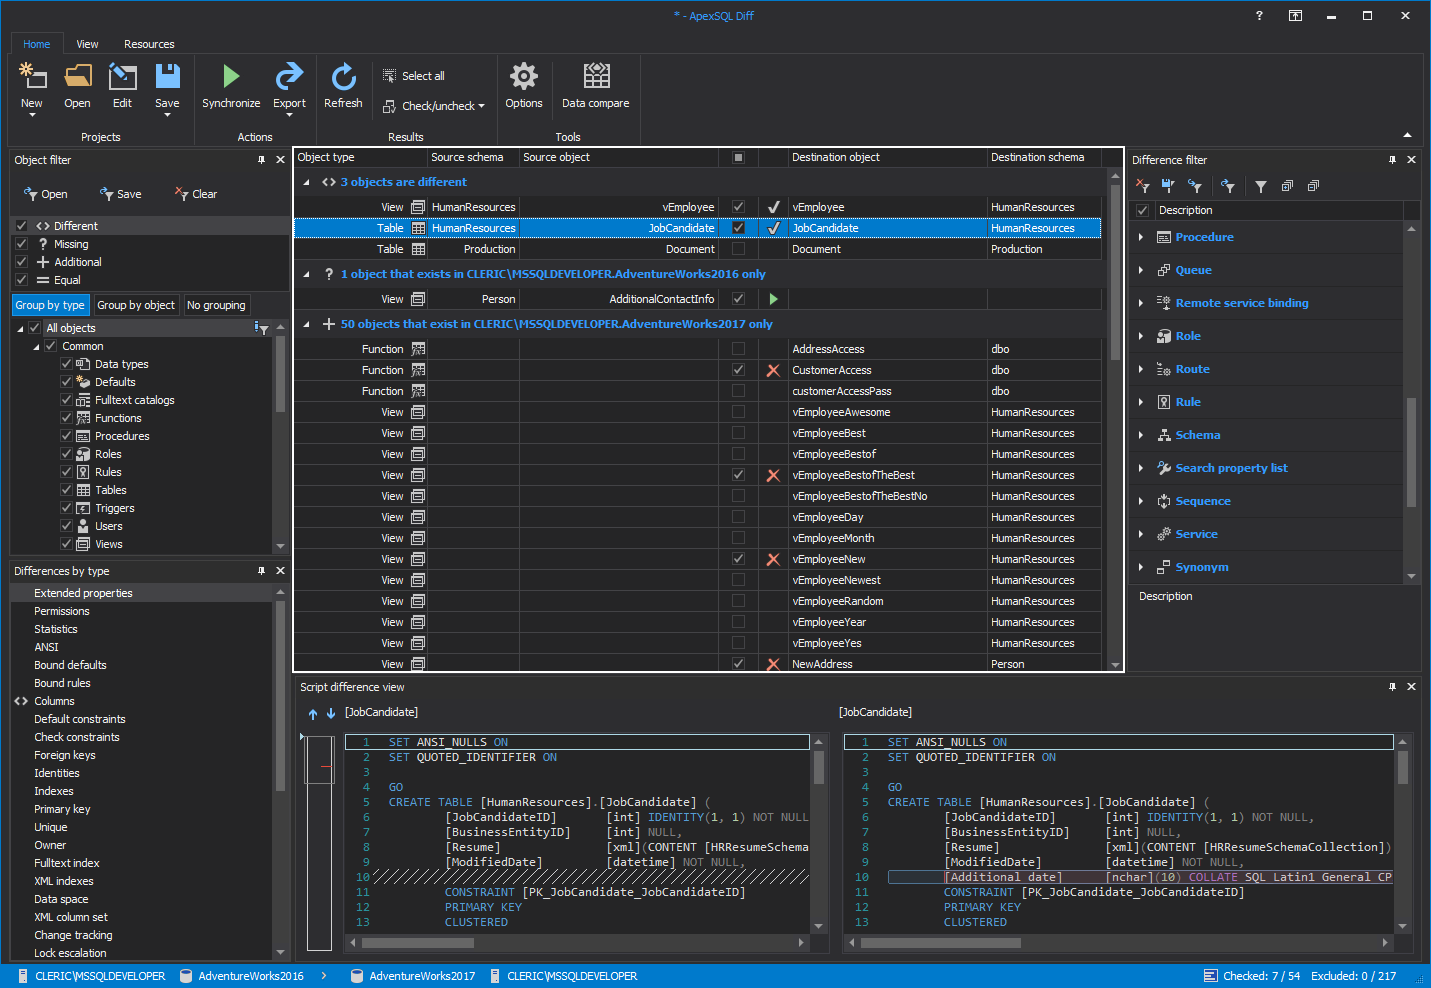
Alongside the Results grid, there are four different panels that allow users for in depth information and customization regarding the results shown. The Object filter panel is used for the filtering of the comparison results by found differences or specific objects:
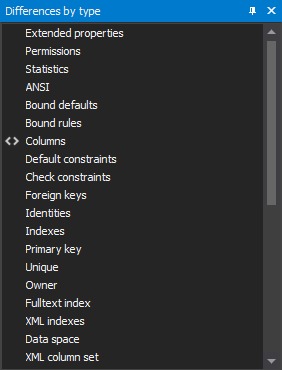
Differences by type panel allows users a short preview to see which specific type in the object has a difference:
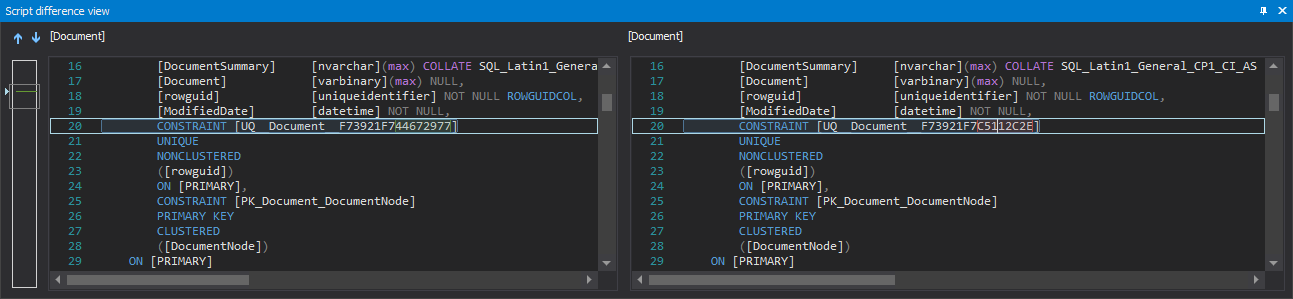
Script difference view panel displays the exact differences in SQL object scripts for the selected object in the Results grid from source and destination data sources:
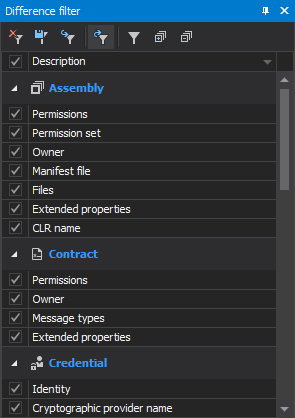
The last is the Difference filter panel that provides users filtering of comparison results even further, by allowing users to include/exclude specific SQL object attributes as differences:
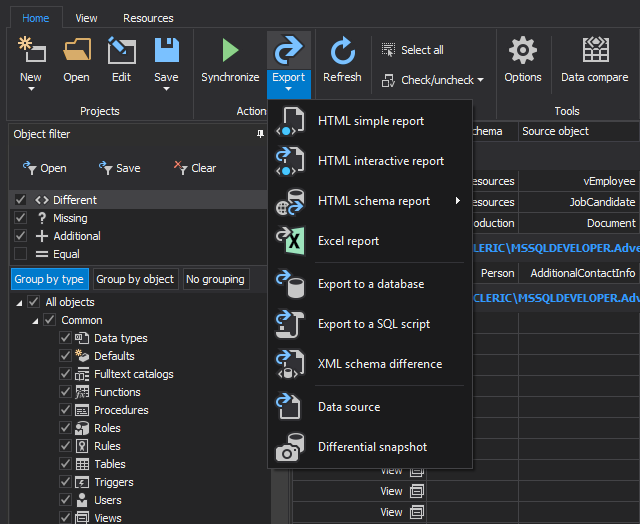
ApexSQL Diff also provides users array of exporting options, such as HTML simple report, HTML interactive report, HTML schema report, Excel report, Export to a database, Export to a SQL script, XML schema difference, Data source export and Differential snapshot export:
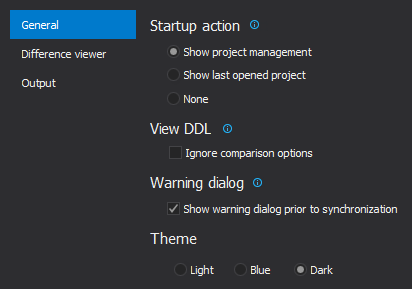
If the Options button from the Home tab is clicked, the General tab will be shown with its options for the Startup actions, View DDL script and Warning dialog options. Also, different Themes can be selected for the application from Light, Blue and Dark to better customize the application experience:
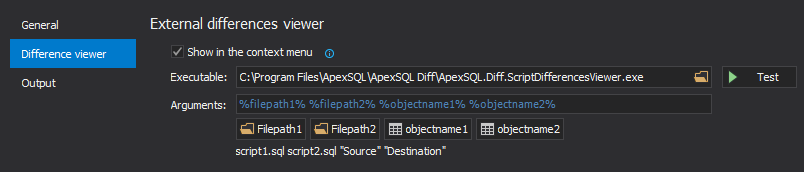
In the Difference viewer tab, the External differences viewer can be set or an existing one can be run by using the provided arguments:
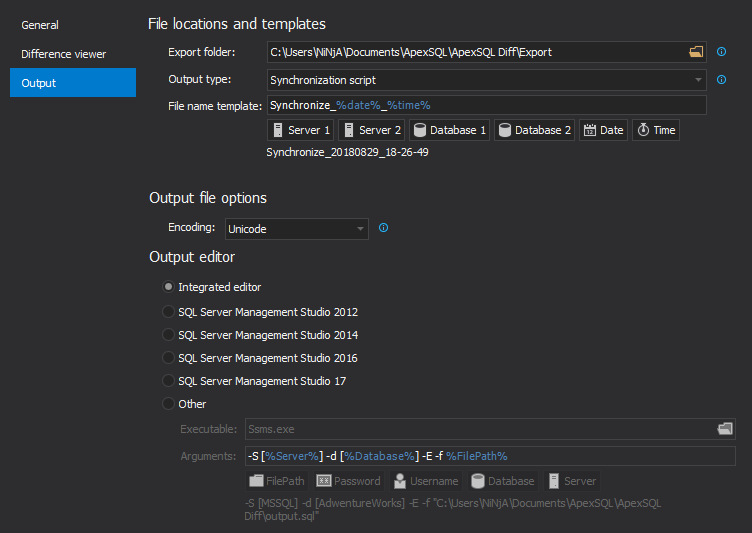
The Output tab allows users to set File location and templates that will be used as default when creating outputs. Different types of Encoding can be selected, along with the ability to choose which Output editor will be used for viewing the script:
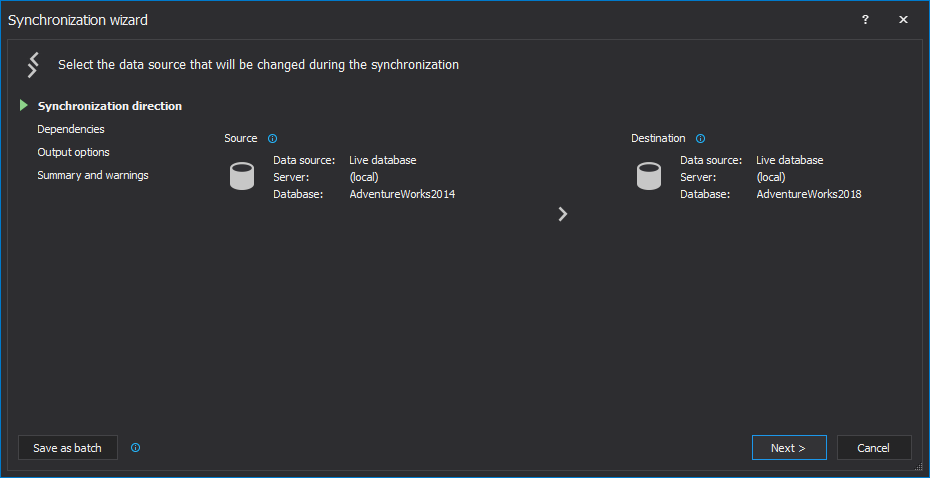
After everything is set up and desired objects are checked for synchronization in the Results grid, with a click on the Synchronize button that can be found under the Actions section of the Home tab, the Synchronization wizard will be shown, along with its first step – the Synchronization direction:
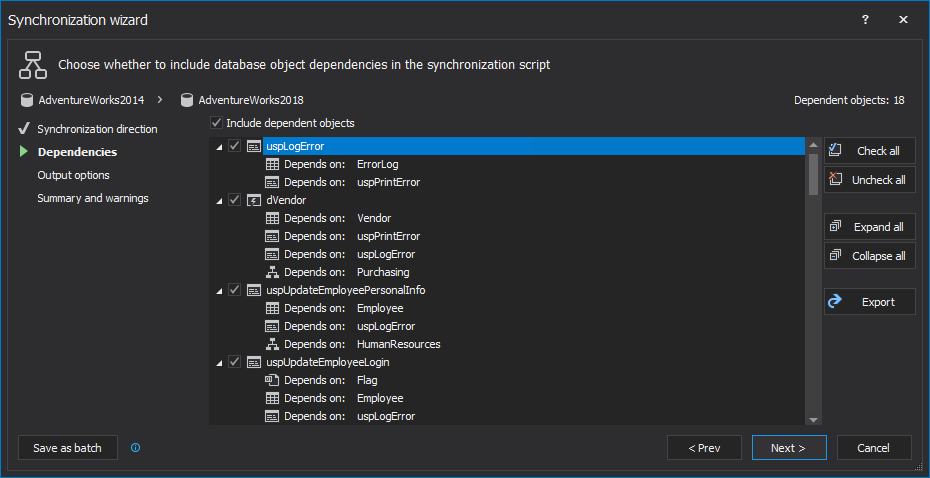
Dependencies is the second step of the Synchronization wizard, where all dependent objects are shown and checked by default and they can be reviewed, exported and specific ones can be excluded:
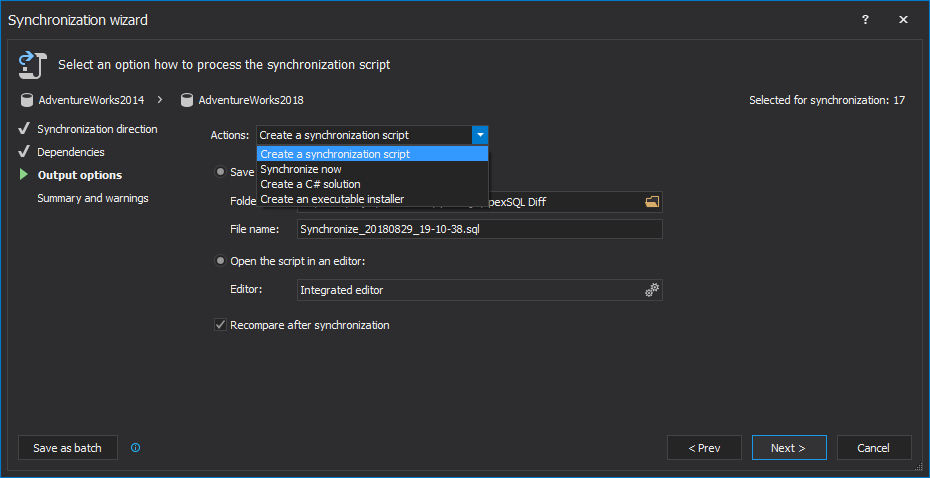
Output options step is the third step of the Synchronization wizard, where different output actions can be chosen (Create a synchronization script, Synchronize now, Create a C# solution and Create an executable installer) and various options defined depending on which action is chosen:
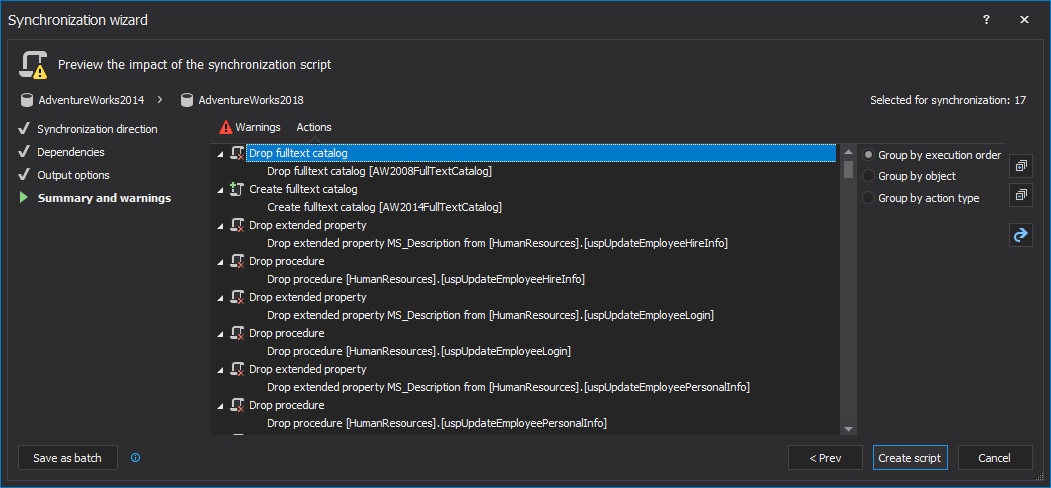
Summary and warnings is the fourth and last step, where Warnings and Actions can be viewed and exported before creating the synchronization script:
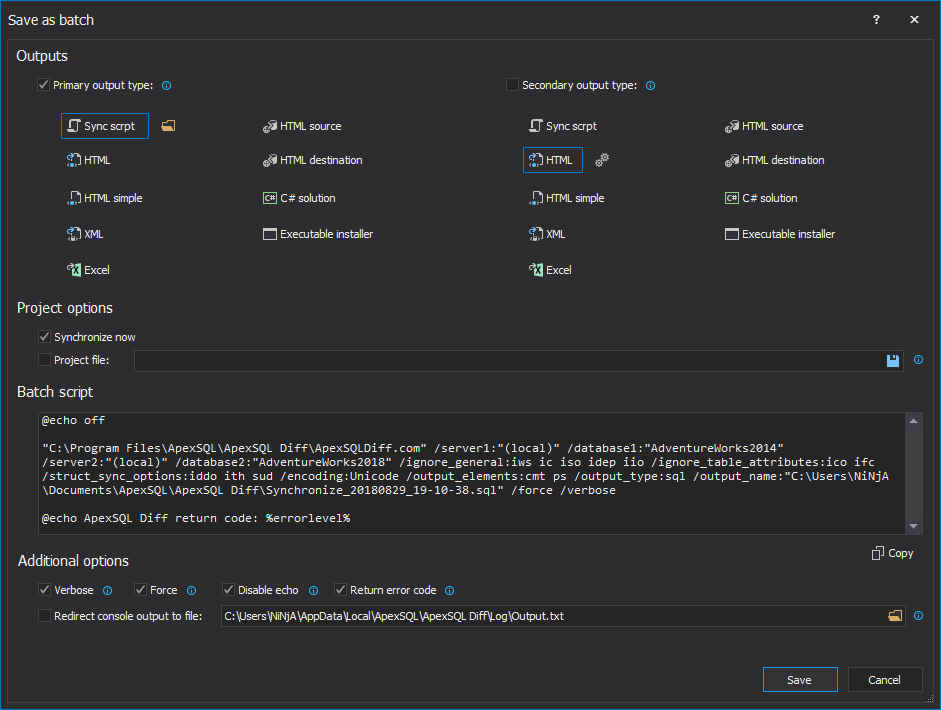
Before creating the synchronization script or performing any other output action, a batch script can be created with a click on the Save as batch button, which can be used for later automatization and scheduling process:
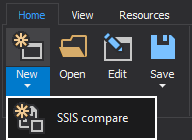
ApexSQL Diff is also capable of SSIS comparison which can be initiated with a click on the SSIS compare button under the New button in the Home tab or from the Project management window:
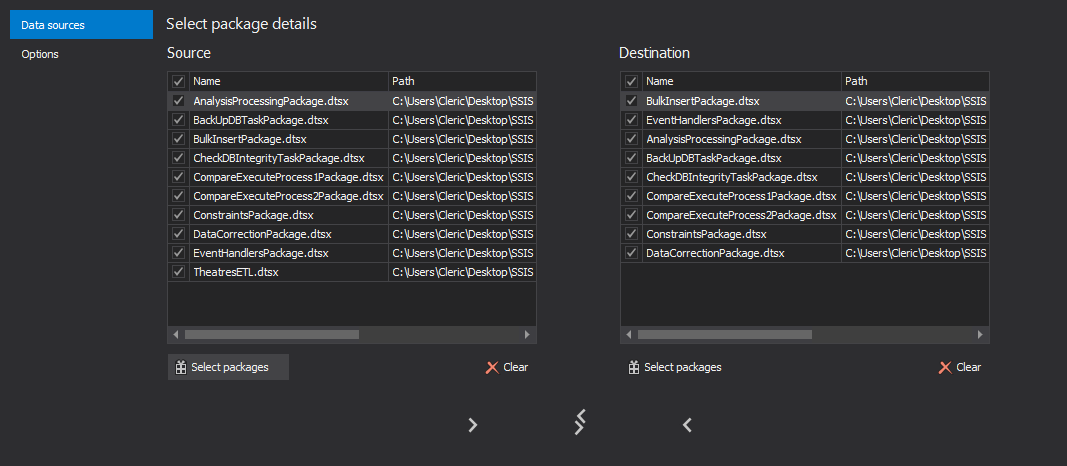
As for the regular comparison, the Data sources tab is also shown for the SSIS comparison, where packages for comparison can be selected for both source and destination sides:
When the Select packages button is clicked, it will present the Add integration services packages window, from where different types of locations can be chosen to load the packages from:
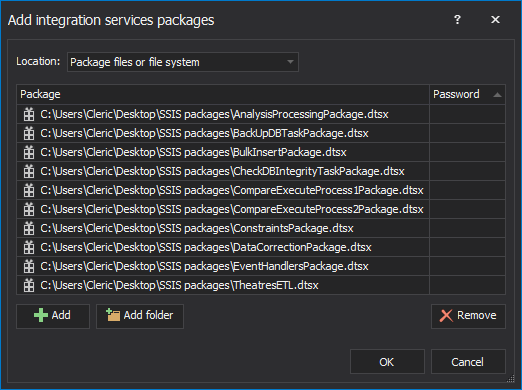
Currently, ApexSQL Diff supports five different SSIS packages in the SSIS comparison which can be compared and their difference results exported.
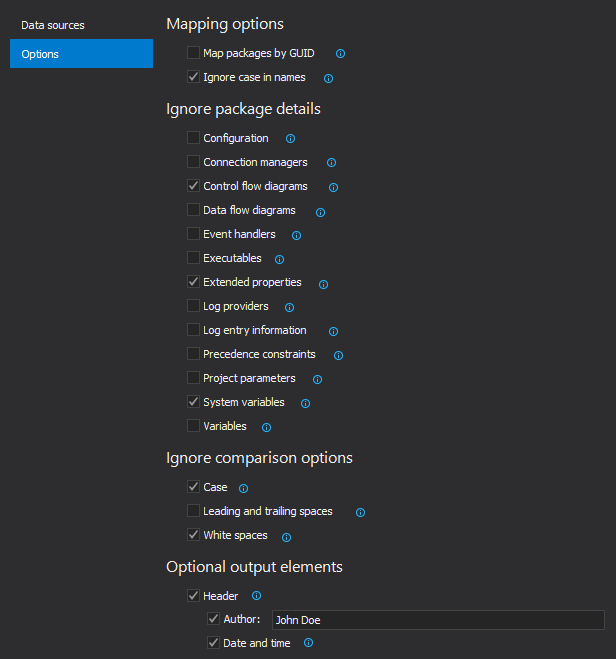
The second tab in the New SSIS project is the Options tab, where additional options can be set, including Mapping options, Ignore package details, Ignore comparison options and Optional output elements options:
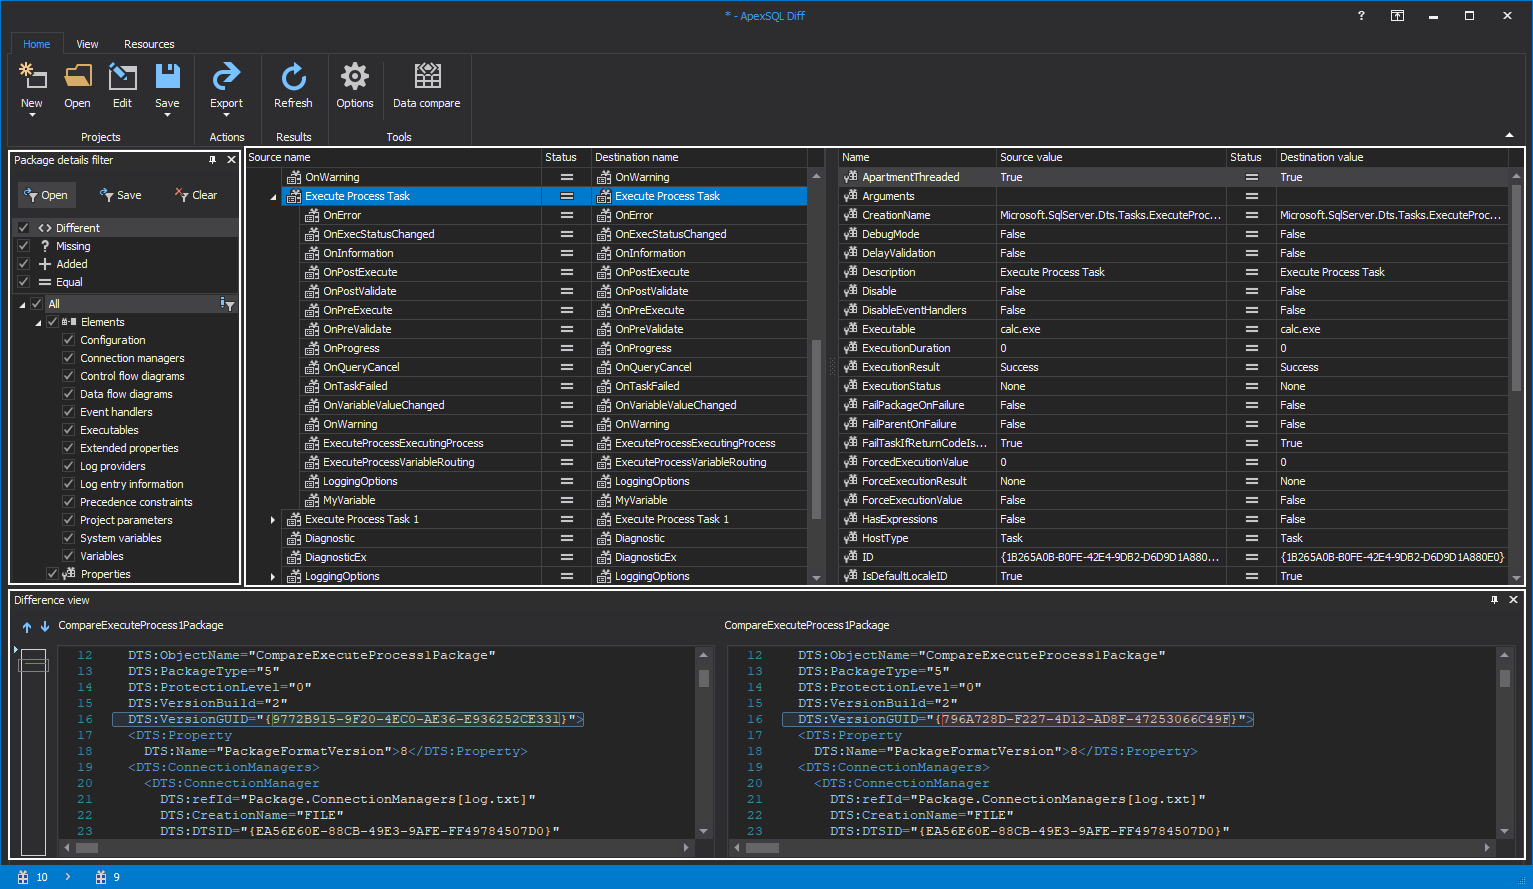
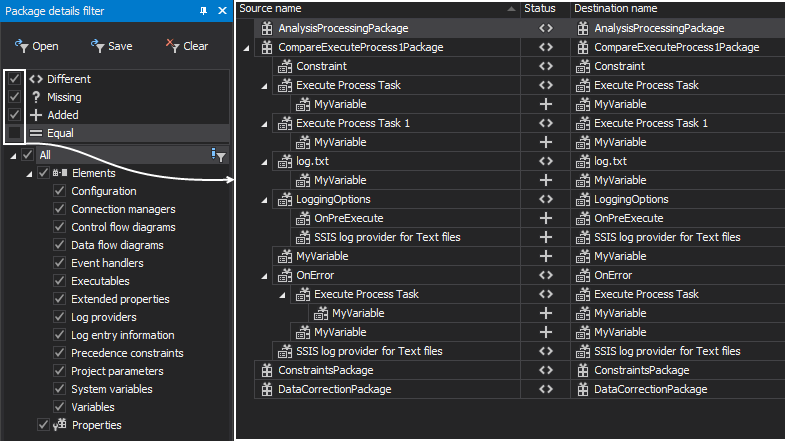
Once source and destination packages are selected and the Compare button is clicked, Results grid with the results is shown along with the Package details filter and Difference view panels for more detailed data filtering and overview:
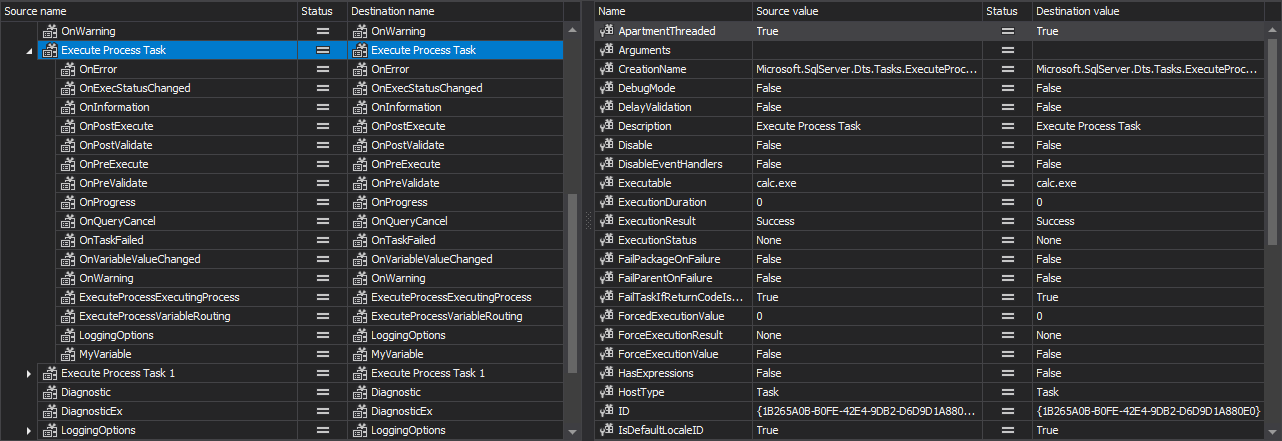
For each selected package element in the left panel of the Results grid, its differences in properties are shown in the right panel:
The complete packages, along with each different row highlighted, are shown in XML view under the Difference view panel:

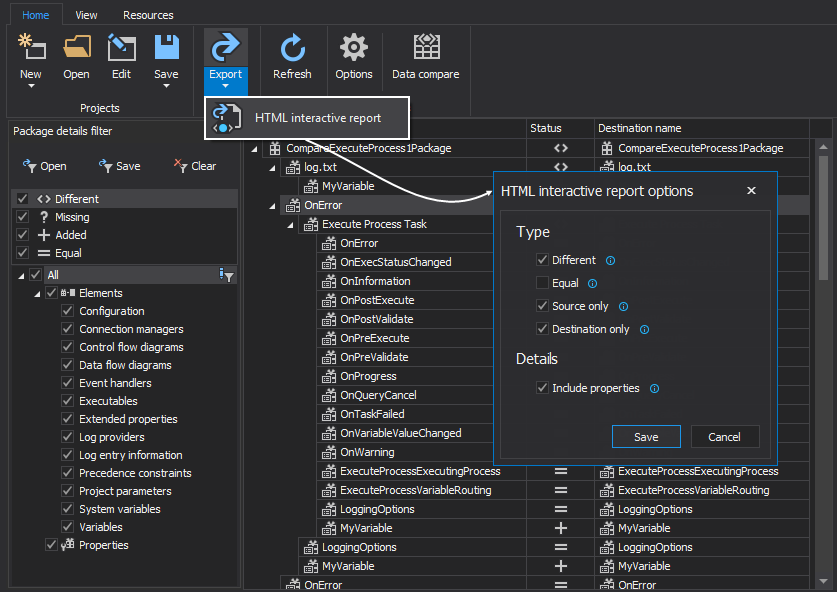
Comparison results can also be exported into an HTML interactive report:
As mentioned above, SSIS comparison results can be filtered by using:
- Differences filter, where Different/Missing/Added/Equal filters can be checked/unchecked thus providing specific difference results:
- Filter editor, to filter out elements and properties:

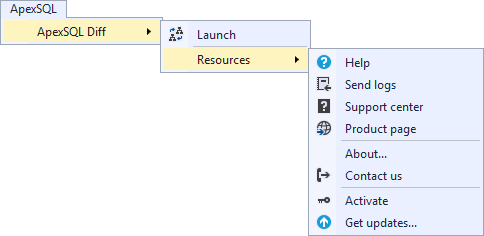
ApexSQL Diff along with being the standalone application provides option for SQL Server Management Studio integration, which once installed, adds the additional option called ApexSQL in the navigation bar of SQL Server Management Studio:
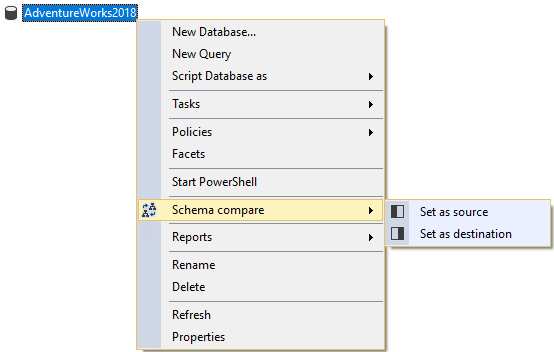
Schema compare parameters from the SQL Server Management Studio can be easily set with a right-click on desired databases in Object Explorer → Schema compare → Set as source/destination:
When databases are set as source and destination, the Schema compare query window is shown along with the Data sources tab:

Additional options can be set in the Options tab prior to initiating the comparison:
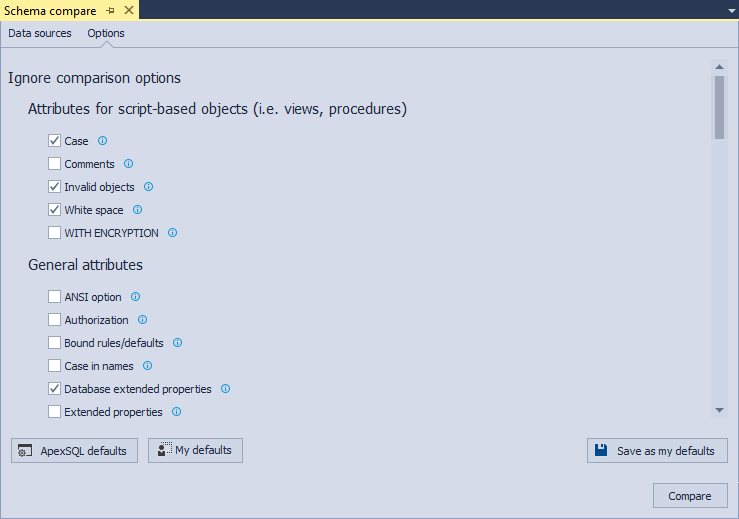
After the options are set and data sources selected, with a click on the Compare button (located in the bottom-right corner of the query window) comparison process will begin and the comparison results will be presented in the Results grid of the standalone application.
Resources
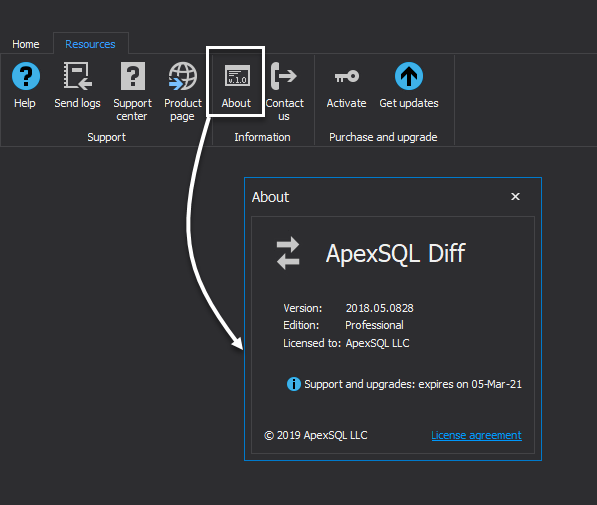
Click on the About button under the Resources tab to show the details of the application version:
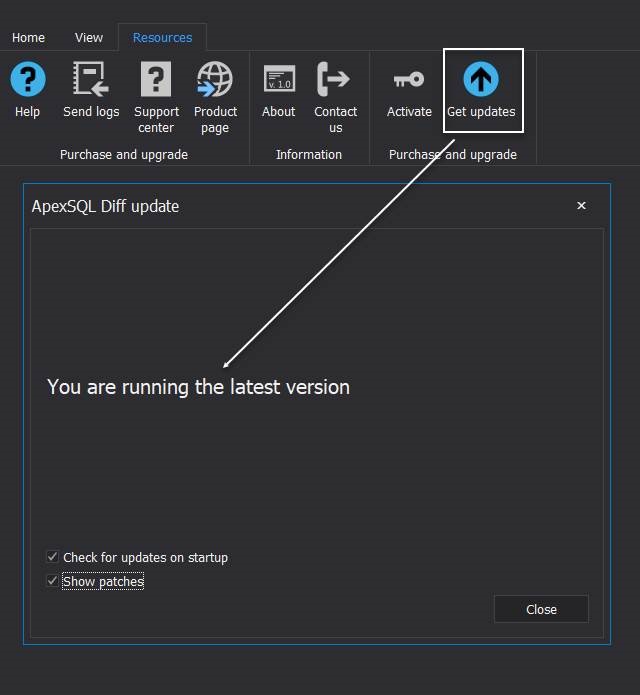
Under the Get updates window, ApexSQL Diff offers user enables for the latest available version of the tool, possibility for checking for updates on start and available patches. Click on the Get updates button under the Resources tab, and ApexSQL Diff update window will appear:
September 4, 2018


