


Main window – The New project window – Select databases tab, used for connecting to Server and selecting databases for scripting:

The New project window – Structure tab, used for selecting structure scripting options:
- Script
- Transaction
- Database compatibility:
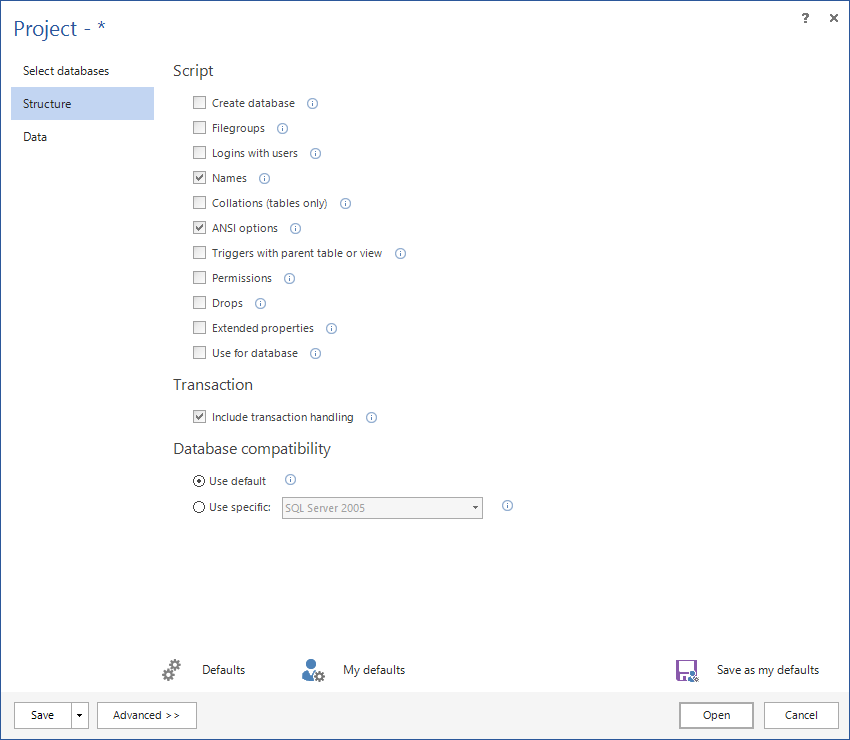
Note: The same window can be seen if the Defaults button is clicked from the Home ribbon bar and Structure tab is selected.
New project window – Data tab, used for selecting data scripting options:
- General
- Transaction
- Script rows as
- Batching
- Data format
- Data integrity
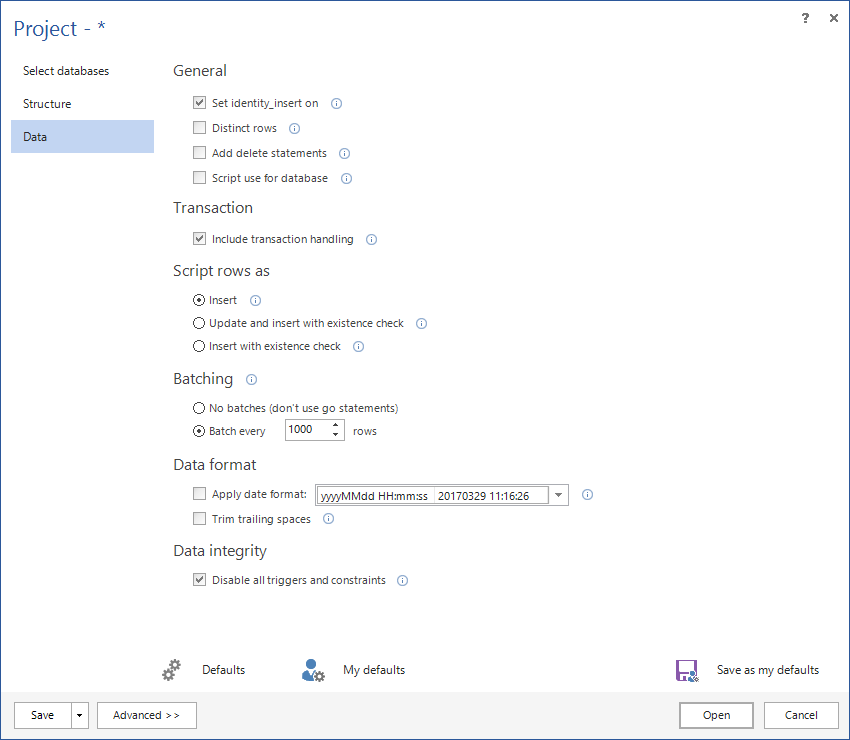
Note: The same window can be seen if the Defaults button is clicked from the Home ribbon bar and the Data tab is selected.
New project window – Advanced options – Script formatting tab:
- Optional script elements
- Headers and footers

Note: The same window can be seen if the Defaults button is clicked from the Home ribbon bar and the Script formatting tab is selected.
New project window – Advanced options – Package tab, used for setting options for the created package:
- General
- Error handling
- Optional package information
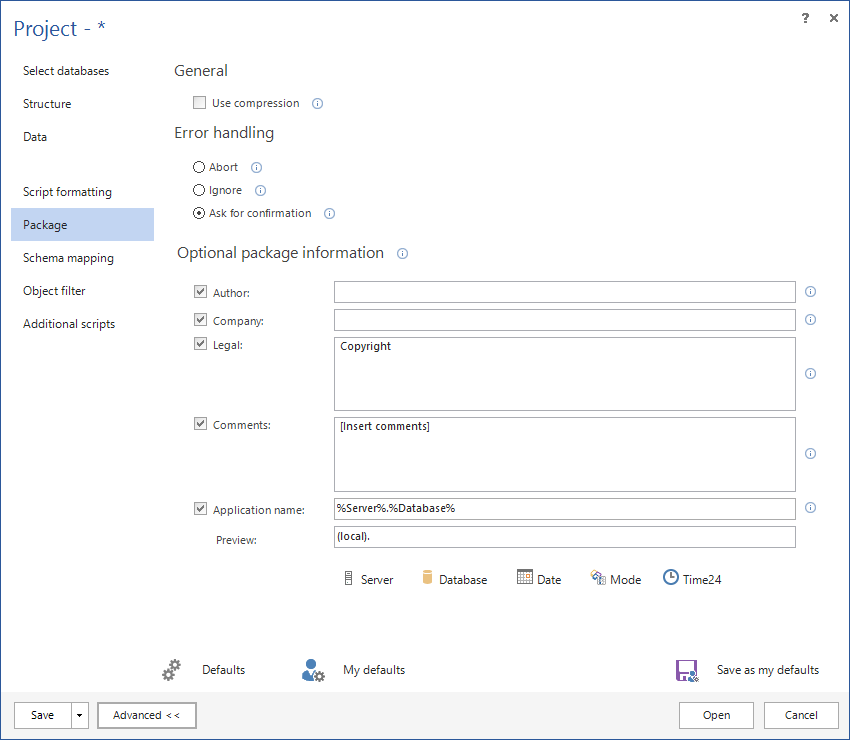
Note: The same window can be seen if the Defaults button is clicked from the Home ribbon bar and the Package tab is selected.
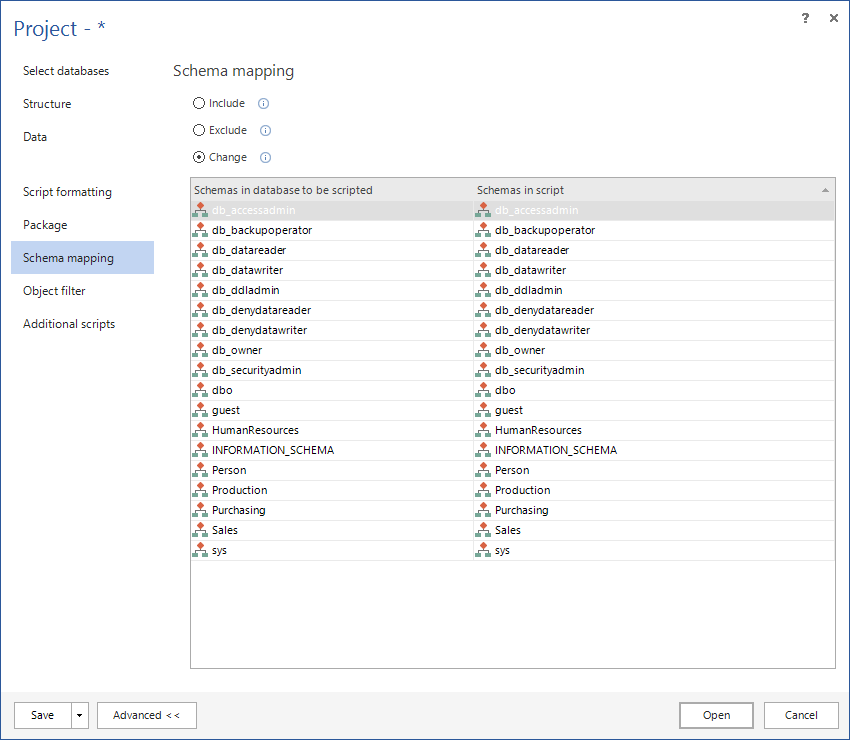
New project window – Advanced options – Schema mapping tab, used for mapping schemas with the same structure but different name:
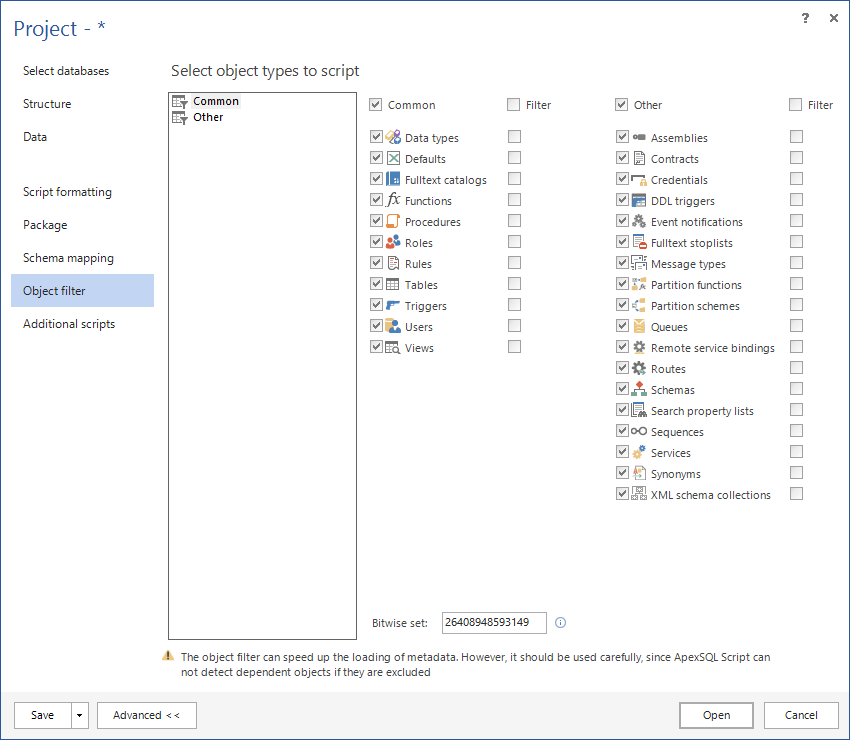
New project window – Advanced options – Objects filter tab, used for selecting objects to be scripted:
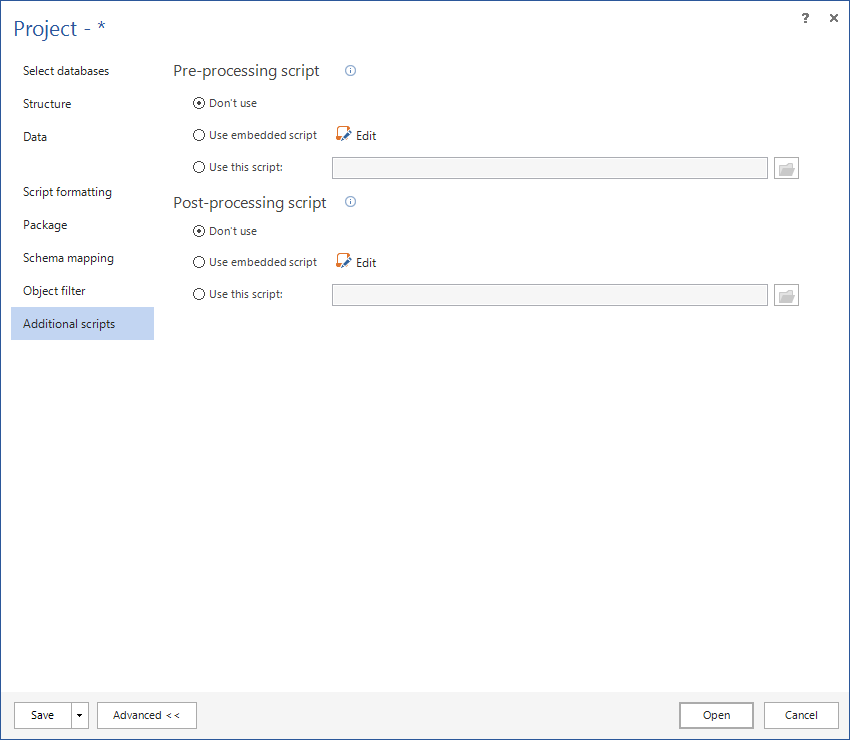
New project window – Advanced options – Additional options tab, gives possibility to include pre and post-processing scripts:
Home ribbon bar:

File ribbon bar:

Resources ribbon bar:

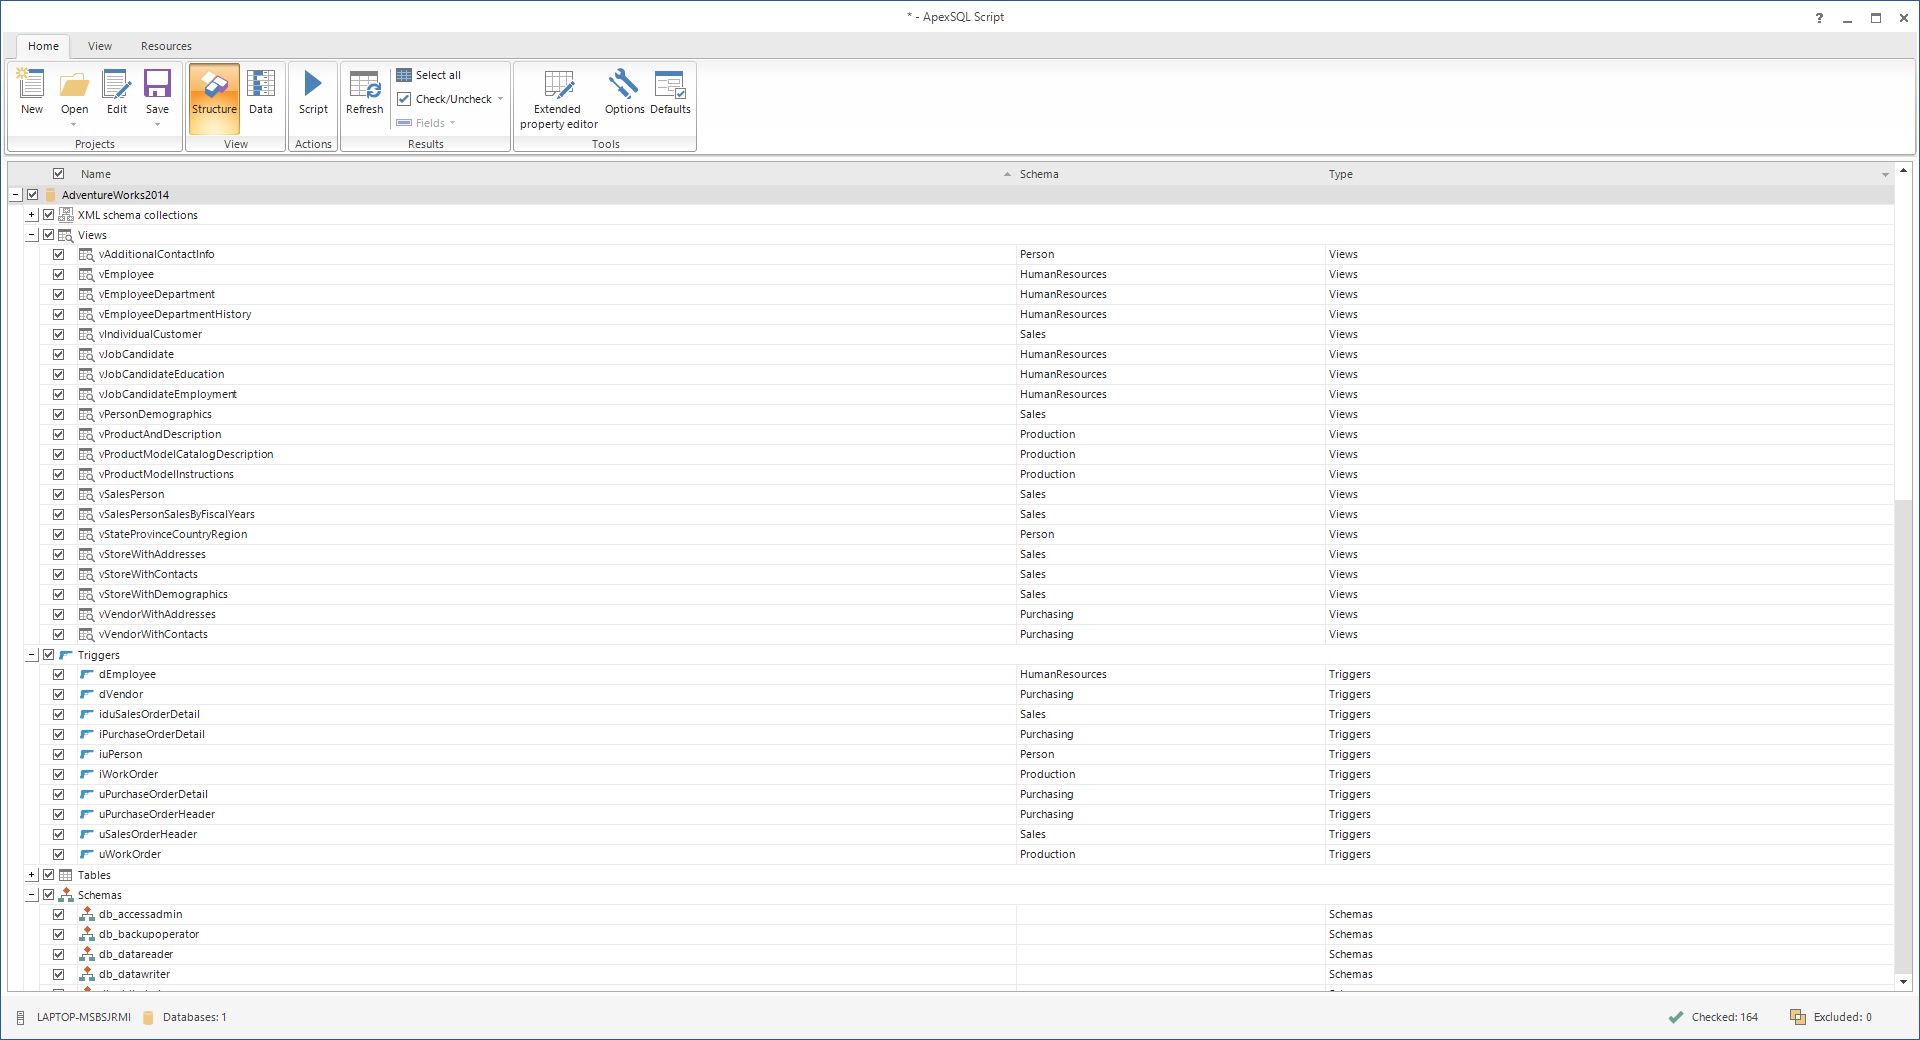
Structure tab in the Home ribbon bar – Showing all objects that are selected for scripting in the chosen database(s), organized by databases and by object groups:
Data tab in the Home ribbon bar – Showing all data that exist in the selected database(s), organized by databases. In the bottom, objects for selected table are shown and can be checked/unchecked for scripting:

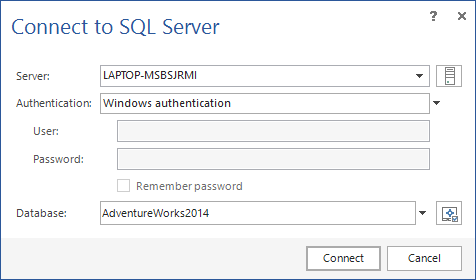
Extended property editor when clicked, shows a window Connect to SQL Server:
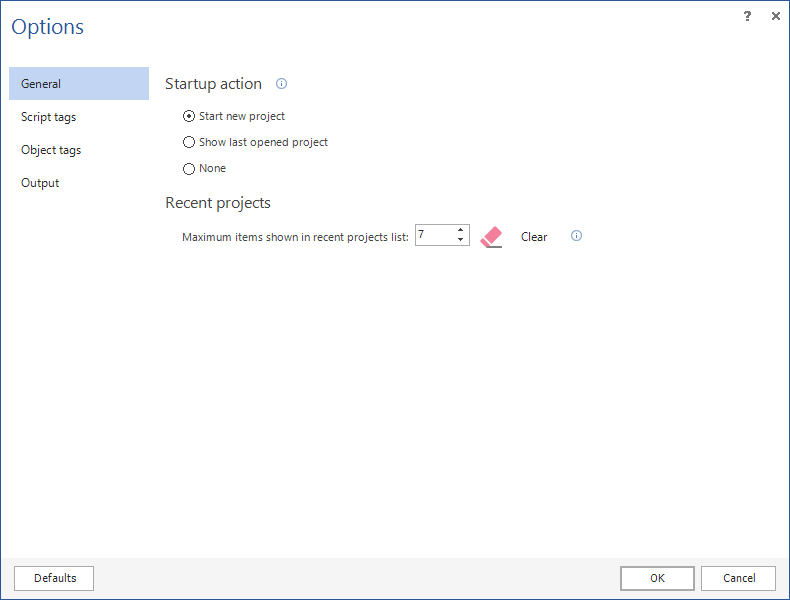
The Options button gives a possibility for choosing general options – General tab:
- Startup action
- Recent projects
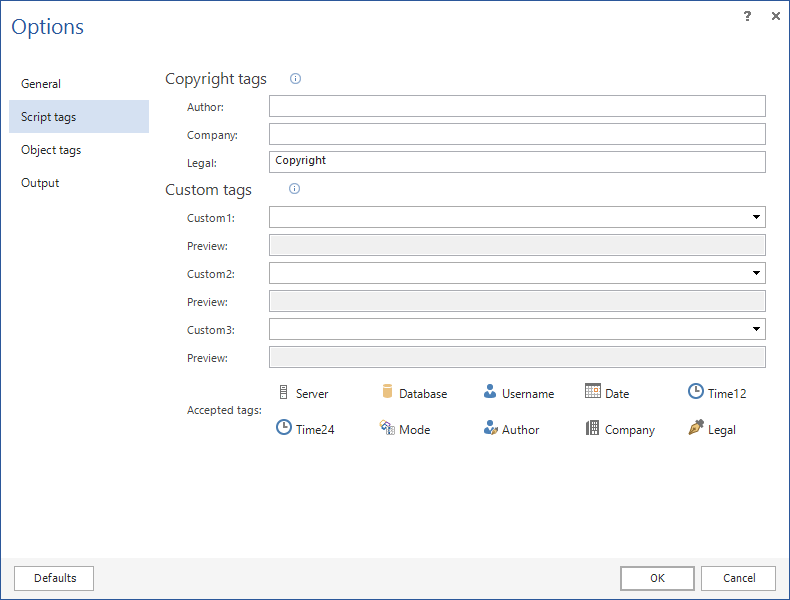
Options button – Script tags tab:
- Copyright tags
- Custom tags
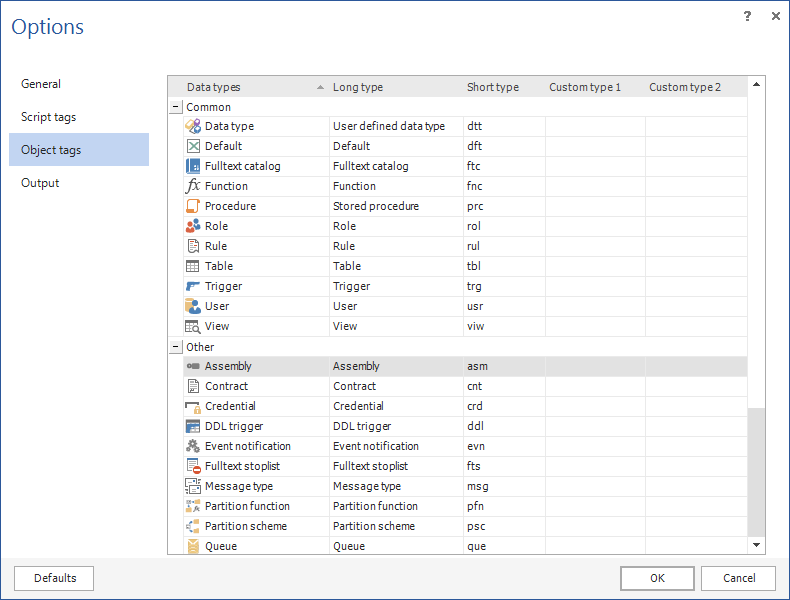
Options button – Object tags tab:
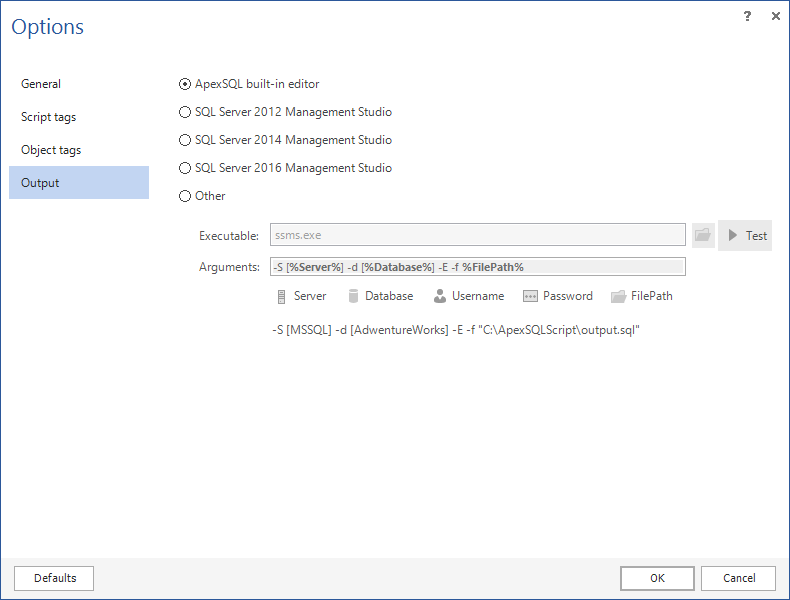
Options button – Output tab:
Defaults button – Folder mapping tab (objects can be exported or imported):

Main window of Script wizard – when the Script button is clicked. Here, a scripting mode and Output type can be selected:

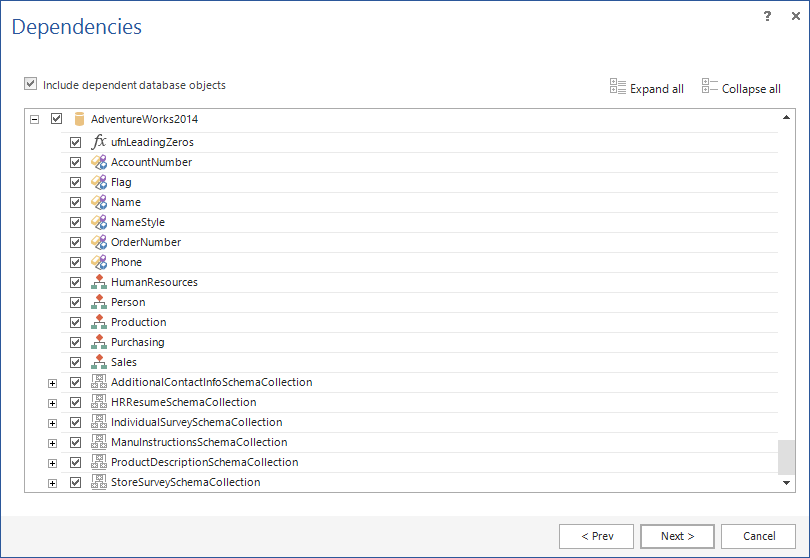
Second step of the synchronization wizard, Dependencies window, showing object dependencies and gives possibility to include dependent objects. It is the same for all three output types:
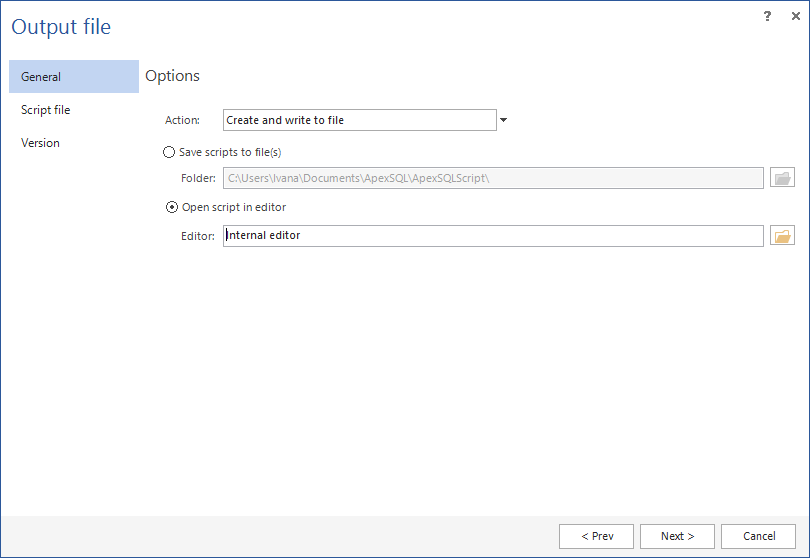
Third step of the synchronization wizard varies, depending on the output type. Here is how it looks when T-SQL is chosen as an output type and “Create and write to file” as an Action – Output file – General tab:
If the “Create and commit to source control” is chosen as an Action, General tab will change its Options:

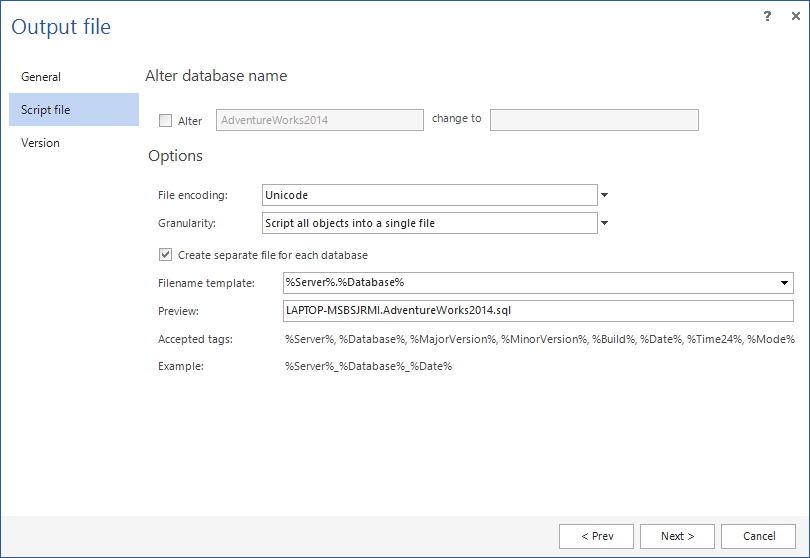
Third step of the synchronization wizard – Output file – Script file tab. This is how it looks when T-SQL is chosen as an output type:
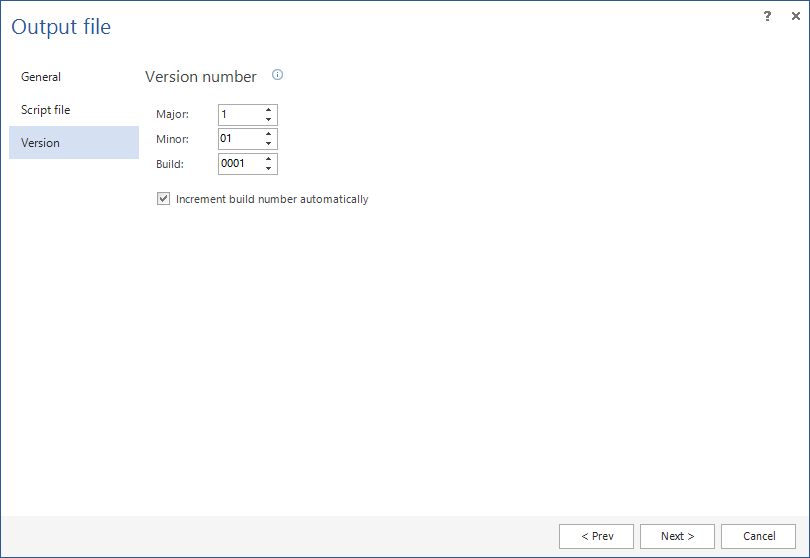
Third step of the synchronization wizard – Output file – Version tab. This is how it looks when T-SQL has been chosen as an output type:
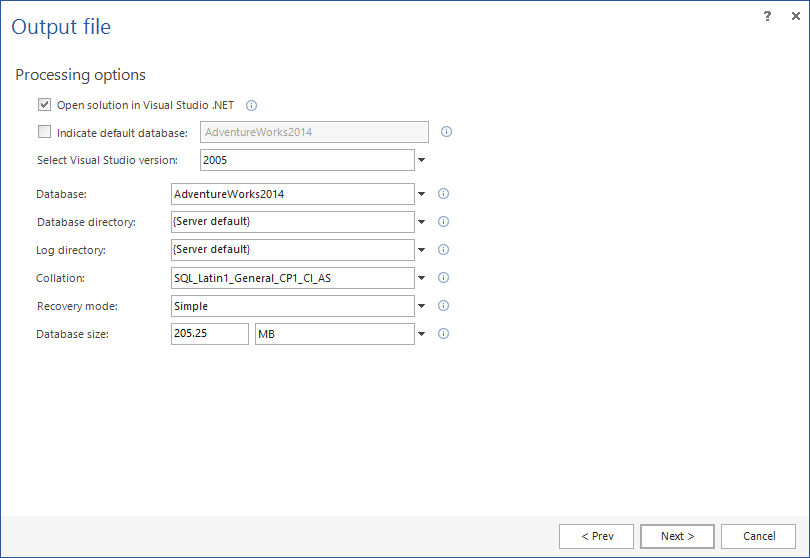
Third step of the synchronization wizard – Output file. This is how it looks if the C# solution is chosen as an Output type:
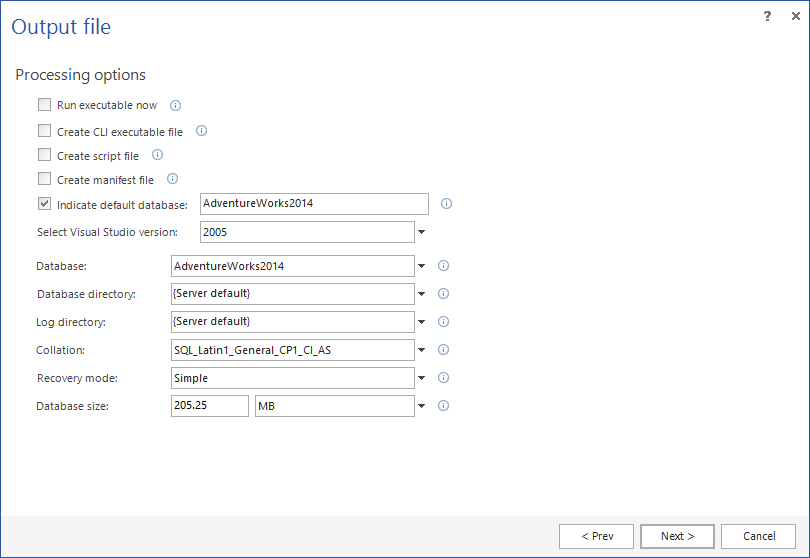
Third step of the synchronization wizard – Output file. This is how it looks if the Executable installer is chosen as an Output type:
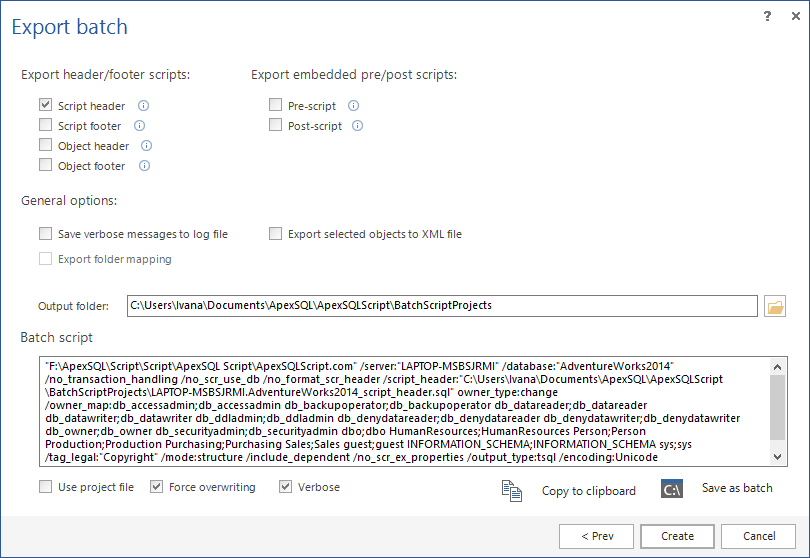
Fourth step of the synchronization wizard – Export batch. This window is the same for all three output types and is used for creating a batch file for automating the scripting process:
After the Create button is clicked, the script will be created (if T-SQL has been chosen as an output type):

After the Create button is clicked, an Executable installer will be created (in case that it was chosen as an output type):
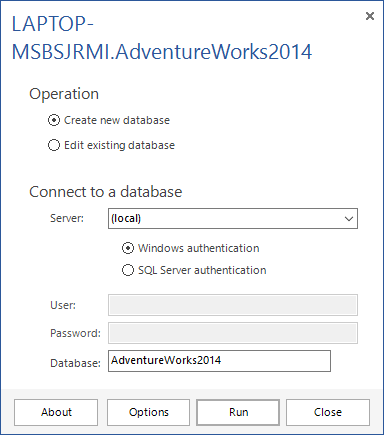
The About window will show information about the created installer:
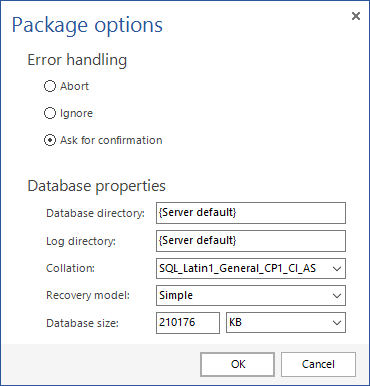
The Options window is used to set options for the created package, like how to handle errors and set the database properties:
April 3, 2017


