


Installation
The ApexSQL Decrypt installation wizard is a simple 3-step task.
The first step of installation is welcome screen of the ApexSQL Decrypt wizard:
In this step, users can review the ApexSQL license agreement:

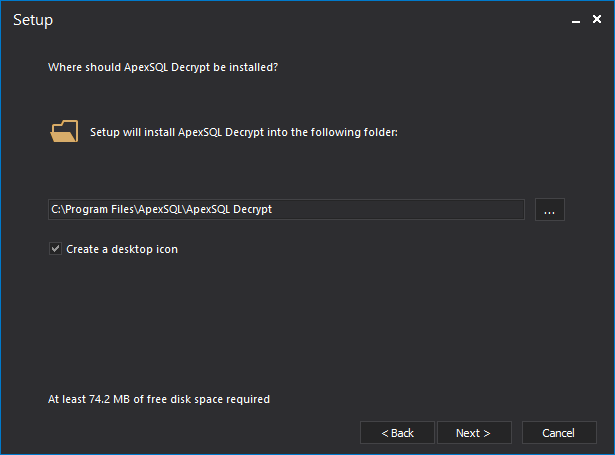
The next installation step allows users to choose installation folder and option for creating a desktop icon:
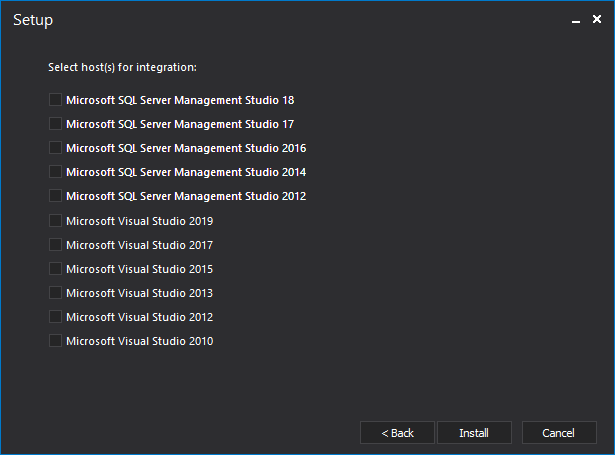
In the next installation step, the user will be given the option to select one or more hosts e.g. SSMS for add-in integration:
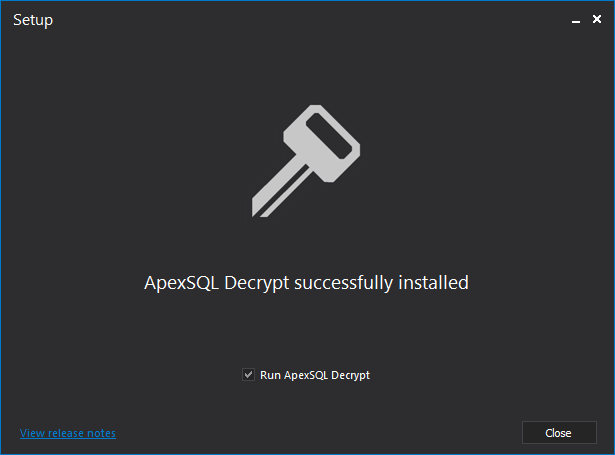
The final step confirms finishing of the installation and allows users to directly run ApexSQL Decrypt from here:
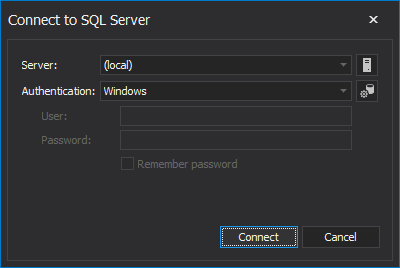
When starting the application, the Connect to SQL Server window is shown where we can select Server and the Authentication type we want to use to load the databases for object decryption:
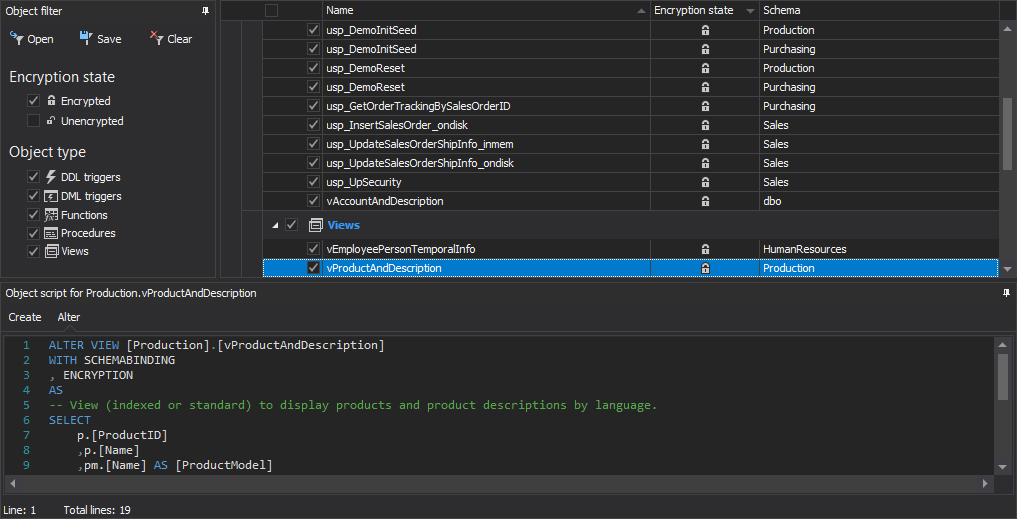
The main window of the app is divided into four logical sections. The main menu tabs, Object filter panel, Results grid panel and the Object script panel:

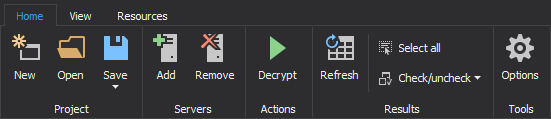
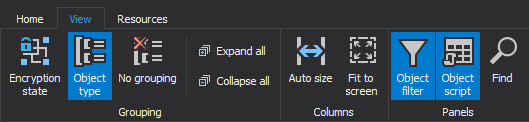
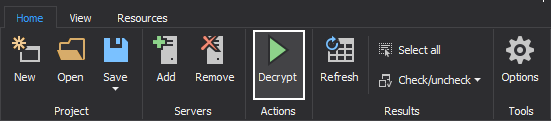
ApexSQL Decrypt main menu consists of three tabs (Home/View/Resources):

Once the encrypted objects are loaded from the databases they are shown in the Results grid, from where we can select the specific object that we want to decrypt:
We can also see the preview of the DDL script for the selected encrypted objects in the Object script panel, located under the Results grid:
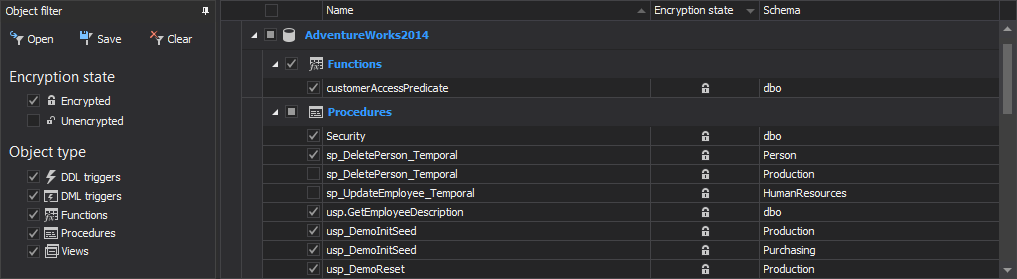
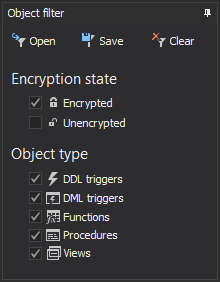
We can filter out the results in the Results grid by using Object filter, where we can define the Encryption state and the Object types we want to include:
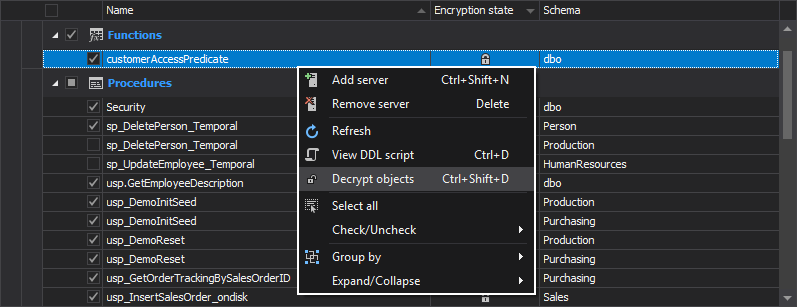
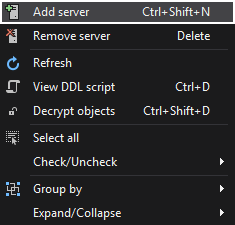
We can use right-click context menu on the selected encrypted objects in the Results grid and decrypt them by clicking on the Decrypt objects option:
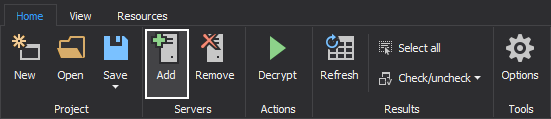
ApexSQL Decrypt has the ability to load multiple servers with corresponding databases in the same Results grid, which we can do by clicking on the Add button located in the Home tab under the Servers group, or selecting the Add server option in the right-click context menu:
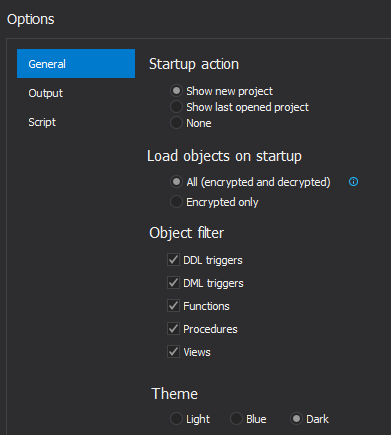
When we click on the Options button from the Home tab, the Options window will appear. In the General tab we can define Startup action, what kind of objects will application load on the startup and also choose the default Object filter options:
Second is the Output tab, which lets us choose the type of Output format and editor we want to use. We can also define default output folder and type of encoding for the decryption script:

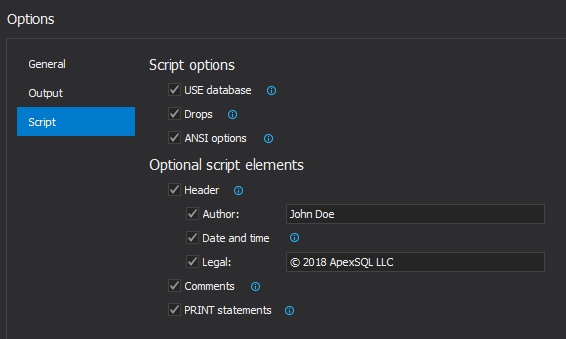
Under the Script tab we can select various Script options, and include Optional script elements that can be added to the decryption script:
When all the desired encrypted objects are selected in the Results grid, we can proceed with the Decryption process by clicking on the Decrypt button:
We are greeted with the Decryption wizard where we can determine the Actions (Create a decryption script or Decrypt now) we want to take:
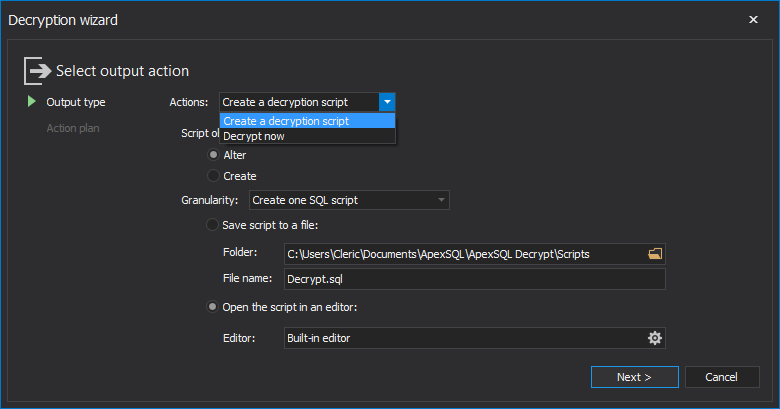
Define the script Granularity, where we can choose to Create one SQL script or one SQL script per object:

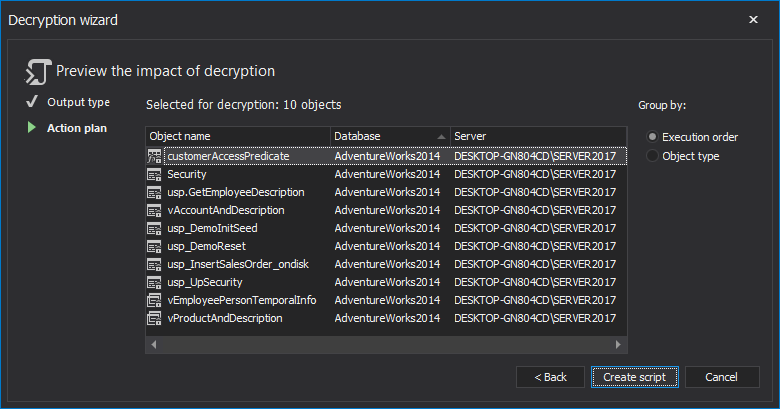
In the last step of the Decryption wizard, we can see the Action plan that shows us what objects are selected for decryption, before we finalize the process and create a script:
ApexSQL Decrypt supports SQL Server Management Studio integration, which once installed, adds the additional option called ApexSQL in the navigation bar of SQL Server Management Studio:
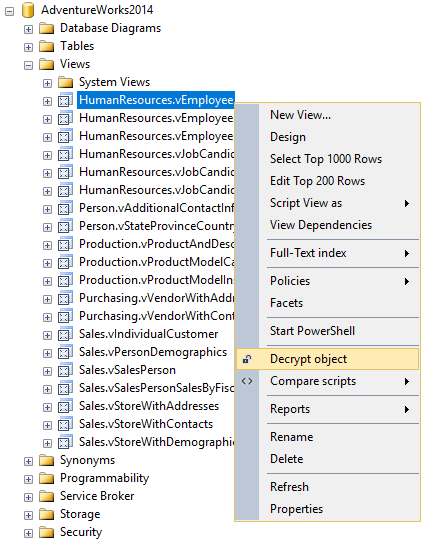
To decrypt an object from the SQL Server Management Studio, right-click on the encrypted object in the Object Explorer and select the Decrypt object option from the context menu:
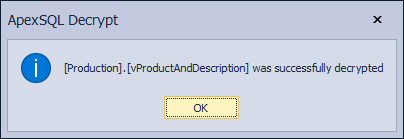
Once the decryption of selected encrypted object is complete, the following message will be shown, that lets us know that the decryption process was successful:
Resources
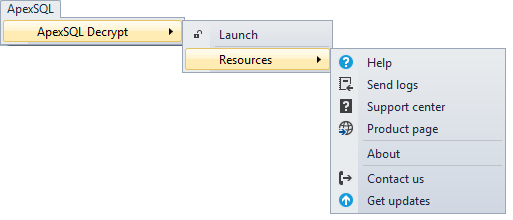
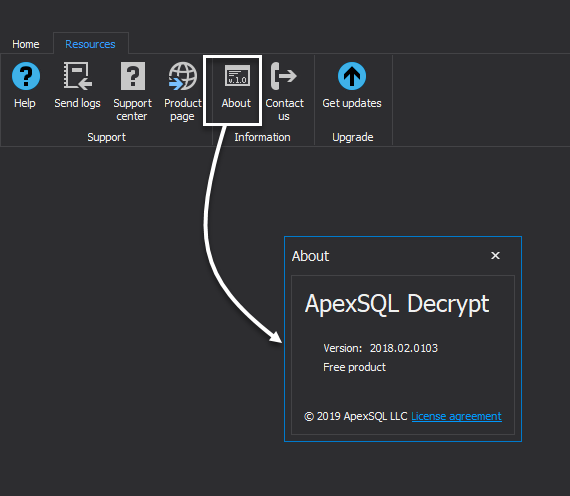
Click on the About button under the Resources tab to show the details of the application version:
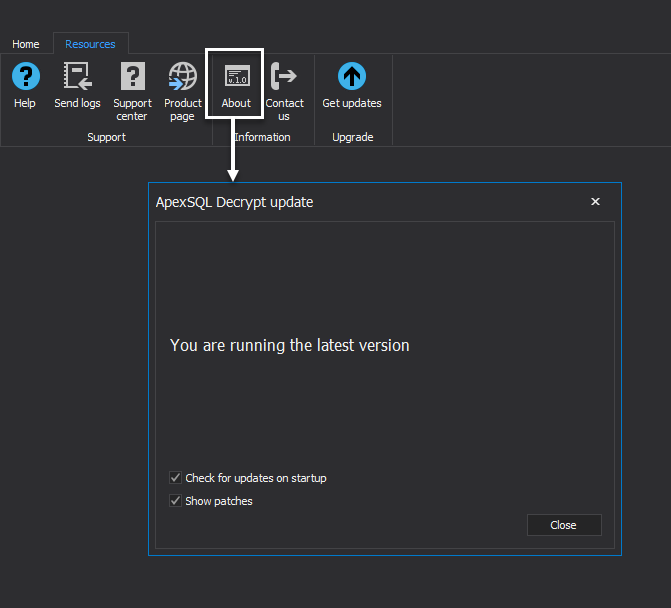
Under the Get updates window, ApexSQL Decrypt offers user enables for the latest available version of the tool, possibility for checking for updates on start and available patches. Click on the Get updates button under the Resources tab, and ApexSQL Decrypt update window will appear:
January 31, 2018


