


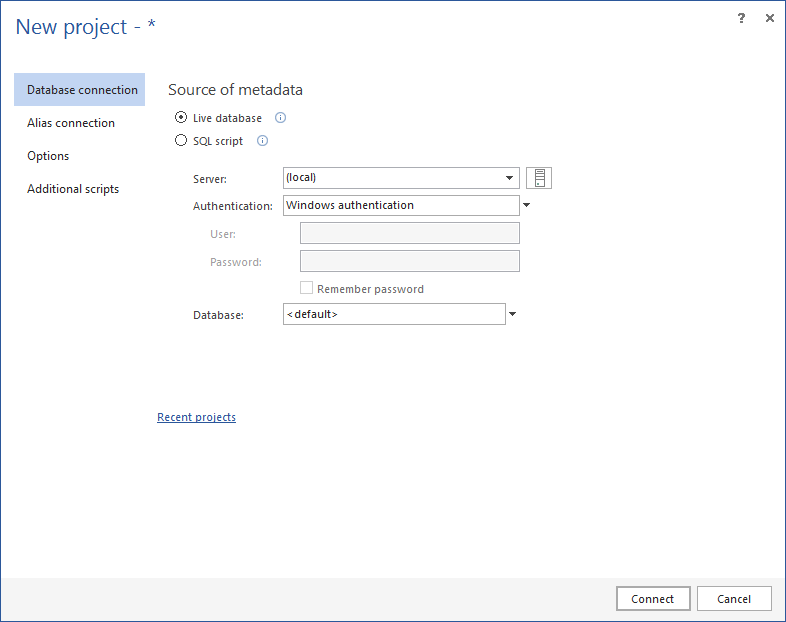
Main form which opens when ApexSQL Generate starts – New project window, Database connection tab, used for setting the Source (if live database is used, here a SQL Server connection and database can be chosen):
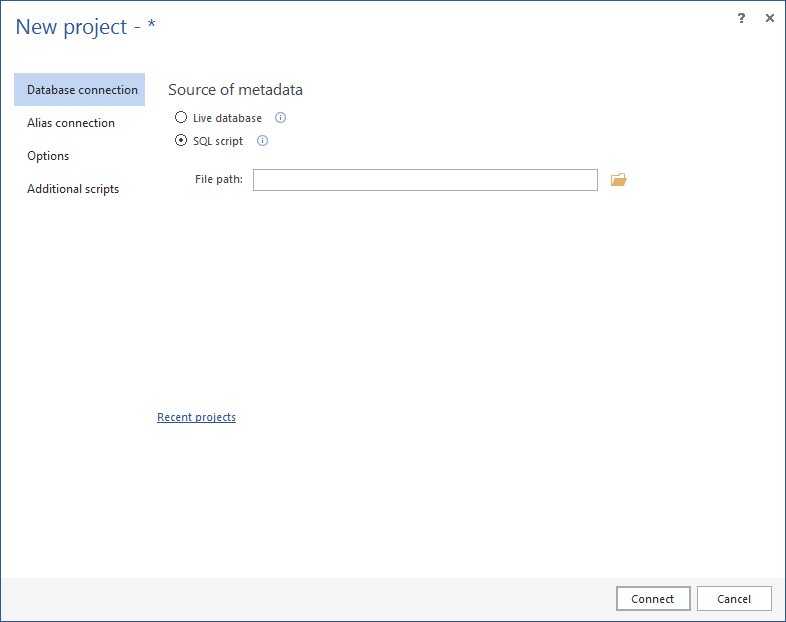
New project window, Database connection tab (if SQL script is used, a file path should be provided):
New project window, Alias connection tab, used if alias connection to database is performed via alias. The form when you want to add a new alias:
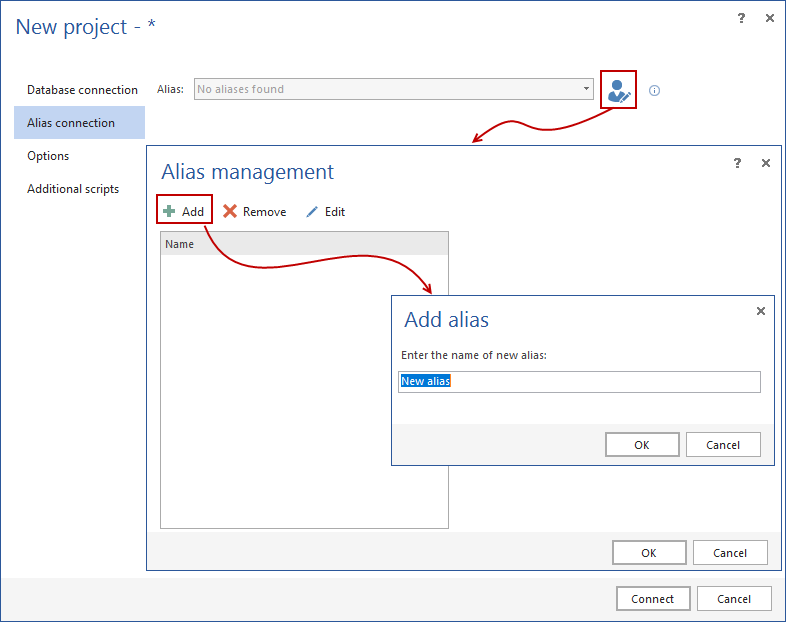
After the name of the alias is created, dialog changes and gives possibility to connect to SQL Server and database:

New project window, Options tab, used for selecting data generation options:
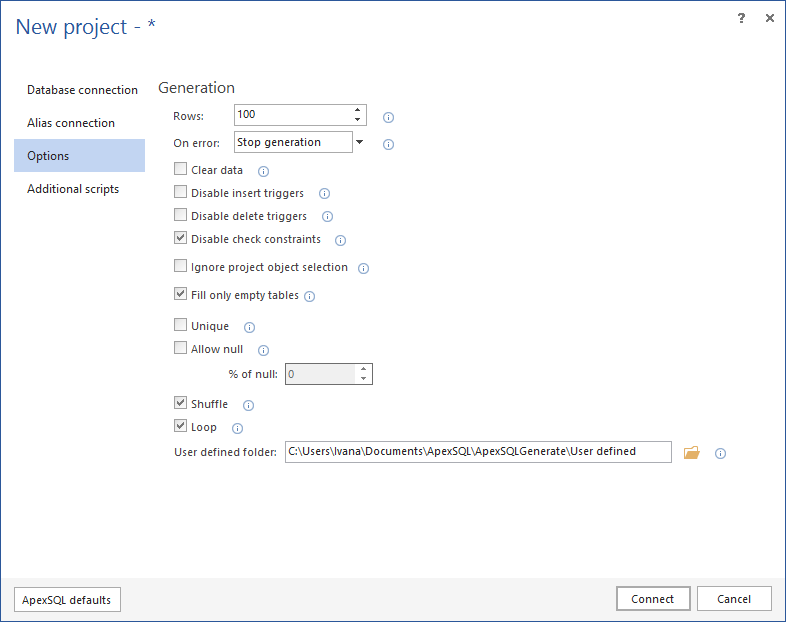
Note: This window can be seen when clicking on the Options button in the Home ribbon bar, under the Database tab.
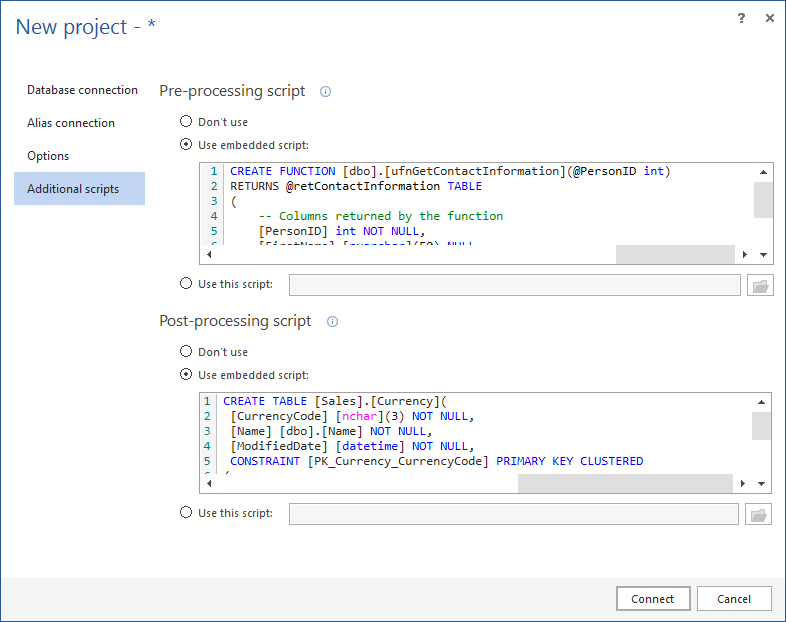
New project window, Additional scripts tab, used for adding pre and post-processing scripts:
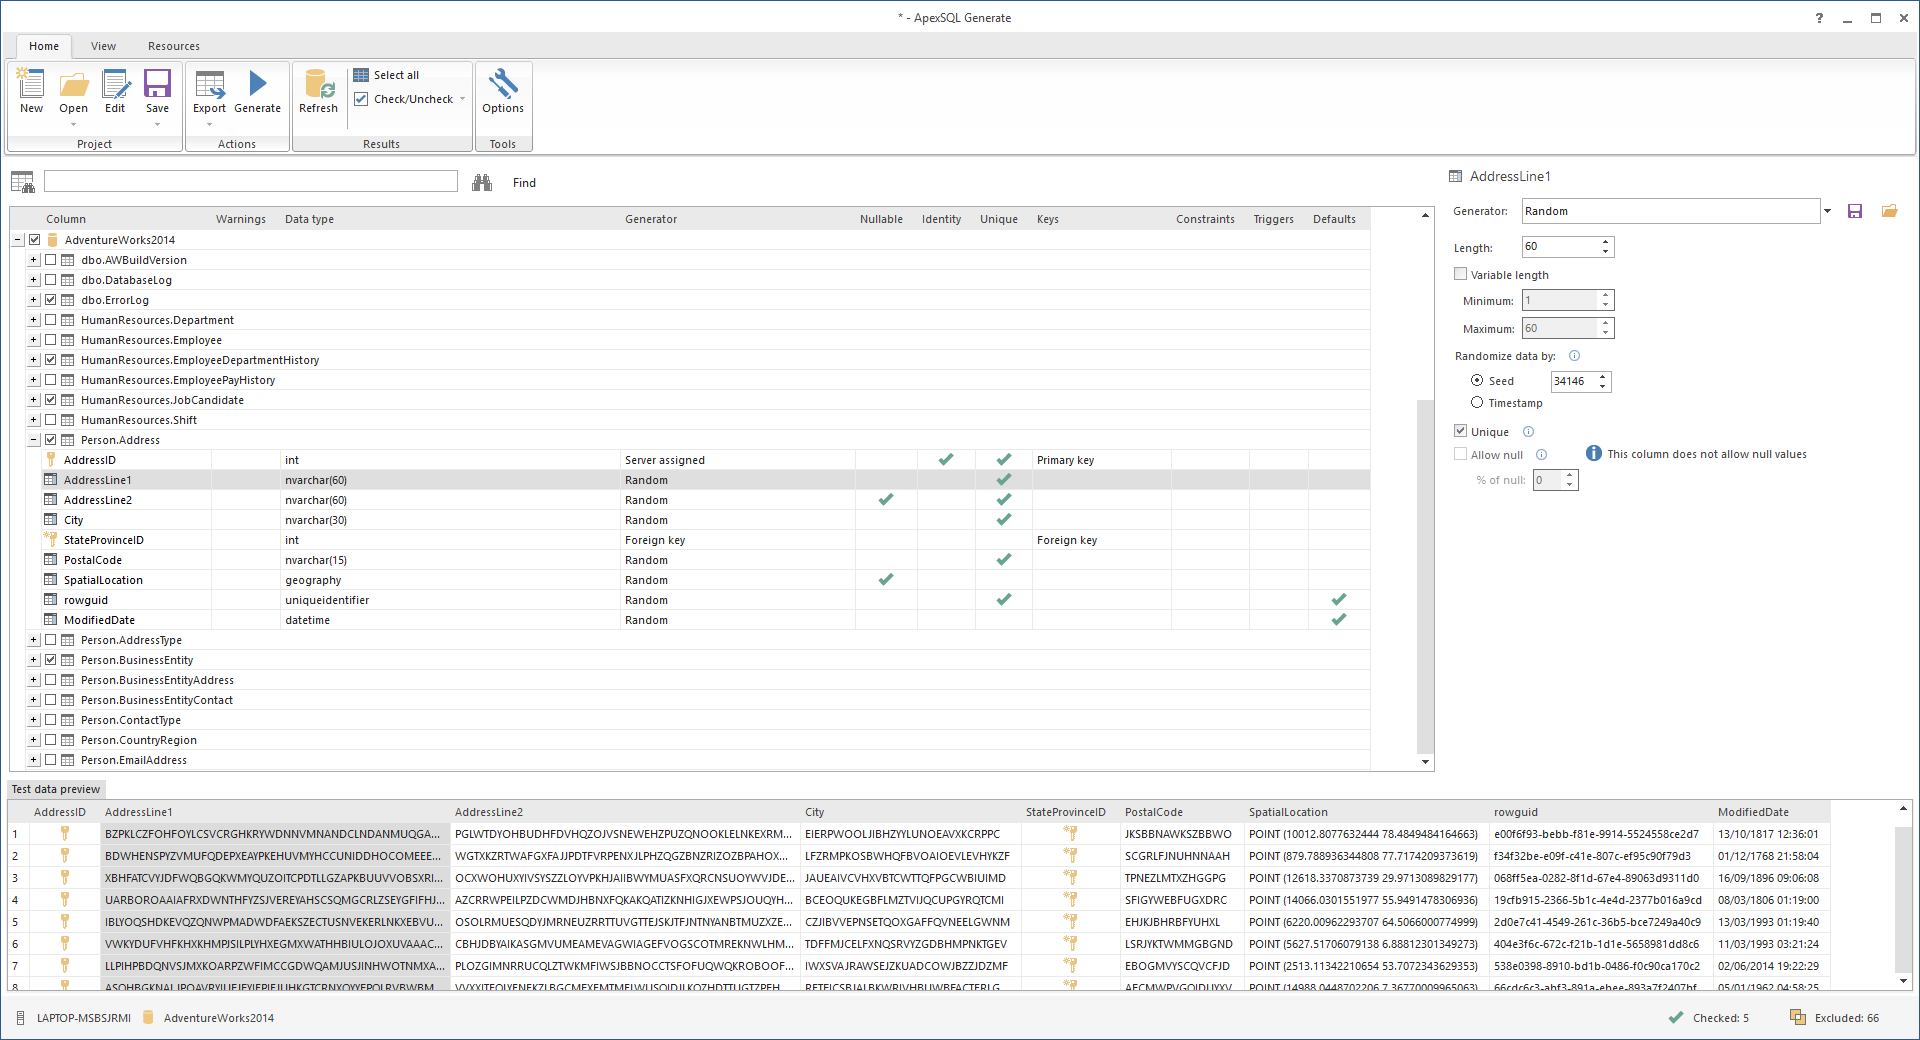
After the Connect button is clicked, main form shows, and it consists of all databases which can be checked/unchecked for data generation. When one column of the table is checked, the generation results will be presented in the bottom of the page:
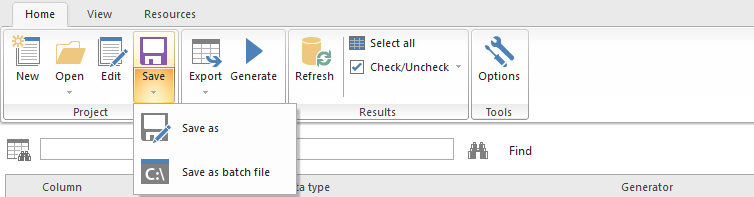
Home ribbon bar in the main form:
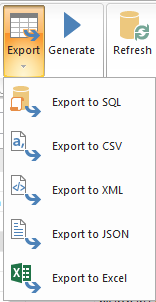
When the Export button is clicked, drop down menu will appear with exporting formats which can be selected:
View ribbon bar in the main form:

Resources ribbon bar in the main form:

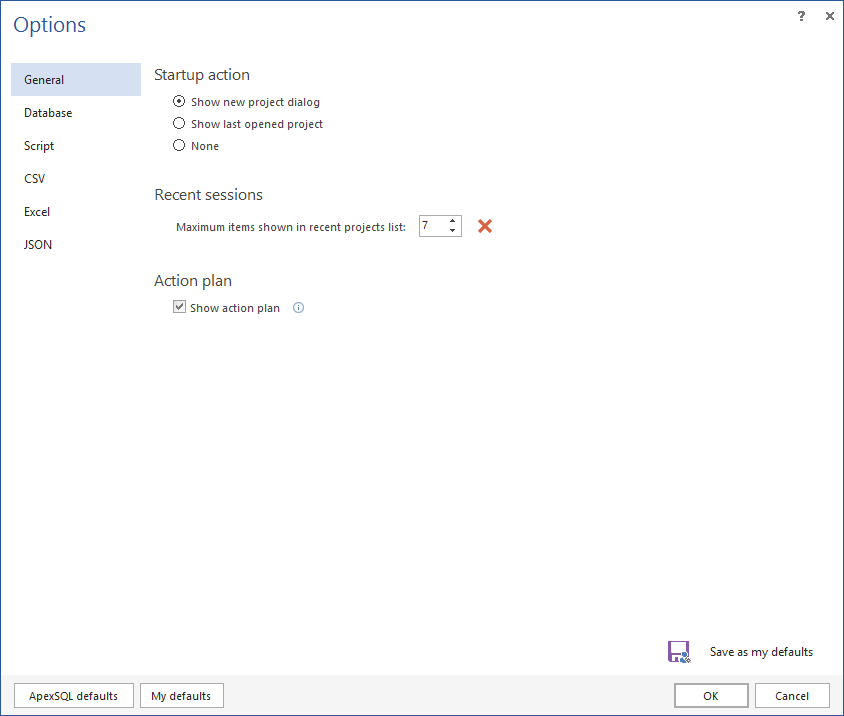
When the Options button is clicked in the Home ribbon bar, General options can be set:
- Startup action
- Recent sessions
- Action plan
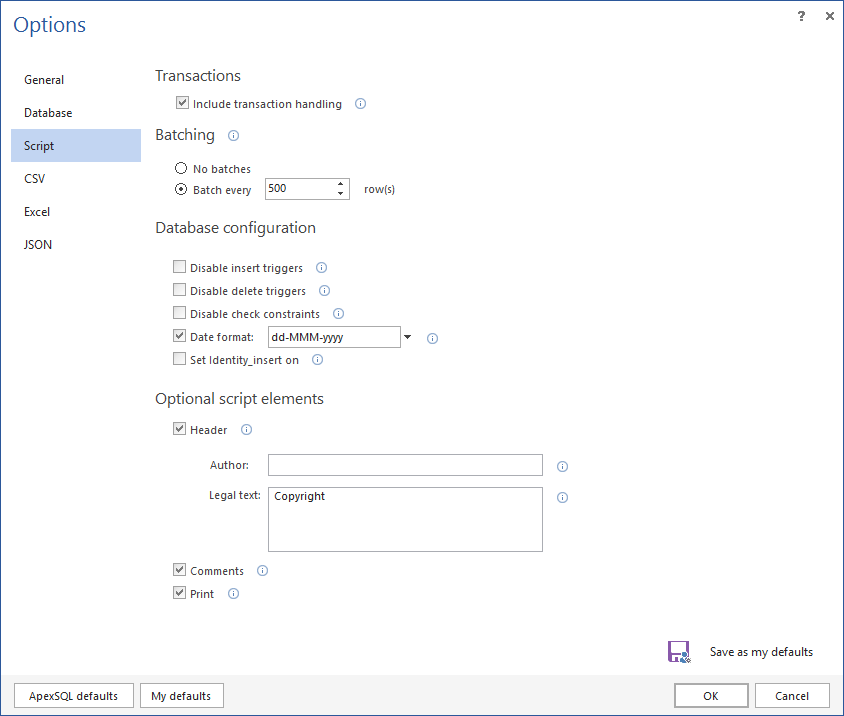
Options window, Script tab, used for setting options like:
- Transactions
- Batching
- Database configuration
- Optional script elements
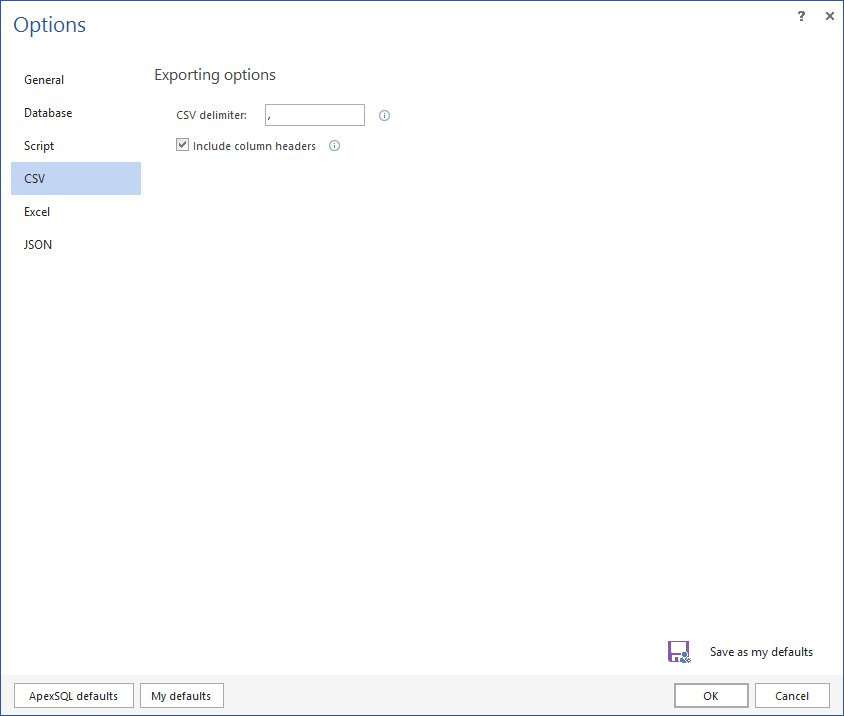
Options window, CSV tab, used for setting CSV exporting options:
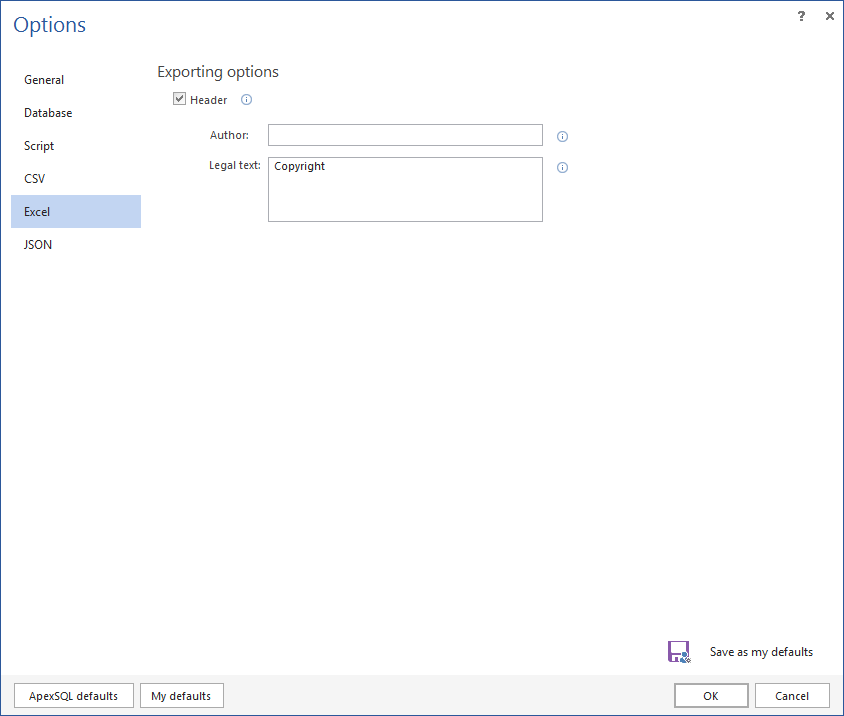
Options window, Excel tab, used for setting Excel exporting options:
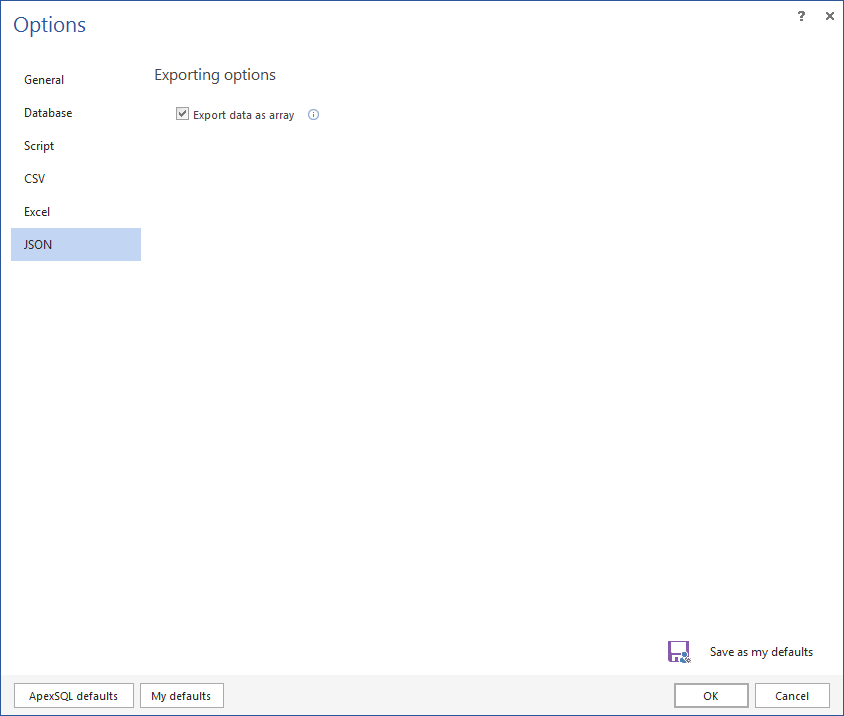
Options window, JSON tab, used for setting JSON exporting options:
Right click on the table or column will open a context menu, where Table mapping feature can be selected:

Table mapping feature, SQL table or view tab, used for database connection setup and to apply mapping:
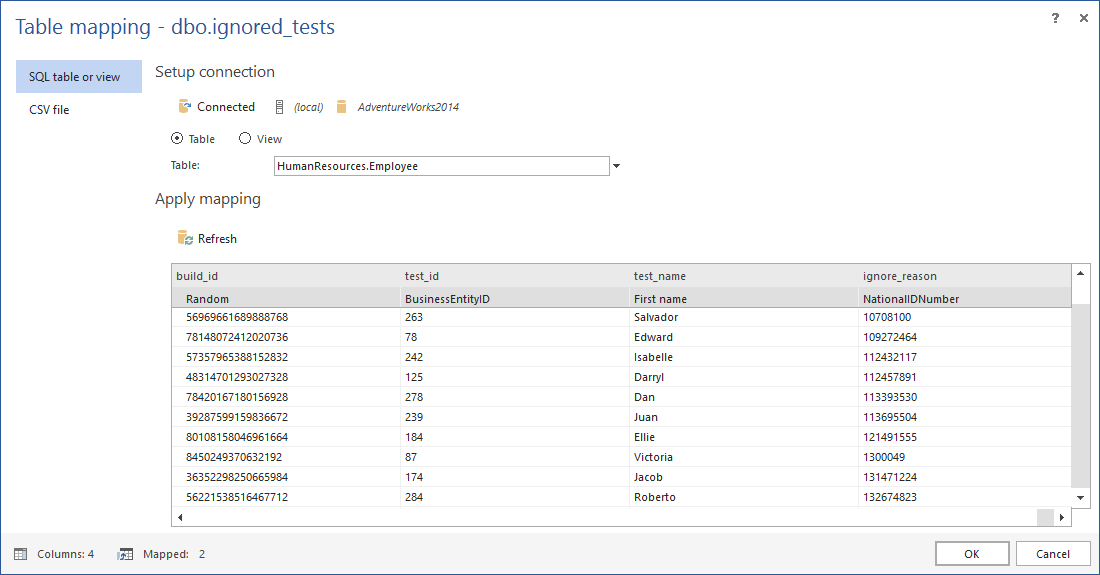
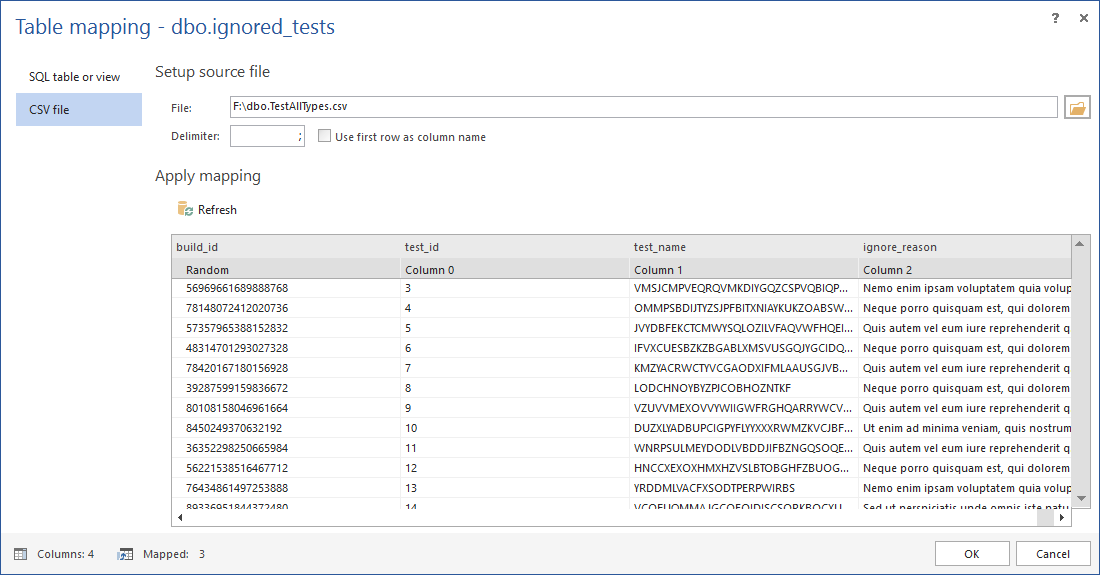
Table mapping feature, CSV file tab, used for selecting a source file and to apply mapping:
On the right side of the main form data generators can be selected, along with some other generating options, when one column is chosen:
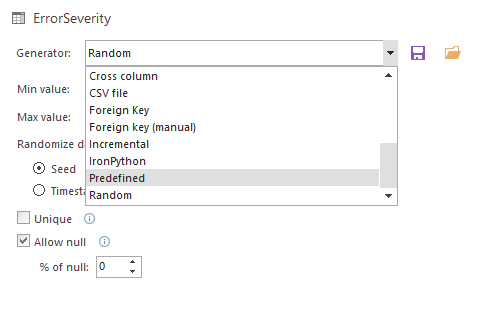
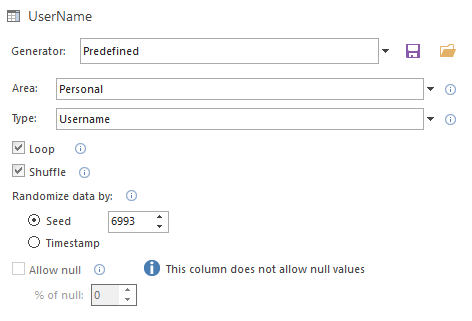
When the predefined generator is selected, Area and Type of that generator can be selected:
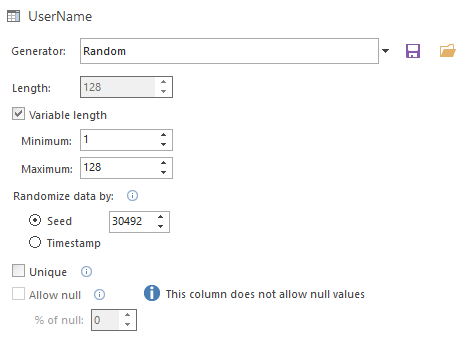
When the random generator is selected, Variable length can be specified:
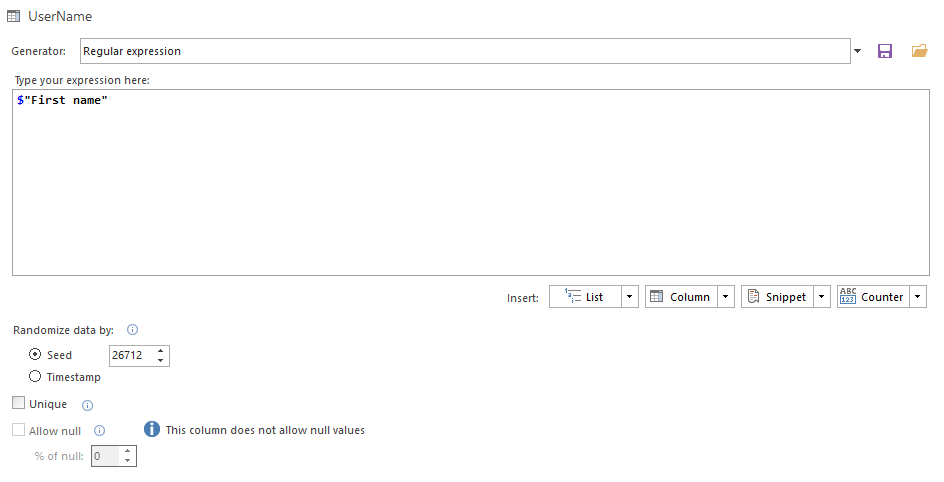
When the Regular expression generator is selected, text box shows where expression can be written:
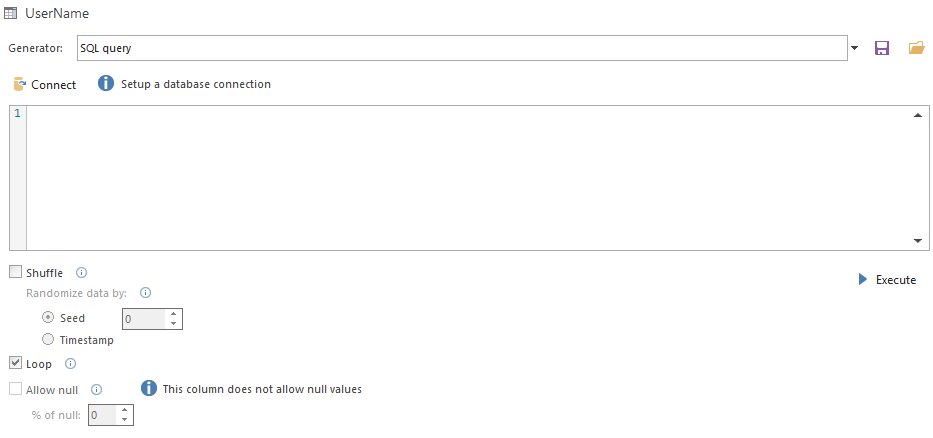
For the SQL query generator, there is also a text box available for writing the query and the Execute button:
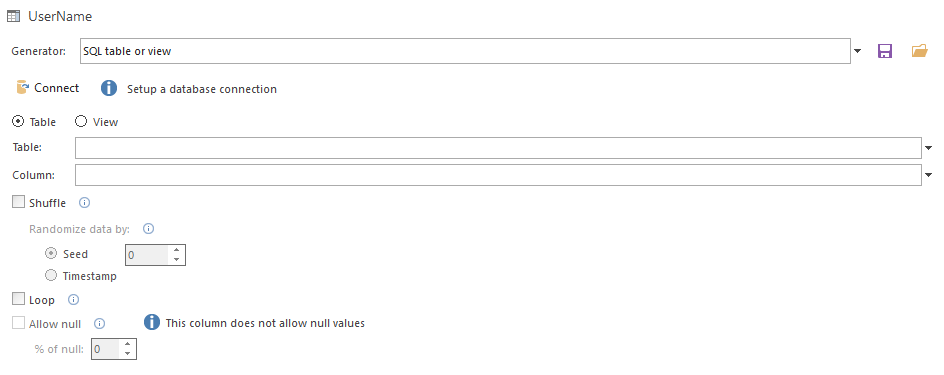
For the SQL table or view generator, a database connection should be provided and table and column can be selected:
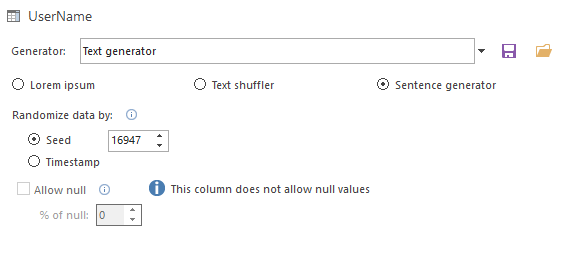
For the Text generator three options are available for selection:
- Lorem ipsum
- Text shuffler
- Sentence generator
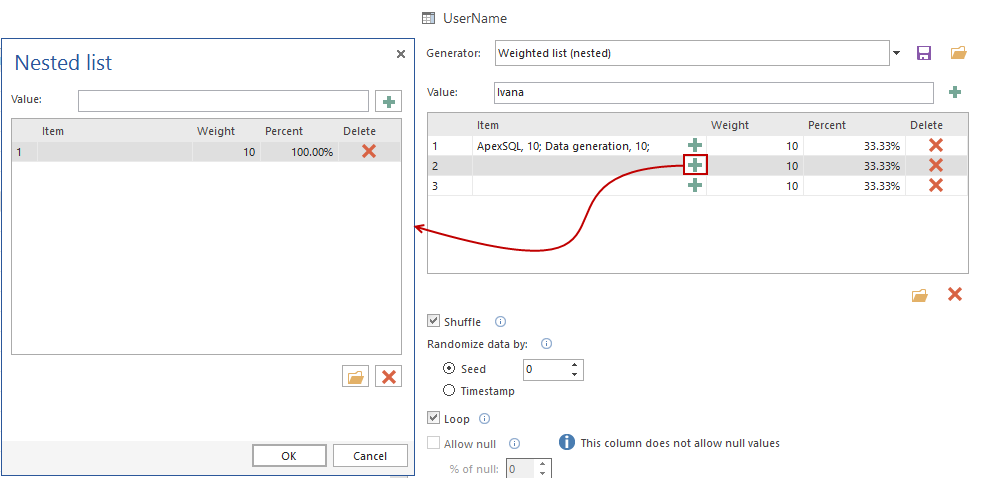
When the Weighted list (nested) generator is selected, Items, Weight, and Percent can be added on the plus (+) sign:
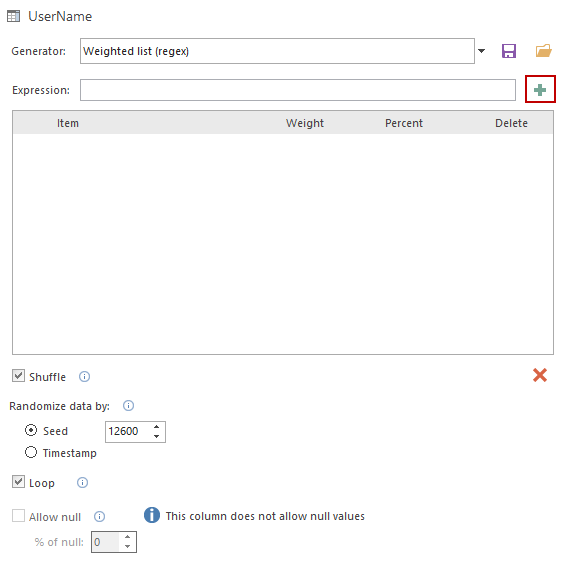
For the Weight list (regex) generator, expressions can be added on the plus (+) sign:
When the Cross column generator is selected, type can be chosen and Expression can be written in the text box:
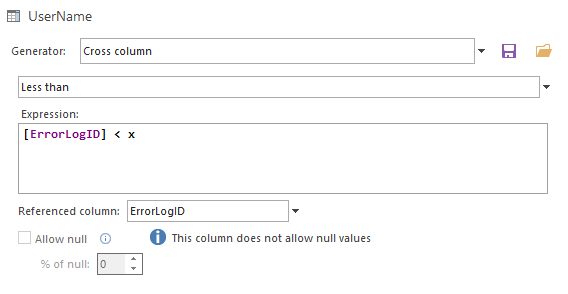
Note: In case that Initials type is selected, First name and Last name can be selected from the drop down menus, instead of Expression box.
When the Generate button is clicked in the Home ribbon bar, an Action plan window shows, where all actions that will be taken are presented:

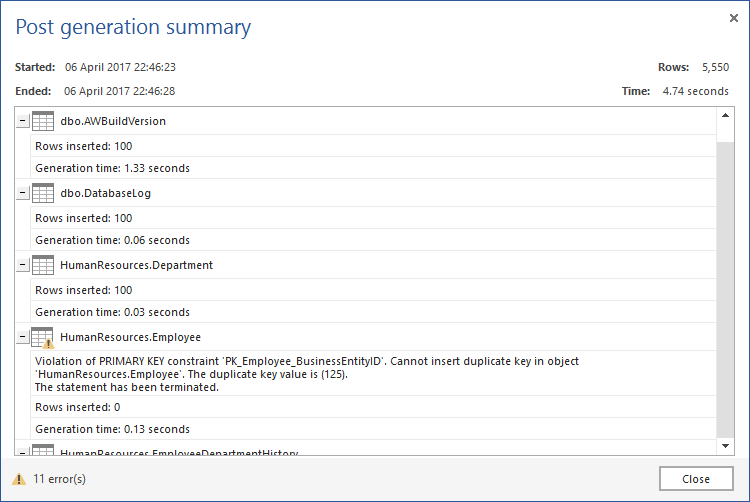
When the data generation process is finished, the Post generation summary window will be shown, where number of inserted rows and errors, if there were any, can be seen:
ApexSQL Generate can be started from the SQL Server Management studio:
- ApexSQL tab ApexSQL Generate
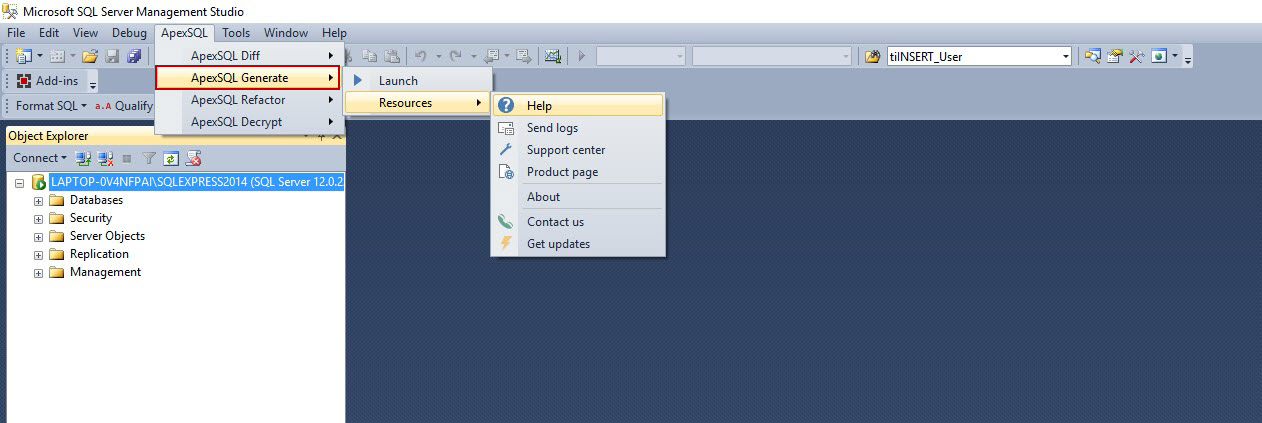
Note: The Launch button will start the application.
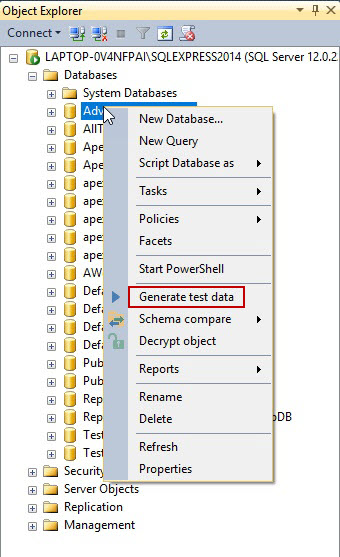
If you right-click on the database for which you want to generate data, the following context menu will appear in which the Generate data button will run the application, if clicked:
April 11, 2017


