


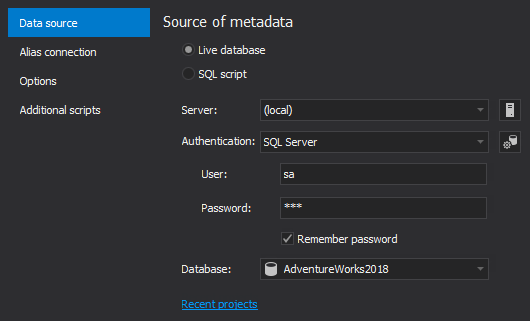
Once ApexSQL Generate is started, the New project window is shown. In the first Data source tab, the source of metadata can be defined. It can be chosen between a live a database of SQL script. If the Live database data source is chosen, SQL Server, the way of authentication and a database can be provided:
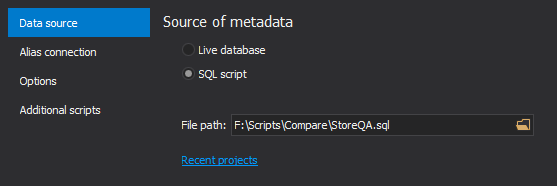
If the SQL script data source is selected a file path for a database SQL script should be provided:
The next tab is the Alias connection tab, in which alias connection for a database can be set using the custom alias. To create a new alias, click the Alias management button in the Alias connection tab, next to the Alias drop-down list. The Alias management window will be shown and then click the Add new connection alias button where a name of a new alias should be provided:
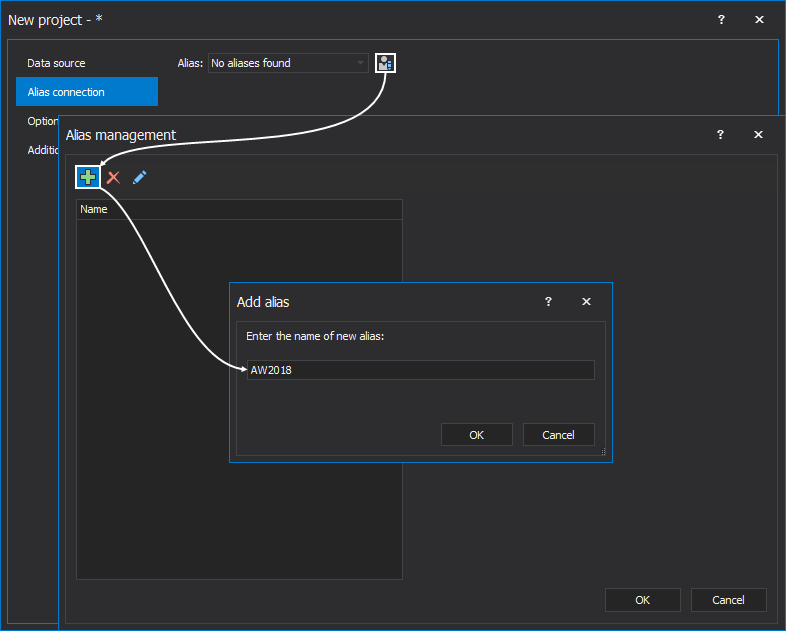
Once the alias name is provided, its name will be shown in the list on the left side, while connection to SQL Server, the authentication way and a database can be set on the right side:

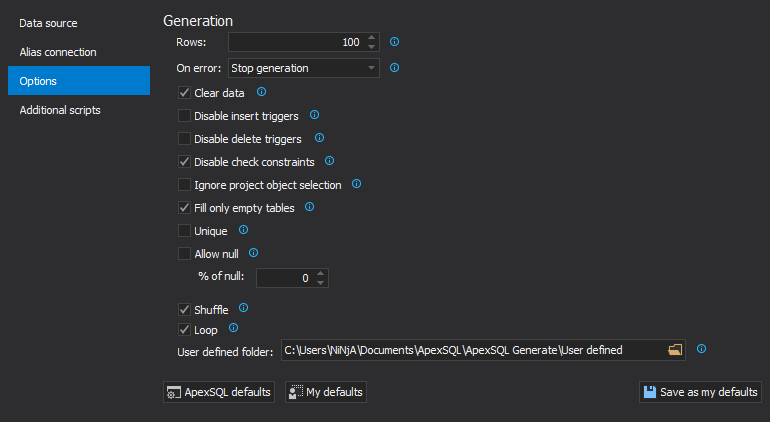
The Options tab of the New project window contains data generation options that can be set based on preference:
Note: These options and more can be set as well from the Options window that can be initiated with a click on the Options button, under the Home ribbon bar.
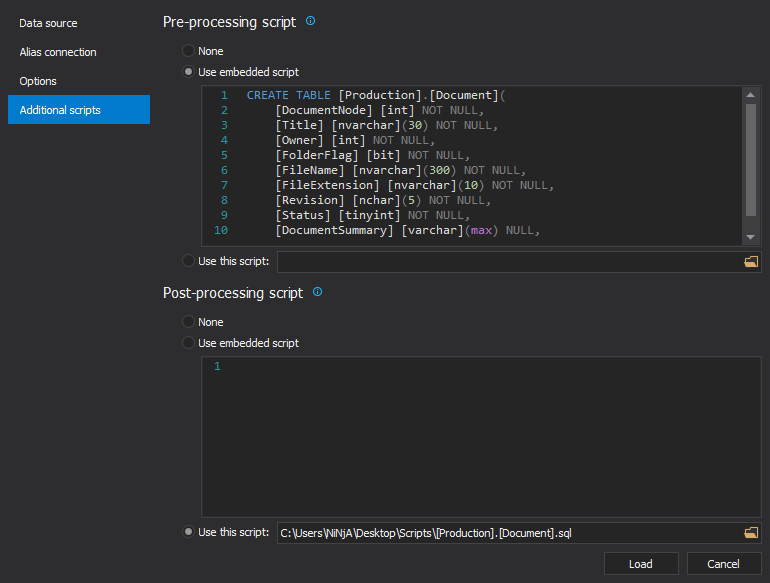
The last, but not the least, is the Additional scripts tab, in which pre and post processing scripts can be set to be executed before or after the data generation script:
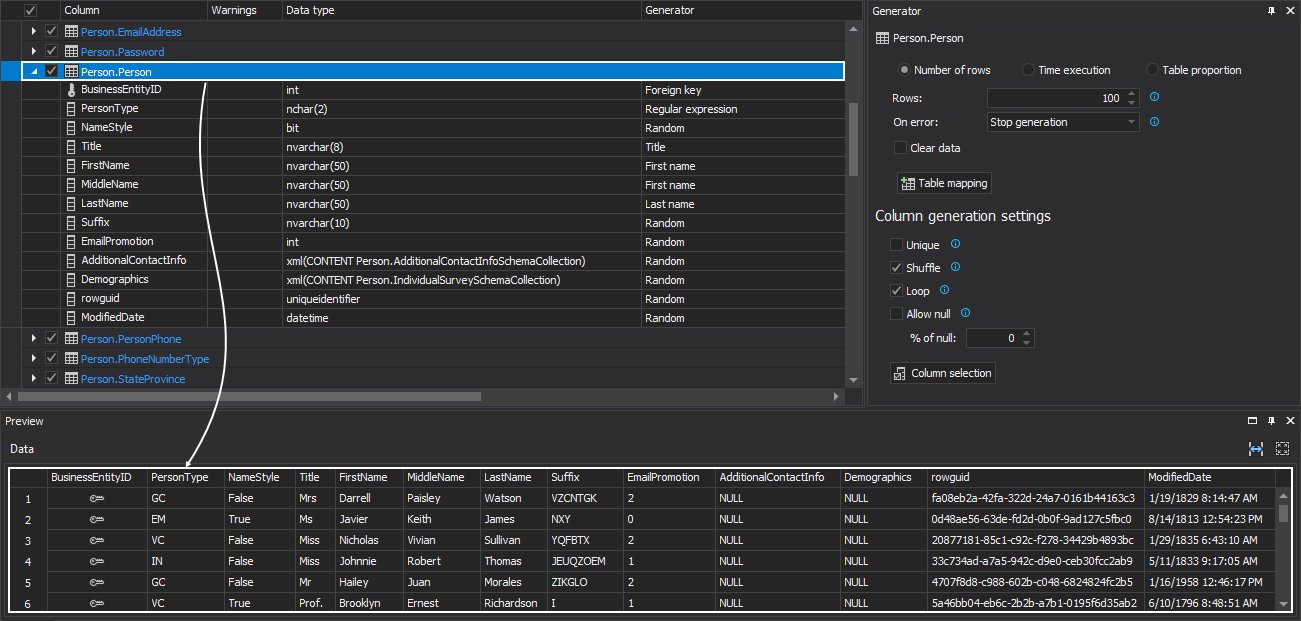
Once everything is set and the Load button is clicked, the main application window is shown along with loaded database/SQL script and its tables that are all checked for data generation by default. When a table or column is selected, the test data that will be included in the populate script will be shown in the Preview panel below the main grid:
ApexSQL Generate consists of 3 ribbon bars in the main application window:
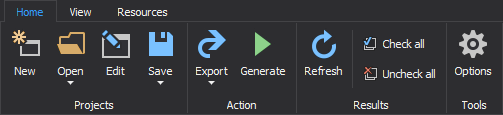
- Home ribbon bar:
- View ribbon bar in the main form:

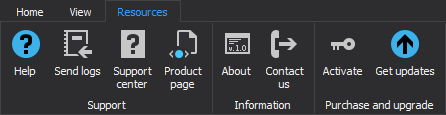
- Resources ribbon bar in the main form:
In addition to these buttons, the following ones have their sub-buttons/commands in the Home ribbon bar:
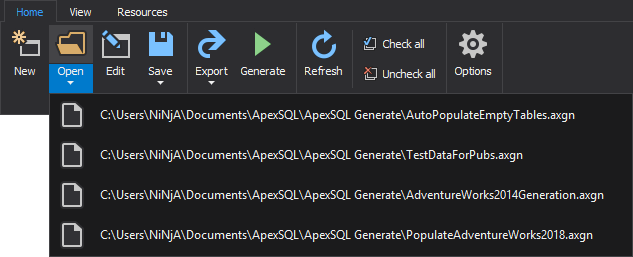
- Open button has its drop-down list from which recently saved projects can be opened:
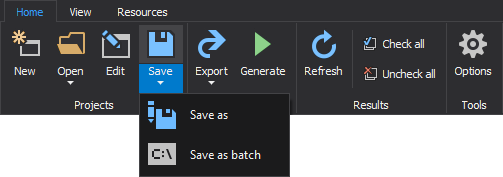
- Save button its drop-down list from which project can be saved with different name or as a batch script:
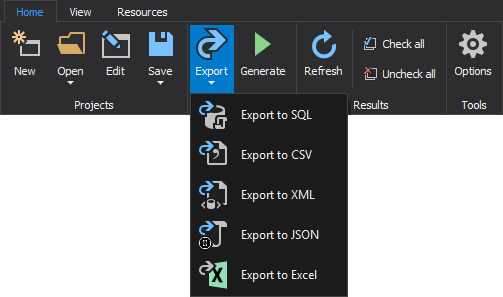
- Export button opens drop-down list from which different exporting formats for data generation can be selected:
With a click on the Options button from the Home ribbon bar, the Options window is open with the following tabs:
-
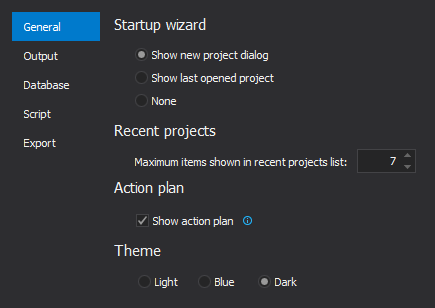
The General tab contains options for setting up the Startup wizard, Recent projects, Action plan and Theme:
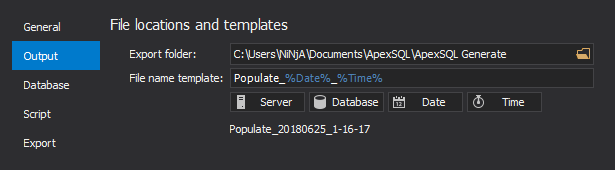
- The Output tab contains options for setting up the File locations and templates:
-
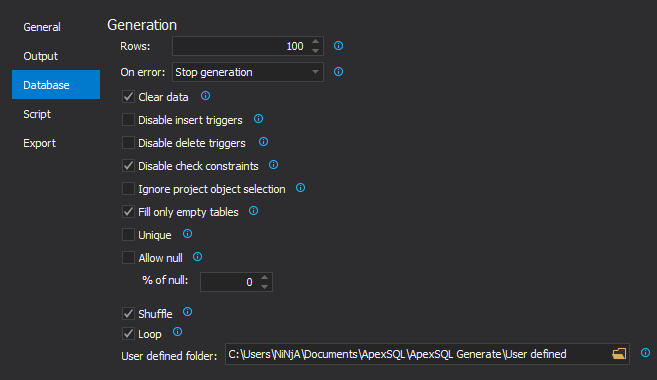
The Database tab contains the same set of options that can be set under the Options tab of the New project window:
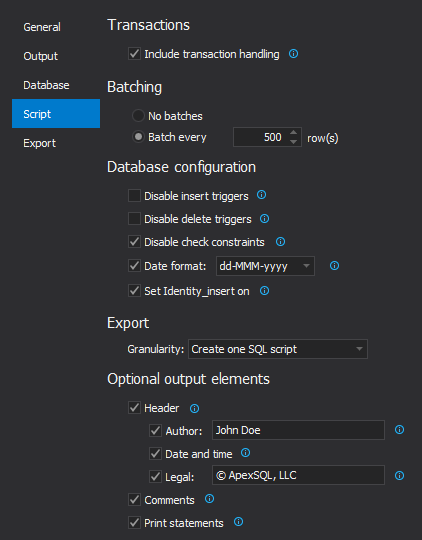
- The Script tab contains options for setting up Transaction handling, Batching, Database configuration, Granularity, and Option output elements for created SQL script:
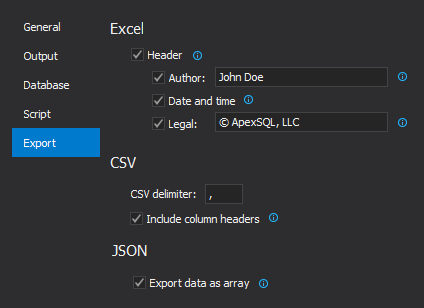
- The last tab in the Options window is the Export tab that contains options for setting up Excel, CSV and JSON export options:
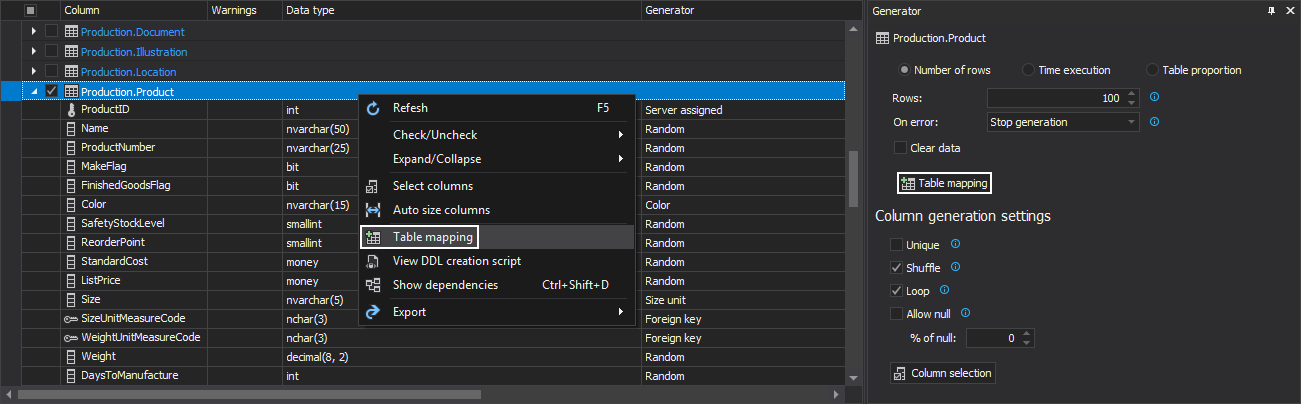
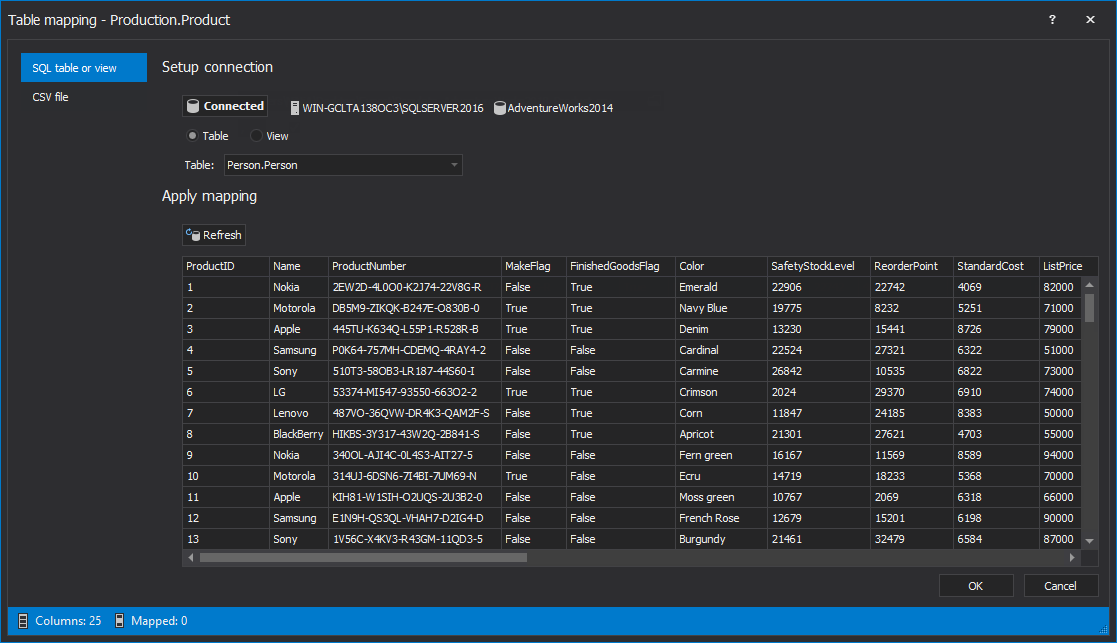
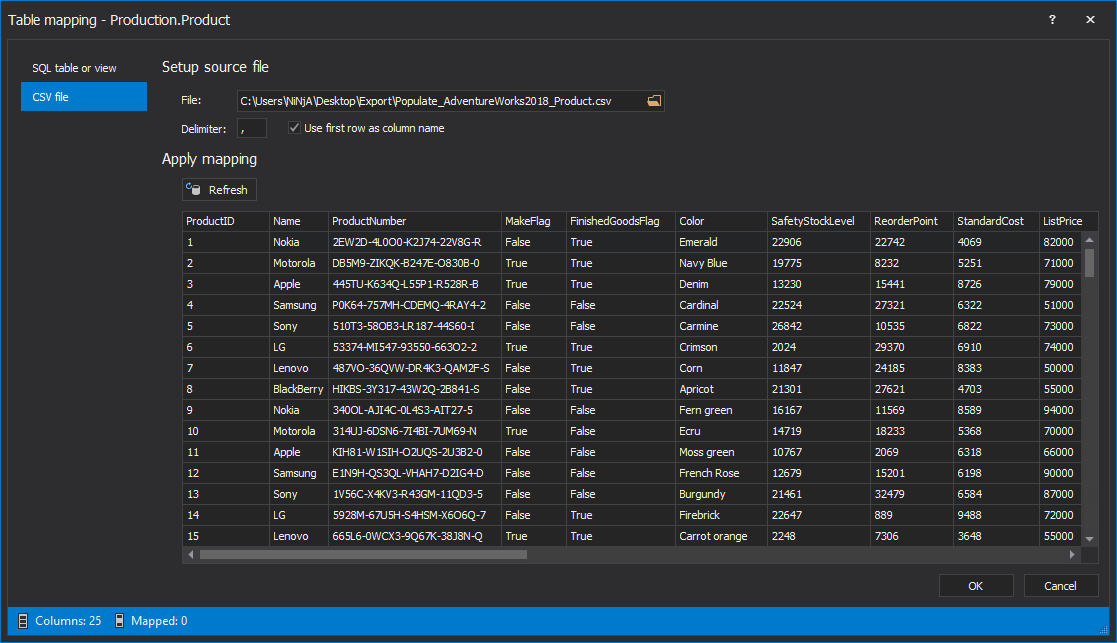
The Table mapping feature can be initiated from the right-click context menu in the main grid or with a click on the Table mapping button in the Generator panel on the right side of the main grid:
Once the Table mapping window is shown, in the first SQL table or view tab, connect to a server where a database is located and then use its table or view as a source:
In the CSV file tab, a CSV file can be loaded and used as a source for table mapping:
For each column, a different generator can be set, along with its options in the Generator panel on the right side of the main grid:

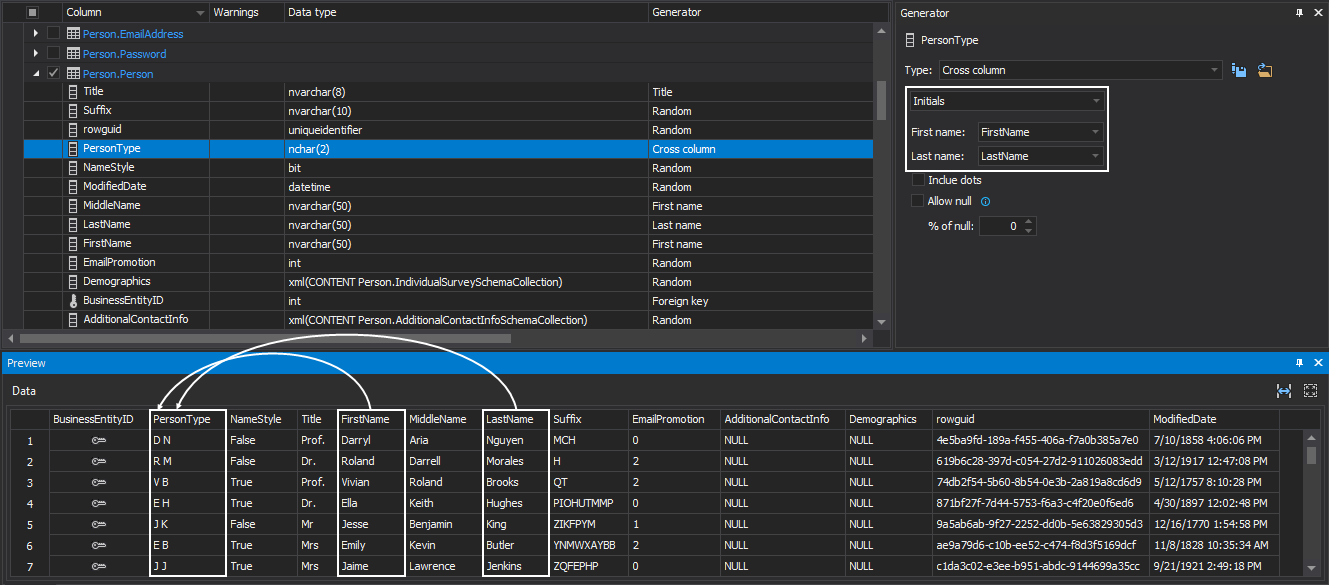
- When the Cross column generator is selected, its different types can be chosen and expression can be provided in its text box:
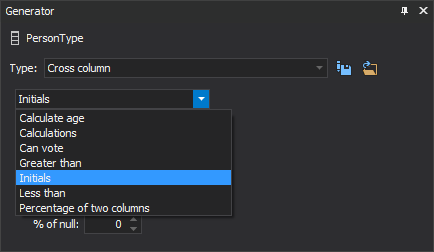
The only type that doesn’t require expressions is the Initials type, and in this example for the First name and Last name corresponding columns are selected from the drop-down lists:
-
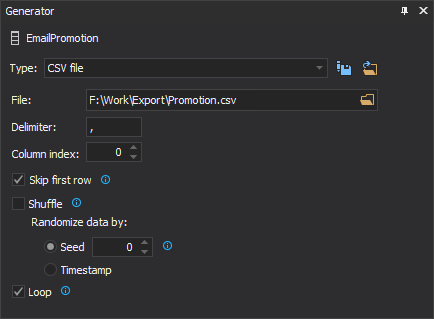
The CSV file generator allows users to load and use CSV file as a source of data for a selected column:
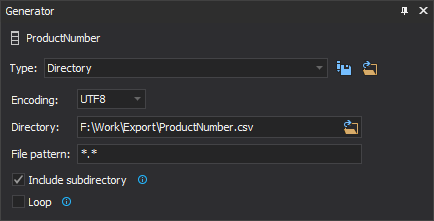
- The Directory generator allows users to set desired directory and use any files and its content as a source of data for a selected column:
-
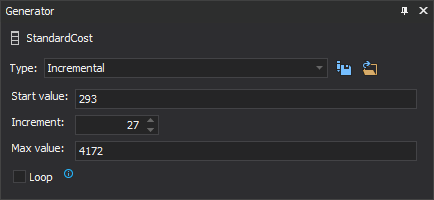
When the Incremental generator is selected, the Start/Max values can be set, along with the Increment number:
-
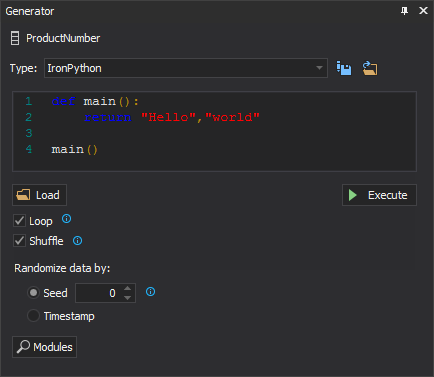
The IronPython generator can generate data by using the custom Python code:
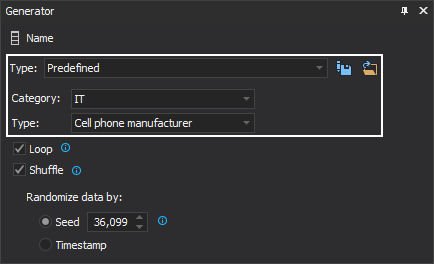
- When the Predefined generator is selected for a column, different predefined Category and Type can be set:
-
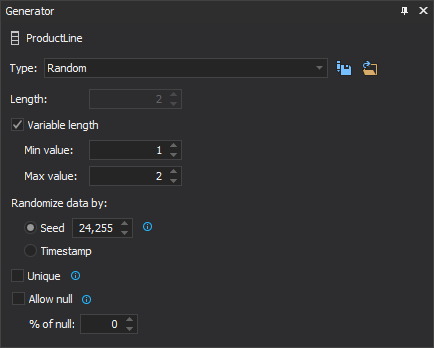
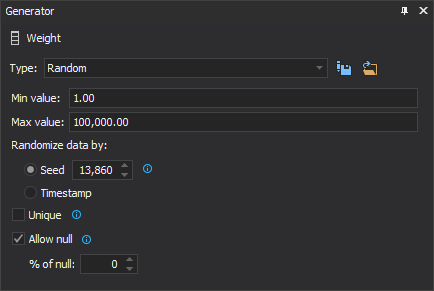
Depending of the column data type, the Random generator can have different options:
- Variable length:
- Min/max value:
- Start/end values:
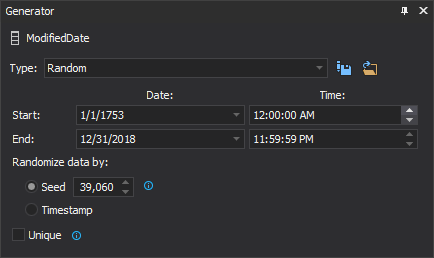
- Variable length:
-
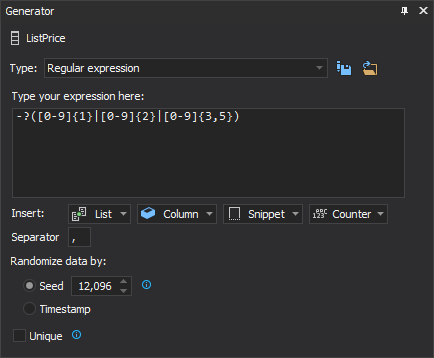
With selection of the Regular expression generator, its text box will be shown and custom regular expression can be typed:
-
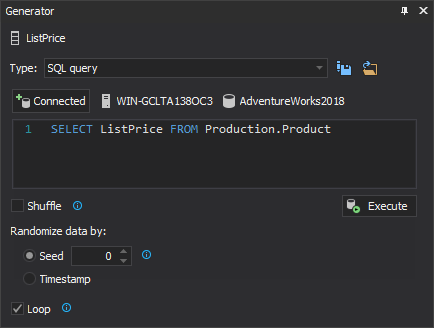
With selection of the SQL query generator, first the connection to an SQL Server and database needs to be established. Afterwards, a query can be written in its text box and upon a click on the Execute button, test data will be shown in the Preview panel:
-
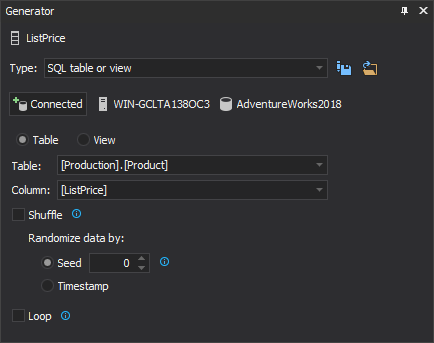
With selection of the SQL table or view generator, first the connection to an SQL Server and database needs to be established. Afterwards, table or view should be selected, along with the corresponding object and column from which data will be used:
-
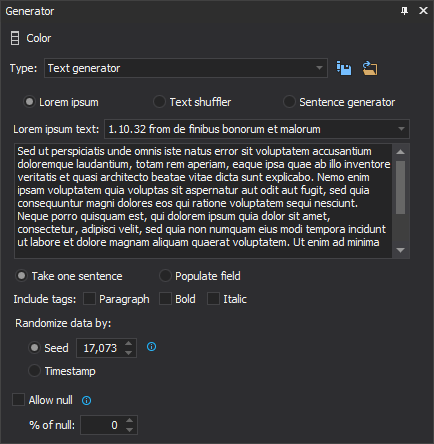
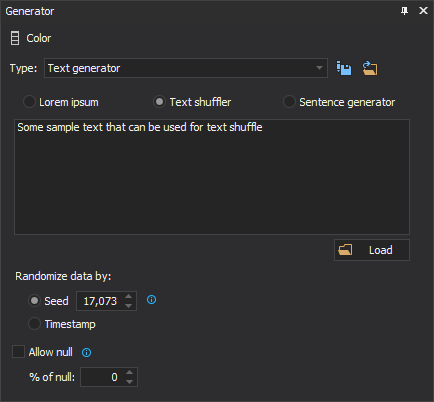
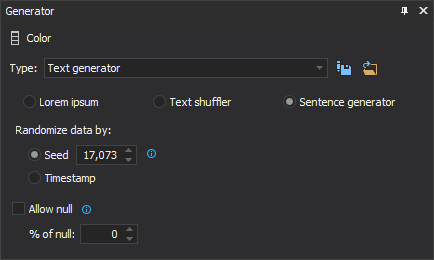
Three different version of Text generator can be set:
- Lorem ipsum:
- Text shuffler:
- Sentence generator:
-
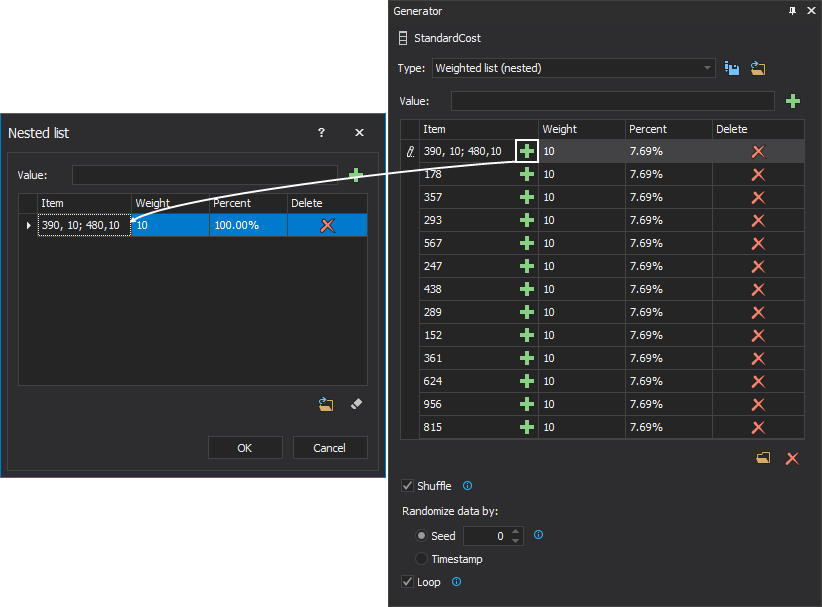
If the Weighted list (nested) generator is selected, values for its list can be entered with the
 button or loaded via the
  button:
- Lorem ipsum:
-
If the Weighted list (ranged) generator is selected, values for its list can be entered by providing range from/to and with a click on the
 button:
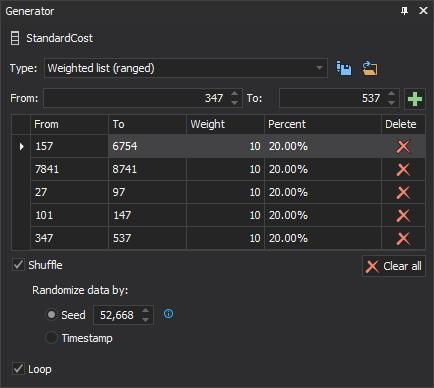
-
If the Weighted list (regex) generator is selected, regular expressions can be added to its list with a click on the
 button:

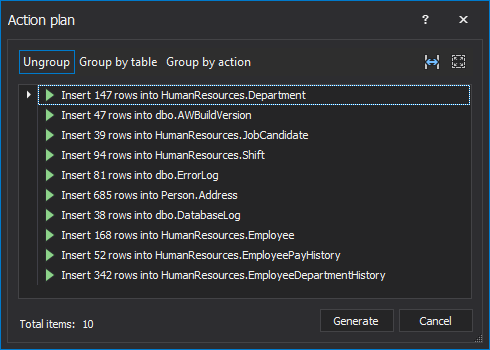
Once all generation options are set, click the Generate button from the Home ribbon bar. The Action plan window will be shown with all actions that will be taken during the execution of the populate script:
After the population process is finished, the Post generation summary window will be shown, where number of inserted rows and errors, if there were any, can be seen:

In addition to the standalone application, ApexSQL Generate can be started from SQL Server Management Studio in two ways:
-
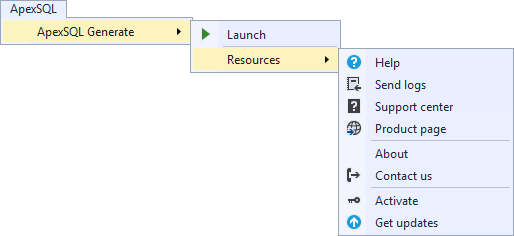
From ApexSQL main menu -> ApexSQL Generate -> Launch. The Launch command will start the standalone application:
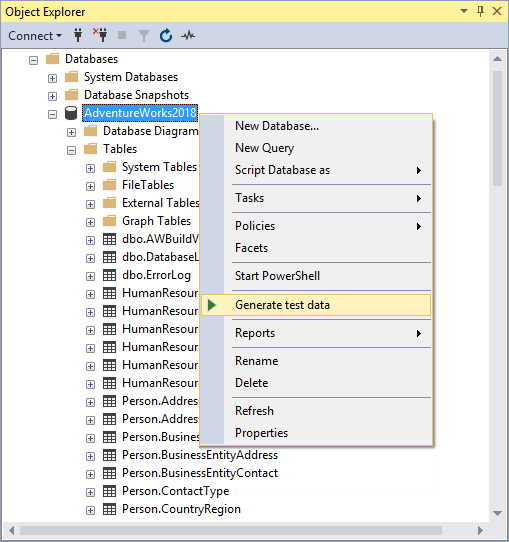
- If a database is right-clicked in Object Explorer of SQL Server Management Studio and the Generate test data command is selected, the complete database will be loaded, with default settings for all tables, in the standalone application:
July 26, 2018


