


ApexSQL Pump is a tool capable to import data and export to different data source files. The application is a standalone with possibility to be run via the CLI. Various import and export files are used such as CSV, SQL database, MS Excel, MS Word and much more.
Installation
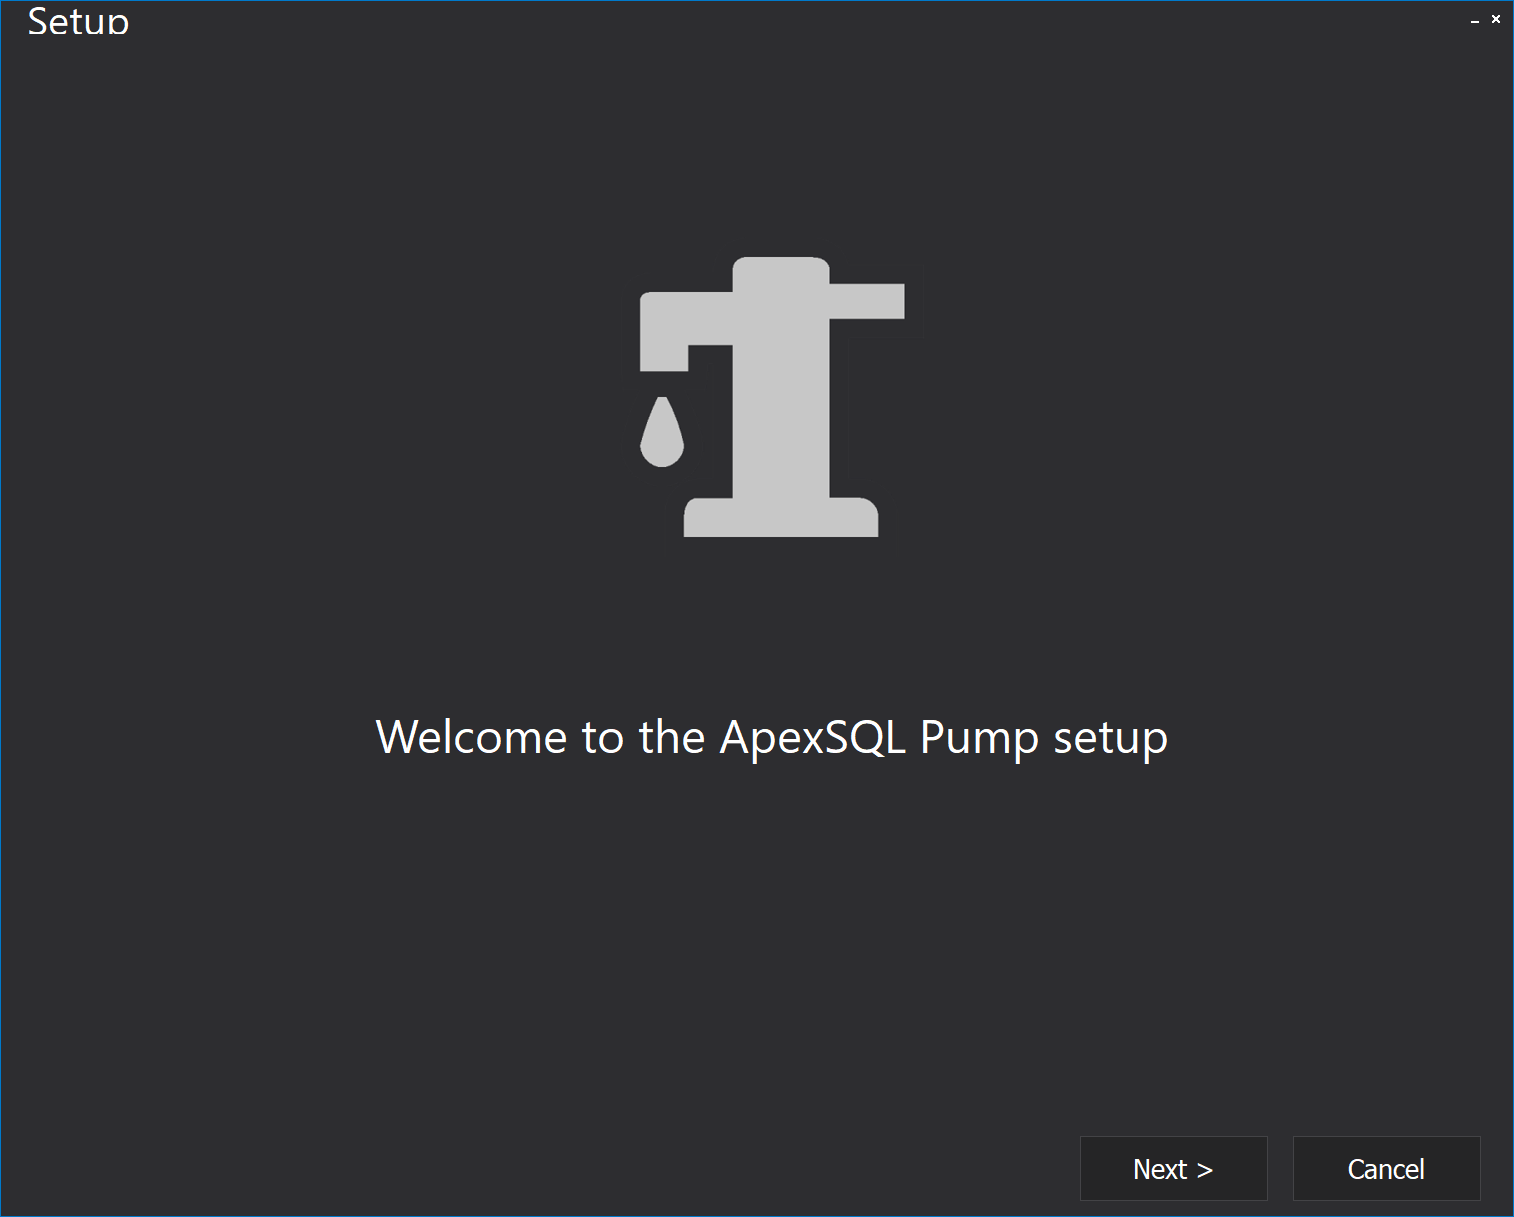
The installer can be downloaded from our download page and running the installer will open the Welcome screen:
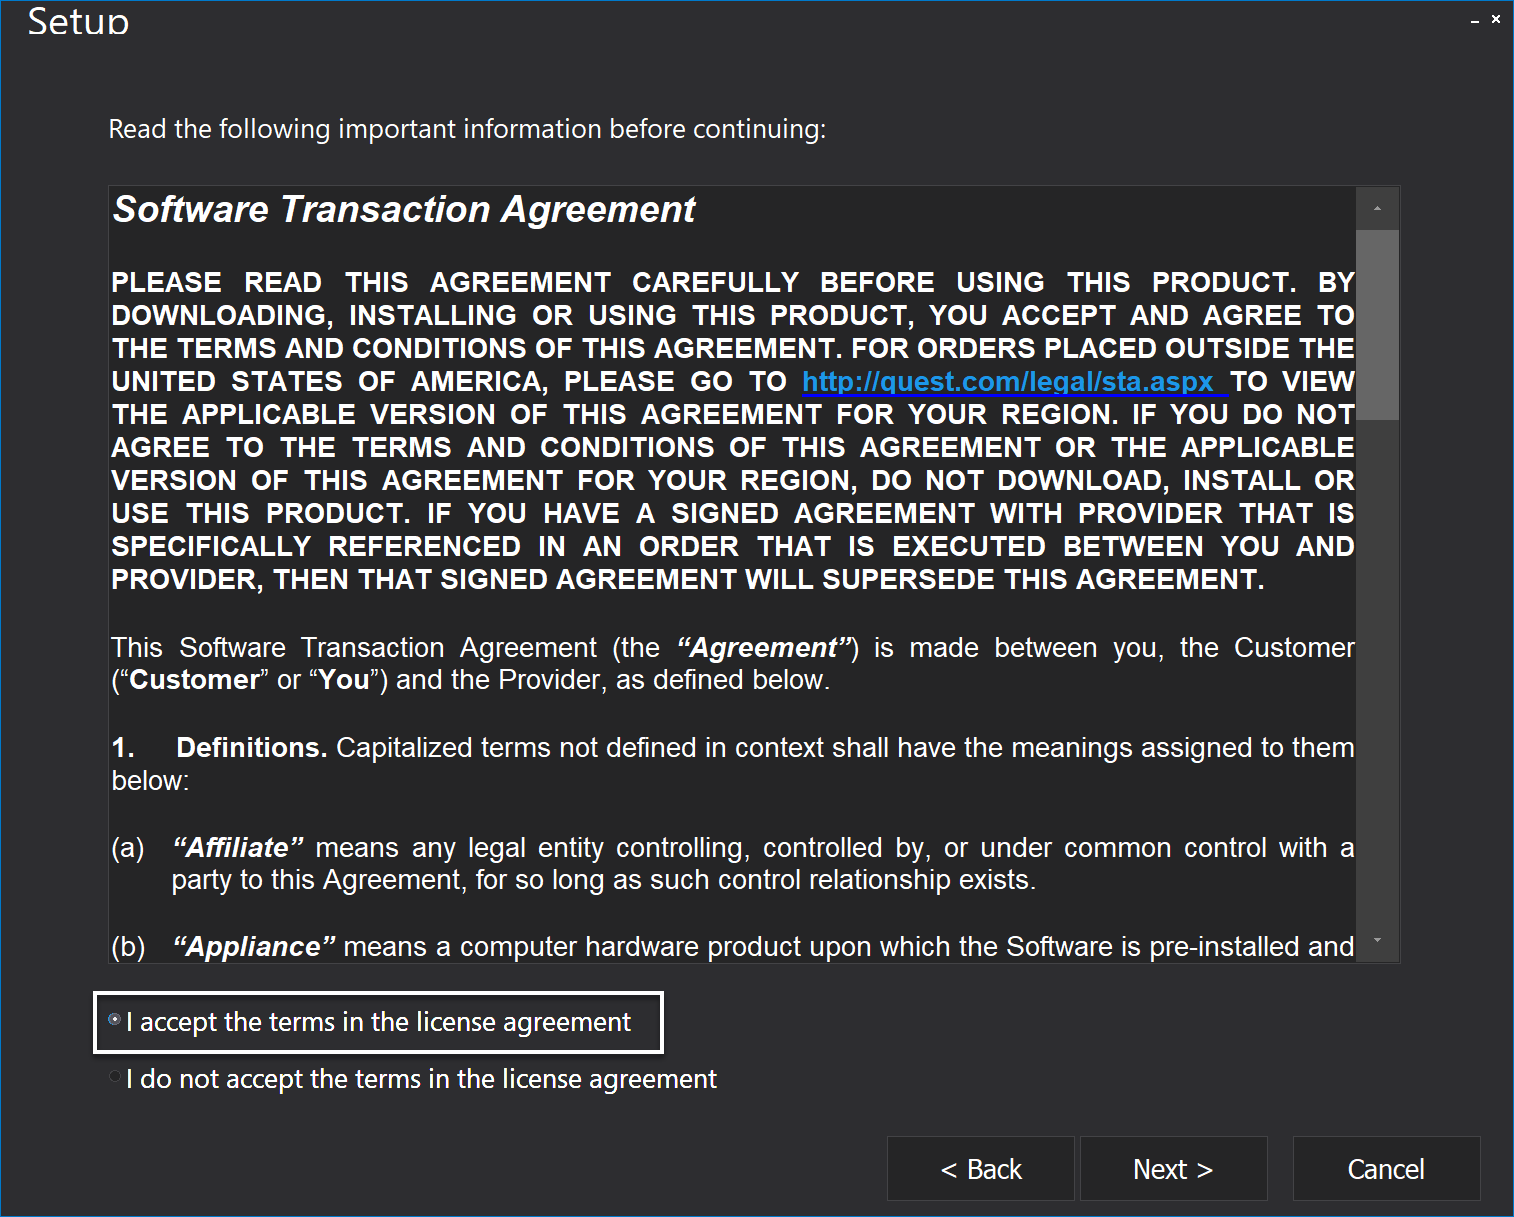
Going on the Next button it will show the STA (Software Transaction Agreement) which has to be accepted in order to proceed further with the installation:
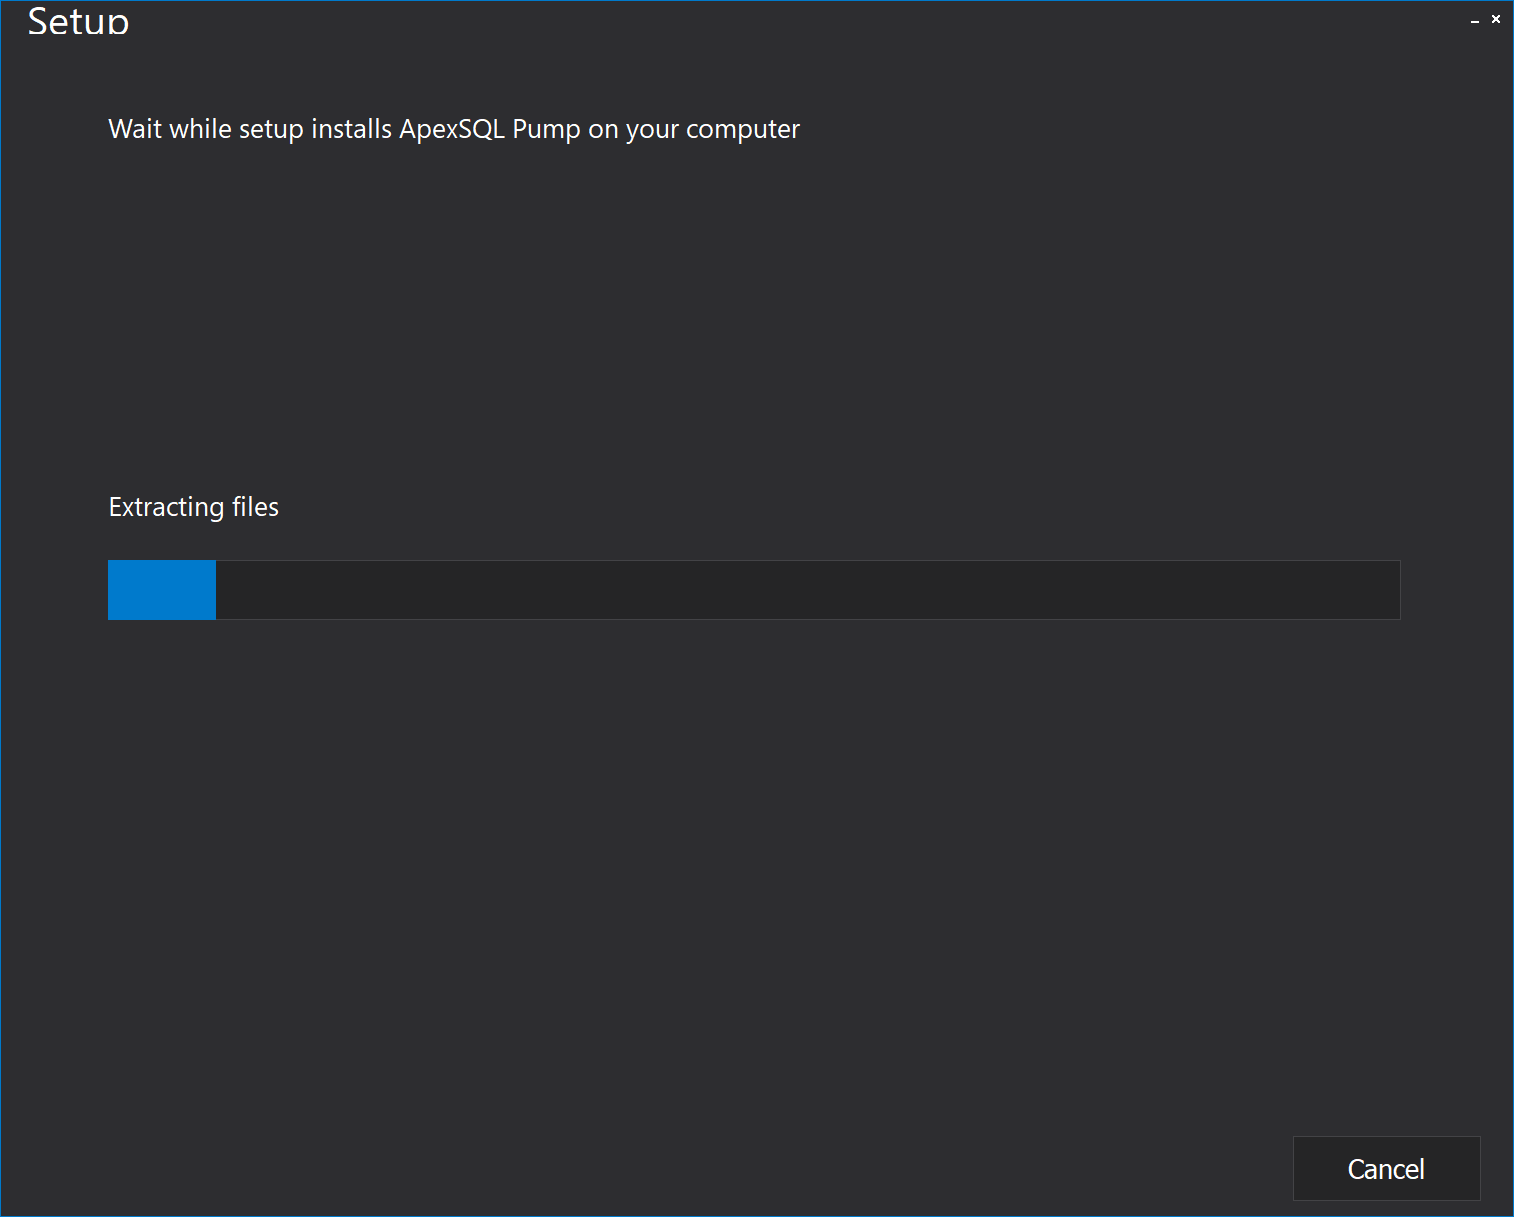
When the terms are accepted the installation process will start:
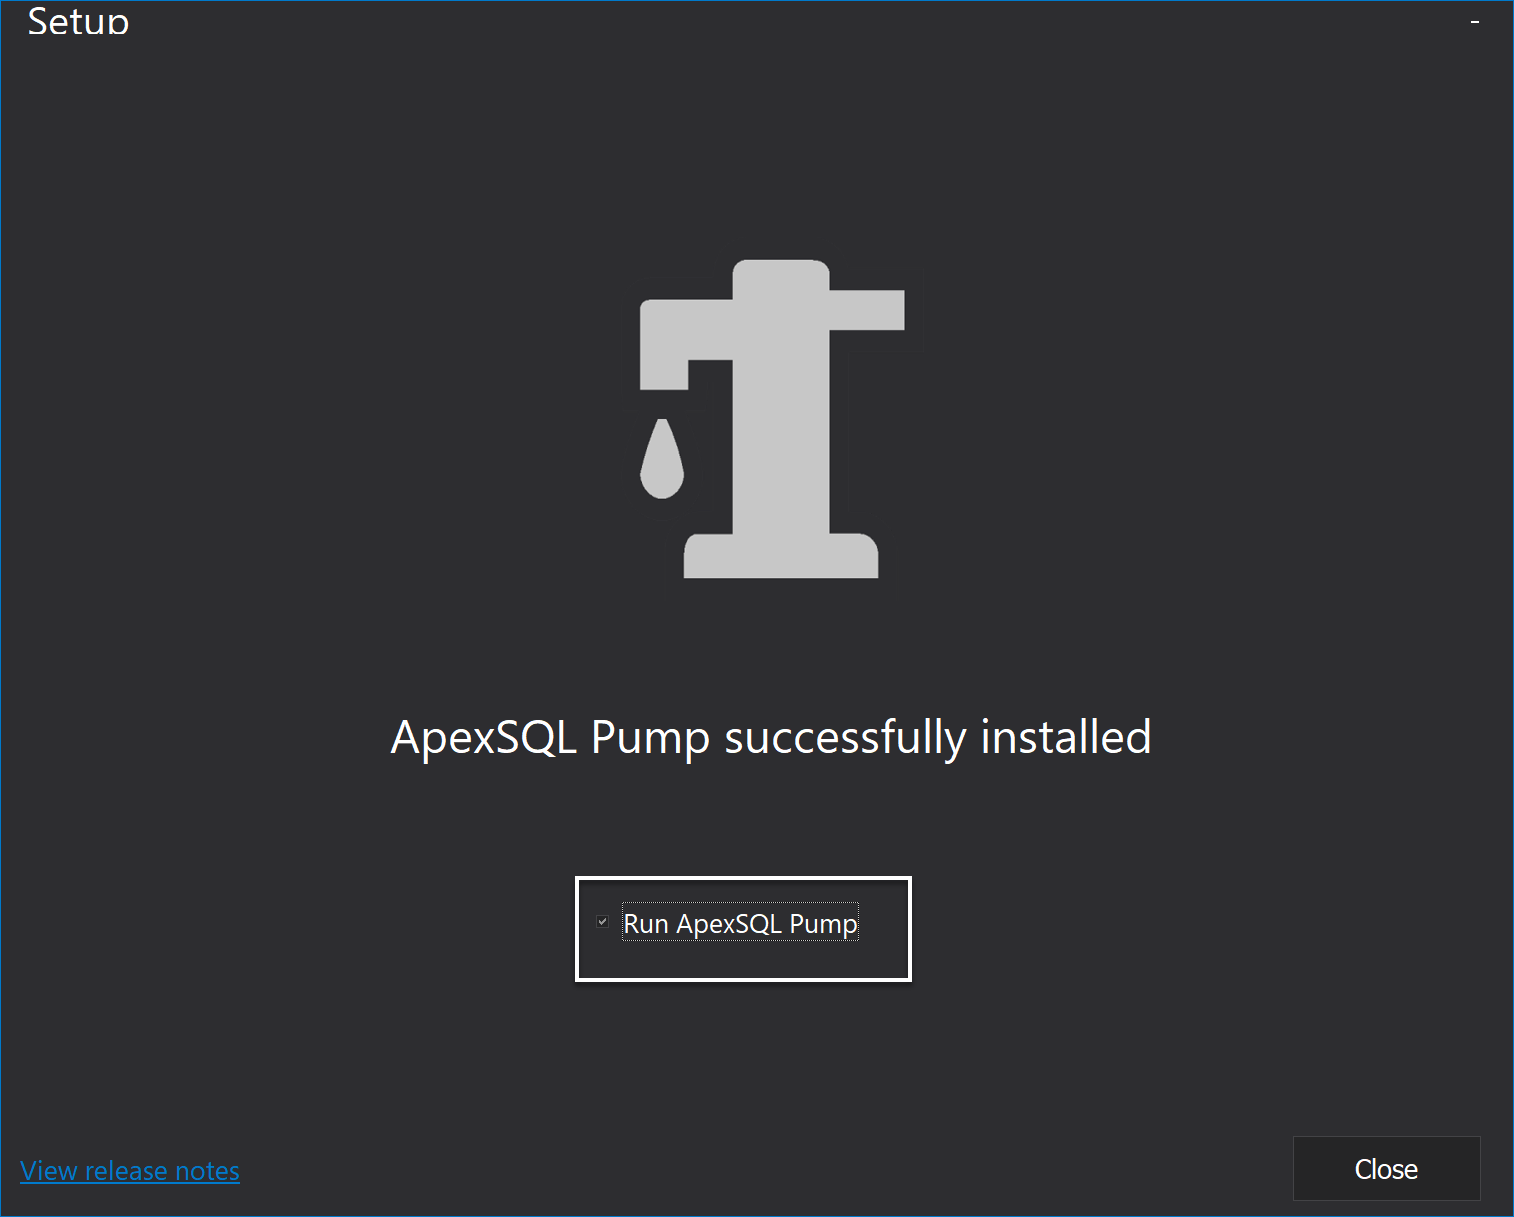
On the last step when the installation is finished, if the Run option is checked, as is set by default, the tool will start right after a click on the Close button:
Visual themes
The ApexSQL Pump application offers to users, like every ApexSQL product, three themes for using the tool.
The first one is the Dark theme, which is set by default, and shown during the installation process:
The second one is the Blue theme shown below:
The third theme used in ApexSQL Pump is the Light theme:
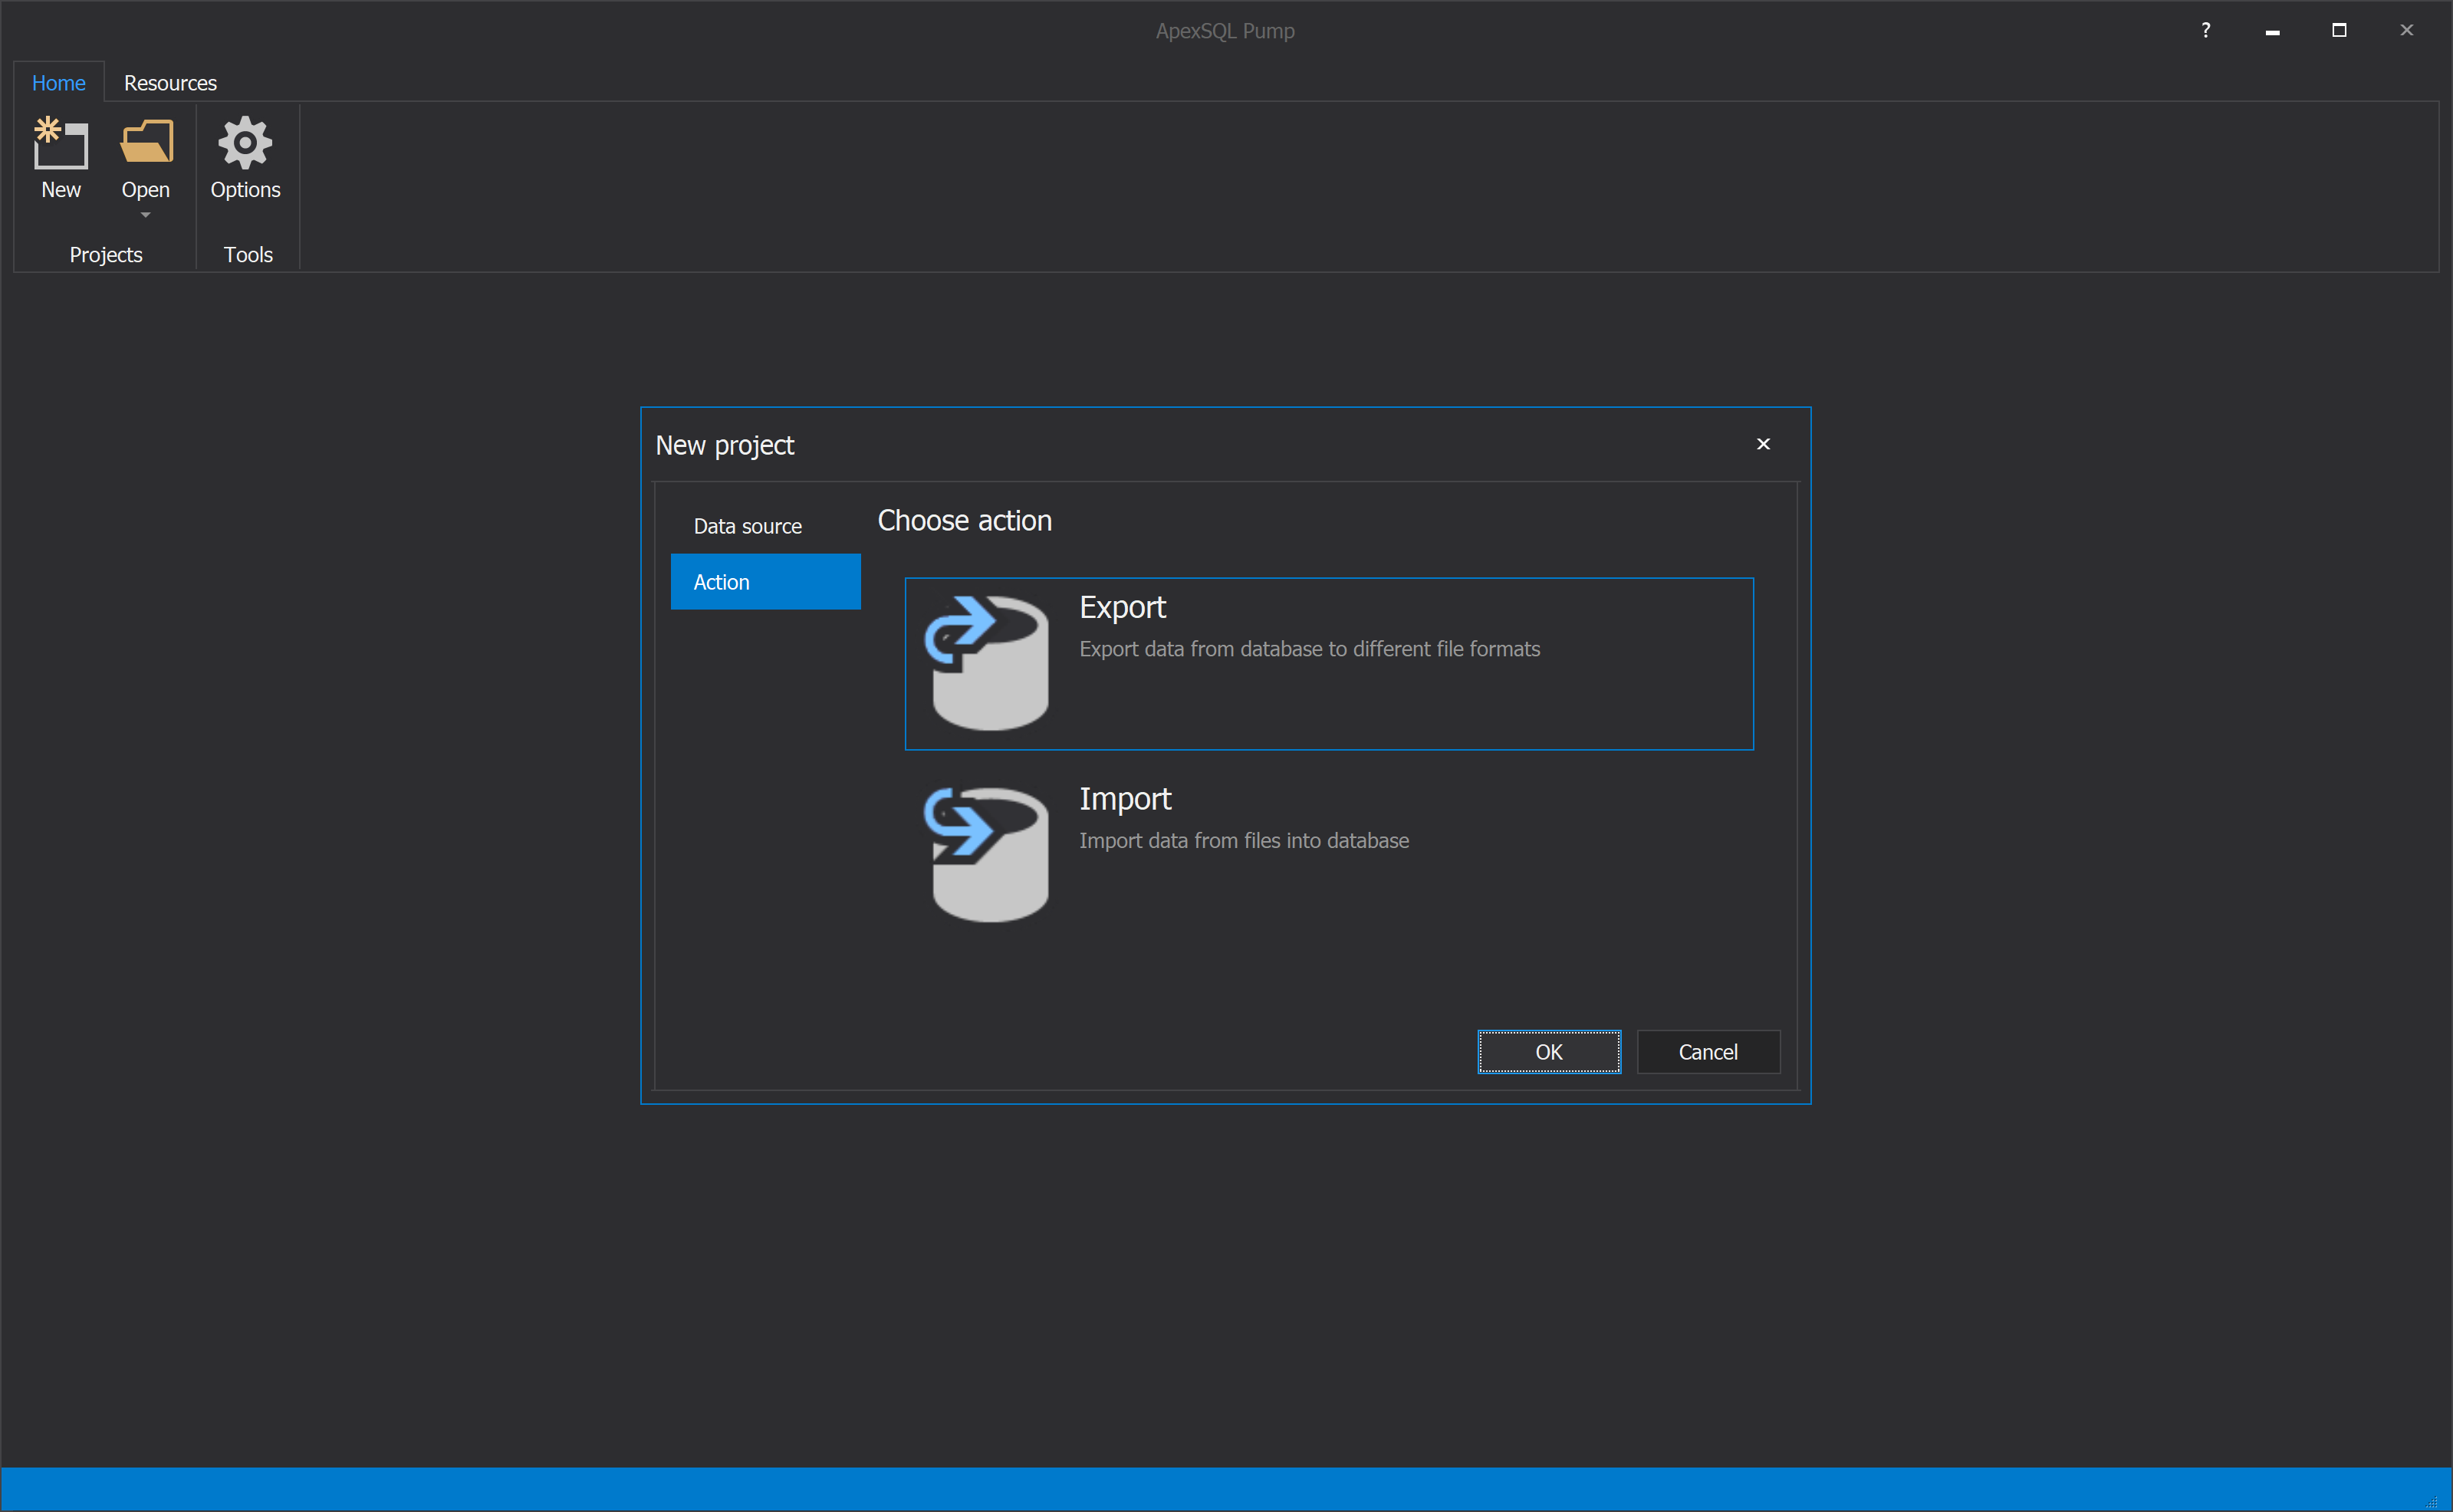
Startup screen/Create new project window
By default, the New project window is shown where the data must be set before going further:
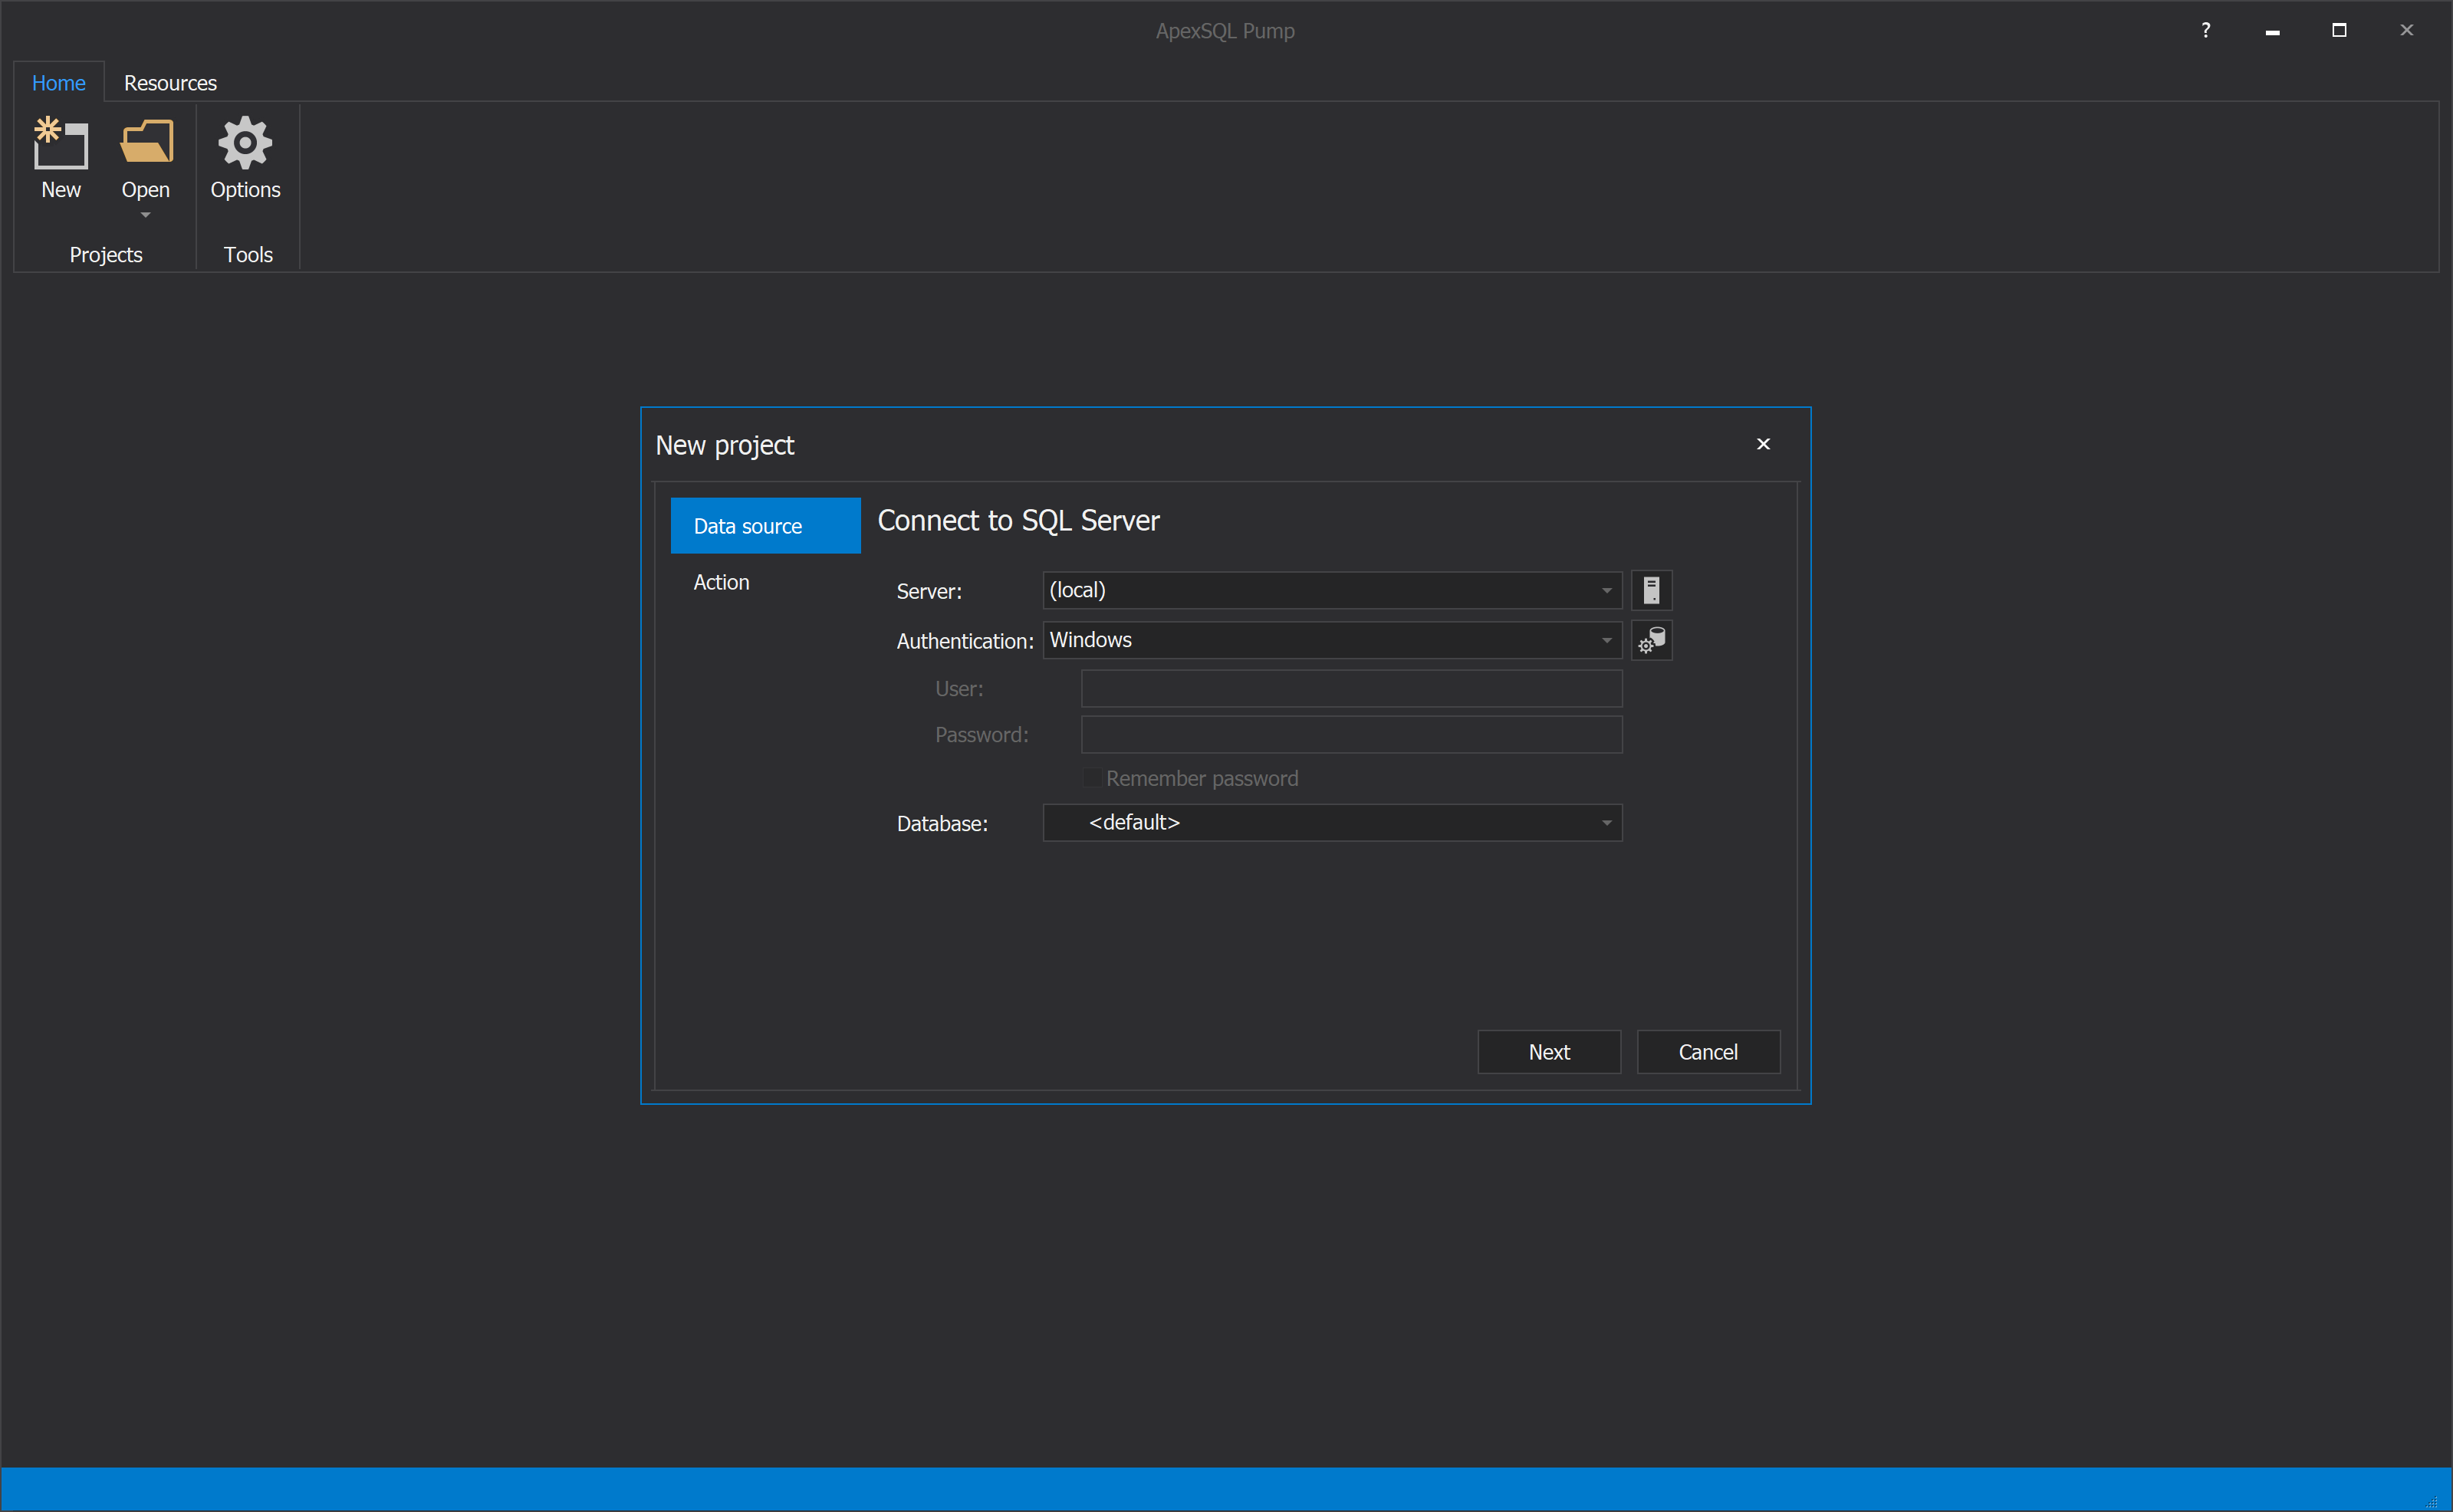
On the second step in the New project window, which is the Action tab, there are two possibilities, Export or Import the data within the tool from different sources:
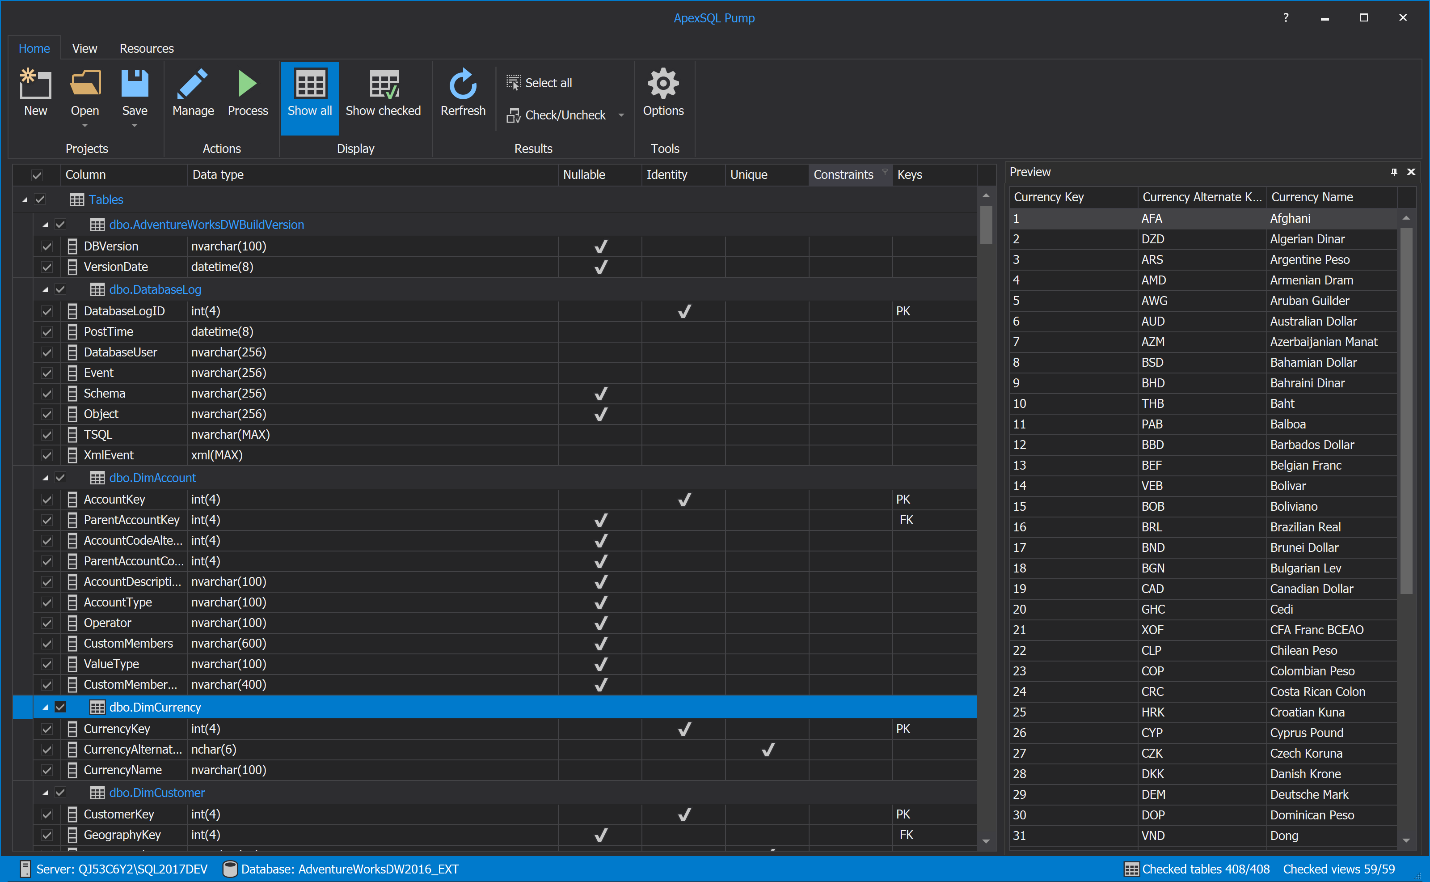
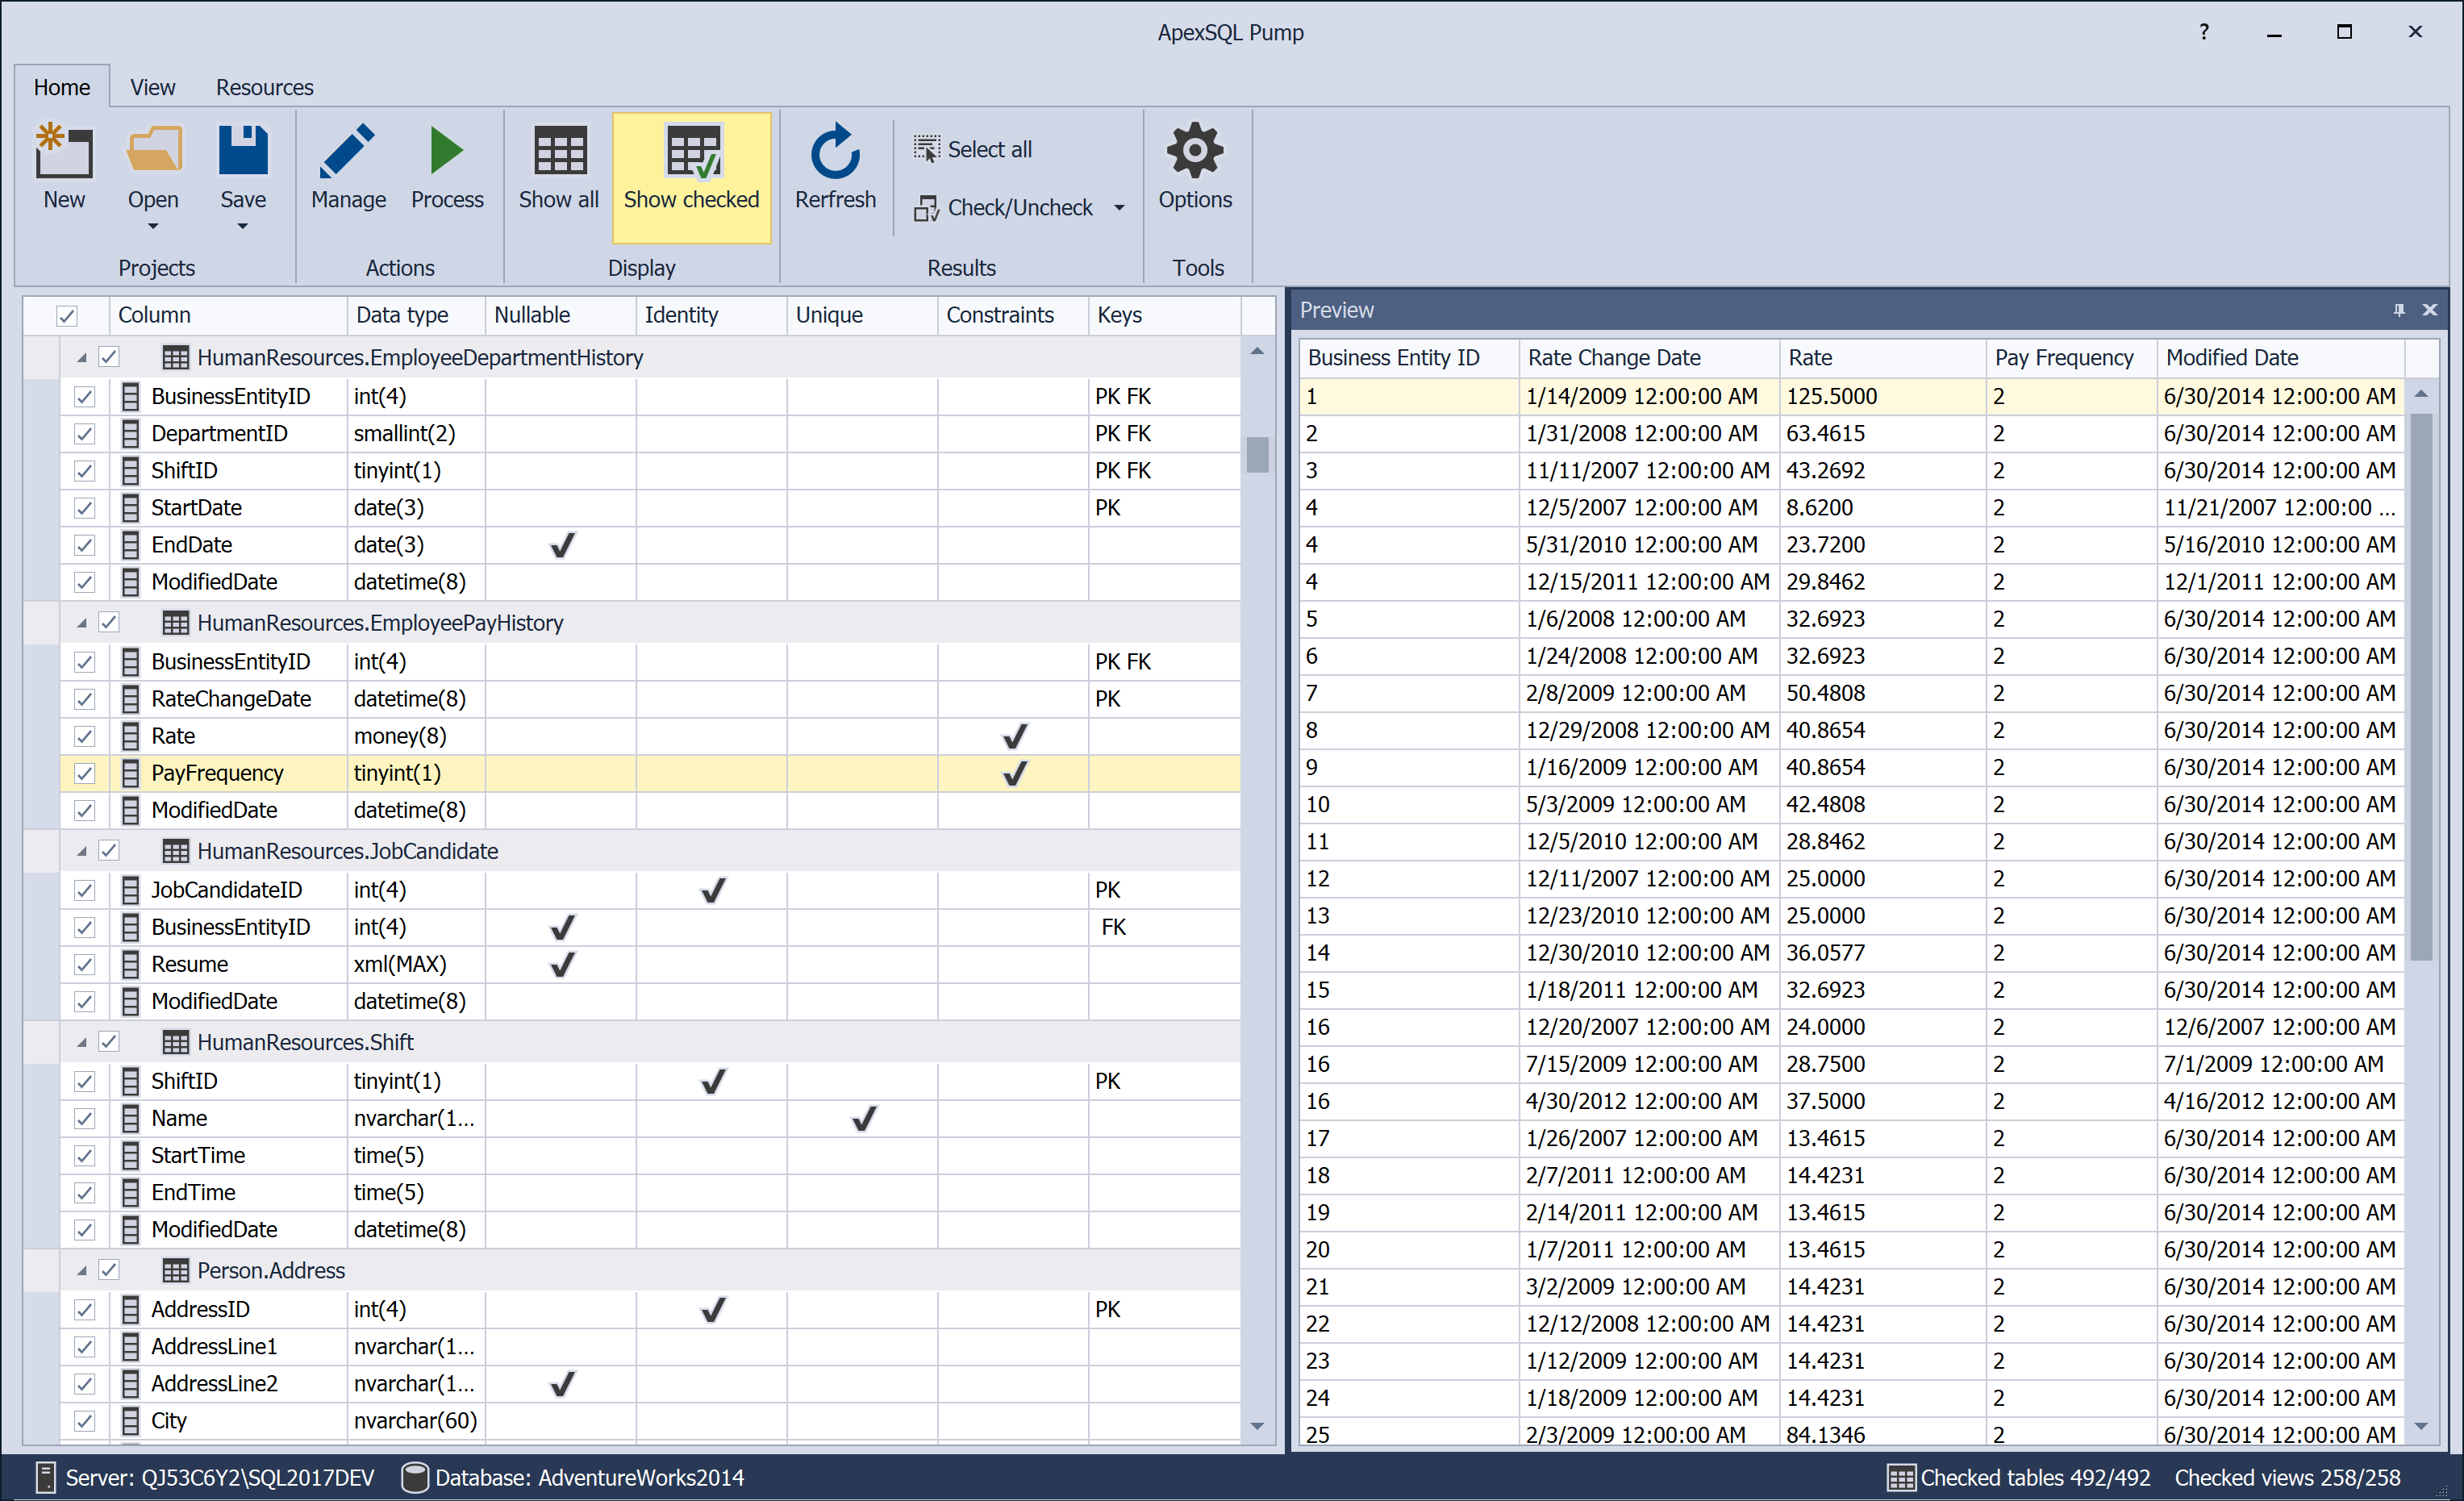
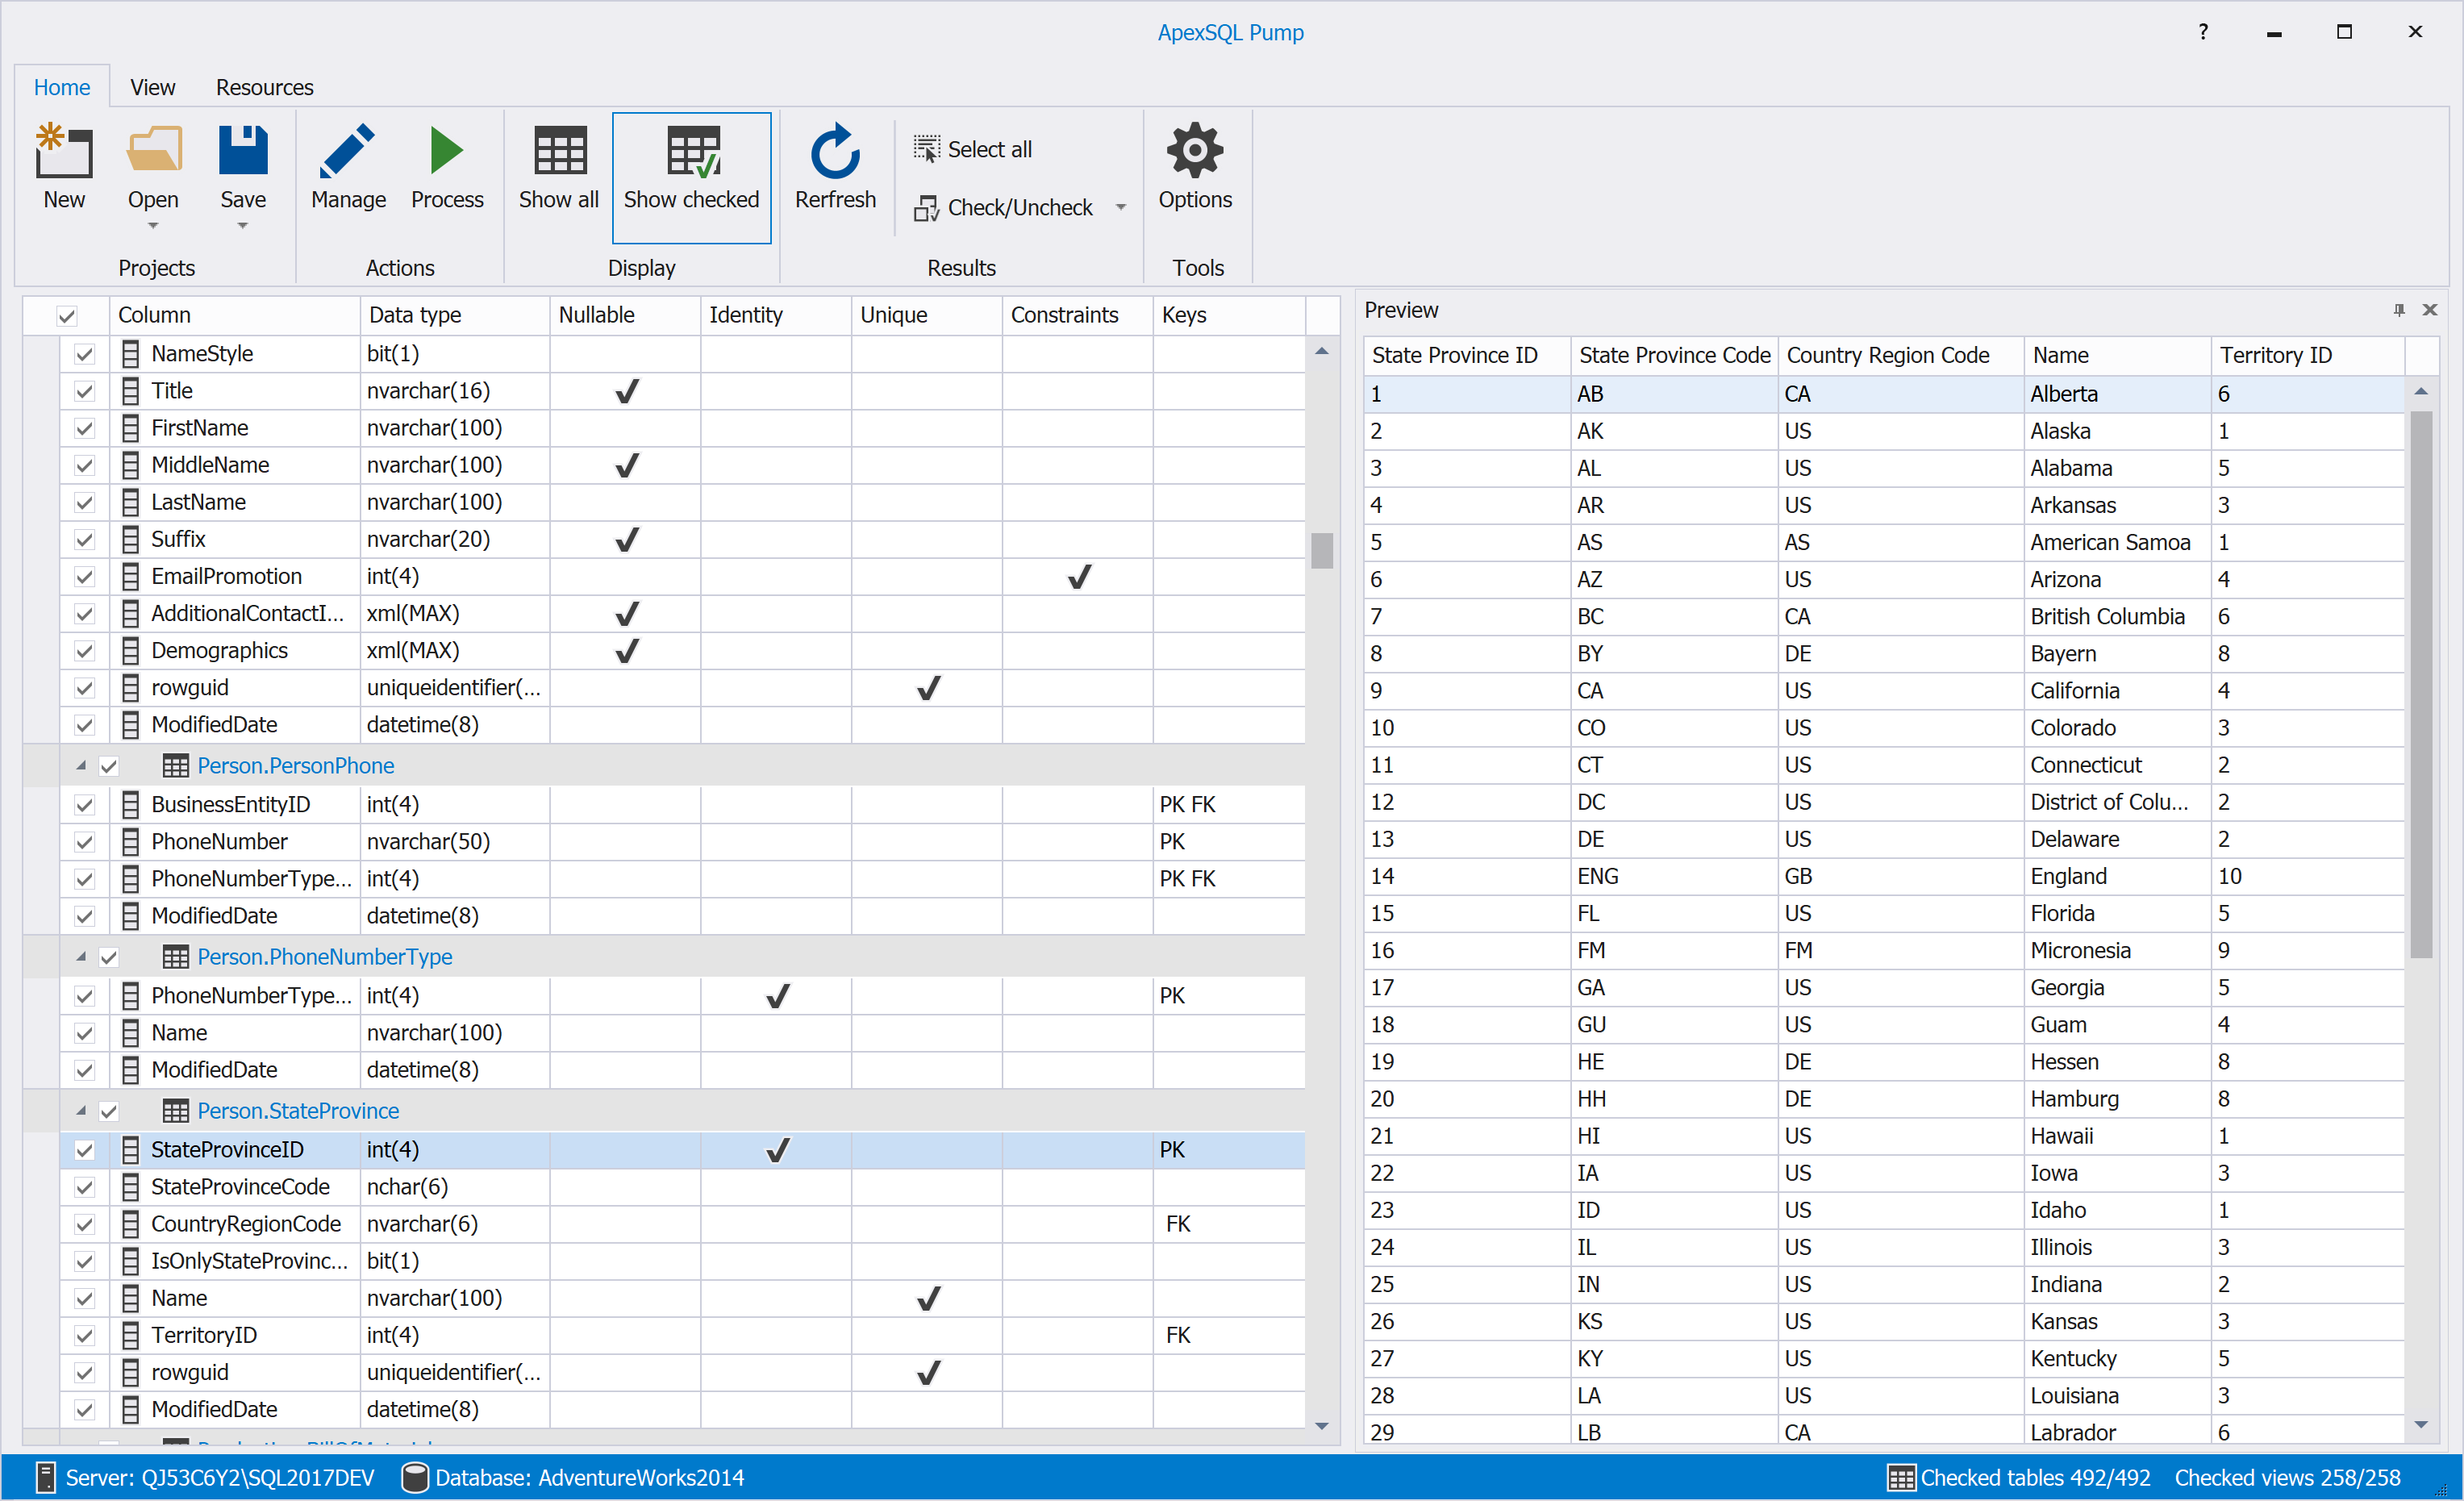
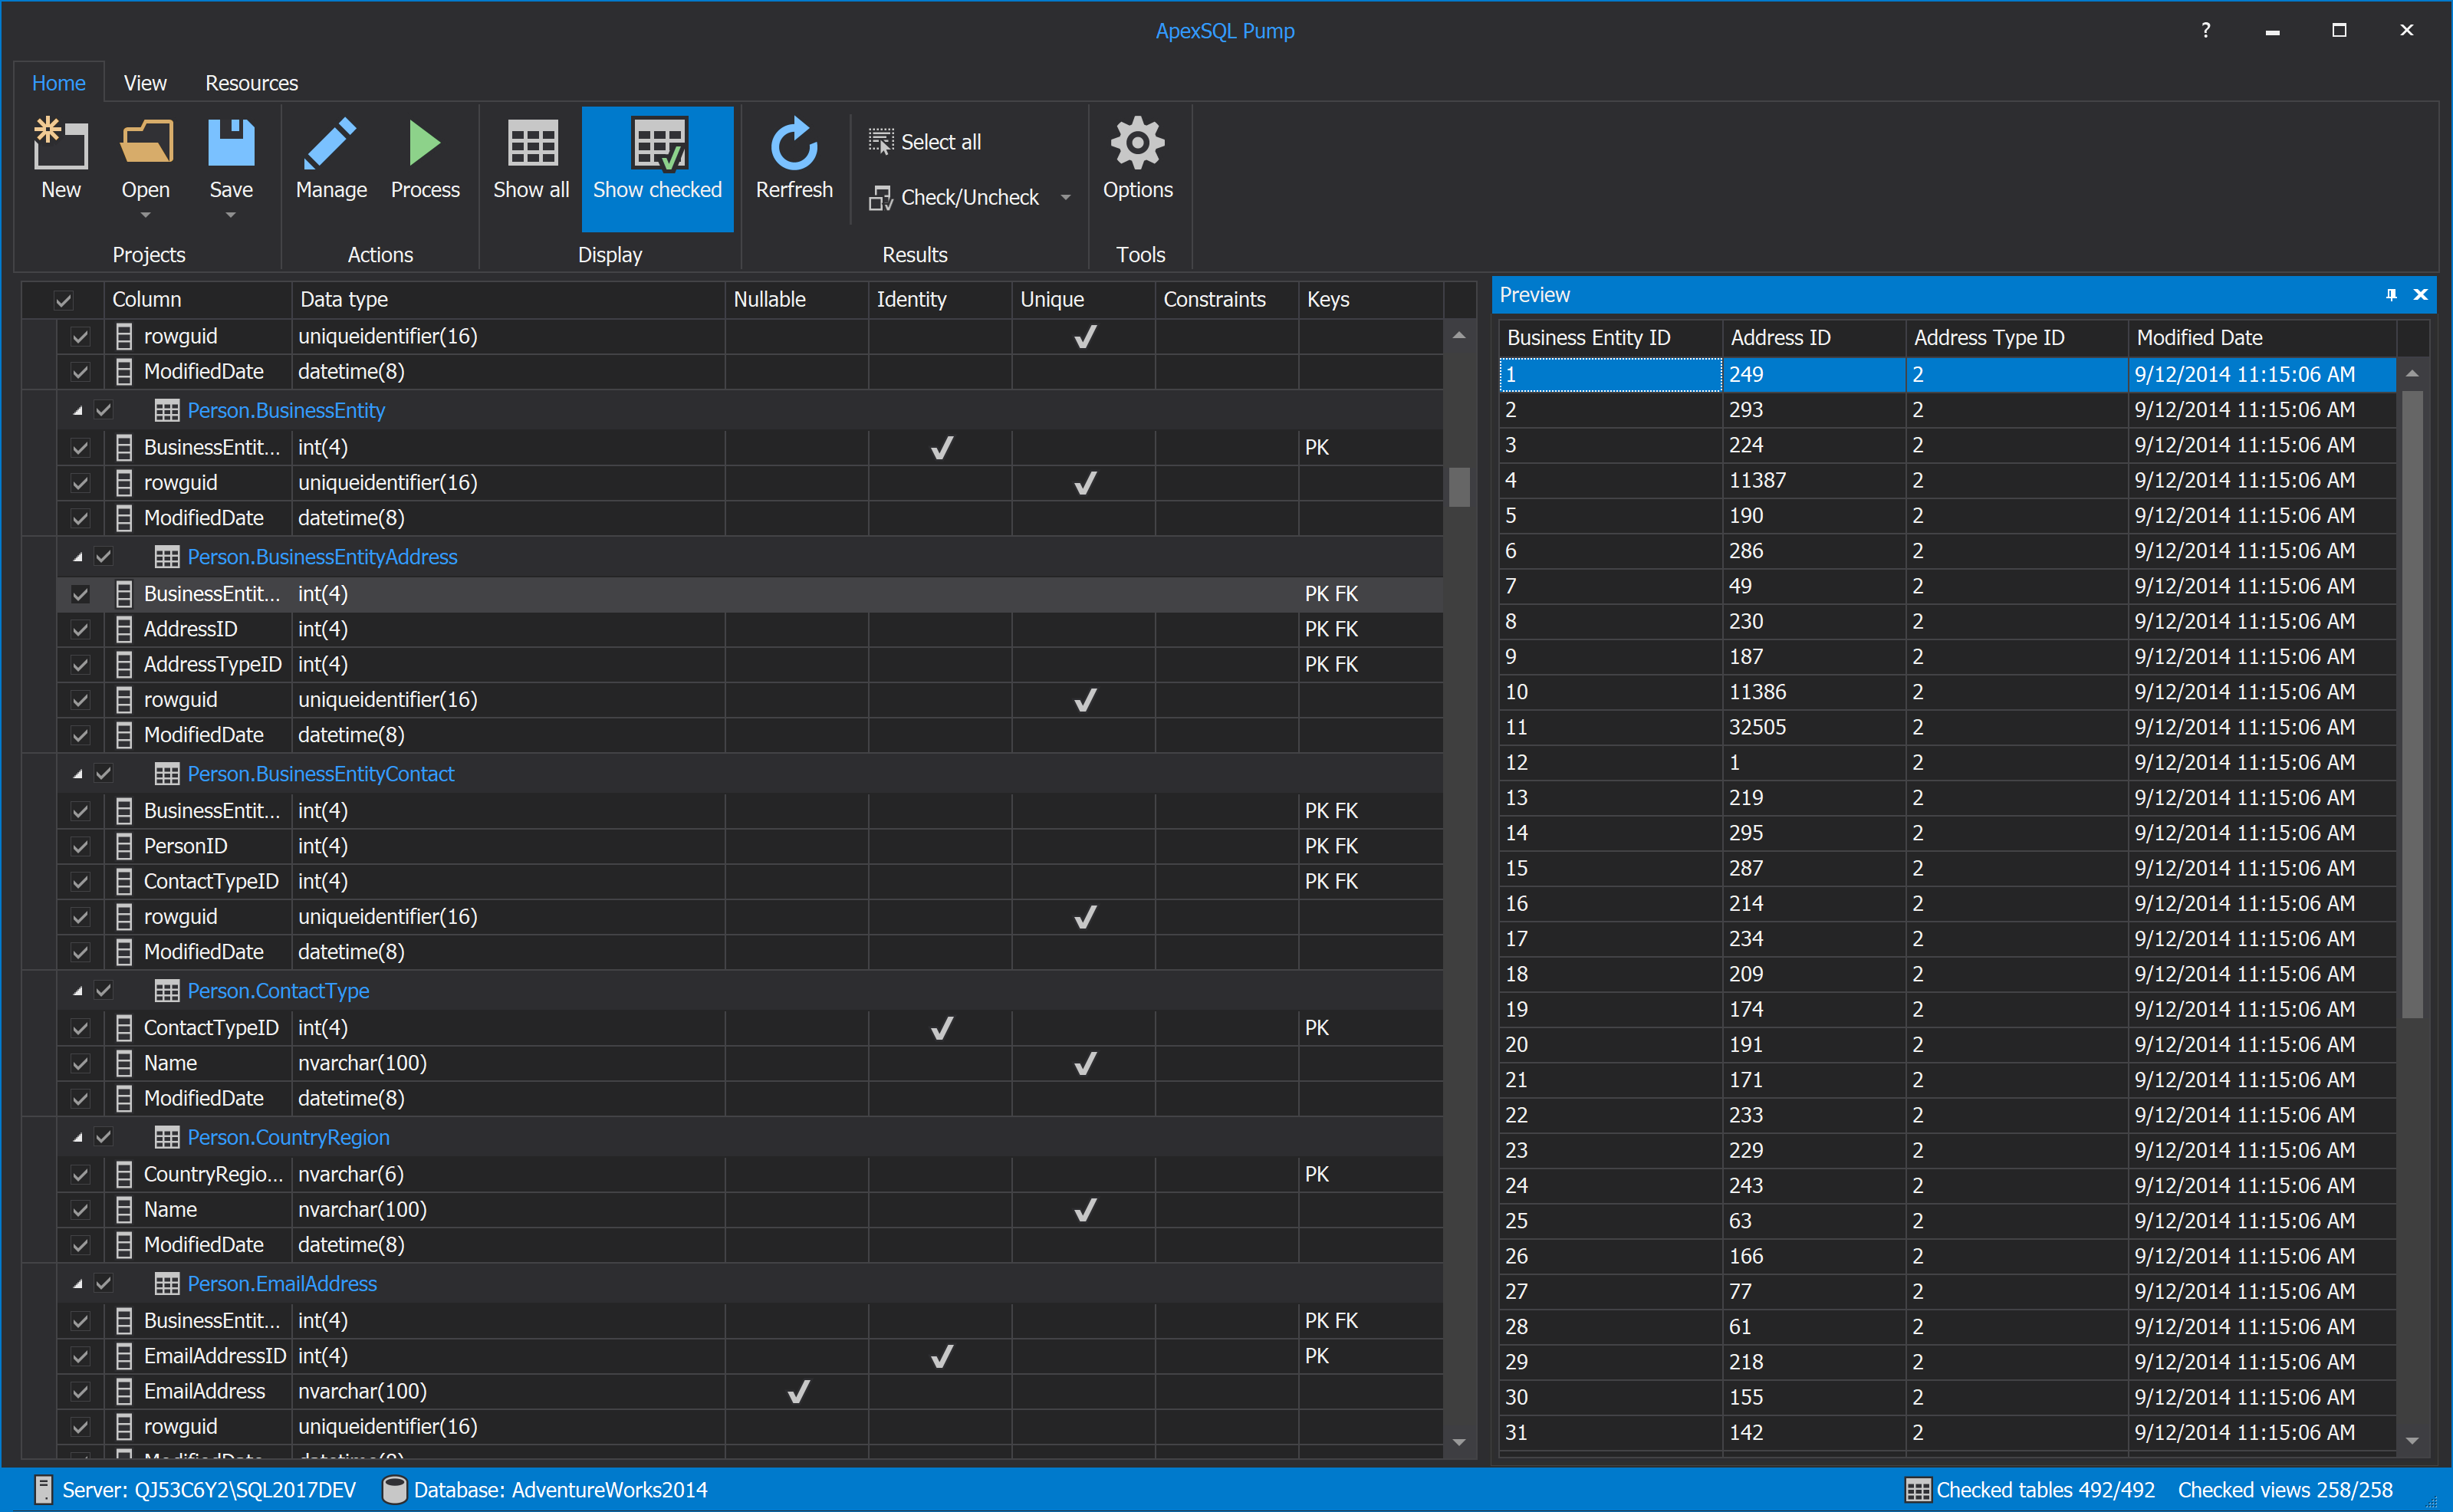
After the data is loaded, the main grid is shown with the results from the exported or imported data (in this case Export action is used):
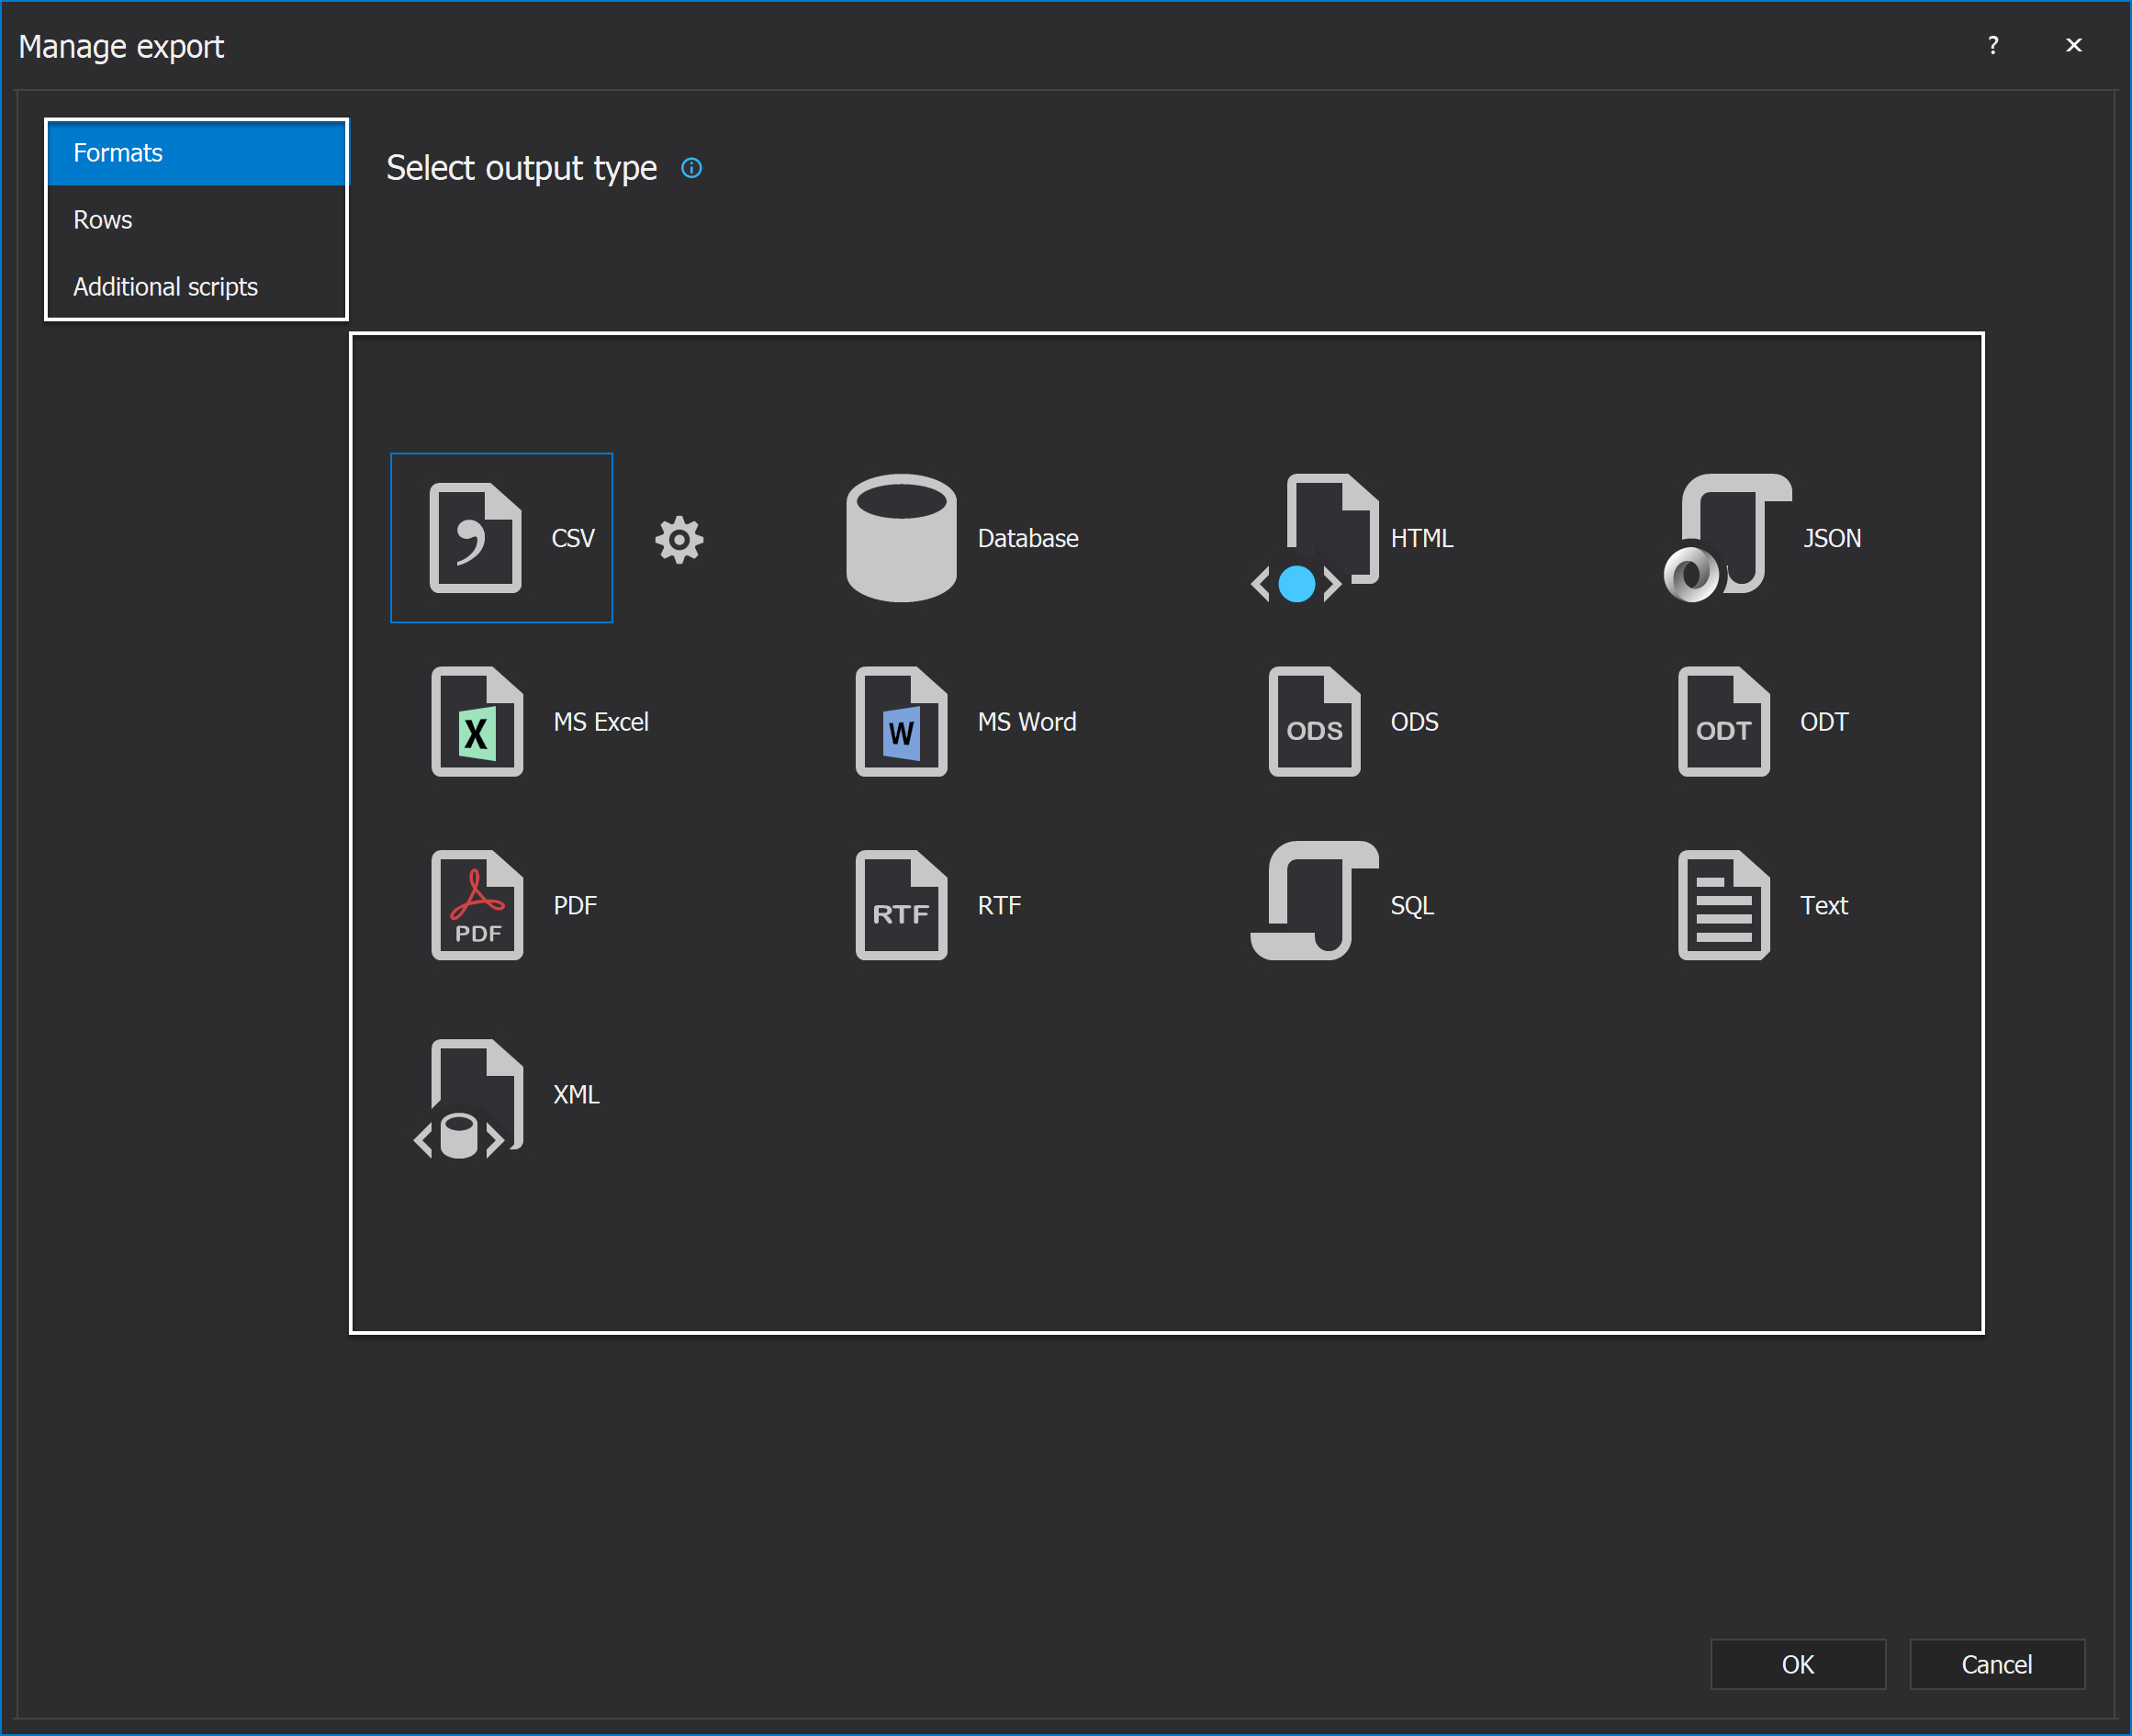
Manage export window
Under the Manage export window there are three tabs: Formats, Rows and Additional scripts.
As shown on the picture below, there are 13 different export formats that can be used:
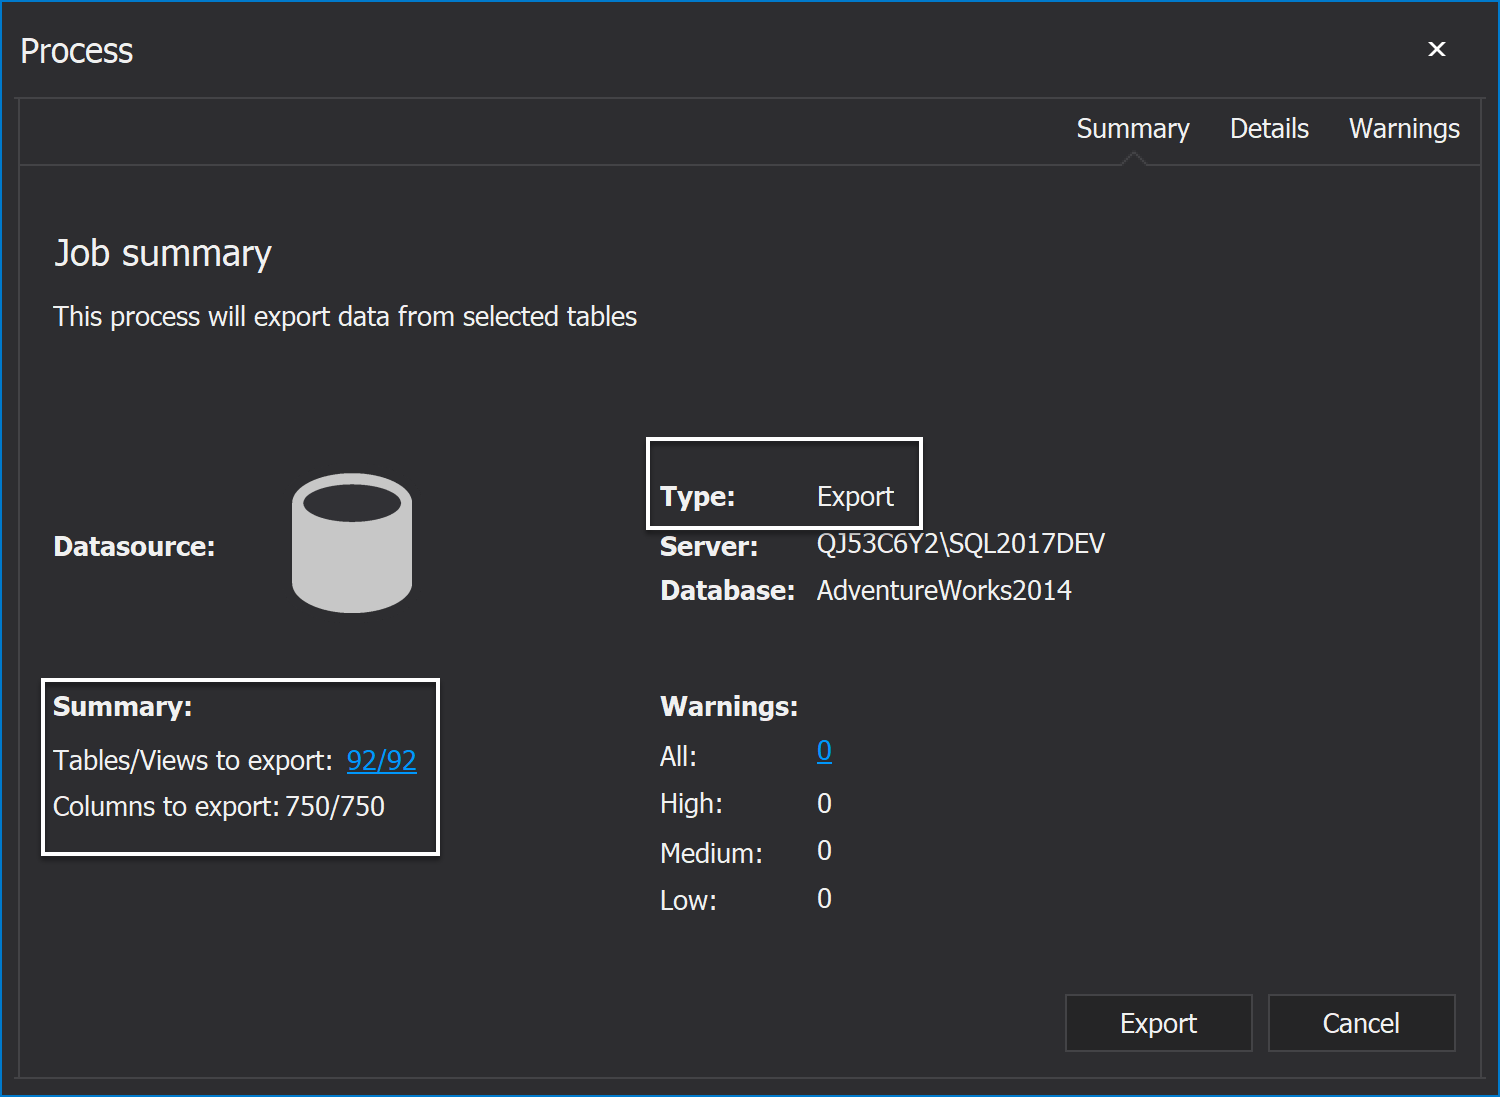
Export process results window
Before the export process is finished, it can be seen under the Job summary what will be exported after the process is done:
Manage import window
When the connection to the SQL Server is set and the Import action is used under the Manage import window, there are two tabs: Format and Additional scripts.
In the Format tab is shown that it’s possible to add different input sources at the same time:
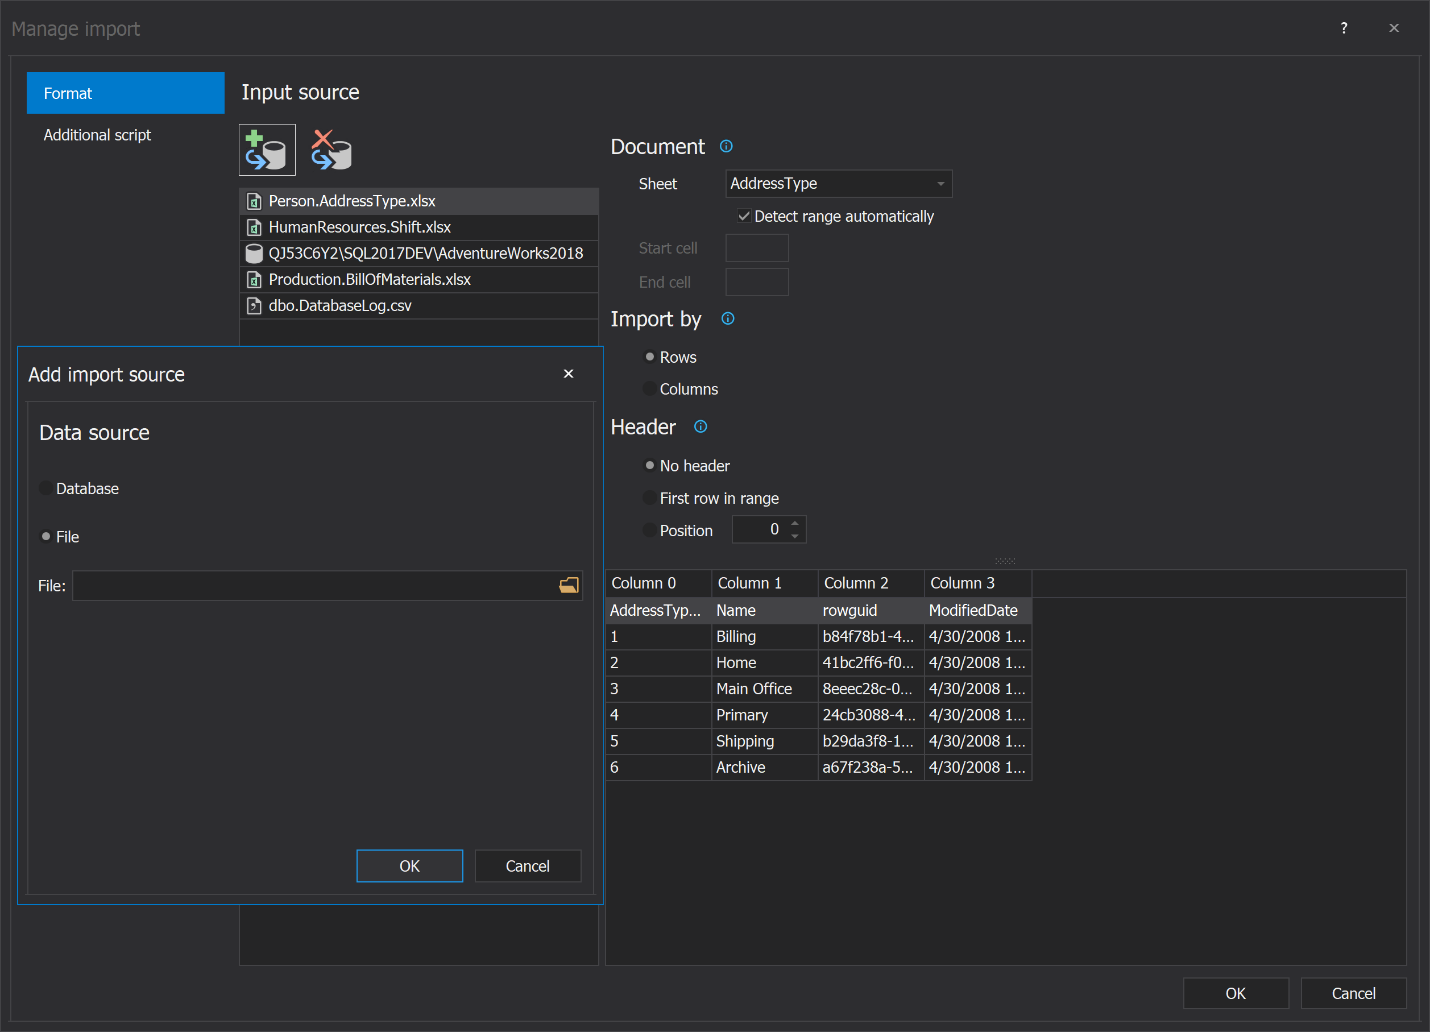
It can be decided from which file or database import data will be inserted, as well it can be set position and import by rows or columns from the right side of the Manage import window.
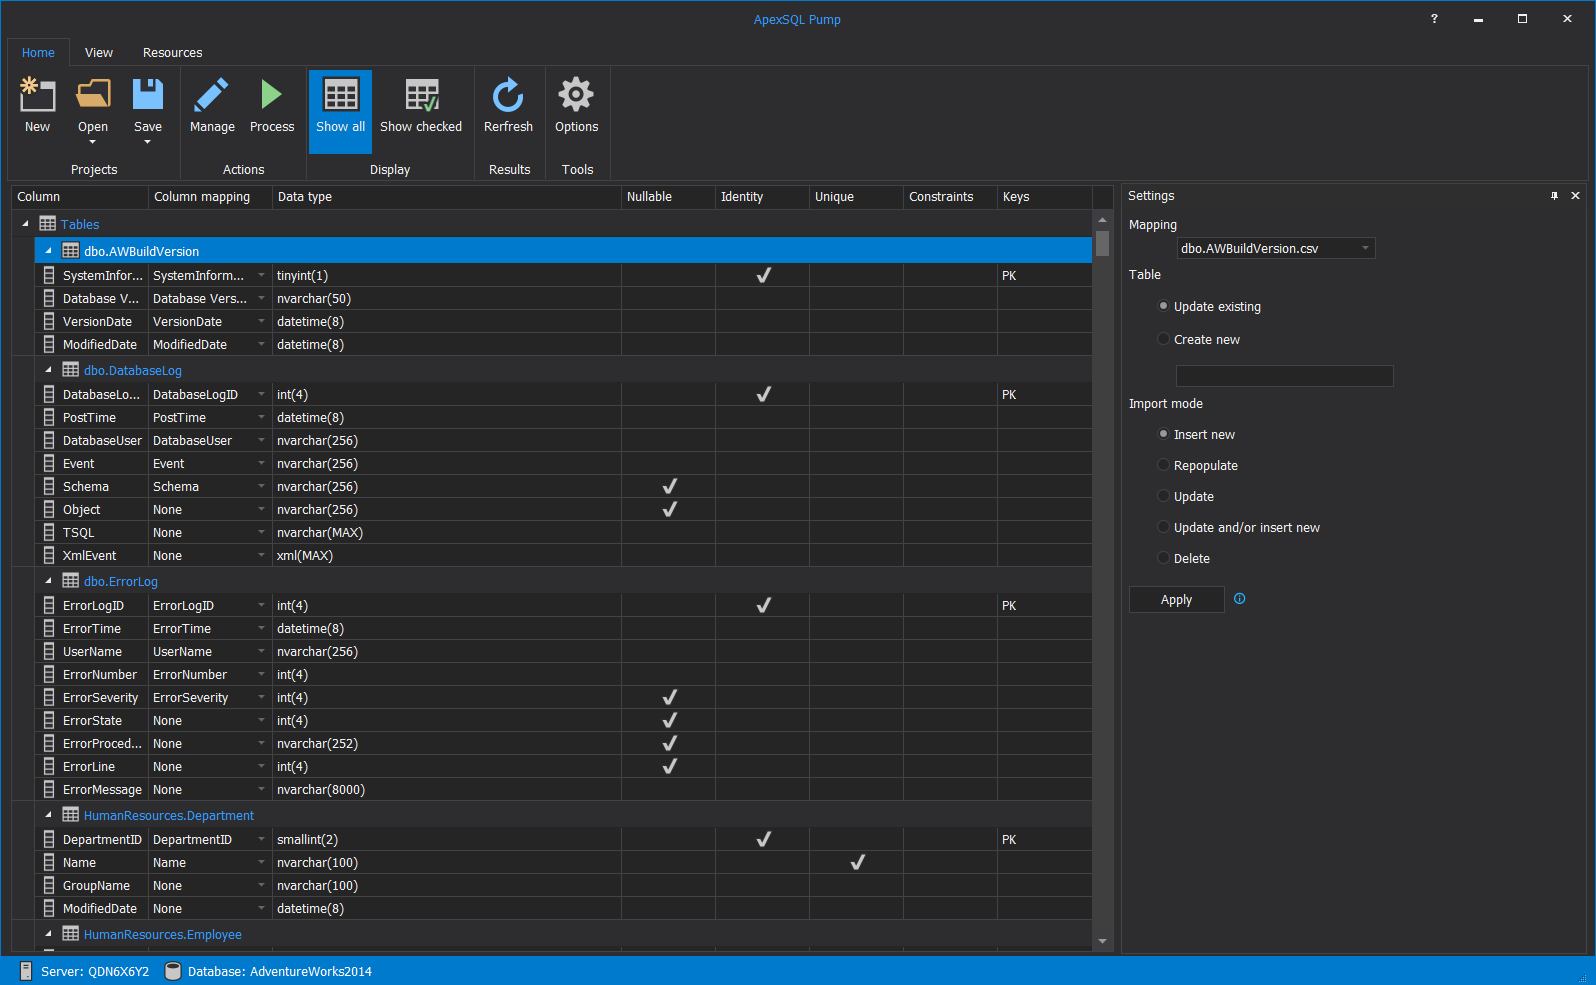
When the Import action is used in the main grid data results are shown below:
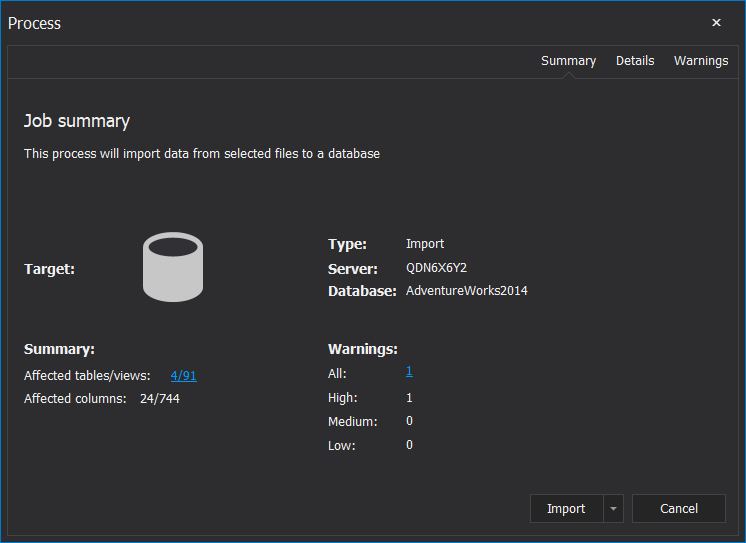
Import process result window
After everything is checked and mapped in the Import main grid, click the Process button under the Home tab the results are shown before process is finished to check if everything is set as desired:
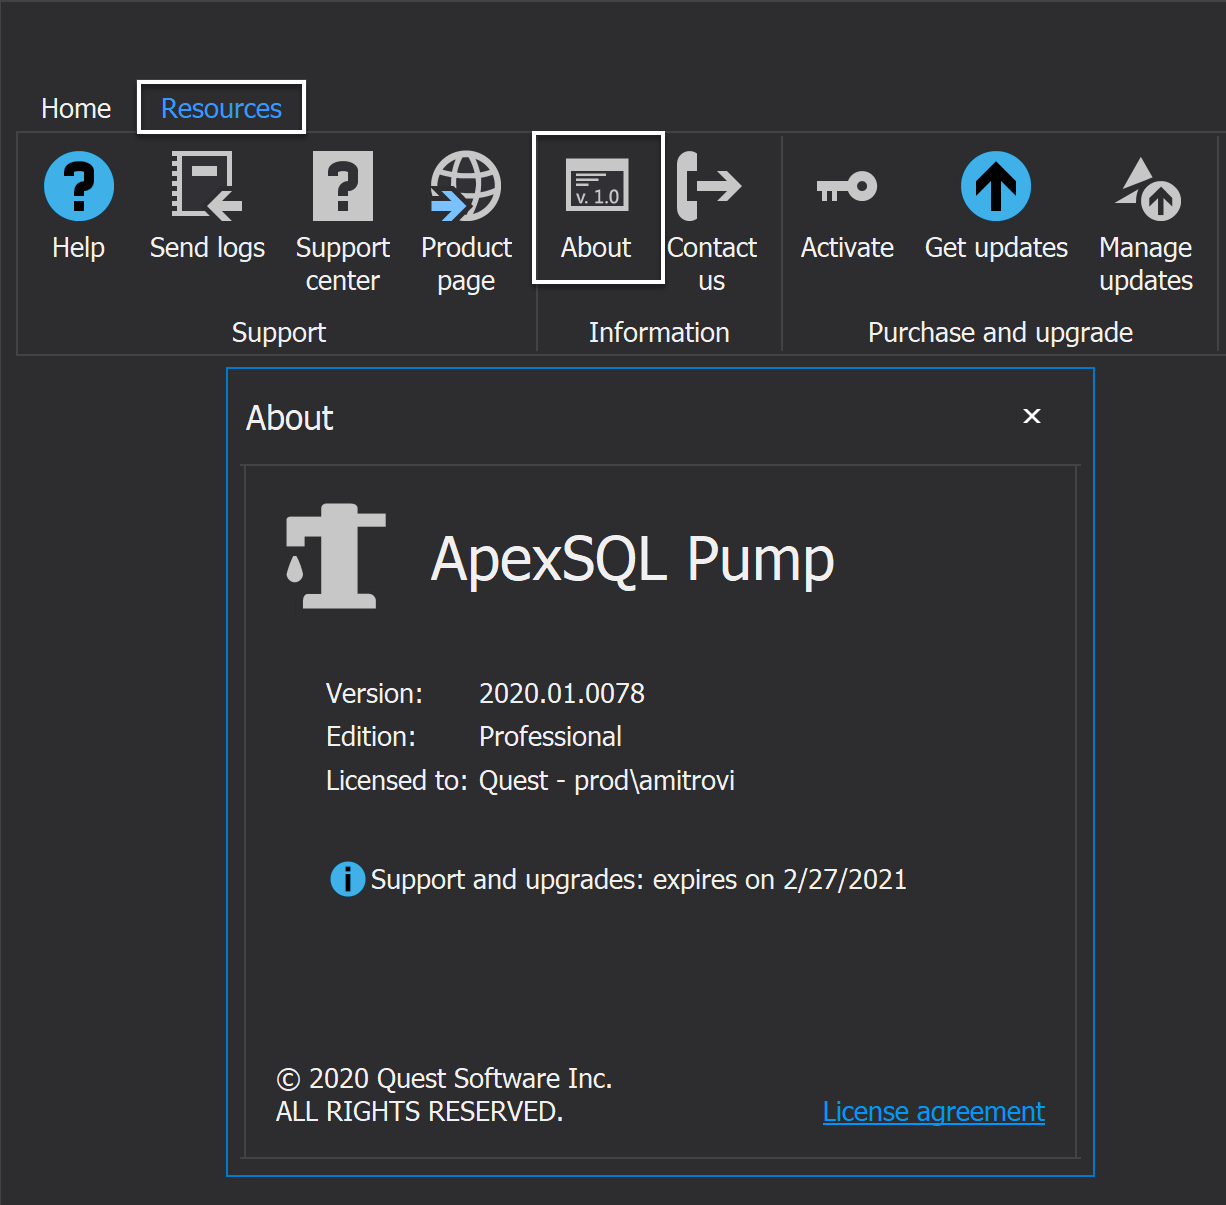
To see the version of the standalone application, switch to the Resources tab and click the About button:
March 31, 2020


