We are excited to announce the release of another new SQL Server developer tool called ApexSQL Pump. This is a tool that can import and export data from the database in various file formats.
ApexSQL Pump is a standalone application with the possibility of running it via CLI. The application itself is very easy to use with the help of a wizard to guide the user through the process.
It can import data from 16 and export to 19 different data sources with the possibility to export table structure. All SQL data types are supported and the user can preview data. ApexSQL Pump can also import and export options template and can import multiple files into multiple tables on different servers.
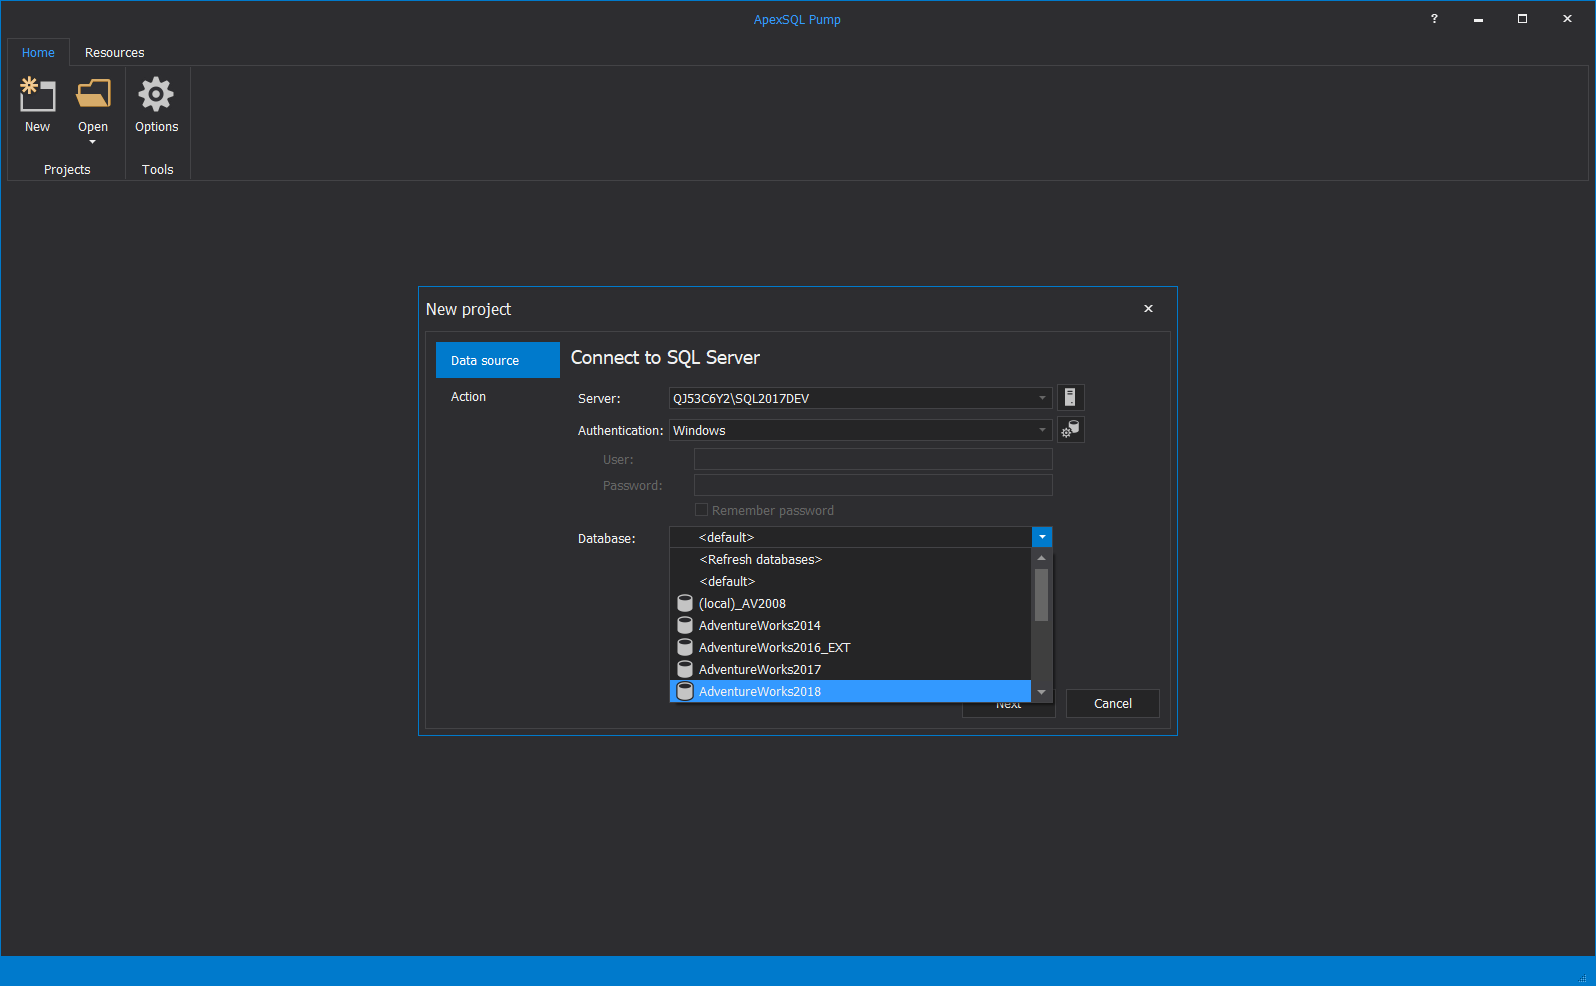
The user can either create a new project or open a previously saved project. When creating a new project, a New project dialog will appear for selecting SQL Server, Authentication and Database under the Data source tab:
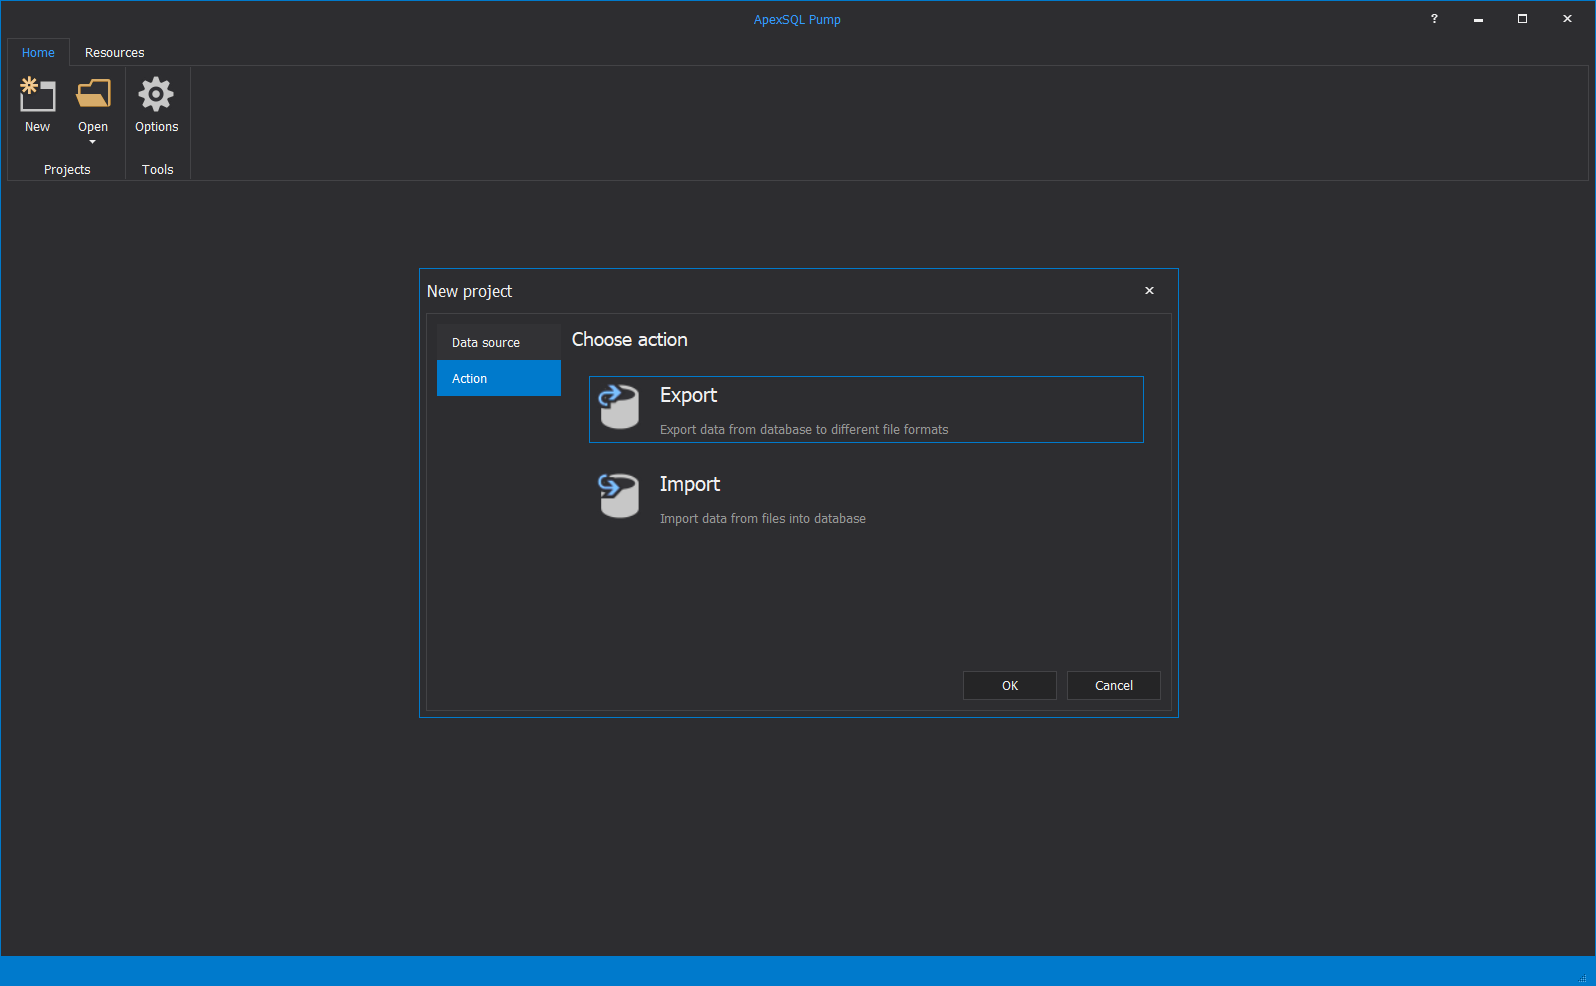
To proceed further, select the Action tab where either Export or Import option can be chosen:
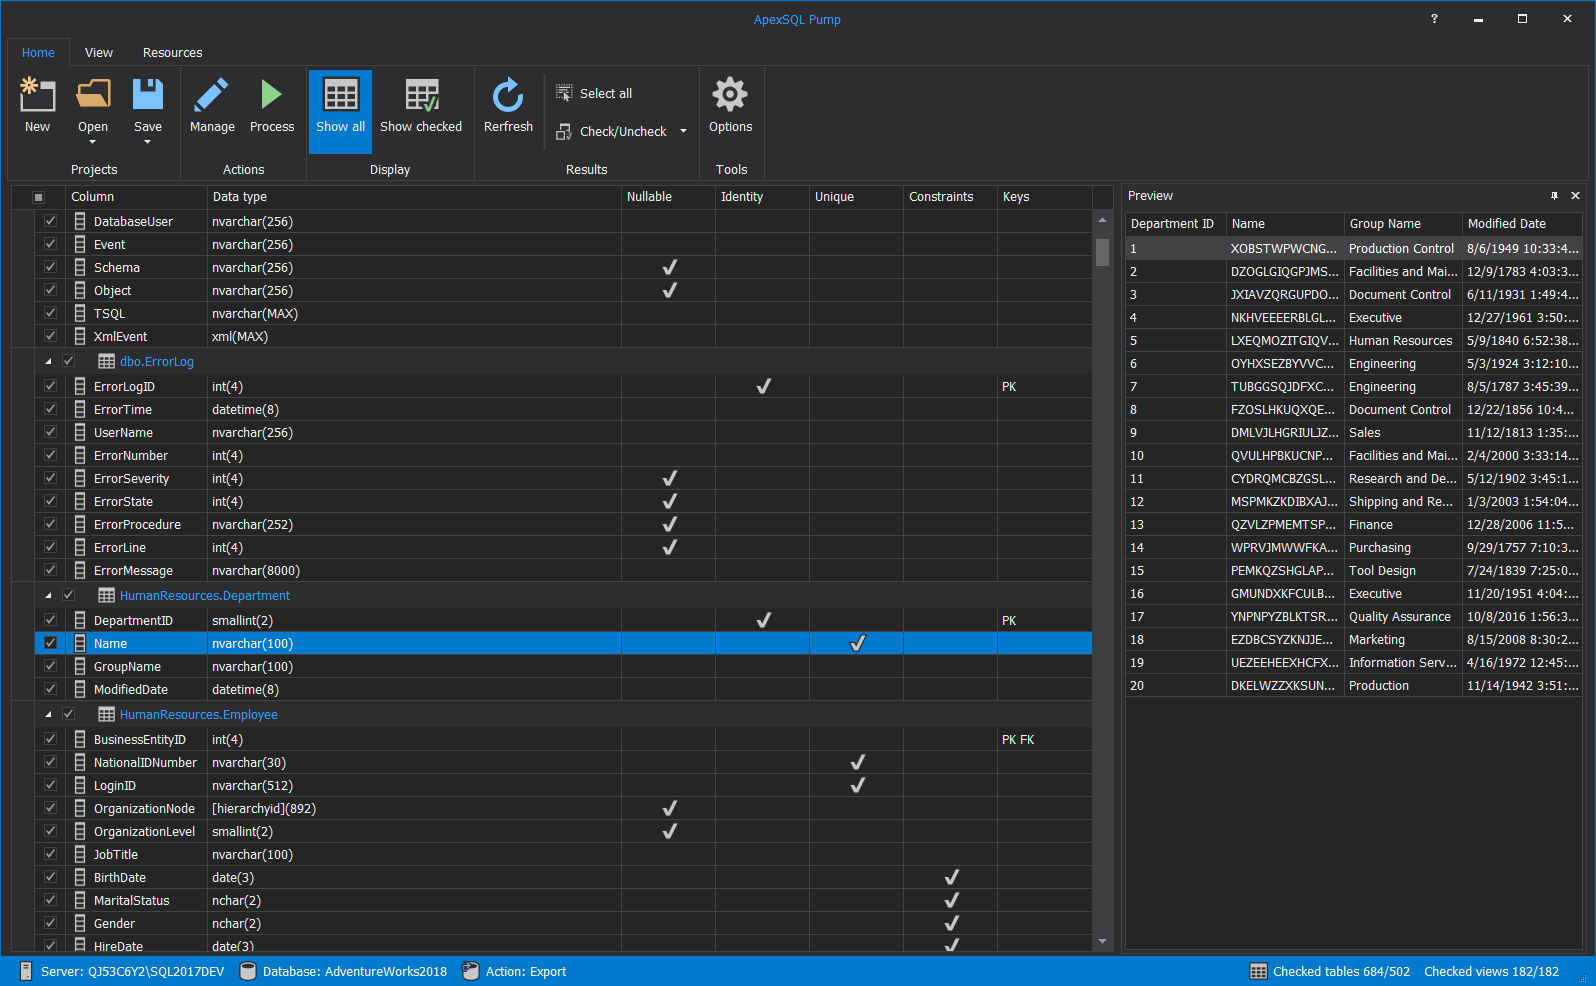
This is the main grid where the loaded SQL database is shown. By default, all the tables and views are checked and on the right side is the Preview panel which allows user to preview the data before the process is started:
All the previously loaded tables can be seen here. In the Preview panel, the data that already exists in the selected table, from the table they selected on the left, can be seen. When another table is selected, the grid on the right will automatically change. In this step, certain tables can be unchecked in case they are not needed after seeing the table preview.
Export
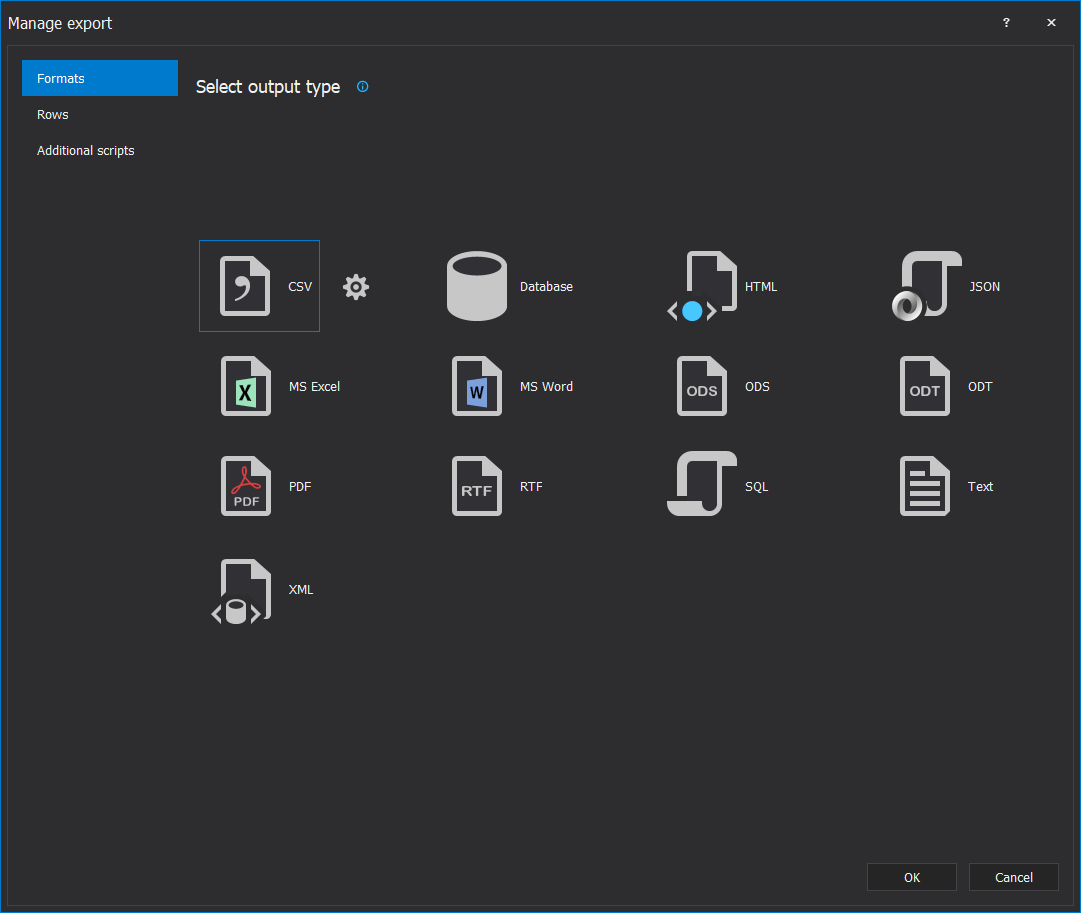
When the Manage button for the export action is clicked, the next step is to select the file format. The window with all 16 available exporting formats can be seen, and one of them can be selected:
-
Note: Export to both Excel 1997-2003 and 2007 file formats are supported. Here, only one MS Excel item is shown, but in the next step, the format can be chosen. The same goes for MS Word and MS Access.
After this, the next steps are all options for the selected file format.
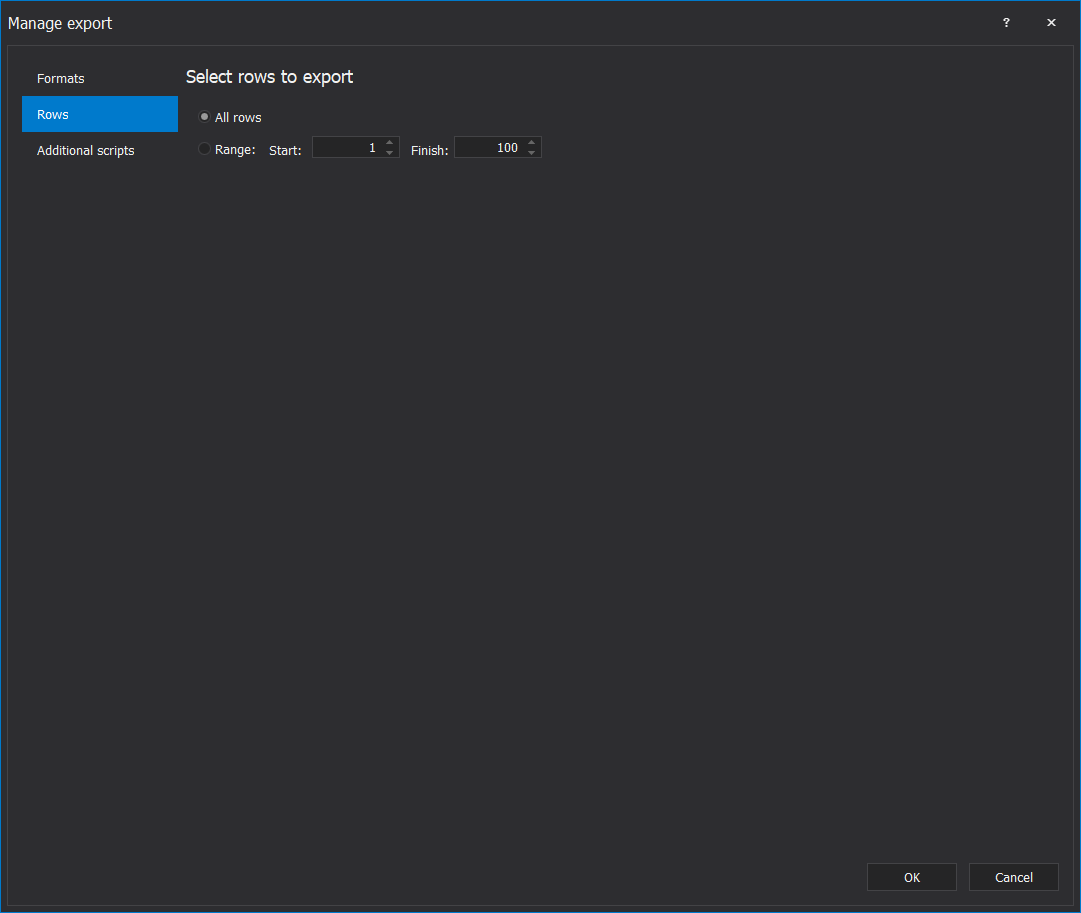
The rows selection is the next step in the Manage export window where All rows or a certain Range of rows can be selected:
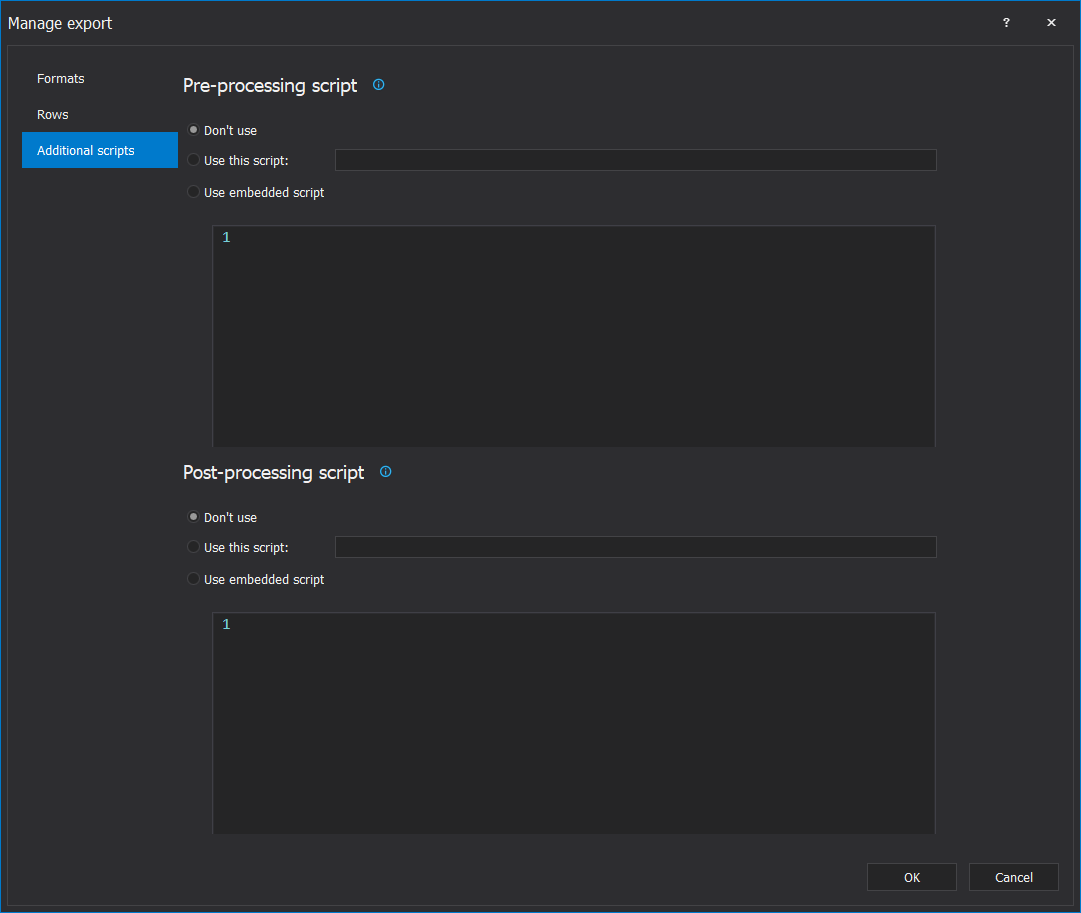
It is possible to add the pre and post-deployment scripts under the Additional scripts tab that will be executed after the export is finished:
This step is optional, a script can be added if there is a need for that, but it can be skipped.
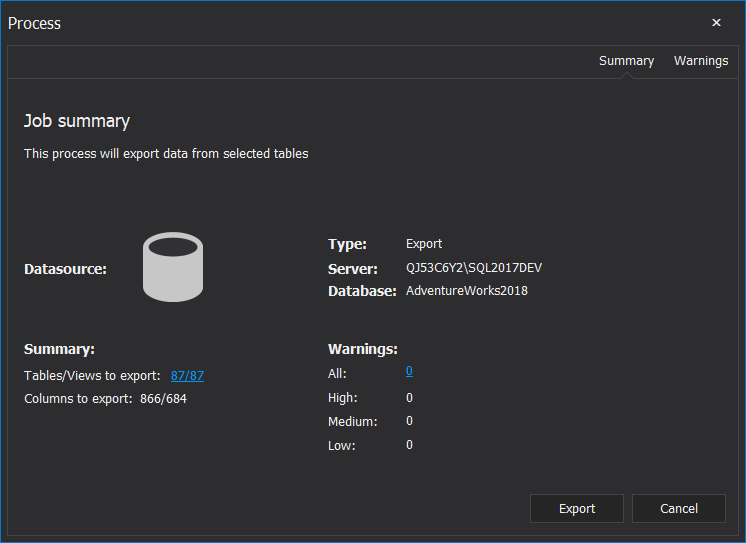
The last step is to click the Process button from the Home tab where the Export process will start and Job summary will be shown:
Import
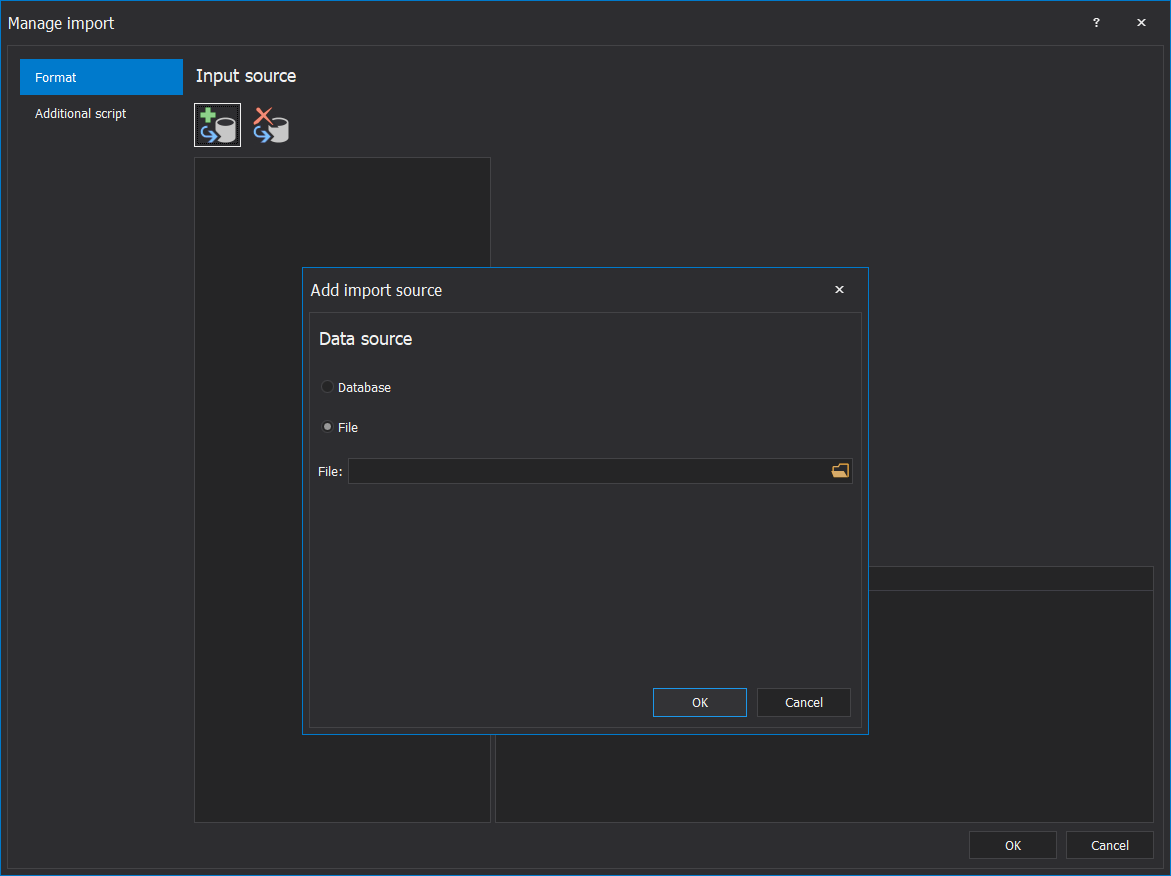
ApexSQL Pump supports 13 different data sources for the import; one of them can be selected for the one task:
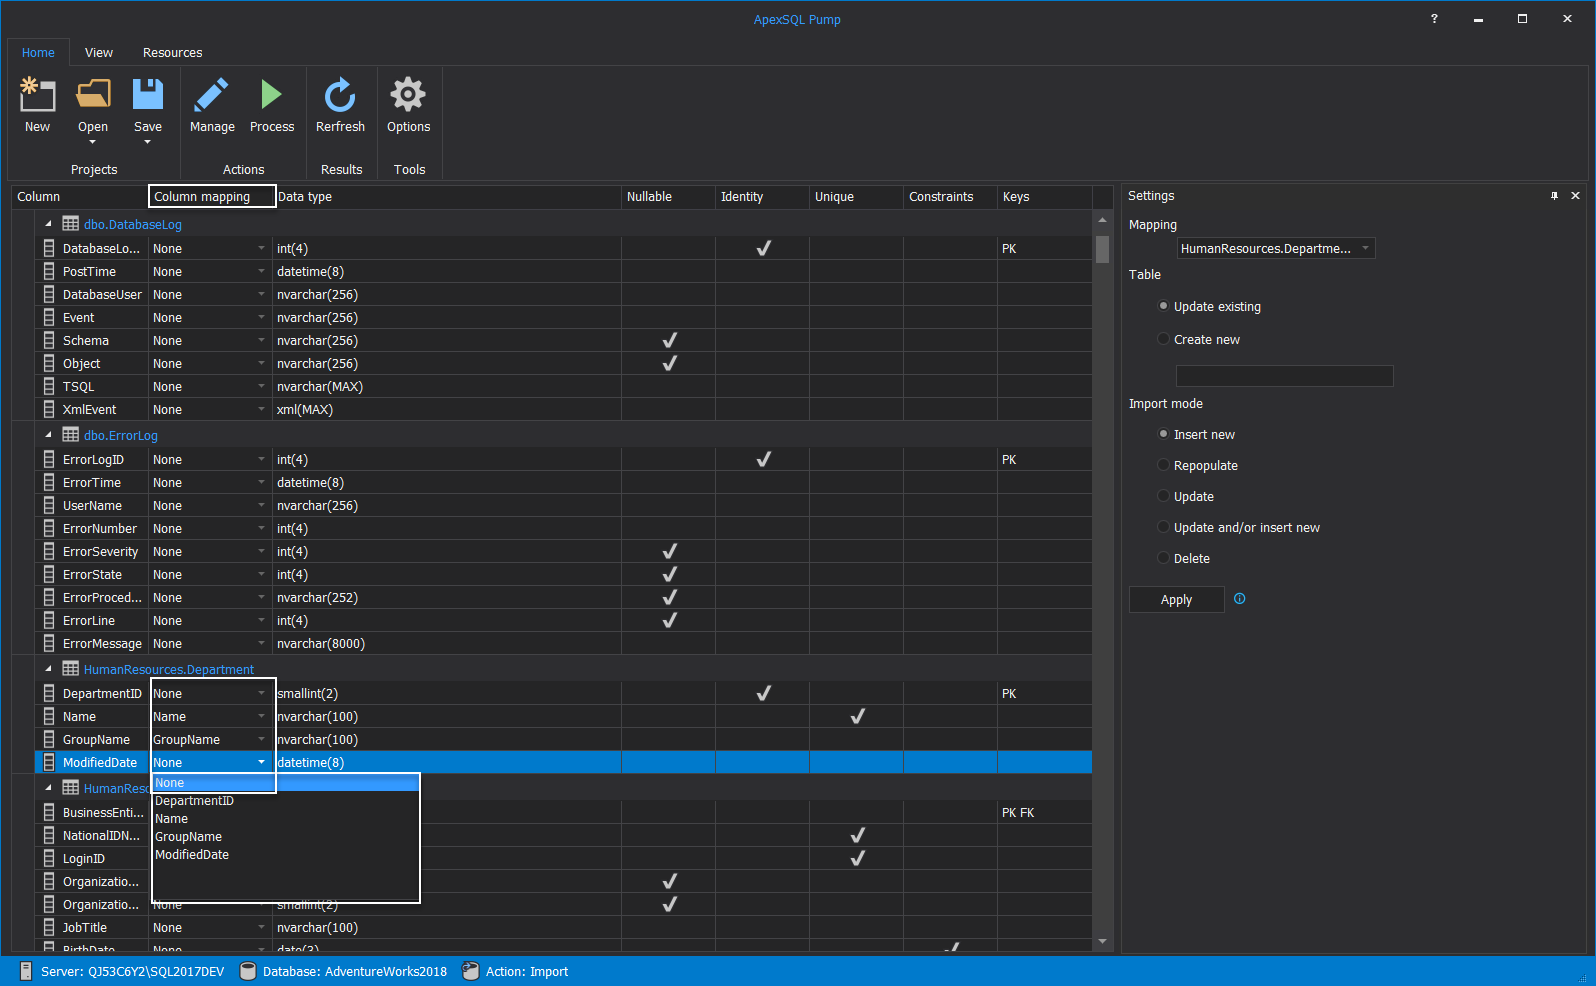
The next steps are options based on the input type. After options are set for the selected file format, the user needs to map all desired tables with data from a chosen file:
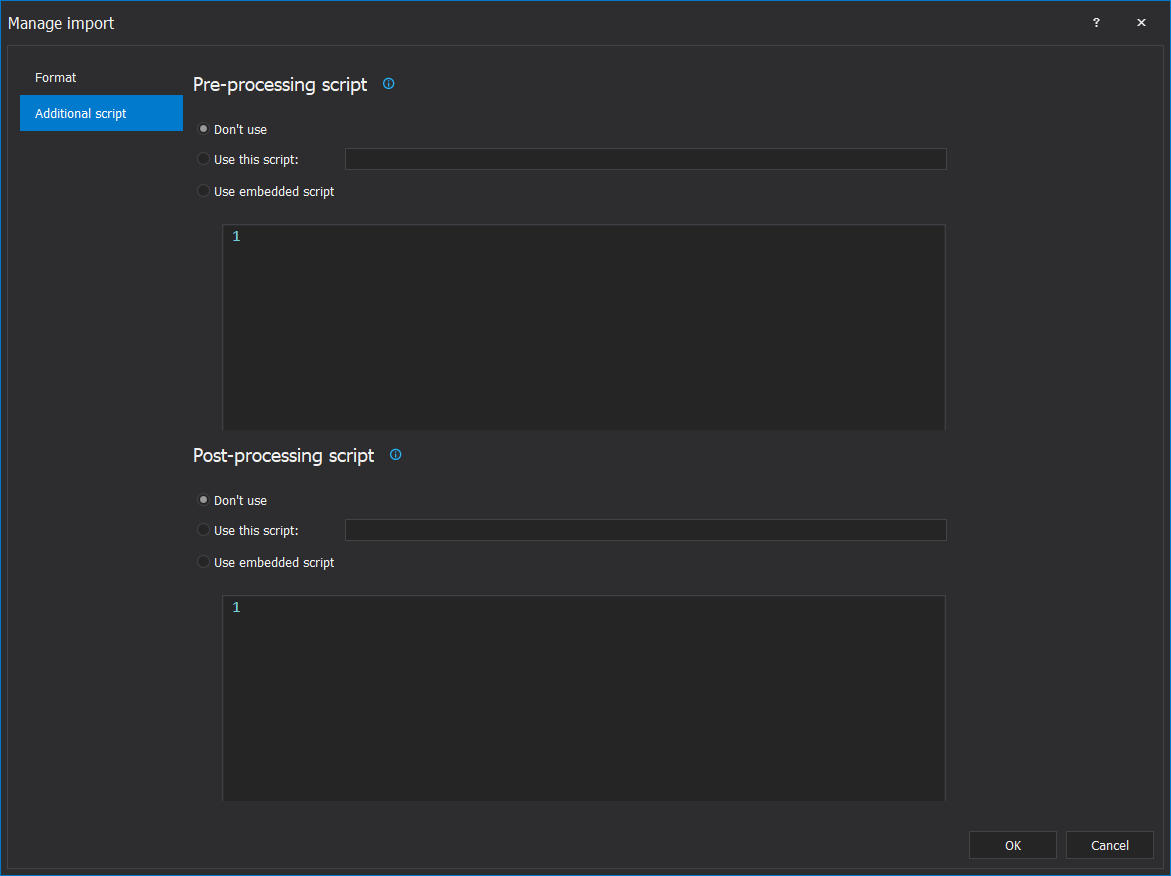
When the user maps all columns from all tables, in the last step there is a possibility to add pre and/or post-execution script:
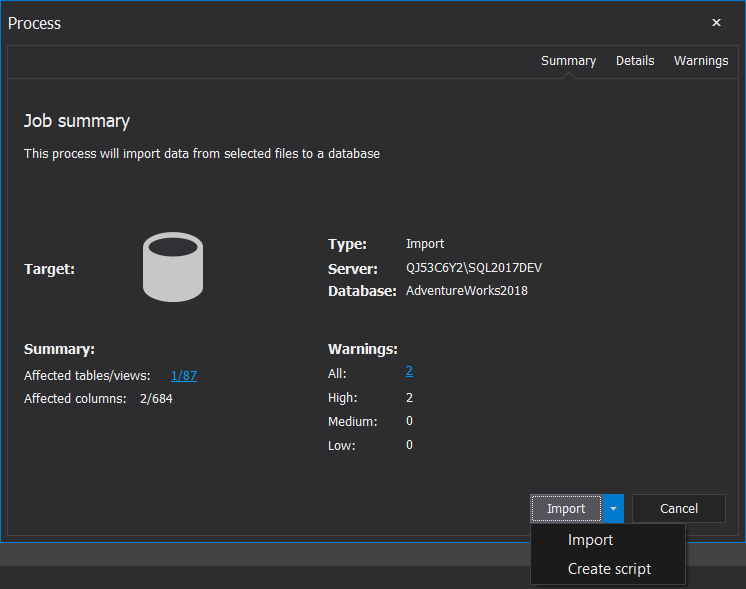
As it was in the last step for the export, here can be selected either to execute the task or to create the script to execute it later:
August 16, 2017


