


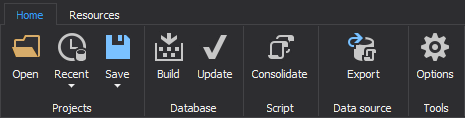
When the application is started, the main window is shown, along with the Home tab, that contains actions which are grouped in the Projects, Database, Script, Data source and Tools sections:
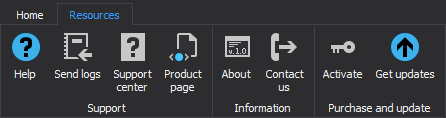
The second tab in the main application window is the Resources tab. It consists of the Support, Information, Purchase and update sections, which are especially handy if you need more information regarding the products you are using, contacting us to provide support for any encountered issue or just activating and updating the application:
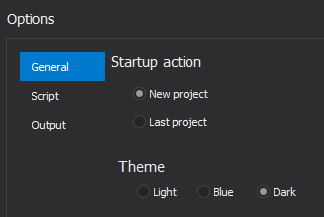
In the General tab of the Options window the default action can be chosen for selecting the New project or opening the Last project that was used. Also, different Theme can be selected for the application ranging from Light, Blue to Dark to better customize the application experience:
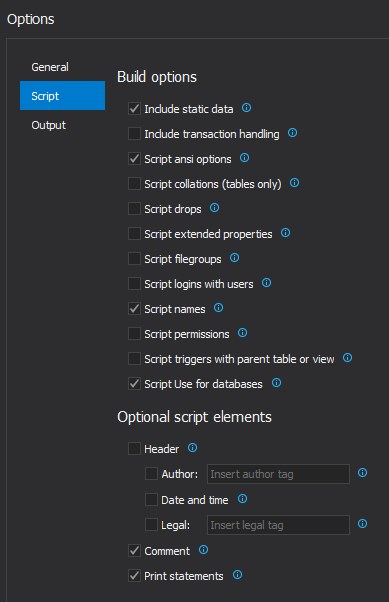
The Script tab has the Build options where additional script settings can be defined which can be included along with the ones selected by the default, or just created with our own custom settings. Also, there are Optional script elements for including Header, Comments or Print statements in the script:
Output tab gives us the ability to select the Output format and editor we want to use, and define the File location (specify the folder where we want to export the files) and the File name template:

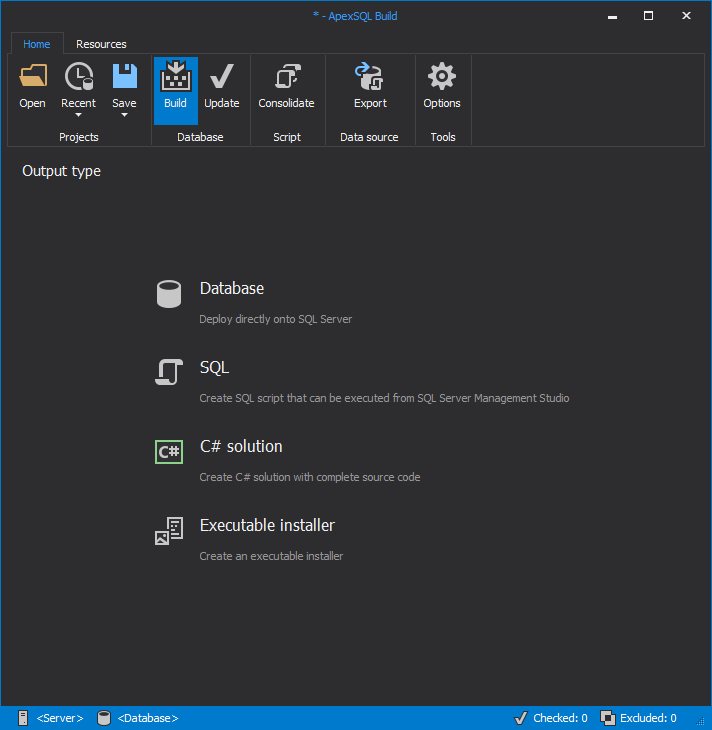
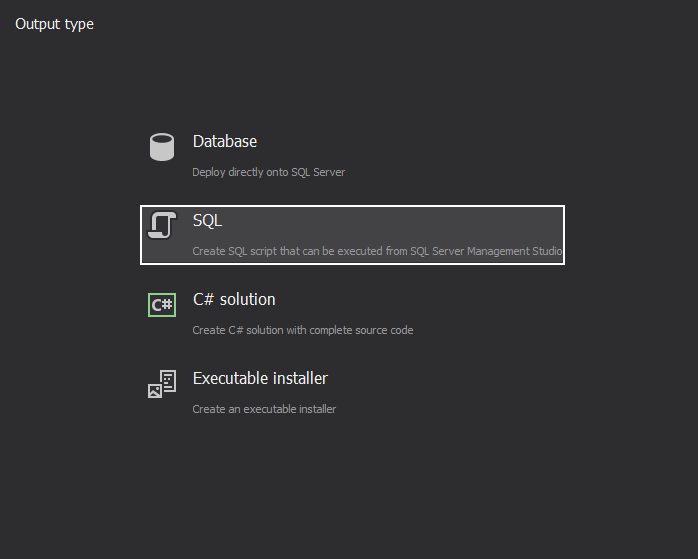
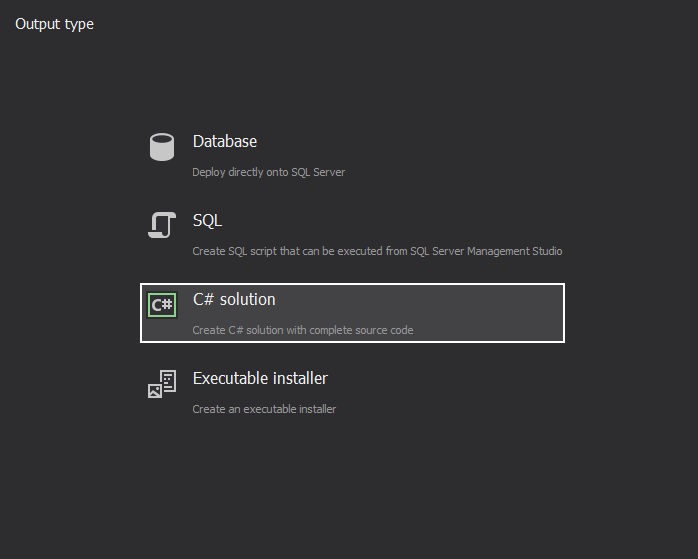
By clicking on the Build button in the Home tab of the main application window we can select various Output types that we want use (Database, SQL, C# solution or Executable installer):
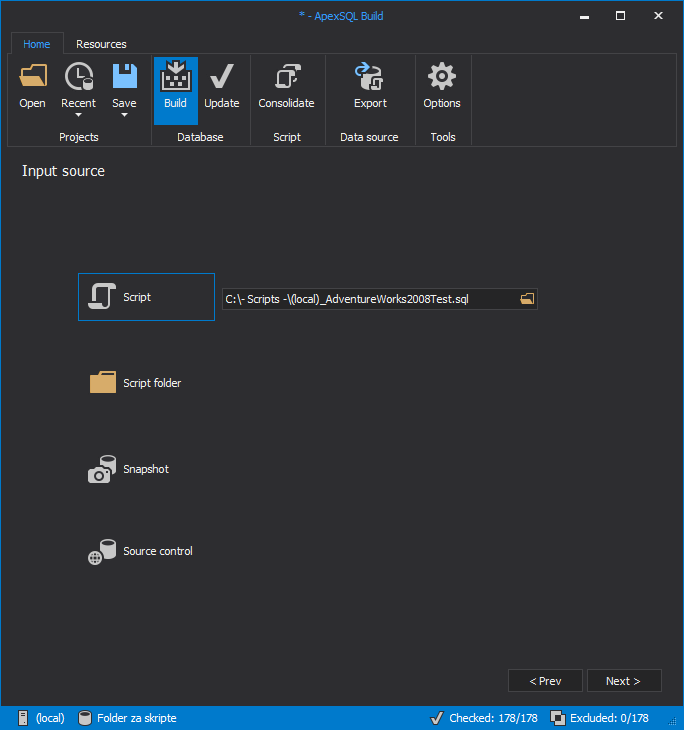
Once the Output type is selected, we can choose our Input source (Script, Script folder, Snapshot or Source control) from which the application can build the database:
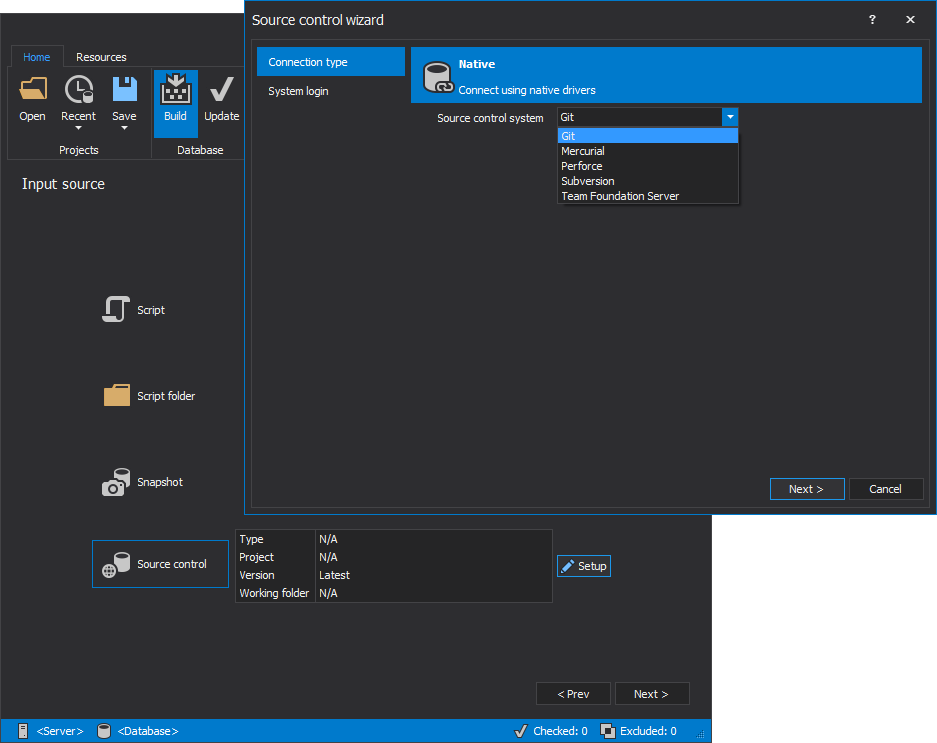
In this case, when the Source control is selected as the Input source, we can define the Source control settings by clicking on the Setup button. The Source control wizard window will appear which lets us choose which Source control system we want to use (Git, Mercurial, Perforce, Subversion and Team Foundation Server):
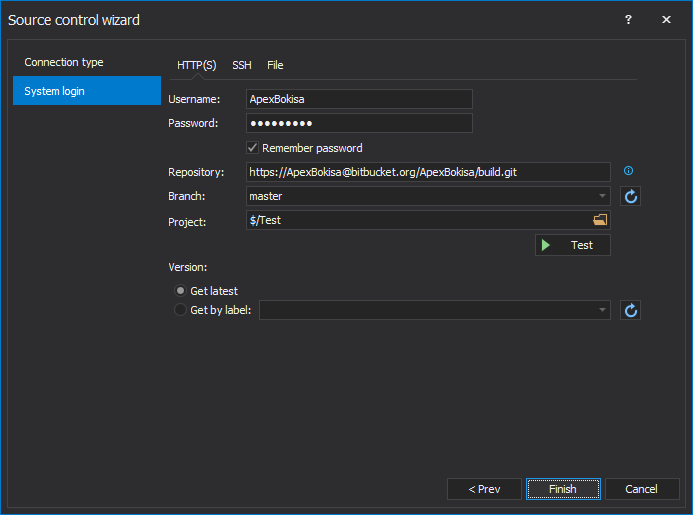
After the Connection type is chosen, we only need to set up the System login by filling out the information required for us to connect to the Source control system:
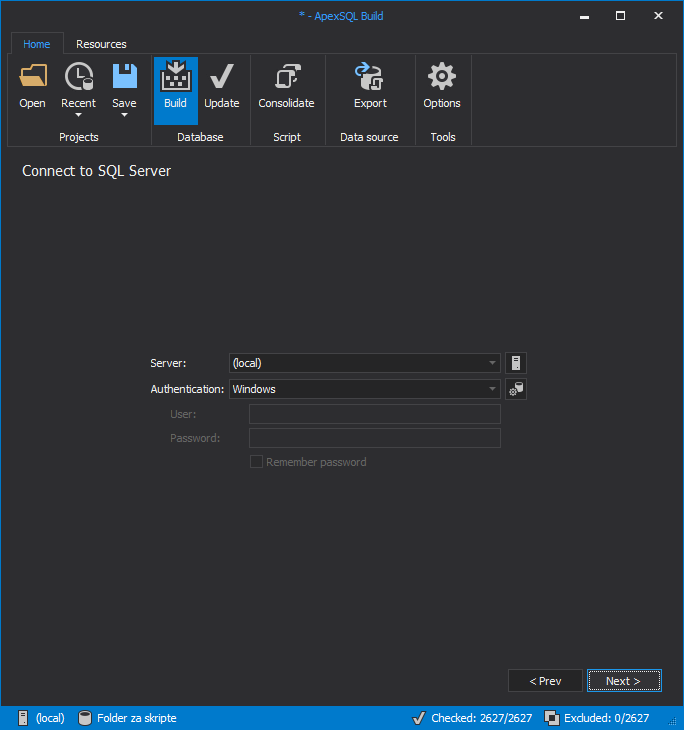
Next step would be selecting the Server we want to connect to, and the type of Authentication we want to use:
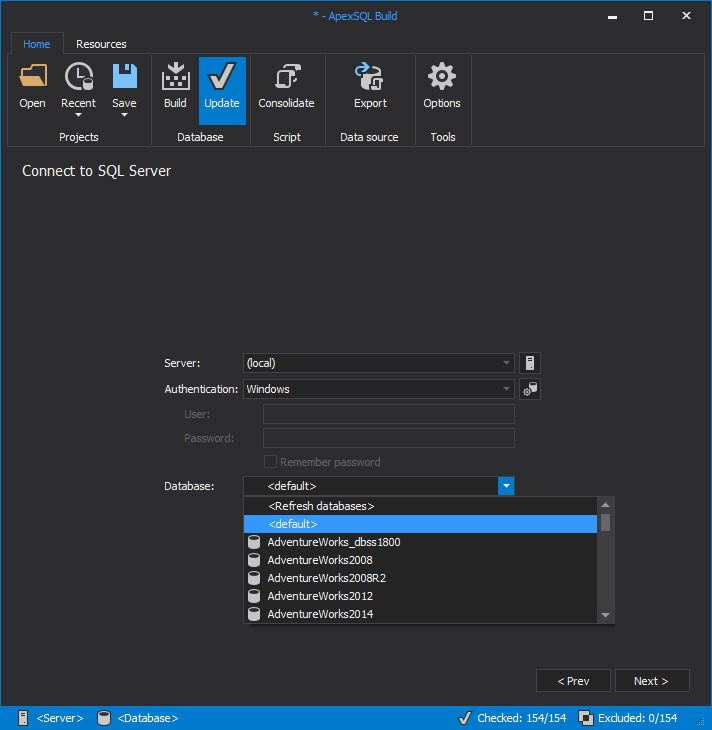
When trying to Update the existing database rather than building the new one, the Connect to SQL Server window in this step is slightly different, and we have an added option to select the Database that we want to update:
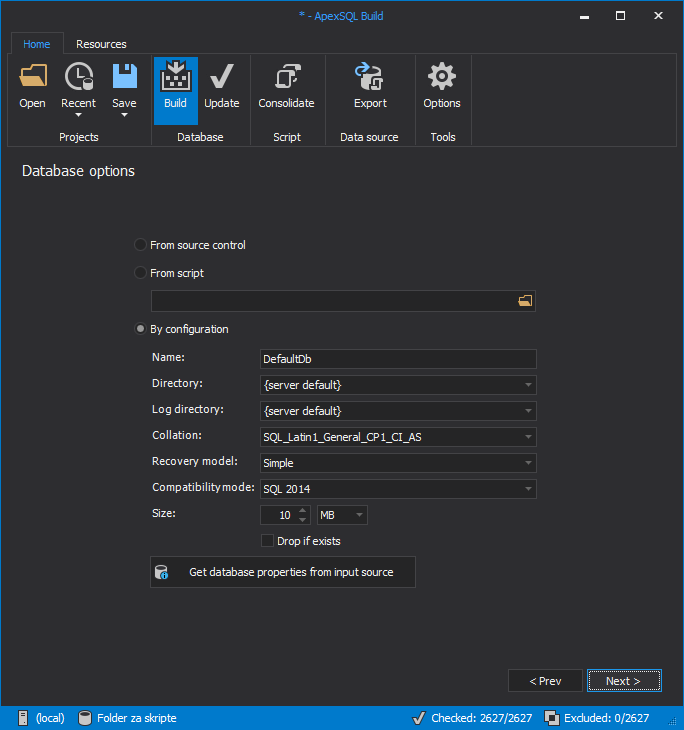
Then we can choose from which source we want to pull database creation script from, or just build it from the application itself using By configuration option (one thing to note is that given that not all combinations of actions and output types are the same, in some variations only the By configuration option is available):
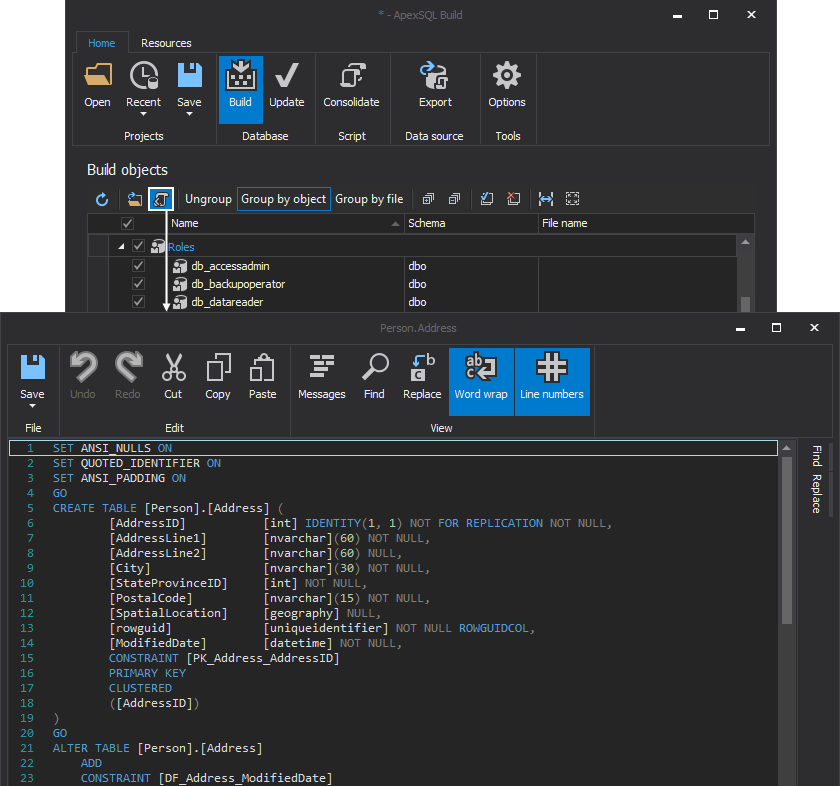
Next step is the Build objects that lets us check/uncheck which ones we want to include in the new database:

Located in the upper left corner of the Build objects window is View DDL Script button, which when clicked, opens the Script editor for the currently selected object in the list:
Next step is the Preview, where we can see Summaries and group them by object, actions or leave them ungrouped:
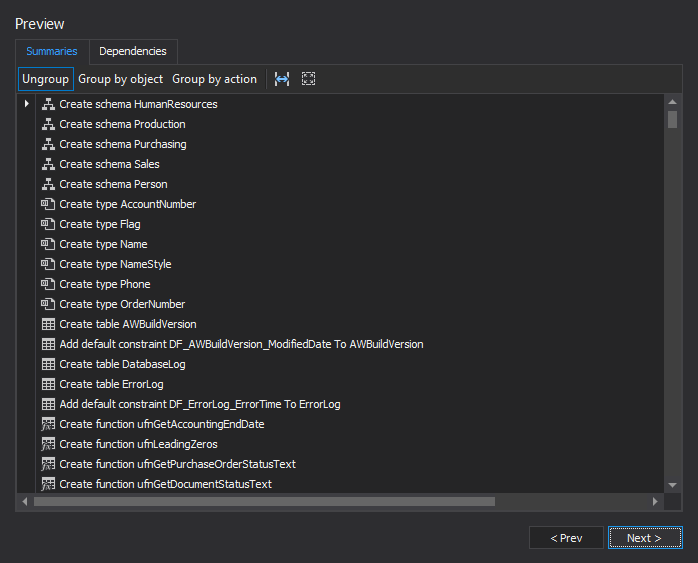
If the dependencies are detected, they will be shown in the Dependencies tab of the Preview window:

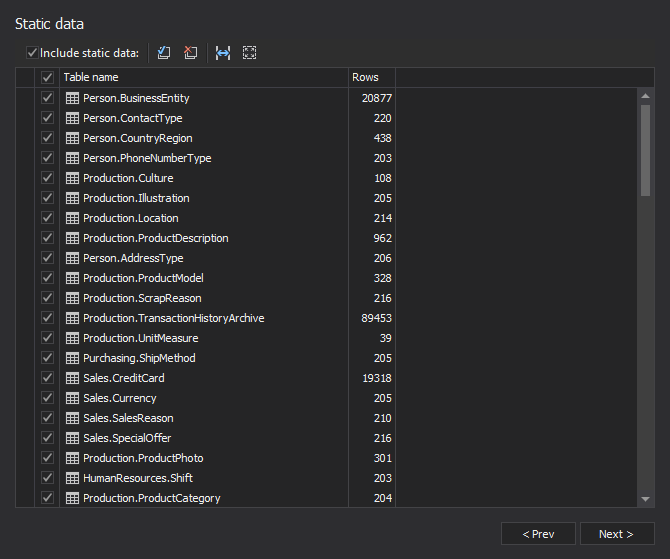
Static data window is the next step in the build wizard, where we can see all the static data that will be included in the database (if the Include static data is checked):
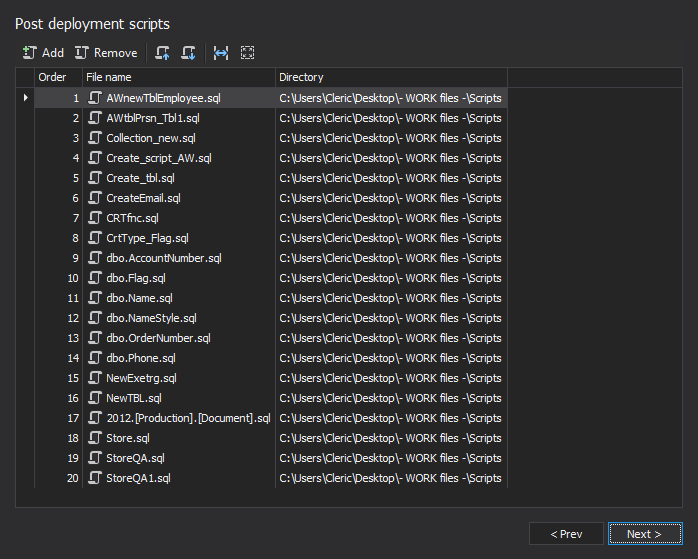
The Post deployment scripts step is used for adding/removing scripts that we want to be executed after the deployment:
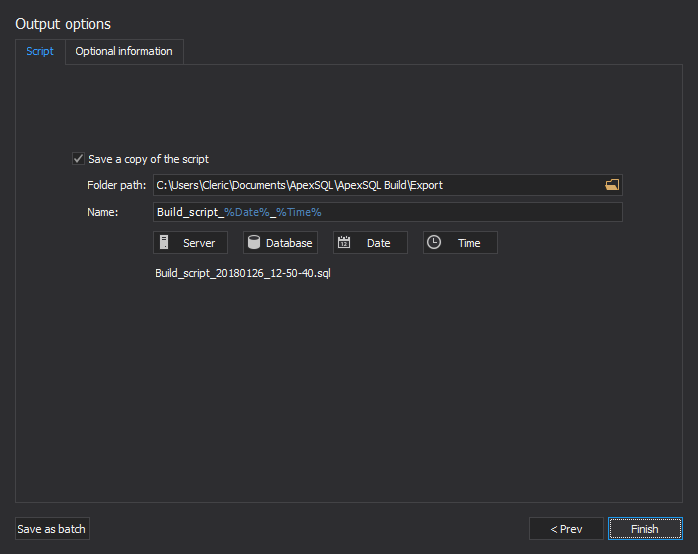
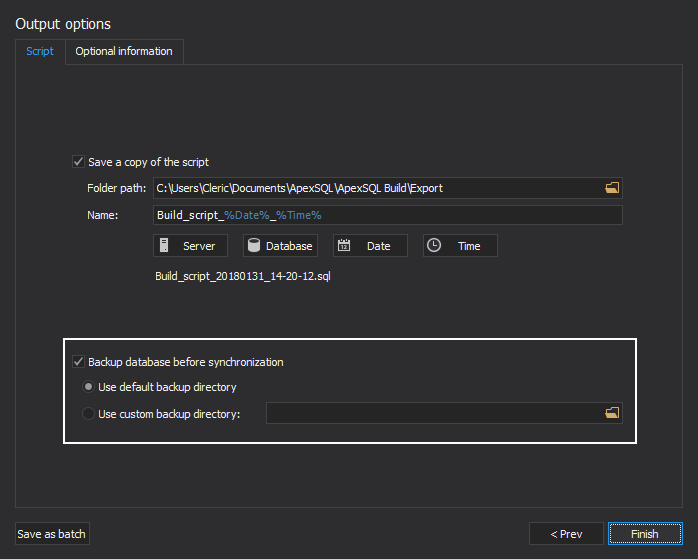
Last step is the Output options window, where in the Script tab we can change the Folder path and the name of the created script:
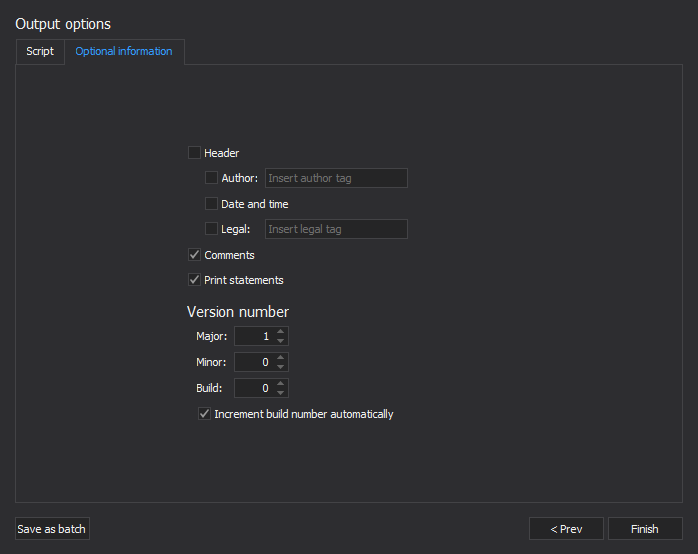
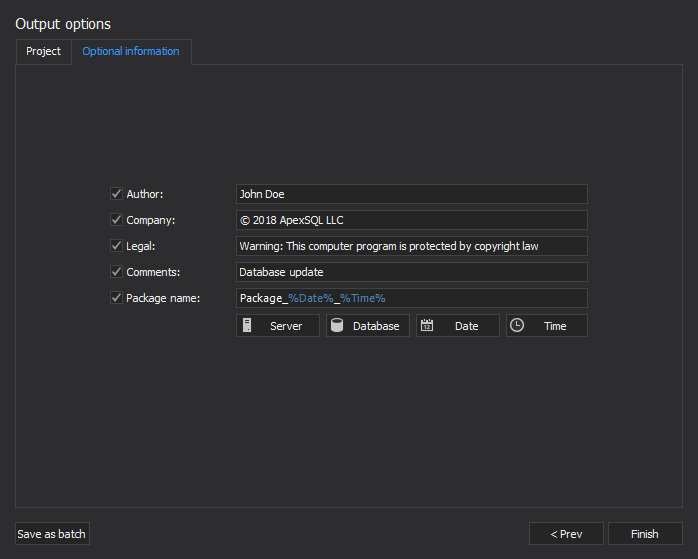
The second tab is the Optional information, where we can add Header, Comments and Print statements to the created script. Also, in the Version number section we can create different versions of the output, that will be inserted into the creation script header:
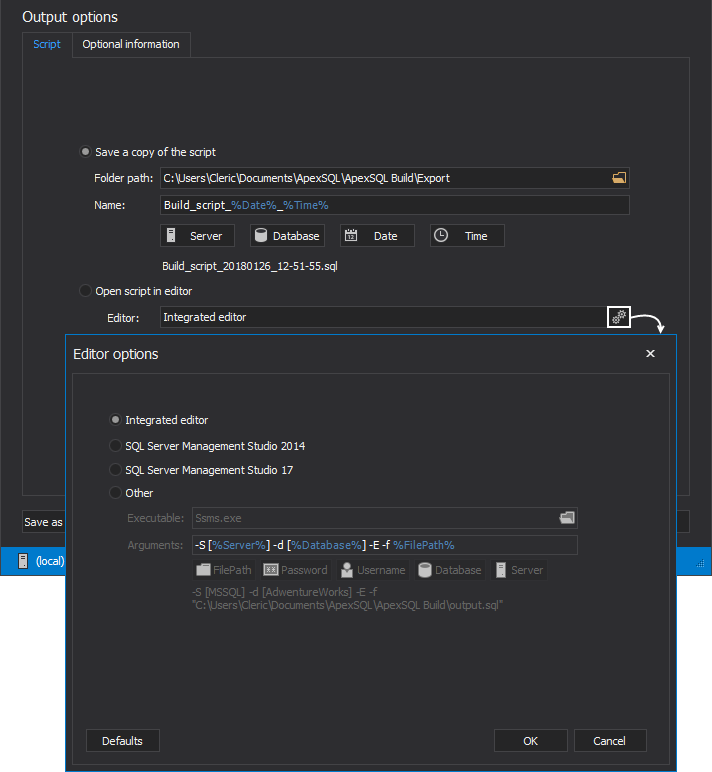
When the SQL (Creating SQL script that can be executed from SQL Server Management Studio) is used as an Output type:
We have an additional option in the Output options window, that lets us Open the script in editor of our choosing:
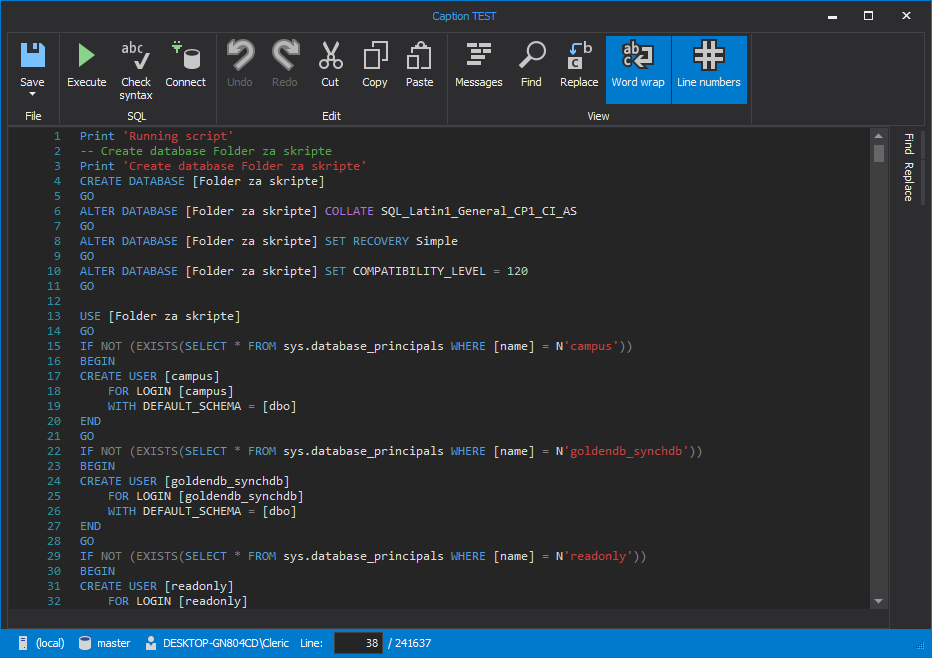
After the build process is finished, the SQL script file that has been created will open automatically in the selected editor (in our case Integrated editor) where we can view and execute it:
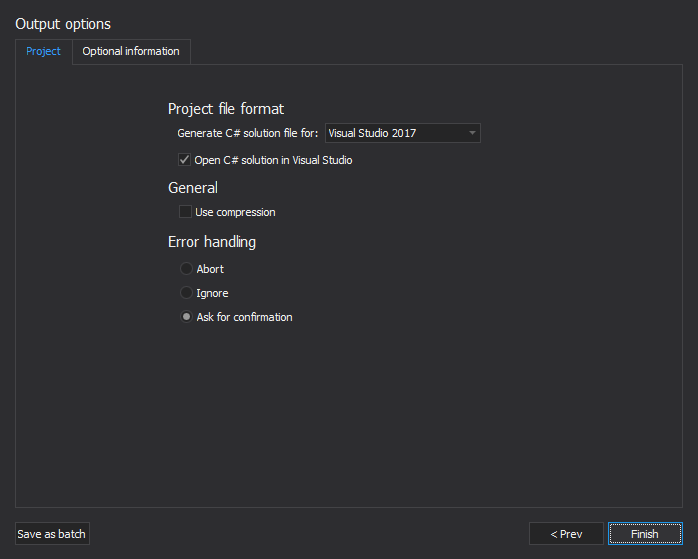
Another variation to the Output options window is when the C# solution is selected as the Output type:
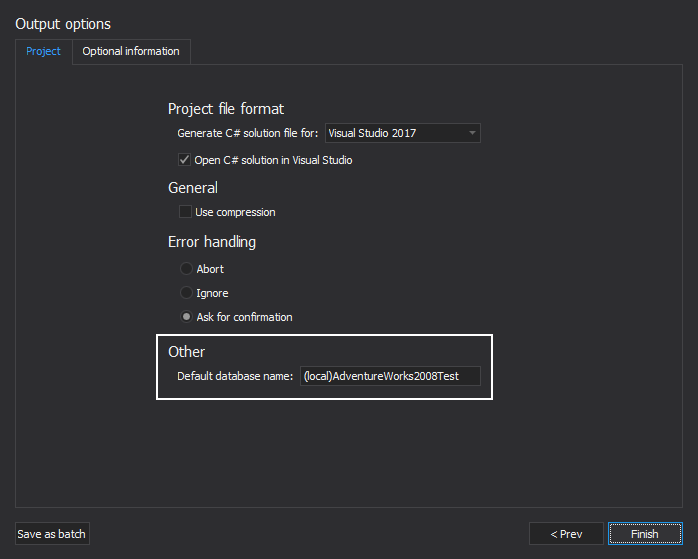
The Project tab in the Output options window is presented with options for selecting Project file format, ability to use compression, and the way that application handles error:
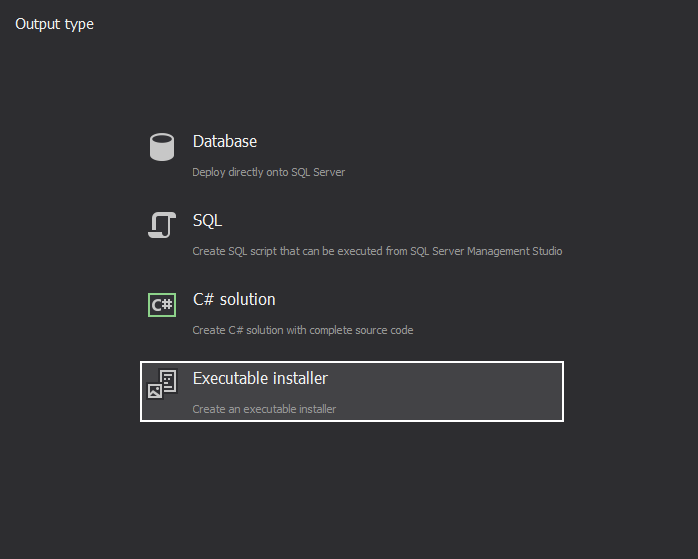
The last output variation is when the Executable installer is selected to be the Output type:
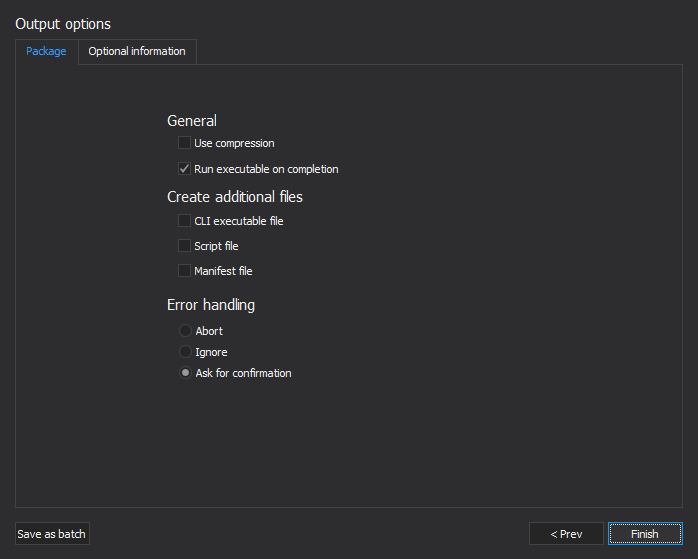
Then we have Package tab shown under the Output options window, where we can select additional options like to Run the executable on completion, Create additional files and choose the way that errors are handled:
If the Update of database is chosen, in the Output options window we can see the additional option added called have Default database name under the Other section:
If we choose to Update rather than Build database action the form in the Output options are slightly different and have the additional options included, where we can Backup the database before synchronization:
Under the Optional information tab, we can additional information to the package:
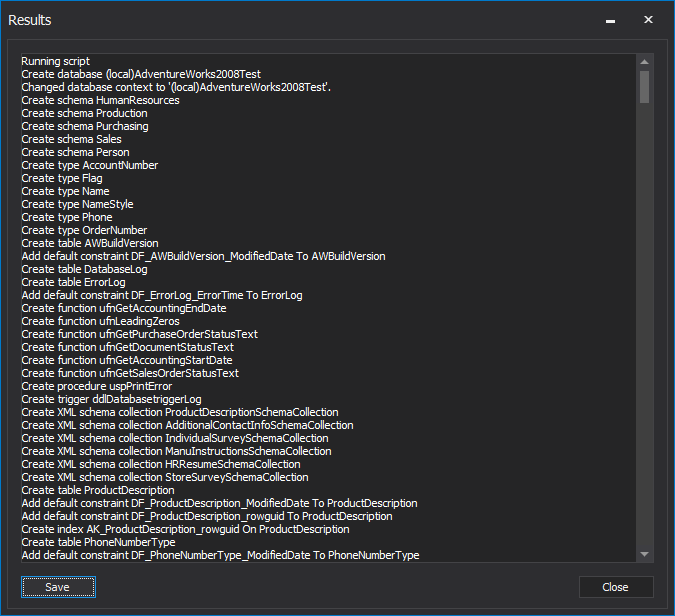
When the Finish button is clicked (if Database is selected as the Output type) the following results will be shown:
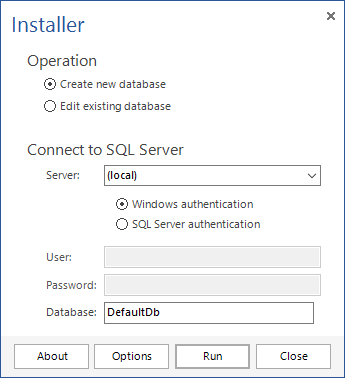
If we select Executable installer as the Output type, when the build process is finished the Installer window will pop up:
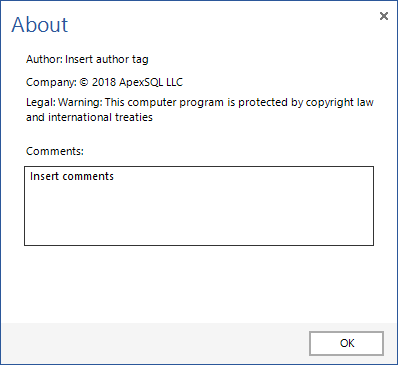
The About button will open its window and show information that was provided in the Optional information tab:
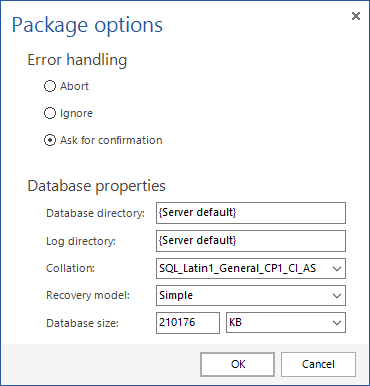
When the Options button is selected, the Package options window is shown with the additional information about Error handling and Database properties:
February 1, 2018


