


ApexSQL Diff for MySQL is a standalone tool for comparison and synchronization schemas of MySQL Server databases. Its installation is straightforward and in the first step the Welcome screen is shown:
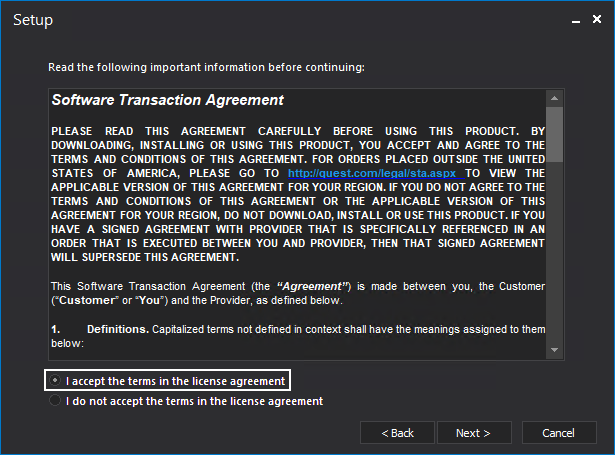
In the second step of the installation process, the Software Transaction Agreement step is shown in which the terms in the license agreement need to be accepted to continue with the installation:
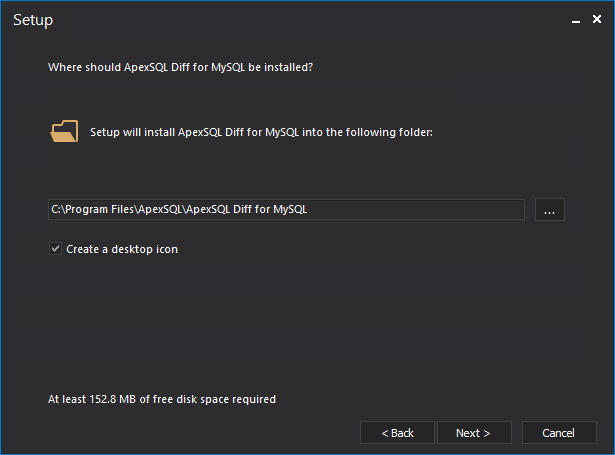
The third step is where it’s chosen where the application should be installed:
Afterward, the installation progress is shown:
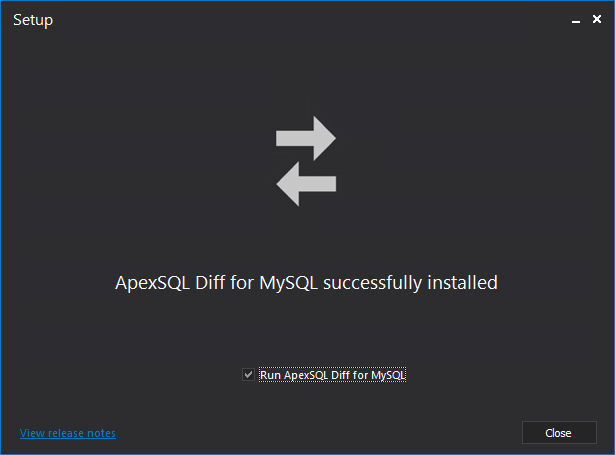
Once finished, the last step about successful installation is shown where release notes can be viewed from the link in the bottom-left corner:
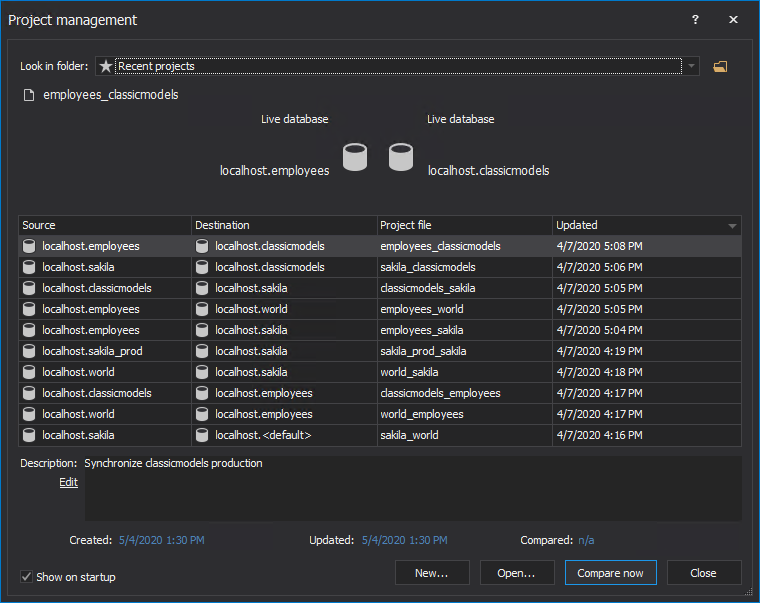
Upon starting the application, the Project management window is shown where all previously saved projects are shown in the list:
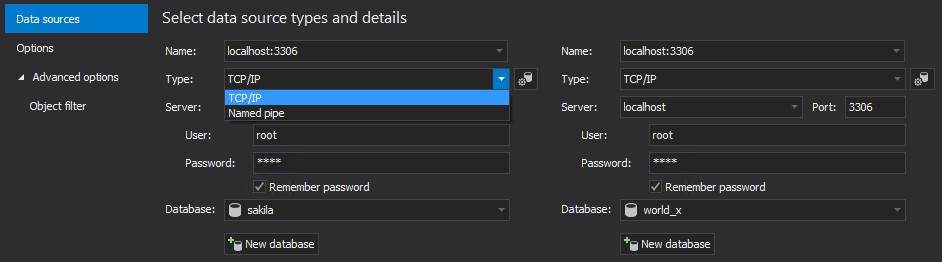
If the New button is clicked in the Project management window, the New project window will be shown with the Data sources tab:
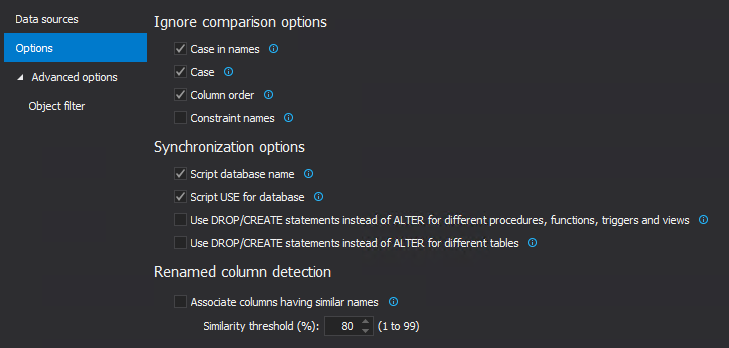
Under the Options tab of the New project window, comparison and synchronization options can be set:
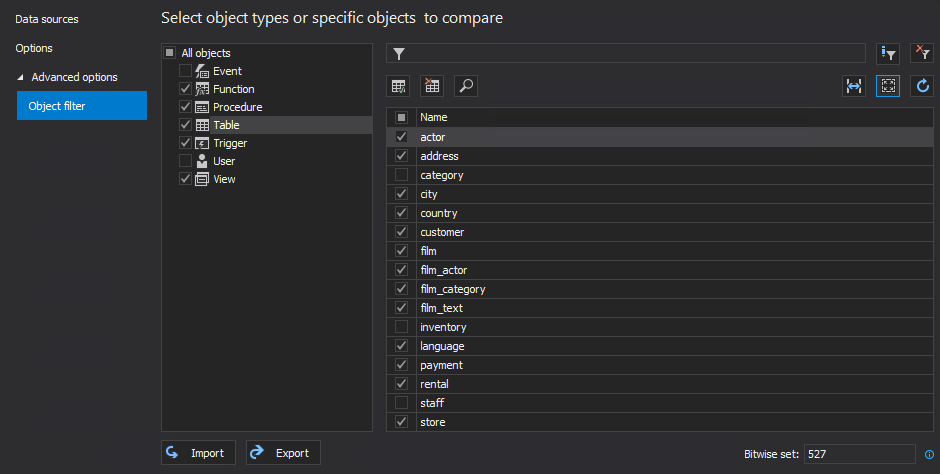
From the Object filter tab, under the Additional options of the New project window, object types and/or specific objects can be selected for the comparison process:
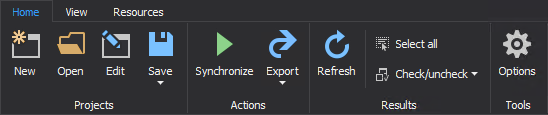
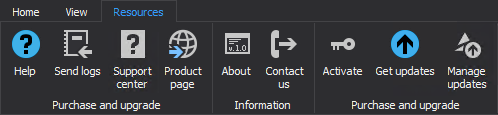
In the main application window, there are Home, View, and Resources with their corresponding sections and options:

The Results grid is shown in the middle of the main application window, surrounded by four different panels:
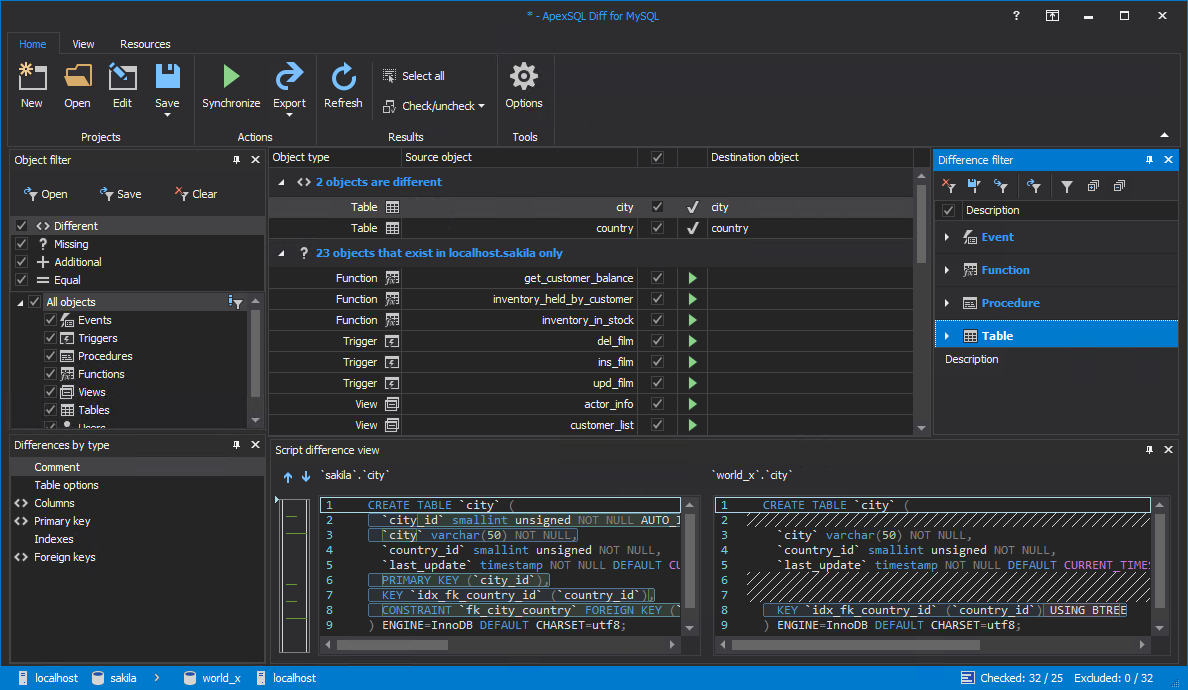
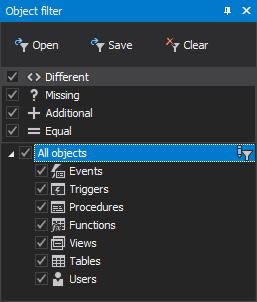
The Object filter panel allows users options to filter comparison results based on differences or object types:
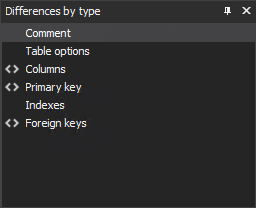
The Differences by type panel gives a short overview of the specific difference between compared objects:
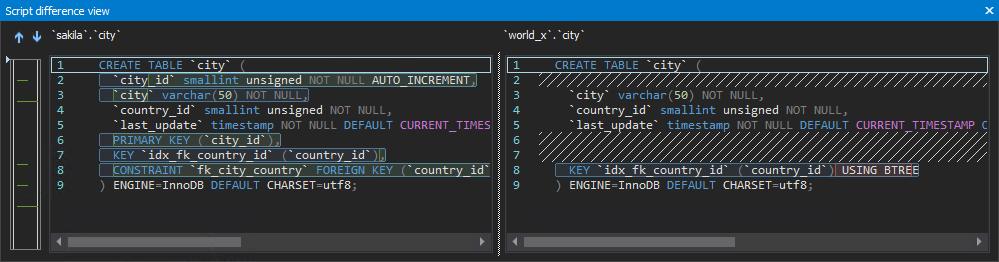
Detailed differences on a character-level are shown in the Script difference view panel:
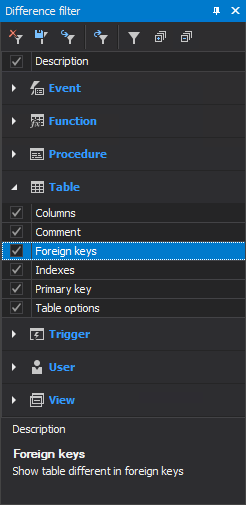
The last is the Difference filter panel that allows users to threat specific attributes as differences or not:
Under the Home tab, the Export button allows users export of comparison results into six different output types:

More options can be set if the Options button is clicked under the Home tab in the main application window. Once opened, the first shown is the General tab with its options:

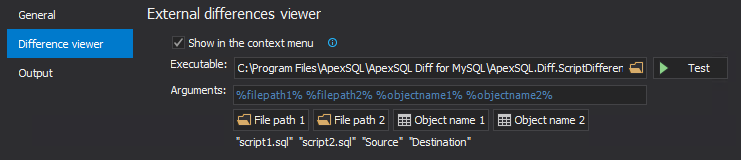
The Difference viewer tab is the second tab in the Options window and here the default difference viewer is set, but users can set their own:
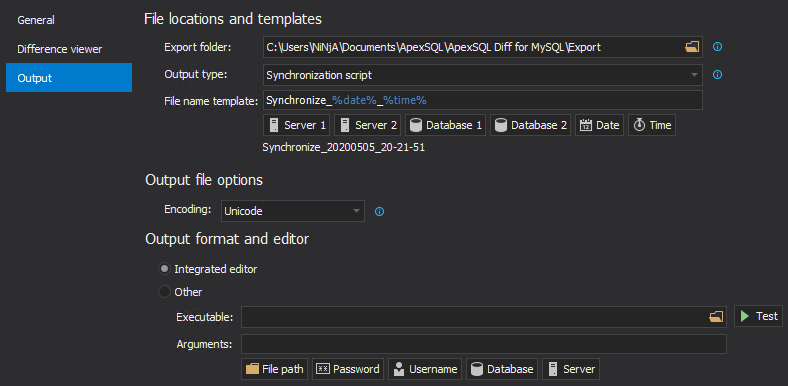
The last tab is the Output tab in the Options window in which File locations and templates, along with Output file, format and editor options can be set:
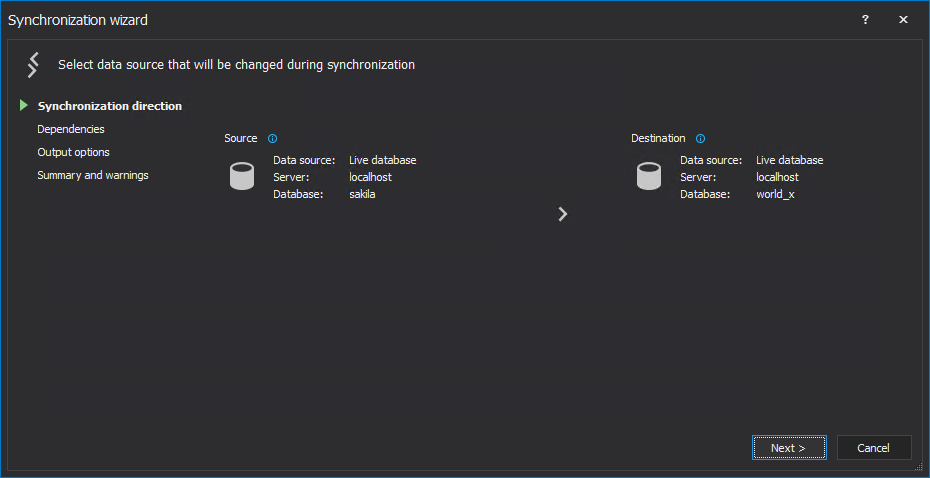
Once the Synchronization wizard is started with a click on the Synchronize button from the Home tab, the Synchronization direction step is shown as the first step:
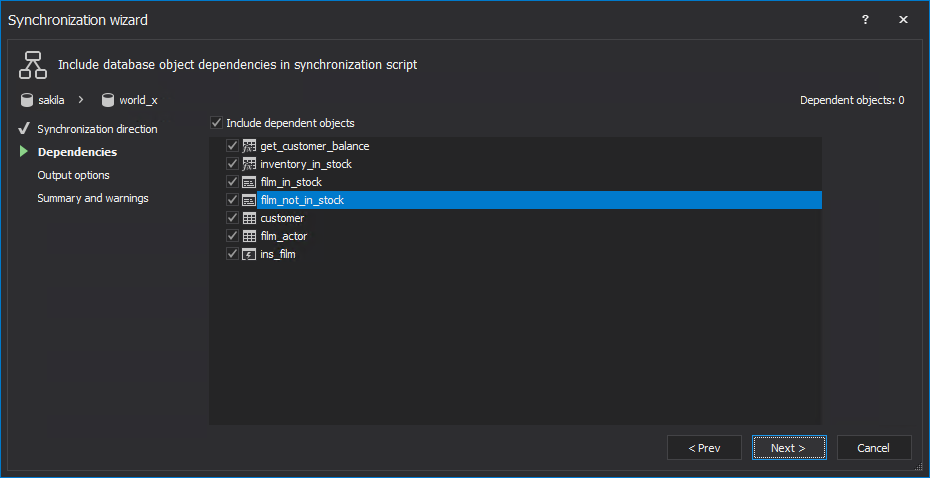
The second one is the Dependencies step, in which a user can choose whether to include or exclude dependent objects in the synchronization script:
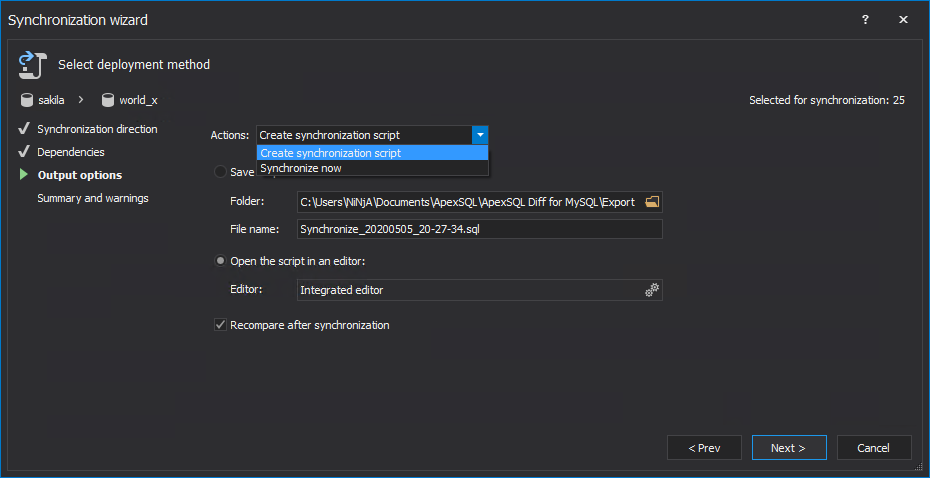
The Output options step, is the third step, and here a user can choose between the Create synchronization script and Synchronize now actions, along with their corresponding options:
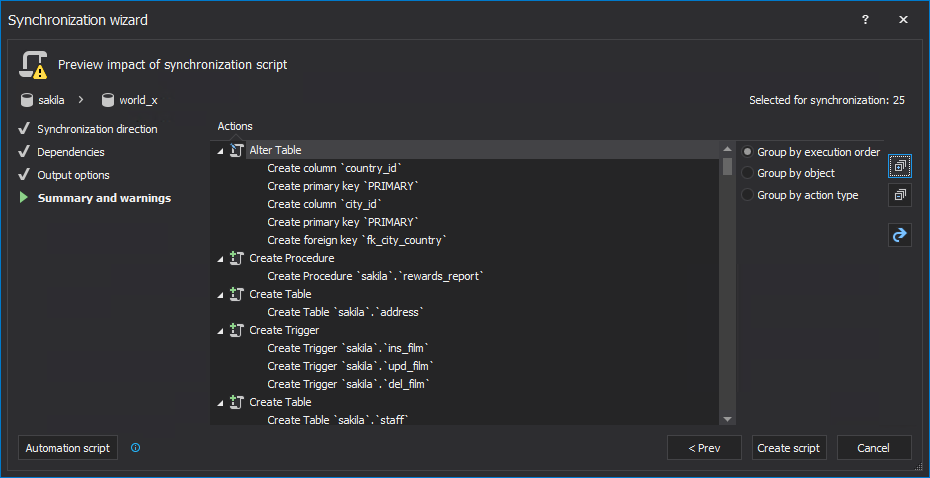
The last step is the Summary and warnings step, in which Actions and Warnings (if there are any) will be shown in separate tabs:
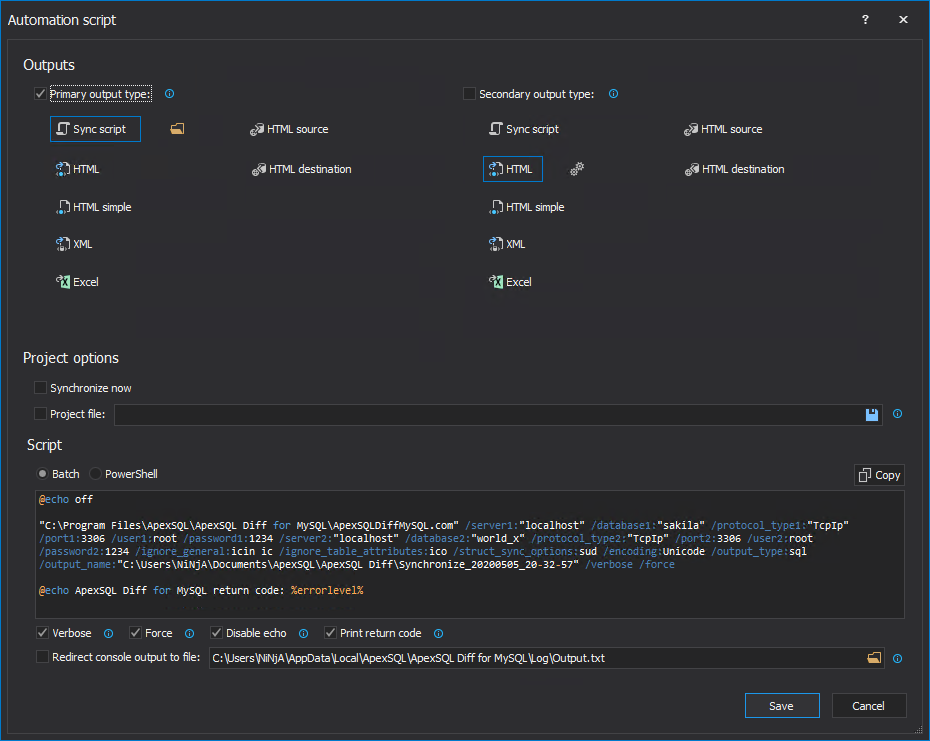
The Automation script window can be initiated from the last step of the Synchronization wizard with a click on the Automation script button, or from the Home tab with a click on the Save button:
To check the version and for how long the application will be active, click the About button under the Resources tab:
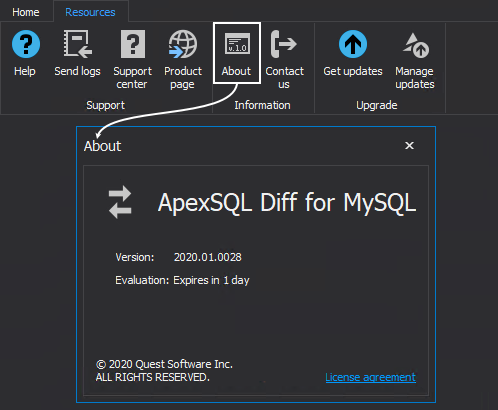
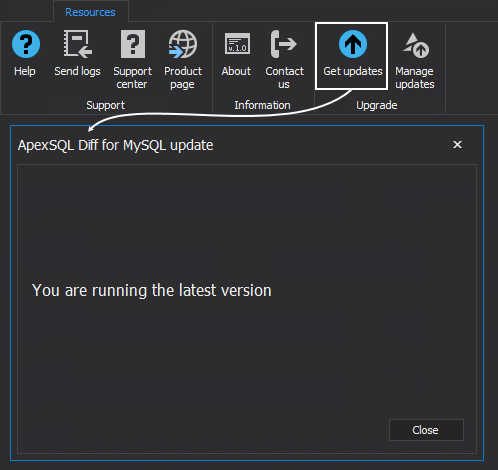
Click the Get updates button from the Resources tab to check if a new version is released:
June 2, 2020


