


ApexSQL Enforce is a powerful tool, which allows user to review, detect and fix issues in a database or SQL script. Beside the stand-alone application, now, it comes as SQL Server Management Studio and Visual Studio add-in as well.
Installation of ApexSQL Enforce is a five-step process. The startup window is a welcome screen, which is common screen for all ApexSQL products:
In the second step, user can read Software Transaction Agreement:
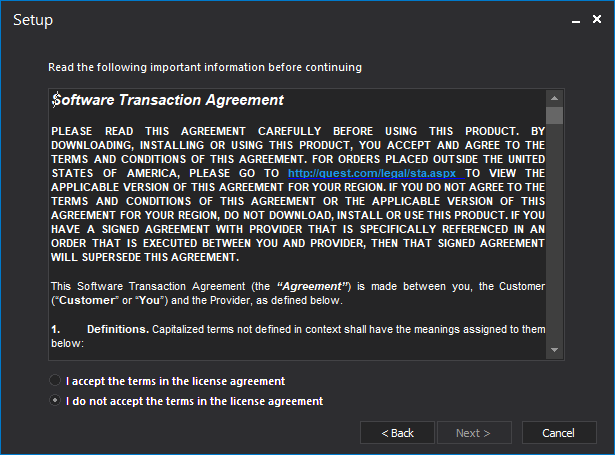
In order to continue with the installation process, the ‘’I accept the terms in the license agreement’’ options must be chosen.
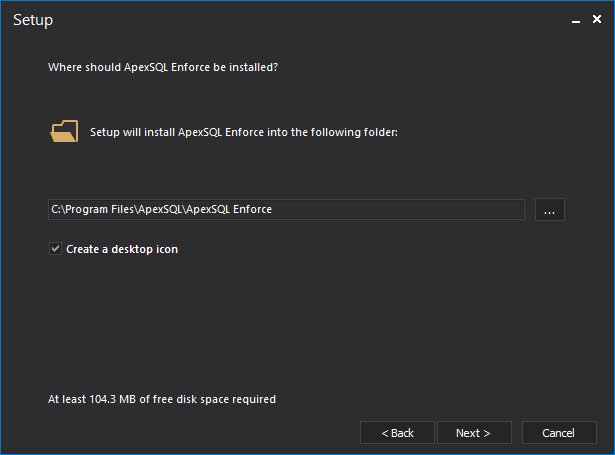
In the next step, user can choose the installation folder and whether to create a desktop icon or not. In this window information about free disk space requirement is present as well:
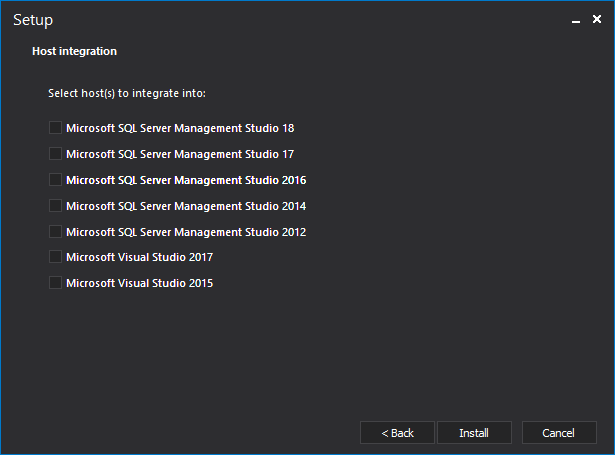
In the fourth step user can choose, one or more versions of SQL Server Management Studio (SSMS) and Visual Studio (VS) to integrate the application within. If none of the SSMS and VS version is checked, ApexSQL Enforce will be installed only as a stand-alone application:
The five and final step confirms installation process and allows user to start the application right away by clicking the Close button:
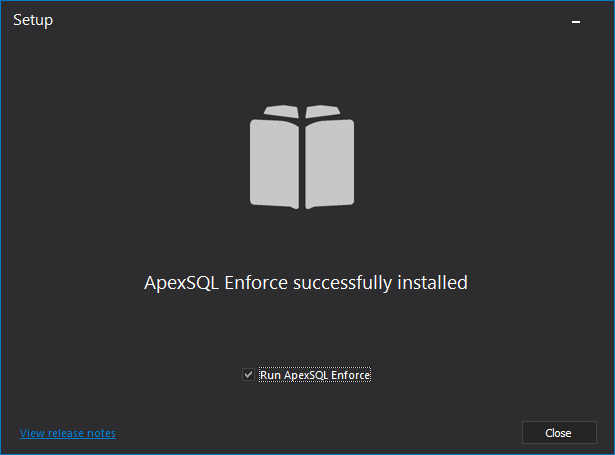
In this window, user can check release notes for this version of installed application.
In the startup, main window of ApexSQL Enforce, will be present only two tabs, the Home tab and the Resources tab:
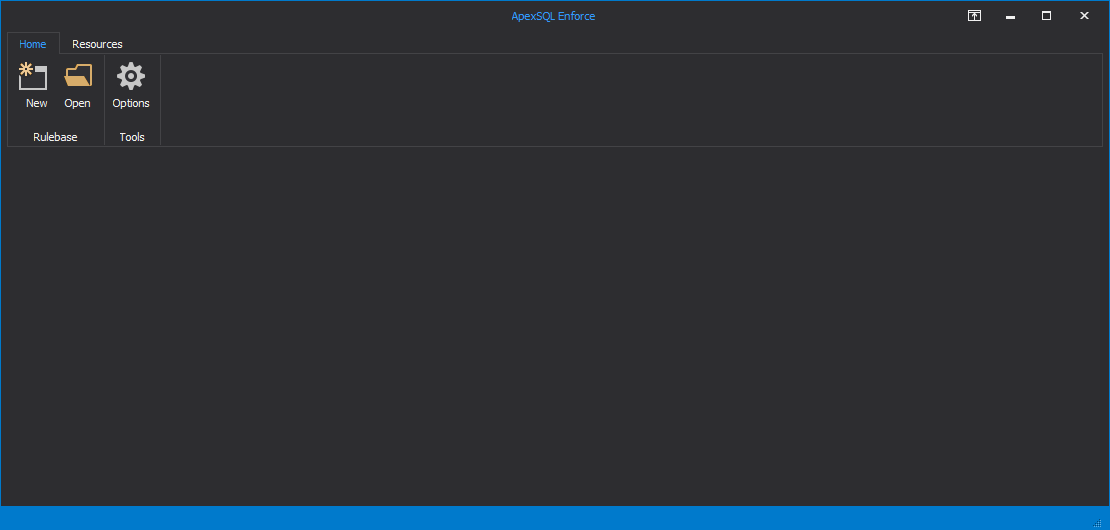

The first action is loading a rulebase. You can open an existing one, by clicking on the Open button under the Home tab, or create a new rulebase by clicking on the New button from the same tab:
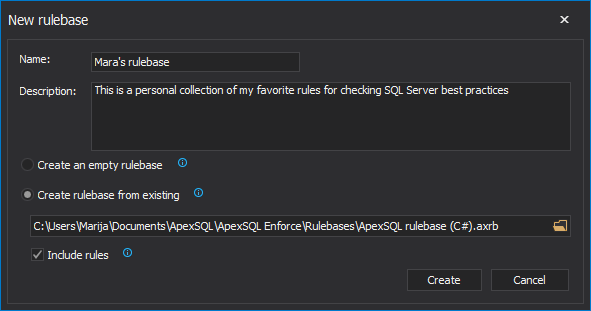
In this window, beside choosing a rulebase name and type, you can choose to create it as a blank rulebase (without any rules in it) or you can choose to create a rulebase based on any existing rulebases. If you choose to create a rulebase from the existing one but the Include rules option leave unchecked, the empty rulebase (without any rule in it) will be created, but with the same options set (the impact score, the threshold, the categories names) as the chosen one.
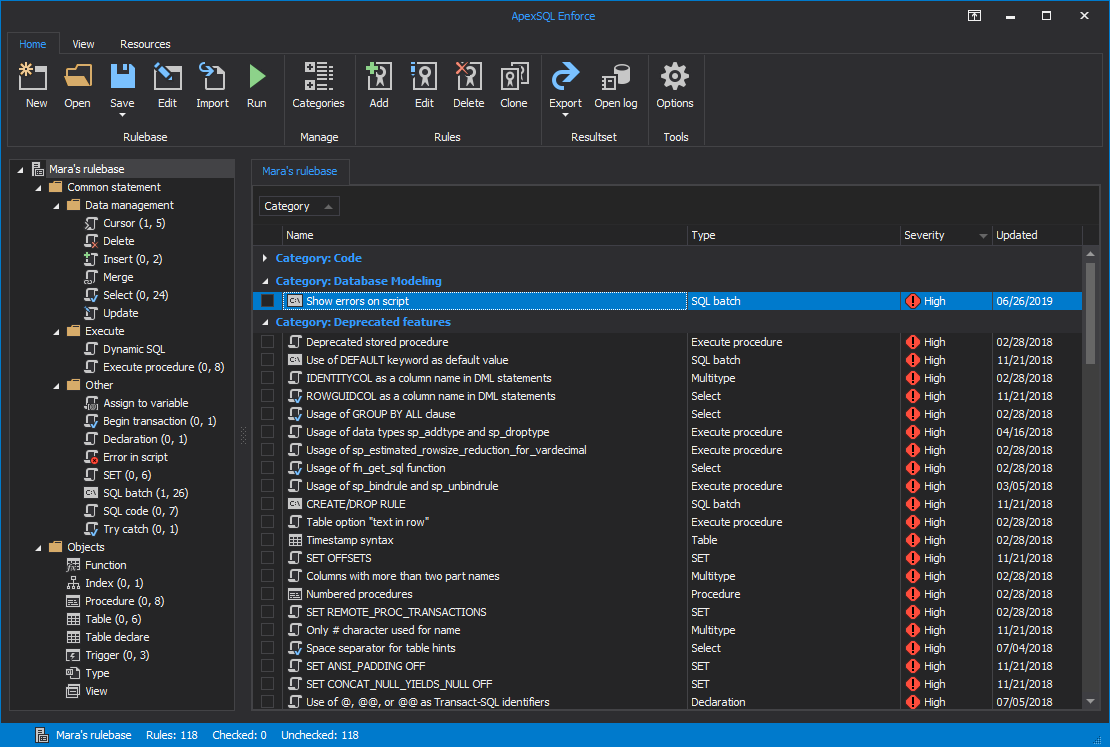
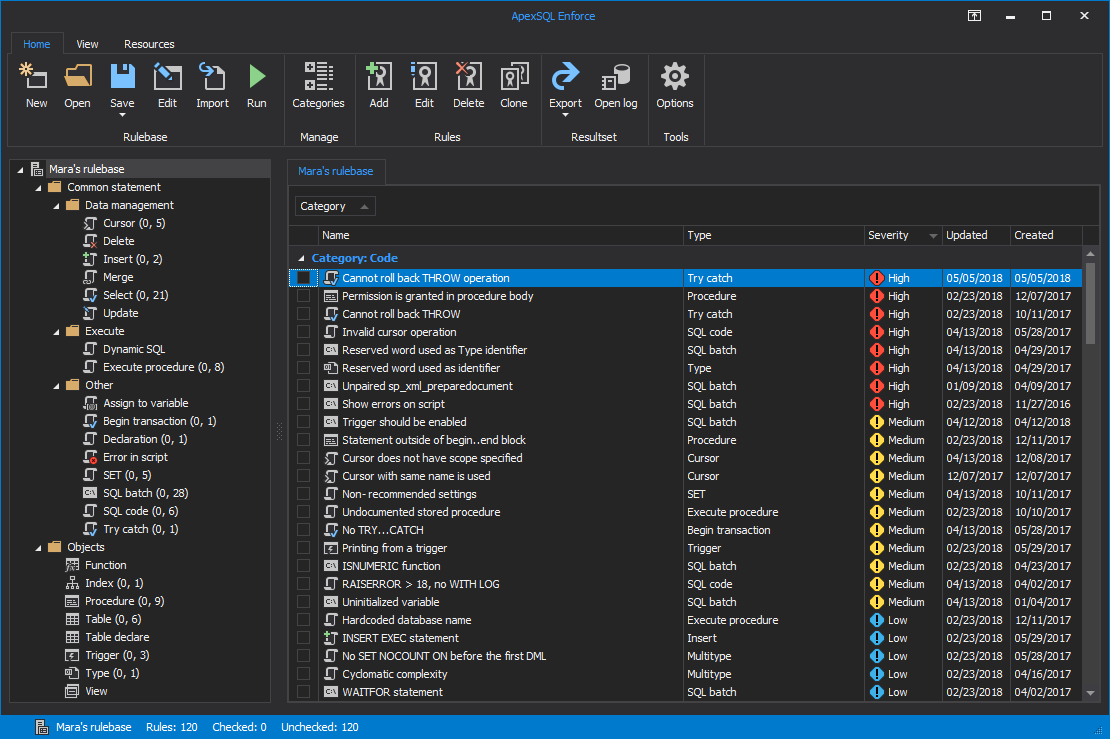
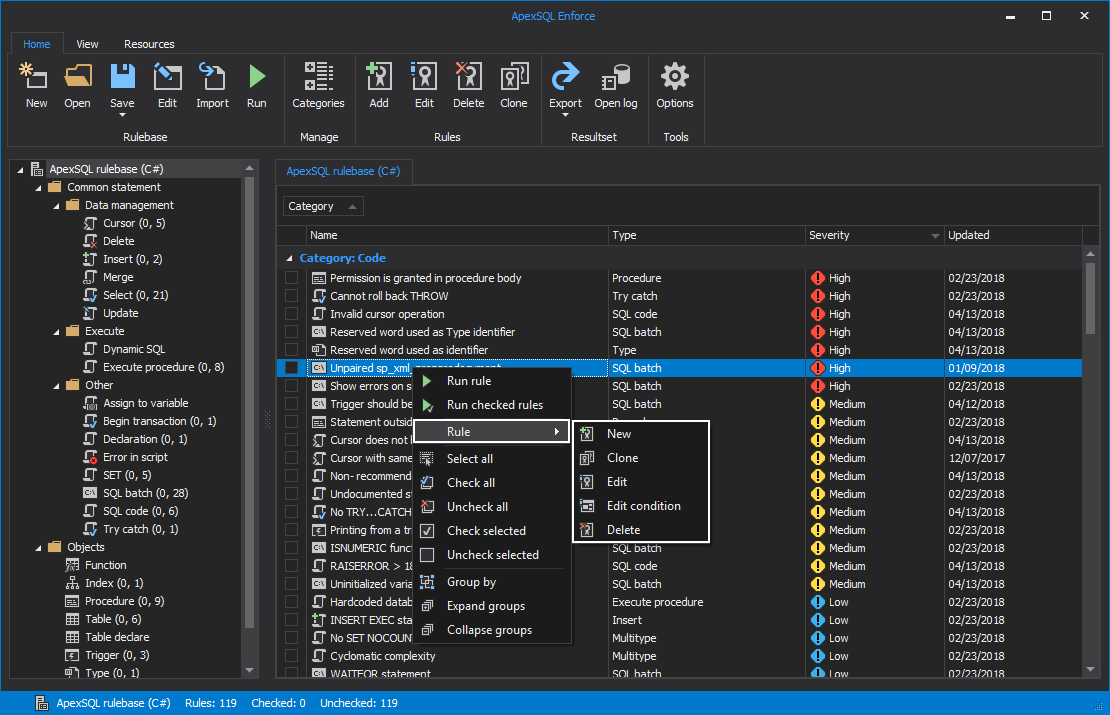
After everything is set and the Create button is clicked, in the main window will be present rulebase tree view, to the left and the rulebase grid, to the right:

Now, when the rulebase is loaded, another tab will appear in the main ribbon, the View tab:
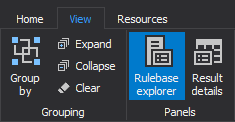
Options from the View tab can be applied only to the rulebase grid.
In the Home tab additional commands will appear as well:

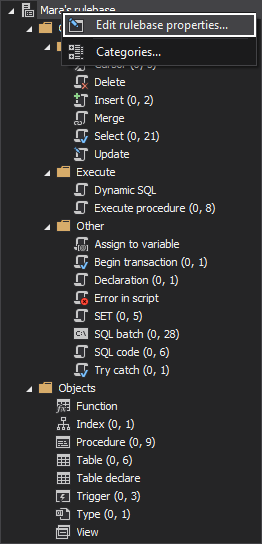
To edit general options for the opened rulebase, either right click on the rulebase name in the rulebase tree view and click on the Edit rulebase properties command from the context menu or click on the Edit command under the Home tab of the main ribbon:
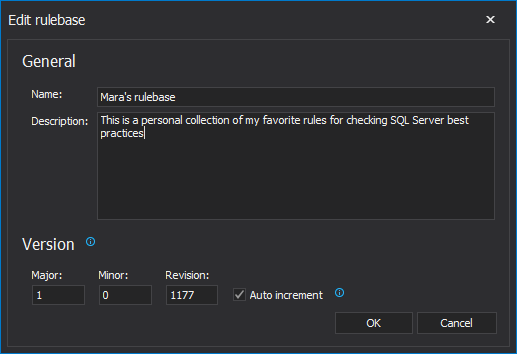
Either way you choose, the Edit rulebase window will be opened:
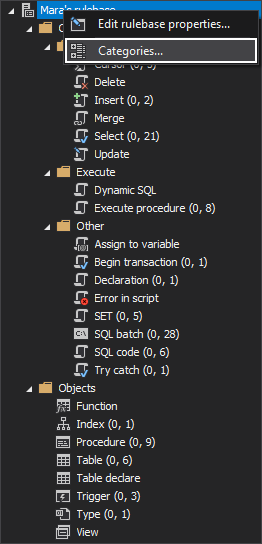
To check which categories are present in the opened rulebase, either right click on the rulebase in the rulebase tree view and click on the Categories command from the context menu or click the Categories command from the Home tab of the main ribbon:
Either way you choose, the Categories window will open:
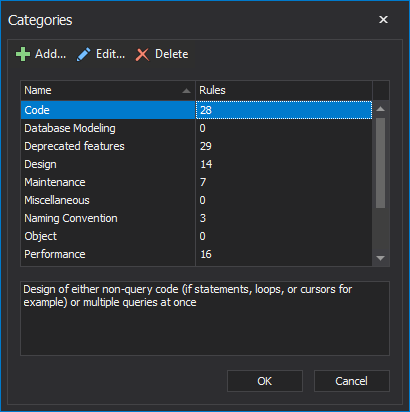
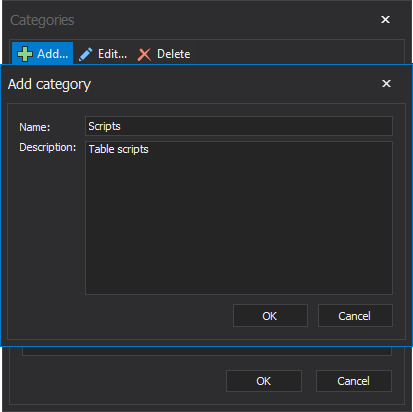
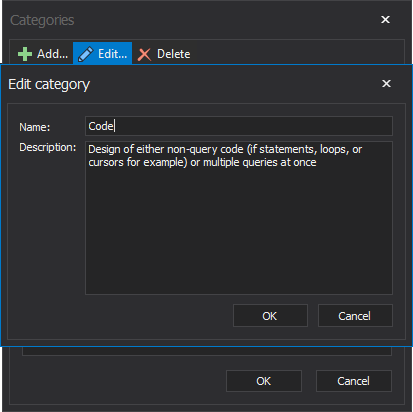
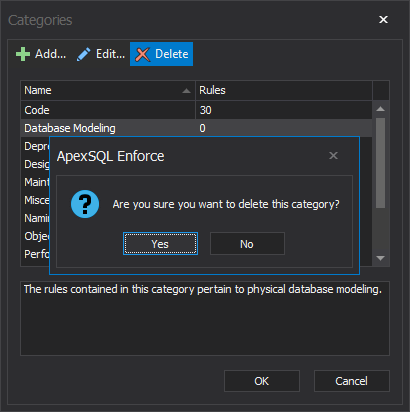
In this window you can edit the existing category, to add a new one or to delete it:
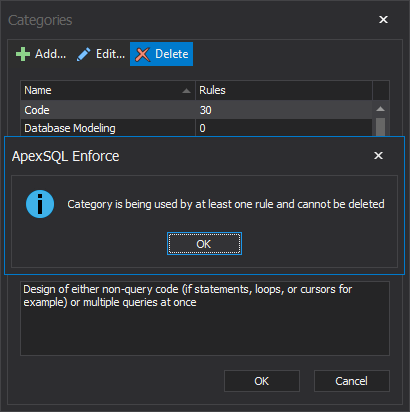
A category cannot be deleted if contain rules:
To import or update a rule or rules into loaded rulebase, click the Import command under the Home tab, choose a rulebase from which you will import a rule and the Rulebase import widow will open:
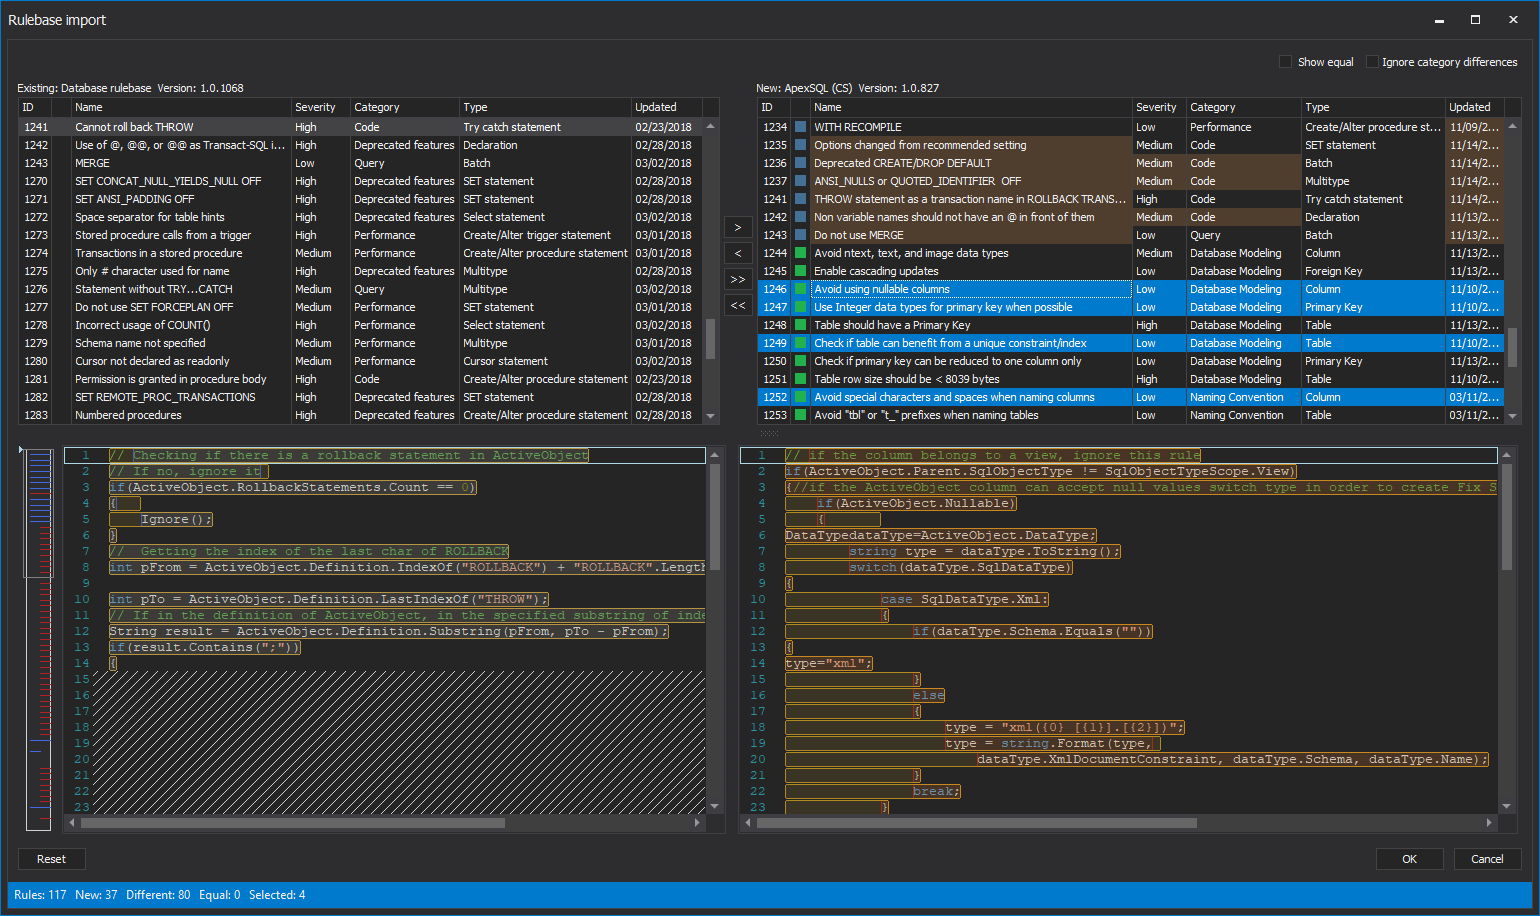
On the left side will be listed rules present in loaded rulebase and on the right side will be listed rules from the chosen rulebase. Select which rule you want to import into your rulebase and click on the action button to send it to your rulebase. You can select one by one rule or multiple rules to import. When the OK button is clicked, all imported rules will be present in the rulebase grid in already specified category.
Additional information about importing rules can be found in the How to import new rules into an existing rulebase article.
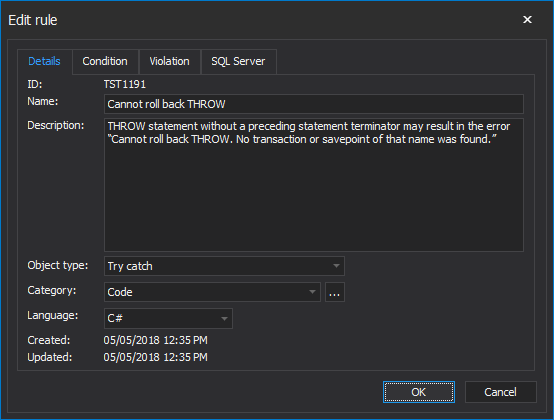
To add a new rule, click the Add command under the Home tab and the New rule window will open:
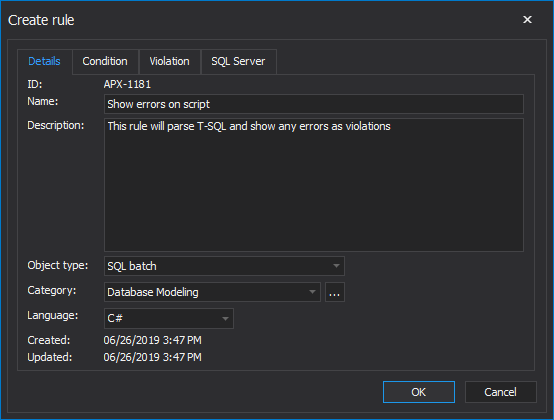
The rule ID will be automatically generated and that is the one thing you cannot specify yourself.
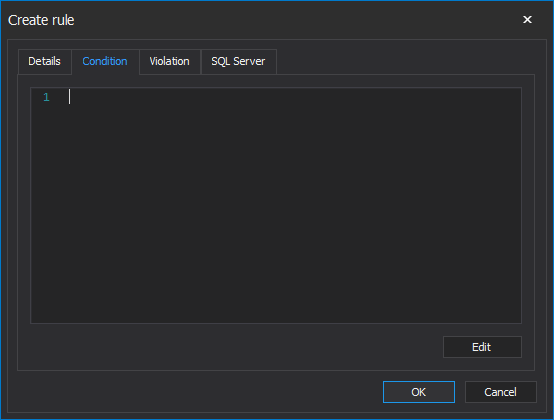
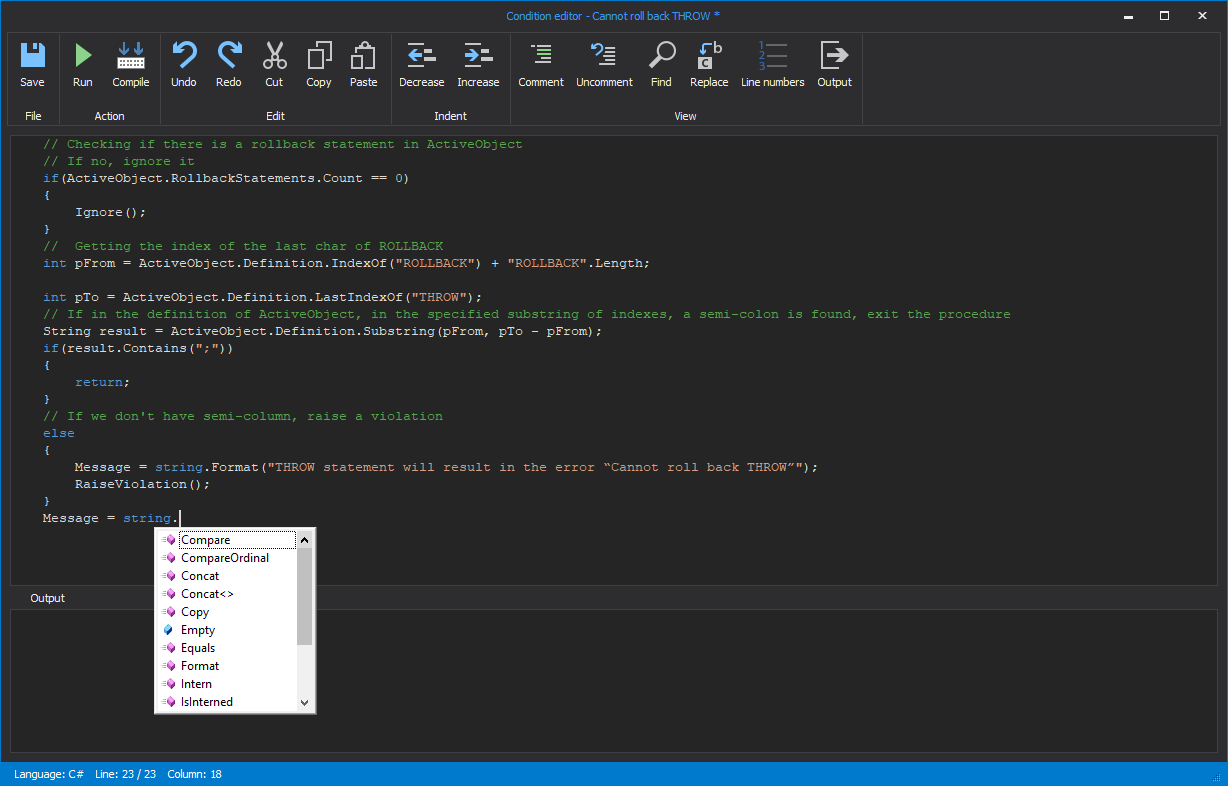
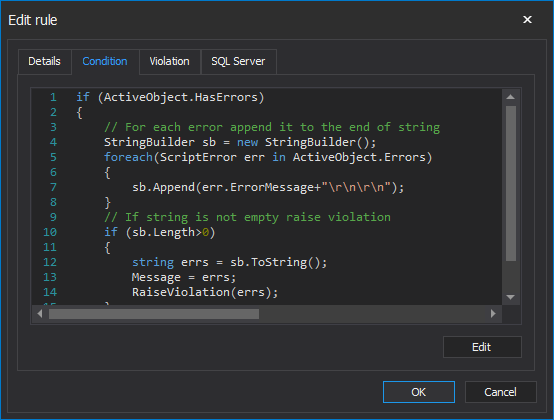
To enter a condition, click the Edit button and the Condition editor will open:
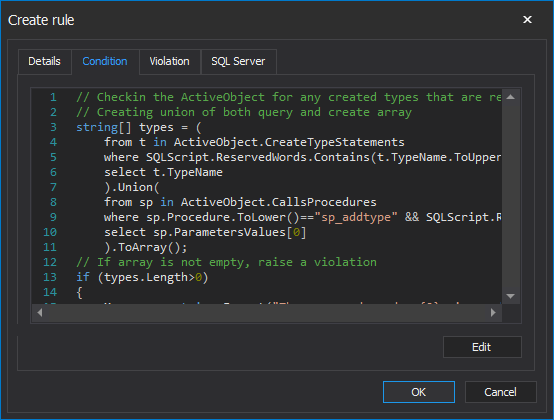
When the condition is set click the Save button, and in the New rule window, under the Condition tab, the condition will be present:
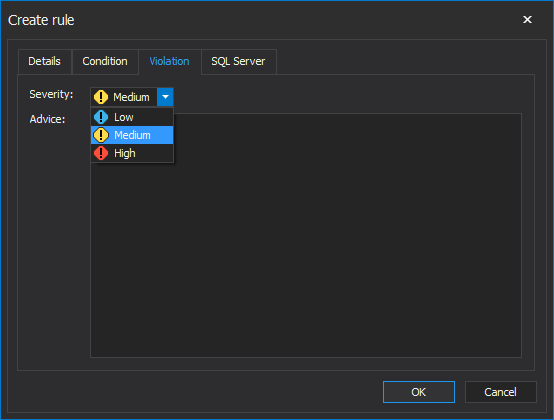
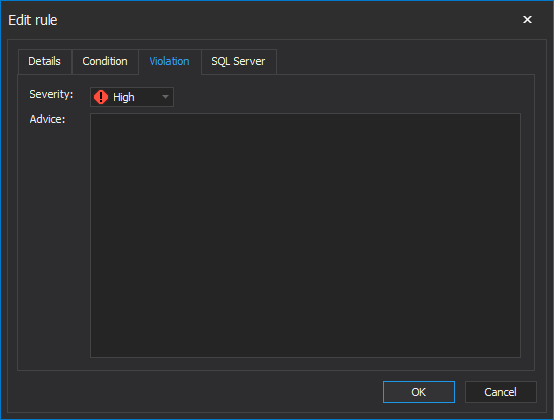
Under the Violation tab, you can specify rule severity and type in message in the Advice comment block:
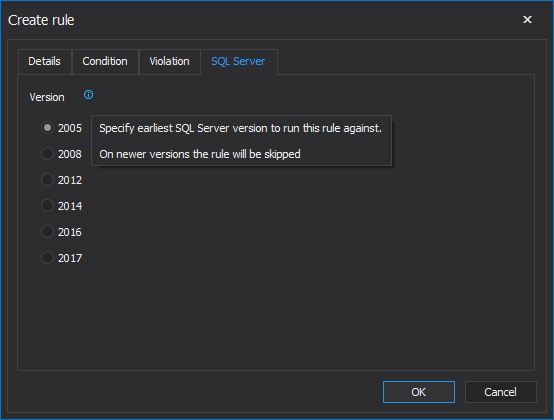
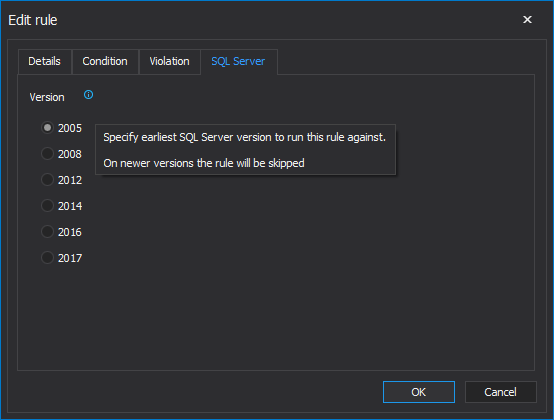
Under the SQL Server tab, you can specify the earliest SQL Server version on which you will run this rule:
When all options are set, click the OK button and the new rule will appear in the rulebase grid:
To edit the rule, click the Edit command under the Home tab, and the Edit rule window will open:
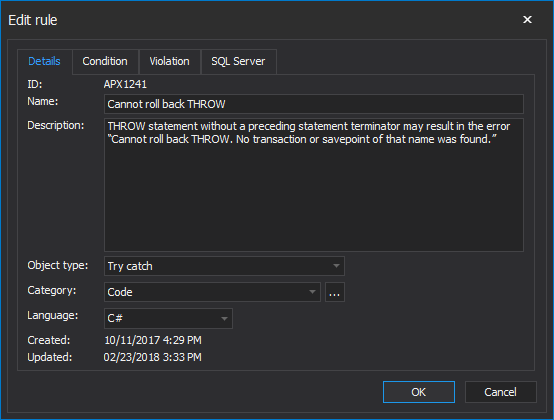
All tabs in this window are the same as the ones in the New rule window:
To clone an existing rule, click the Clone command under the Home tab, and the same window as for the Edit rule window will open, but after everything is set and the OK button is clicked in the rulebase grid will be present one more rule:
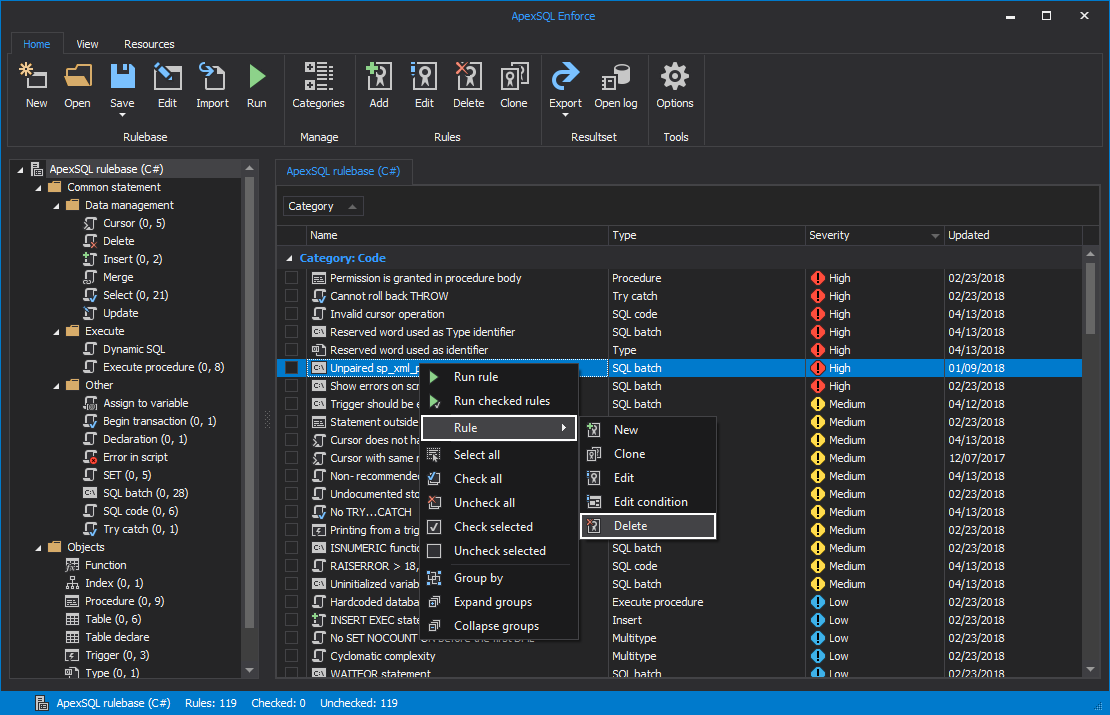
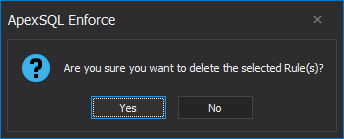
To delete a rule, checked it and right click on it, and from the context menu choose under the Rules sub-menu click on the Delete command:
The confirmation message will appear:
All the above rule commands are present in the context menu in the rulebase grid as well:
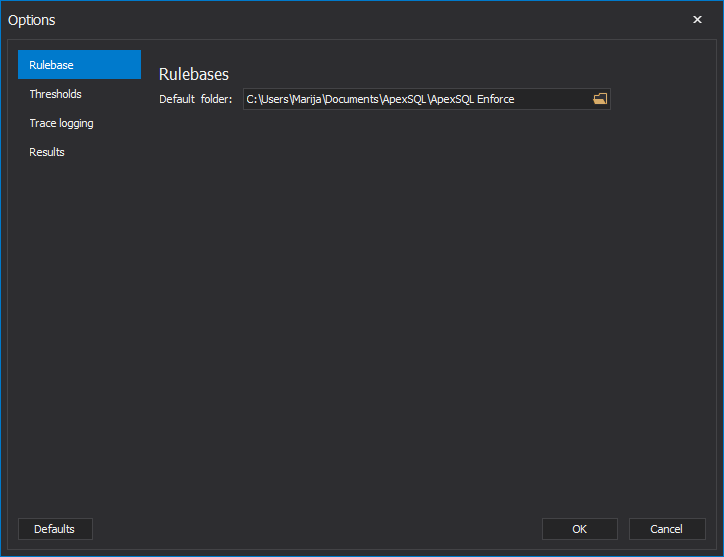
Before running the rules on a database or script, be sure to check the ApexSQL Enforce options. Click on the Options command under the Home command and the Options dialog will open:
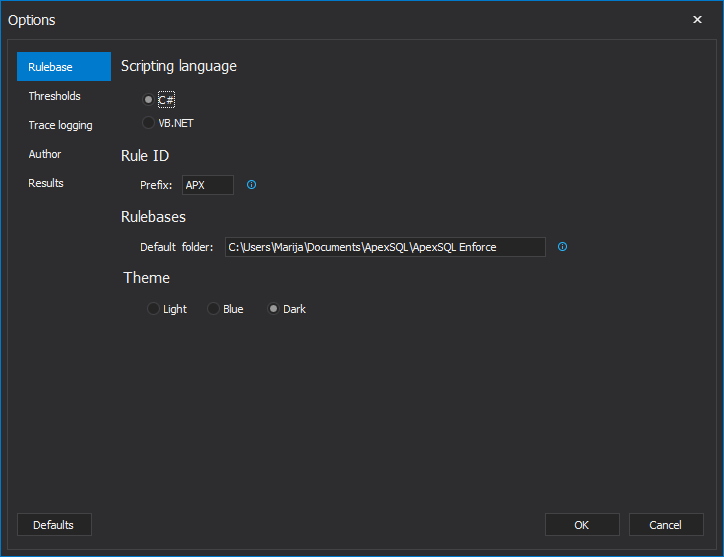
Under the Rulebase tab you can find general options related to the rulebase (scripting language, default rulebase folder, prefix for new rules and all supported themes).
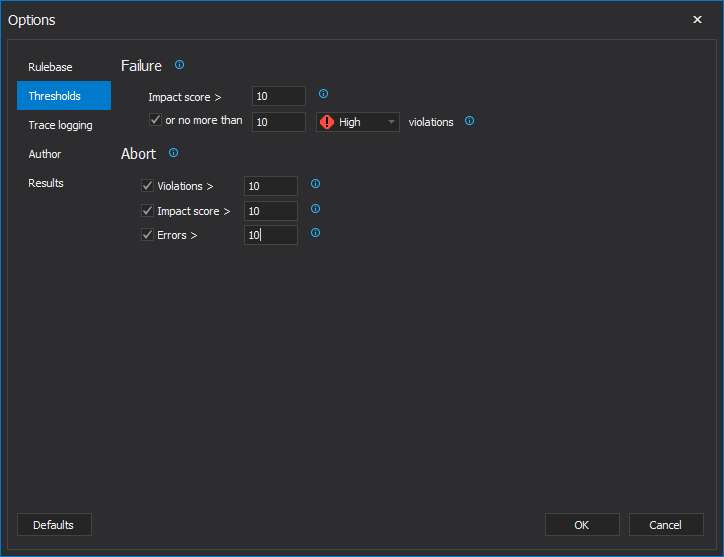
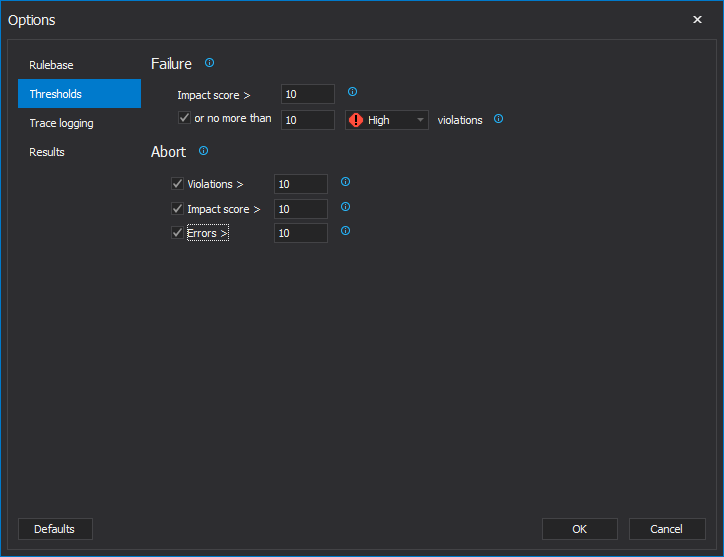
Under the Threshold tab values for the Impact score and severity levels for rules:
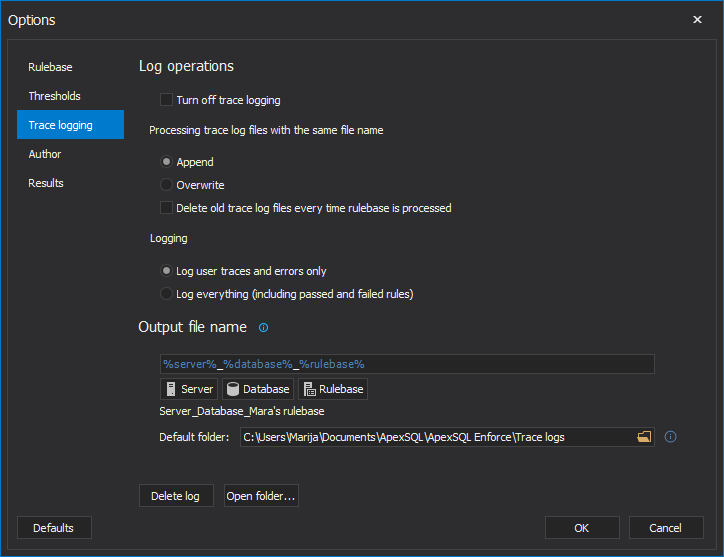
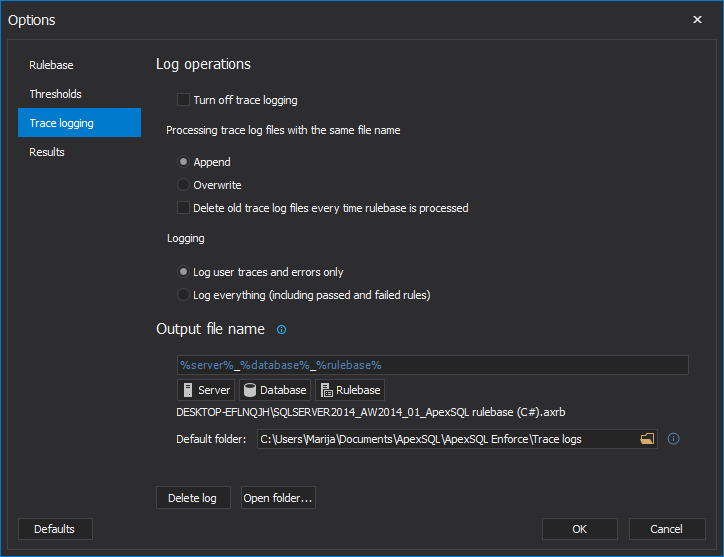
Under the Trace logging tab, you can set up all options for handling the log file:
Under the Authors tab all information about the author can be set:

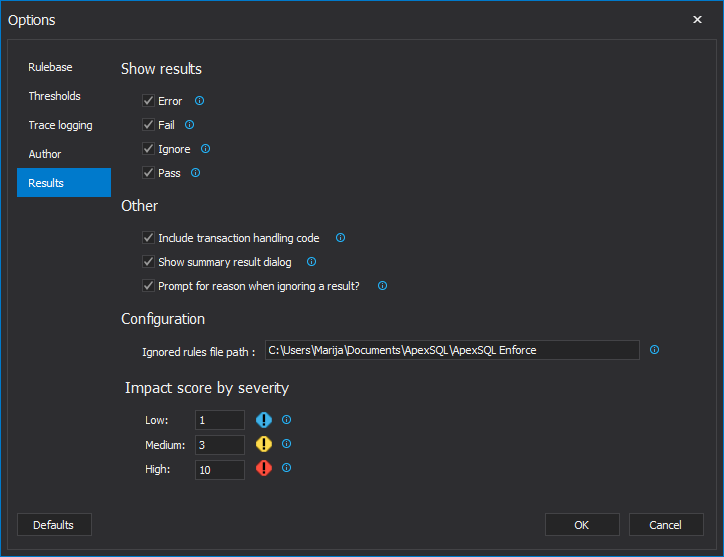
Under the Results tab you can choose which result types will be present in the Resultset grid; will the Result summary show up after running the rules and set the impact score by rule severity:
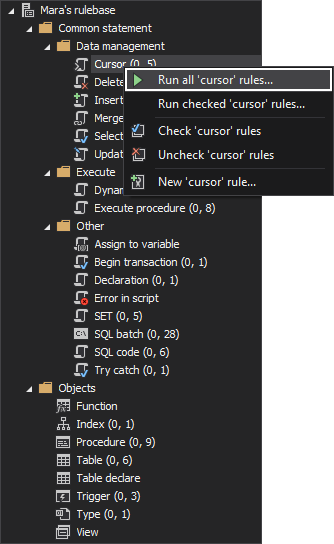
Rules can be run directly from the rulebase tree view, but only selected rule groups. Right click on the rule group name and from the context menu click the Run all ‘rule group name’ rules… command:
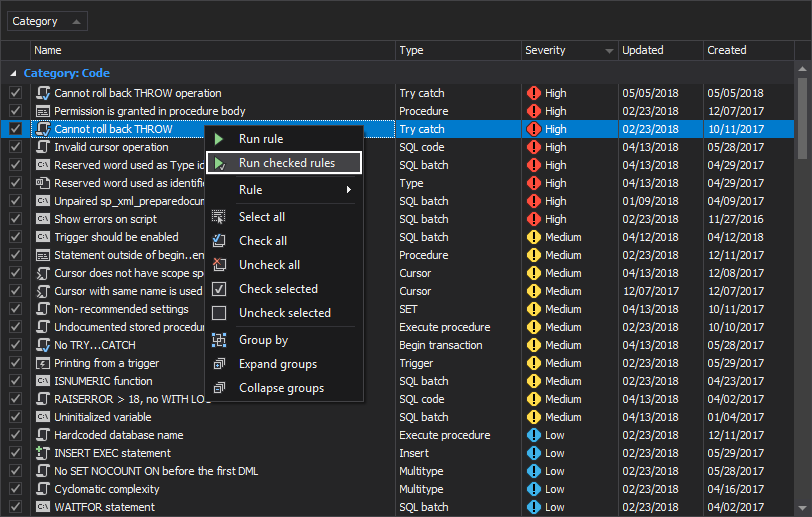
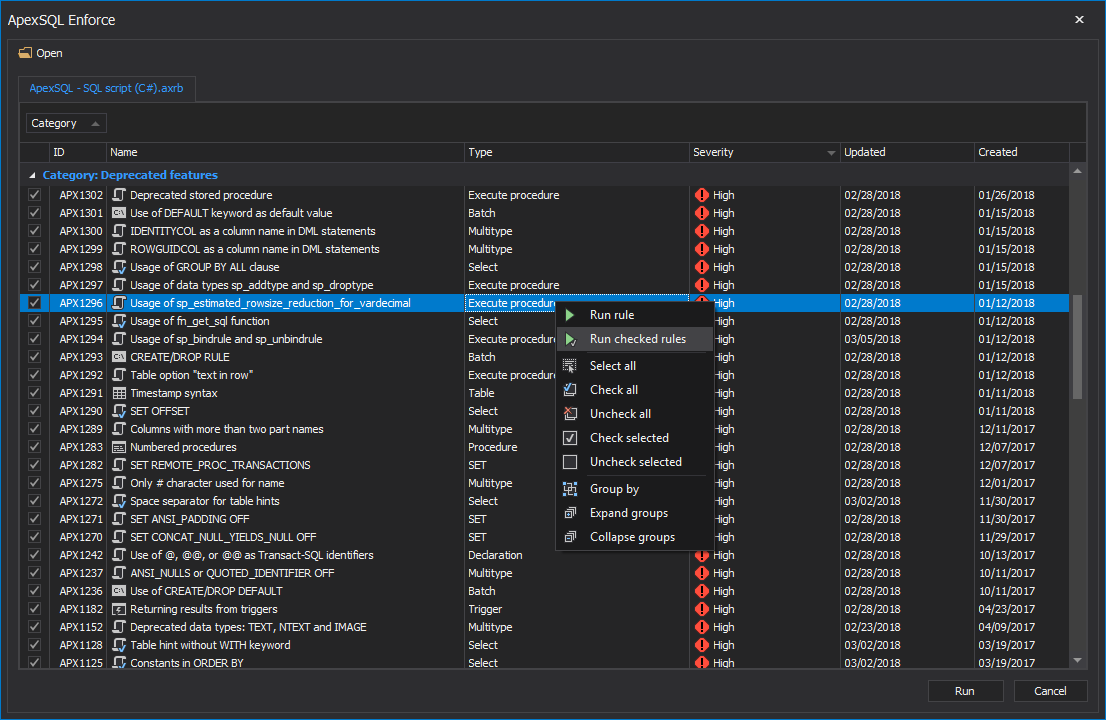
To run rules from the rulebase grid, check them, right click on the checked rules and from the context menu choose the Run checked rules command:
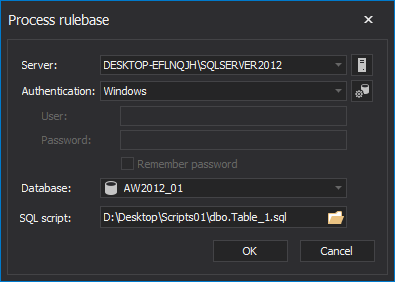
Either way you choose, the Process rulebase window will open, where a SQL Server, type of authentication, a database and/or SQL script must be selected:
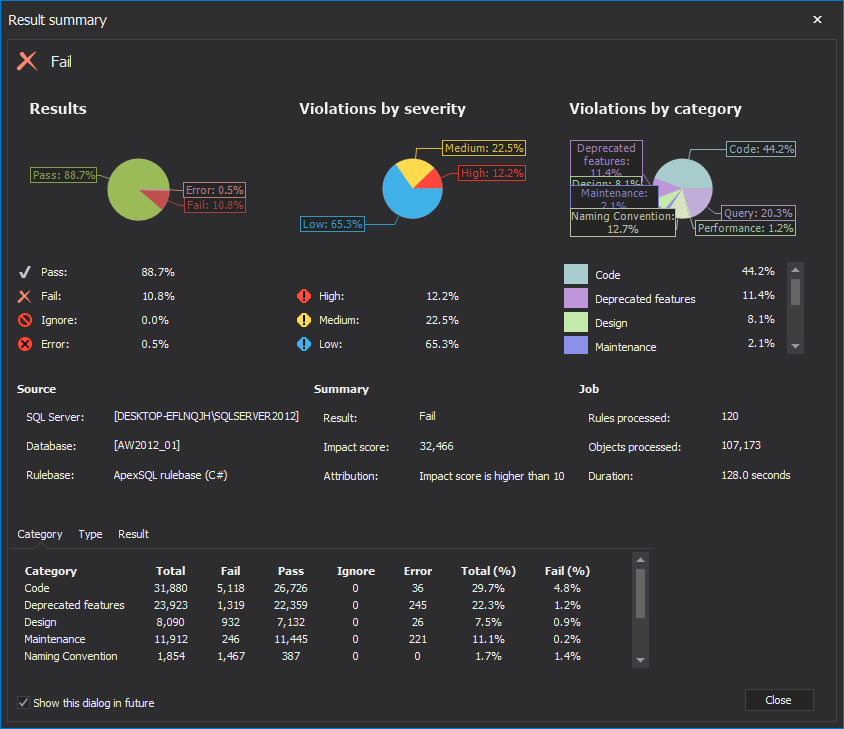
When the reviewing database process is done, the Result summary form will open, with all information about the review:
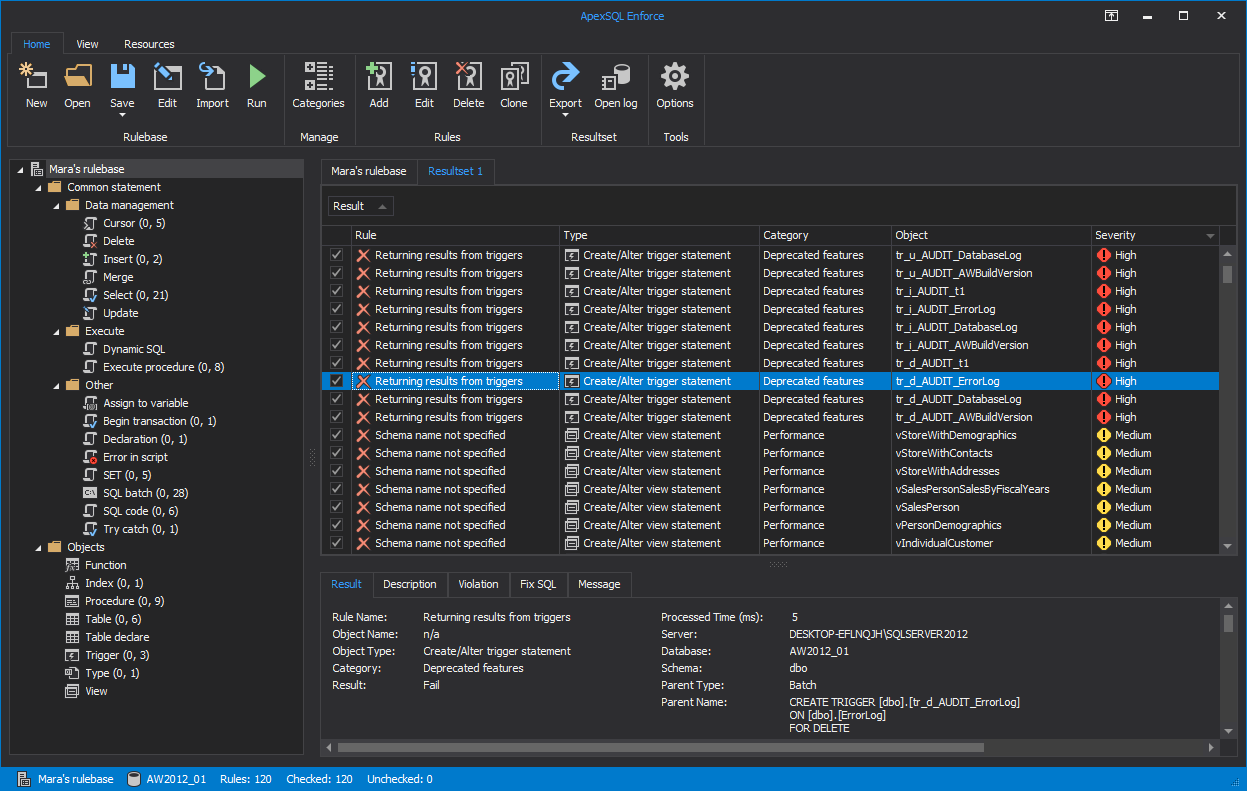
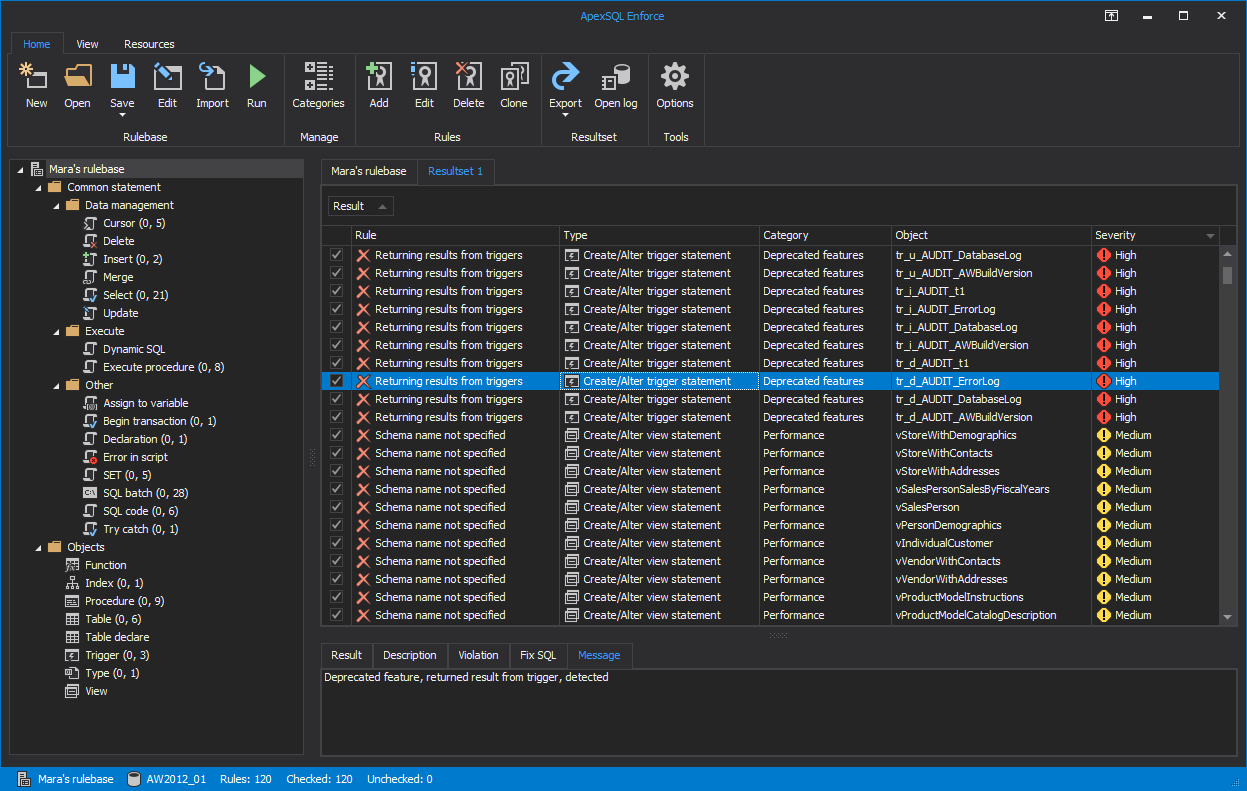
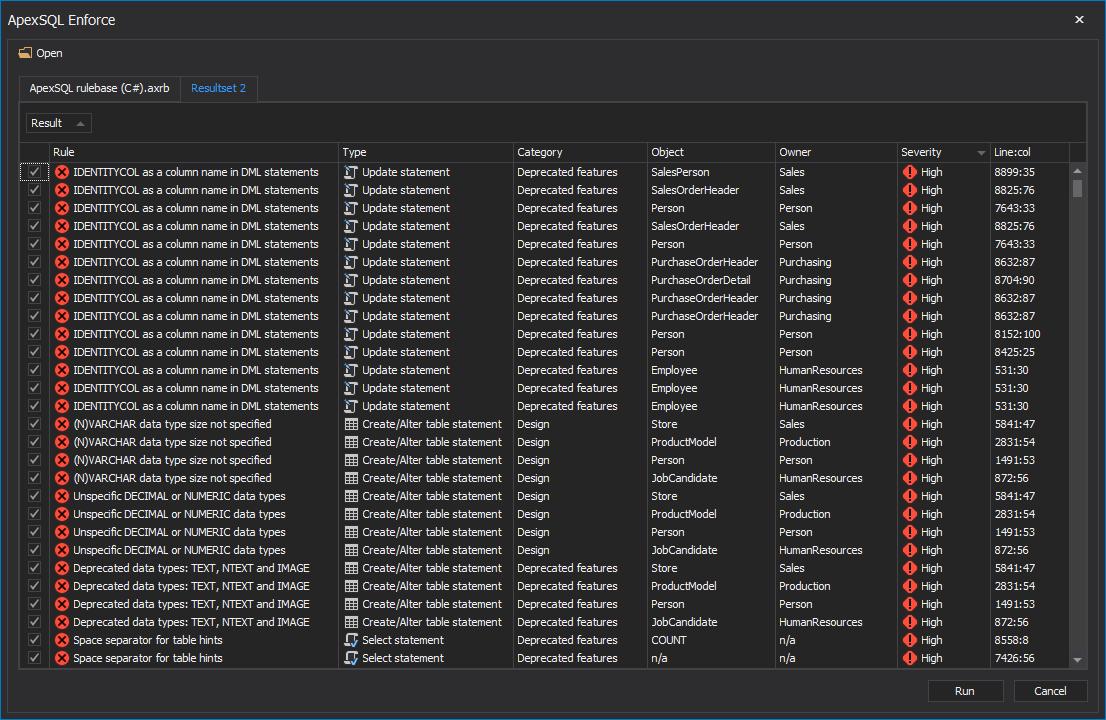
The Resultset window, gives detailed information about rule results (rule type, category, against which object is ran, reason for the rule failing…):
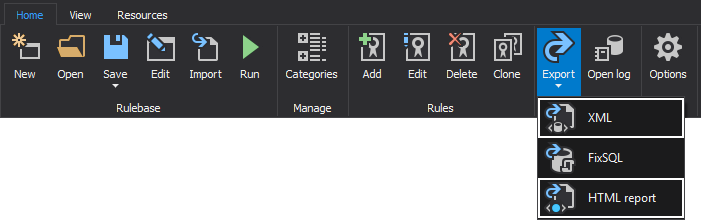
To export the results, click the Export button and from the dropdown list choose either XML or HTML report option:
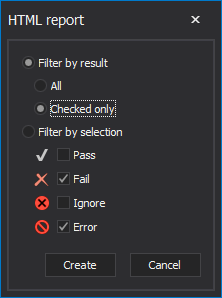
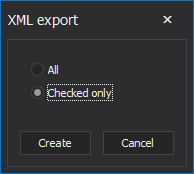
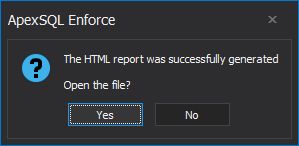
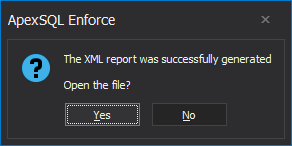
After you choose which results will be shown and click the Create button, the confirmation message will appear:
ApexSQL Enforce as an SSMS and Visual Studio add-in
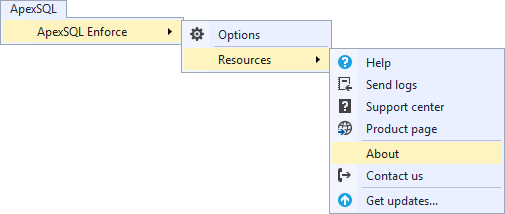
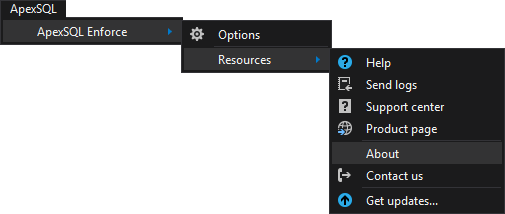
The main menu of ApexSQL Enforce in SQL Server Management Studio and Visual Studio:
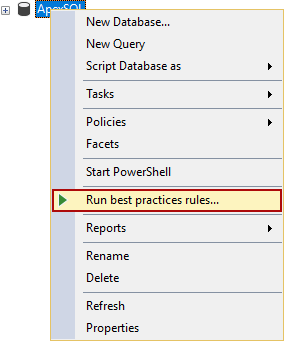
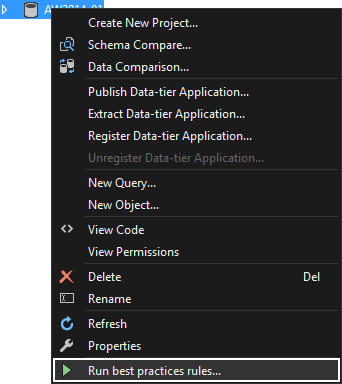
The context menu in the Object Explorer pane in SQL Server Management Studio:
The context menu in the SQL Server Object Explorer pane in Visual Studio:
Since all ApexSQL Enforce forms are the same in SQL Server Management Studio and Visual Studio, here will be shown forms from Visual Studio.
The rulebase grid:
The Result summary form:

The resultset grid:
The Options dialog:

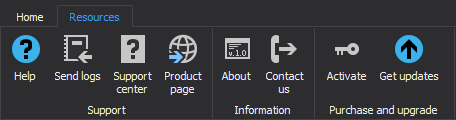
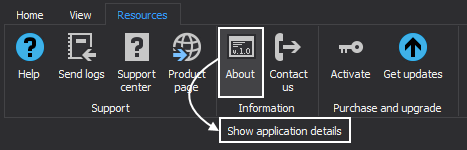
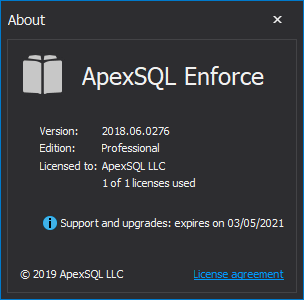
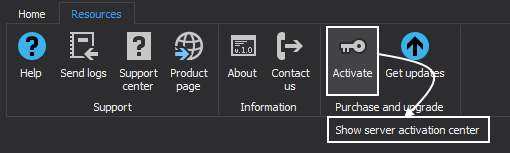
The application version and licensing details are listed in the About window located under the Resources tab in the main ribbon:
Under the same tab, the Resources tab, the Get updates option will check if there are the application updates:


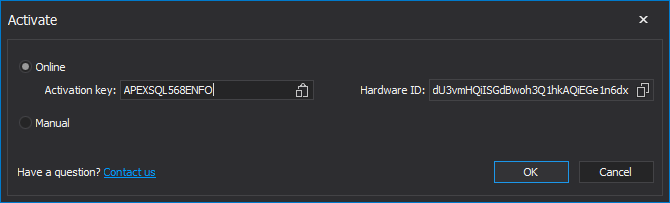
To activate the application, click the Activate option under the same tab:
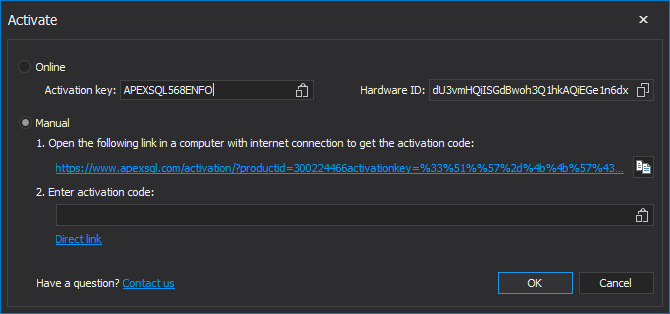
Activation of the application can be done online or manually (if there is no internet connection):
May 9, 2018


