


Installation
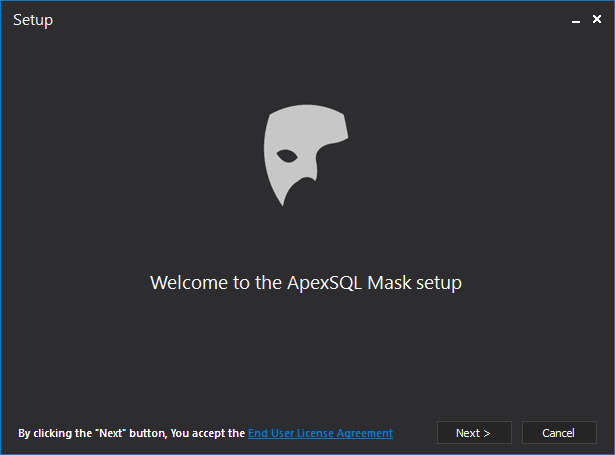
ApexSQL Mask is installed in a few easy steps:
In the first step is a welcome screen with Next and Cancel buttons:
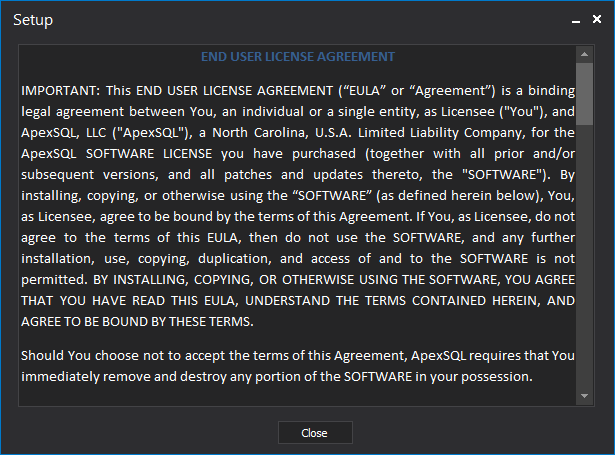
On the first step also End User License Agreement can be seen by clicking on it:
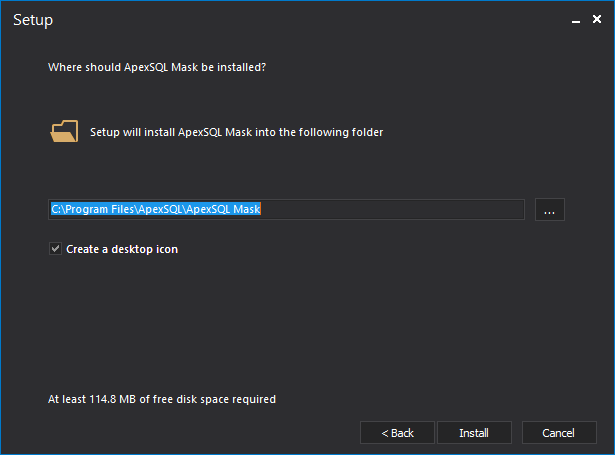
In the second step location can be changed (default location is already set) and create desktop icon can be enabled or disabled:
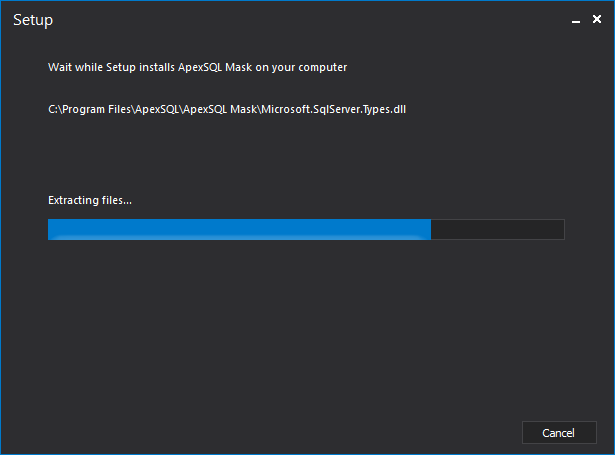
The installation process will take less than a minute:
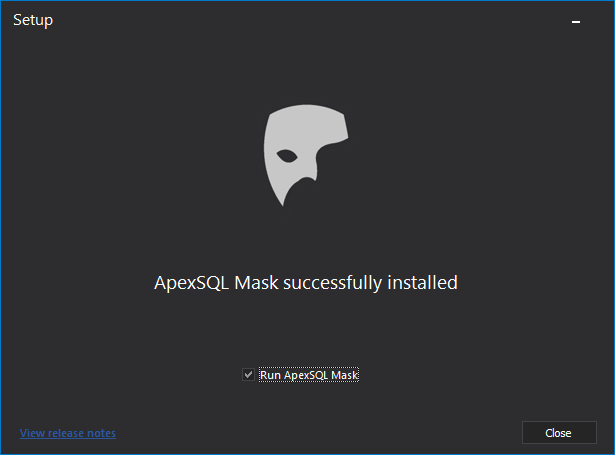
When the installation is finished, the last step is shown with the option to run the application upon closing the window:
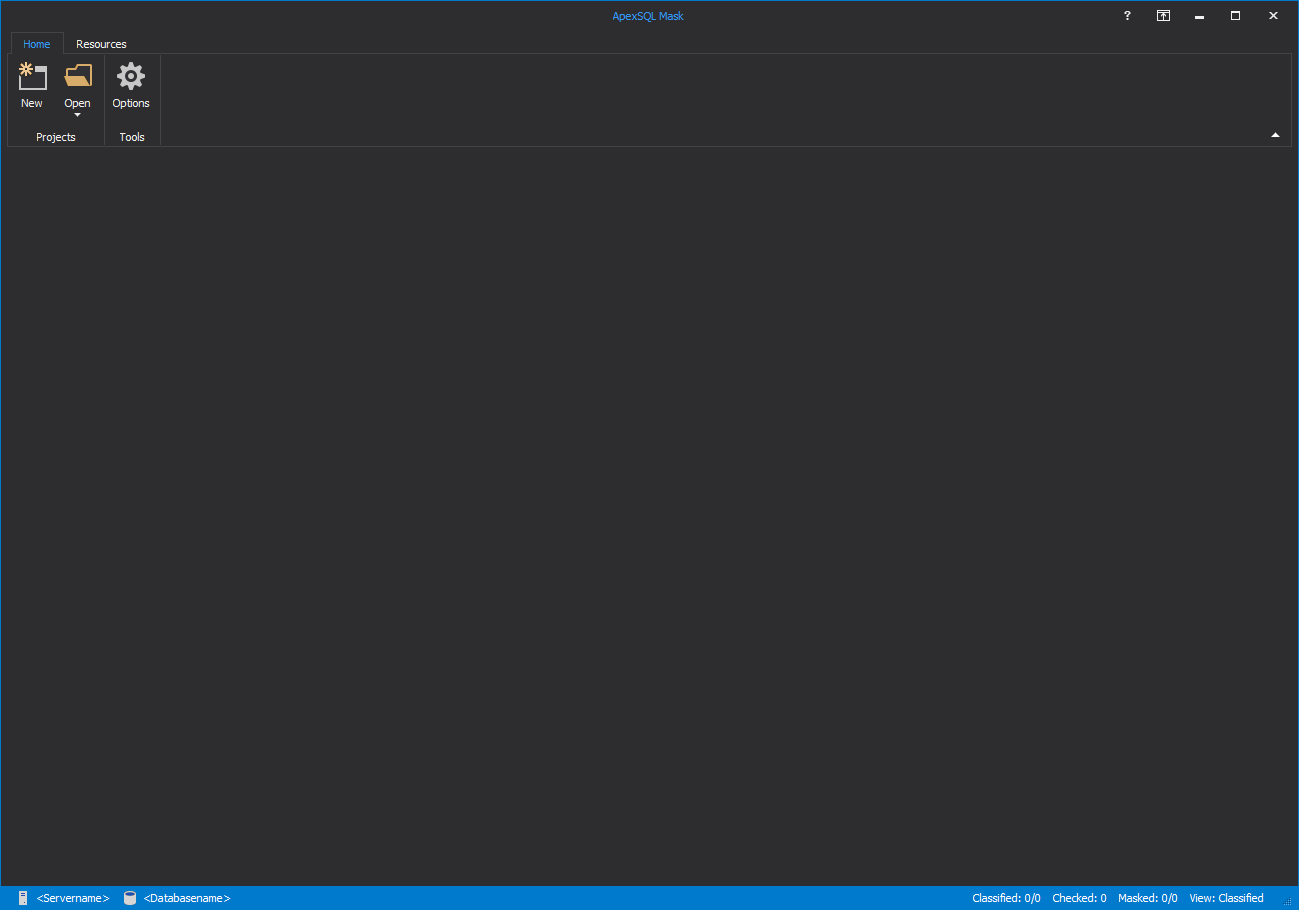
Startup screen
The main window of ApexSQL Mask is shown upon starting the application and contains Home and Resources tabs:
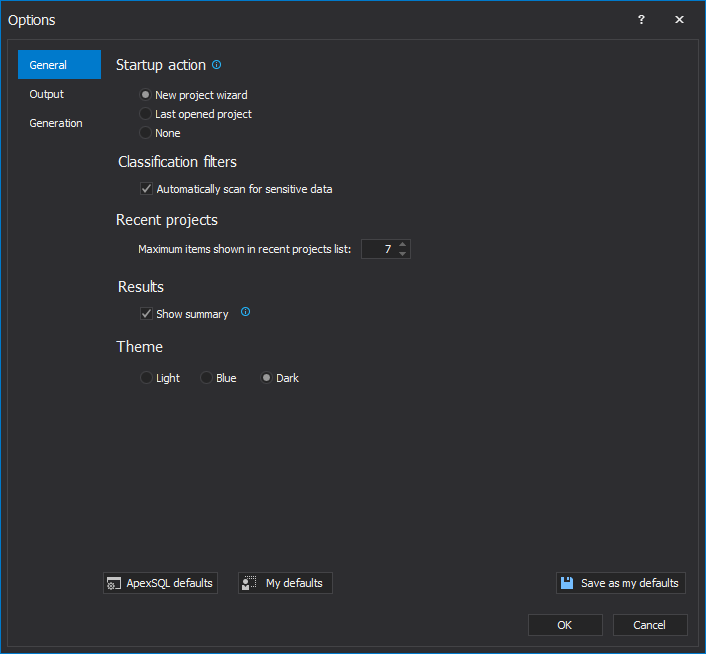
Options
The Options window is divided into General, Output and Generation. Each tab contains different options such as Startup action, File location and templates, Disabling constraints and triggers:
Visual themes
ApexSQL Mask offers three great themes
The default theme is the dark one, the second one showed in the picture below is the blue theme:
The last but not the least is the light theme:
Creating a new project
A New project can be created using the button New from the Home tab:
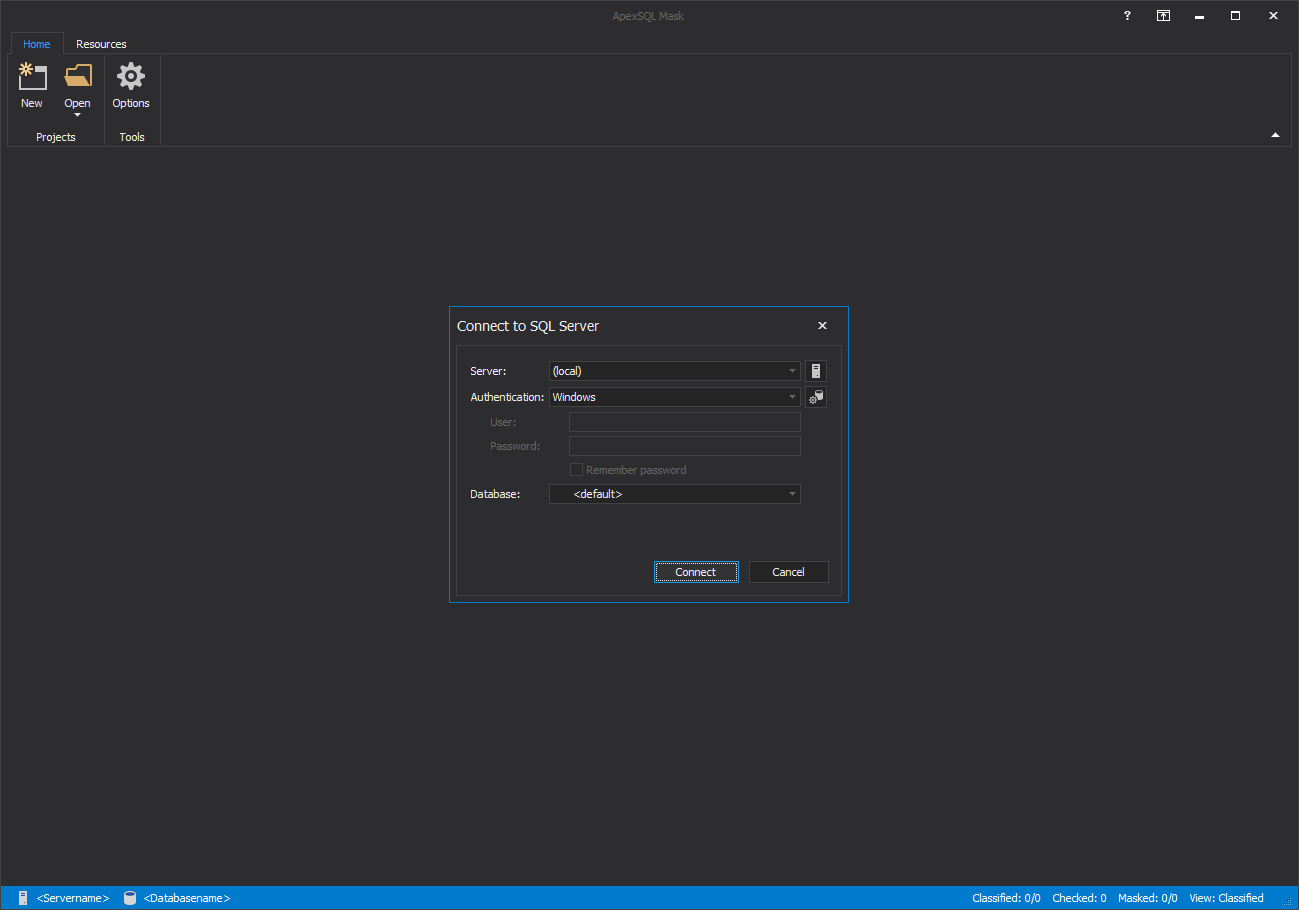
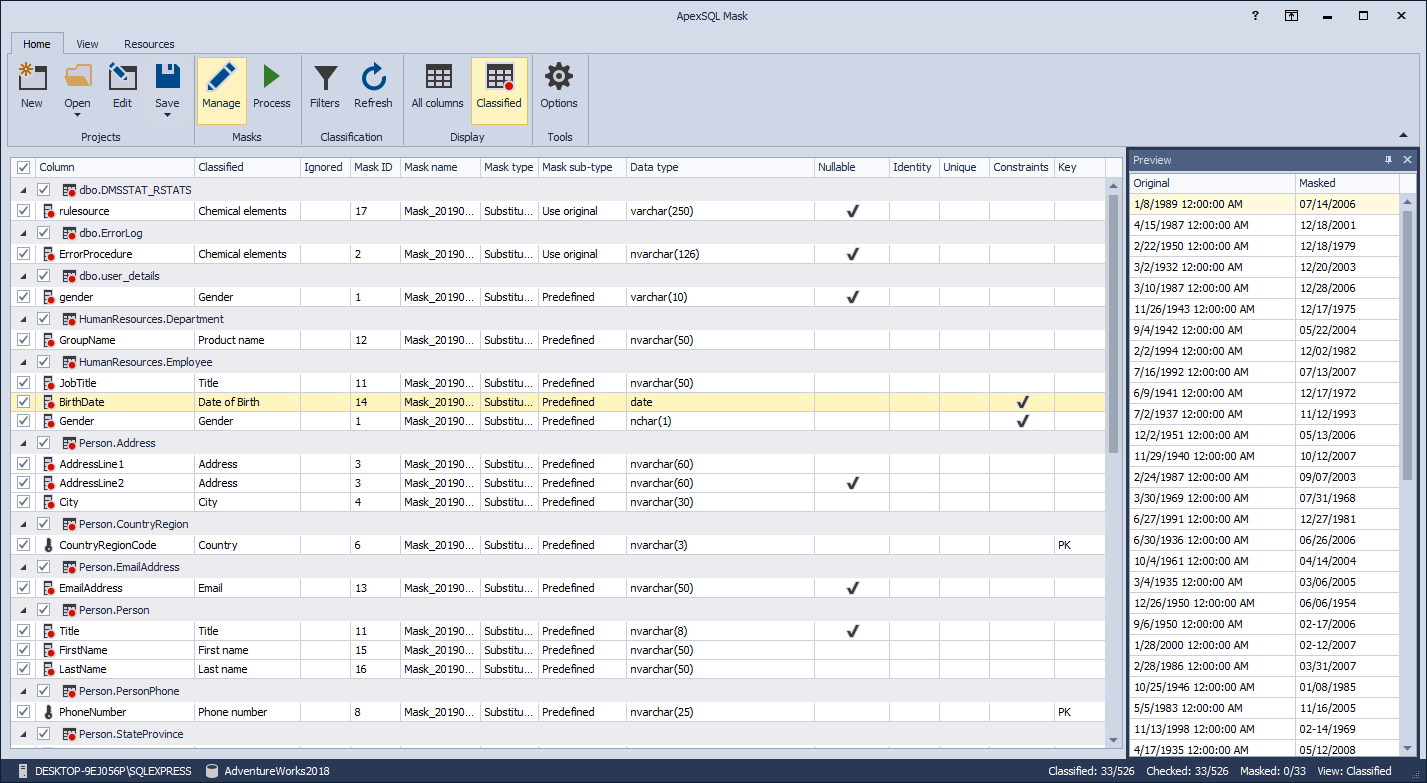
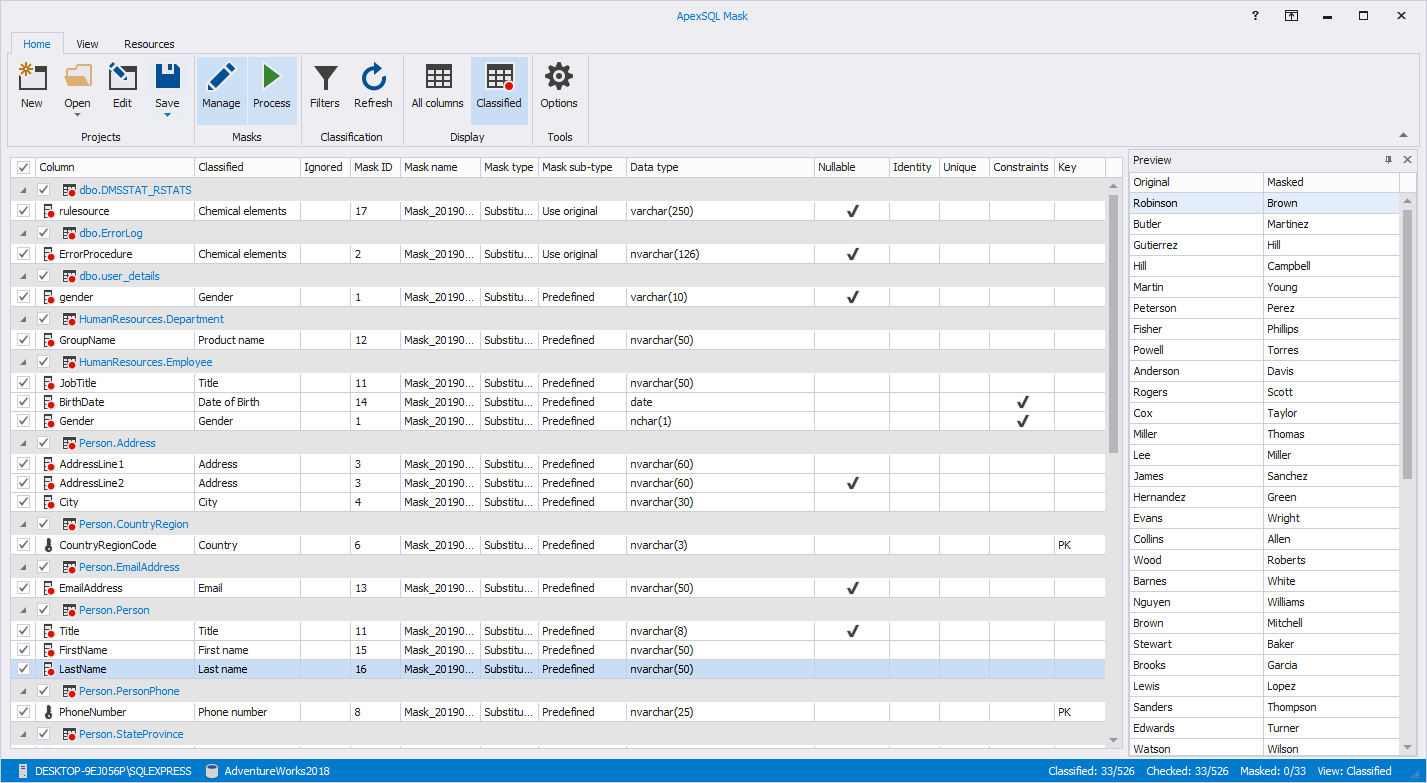
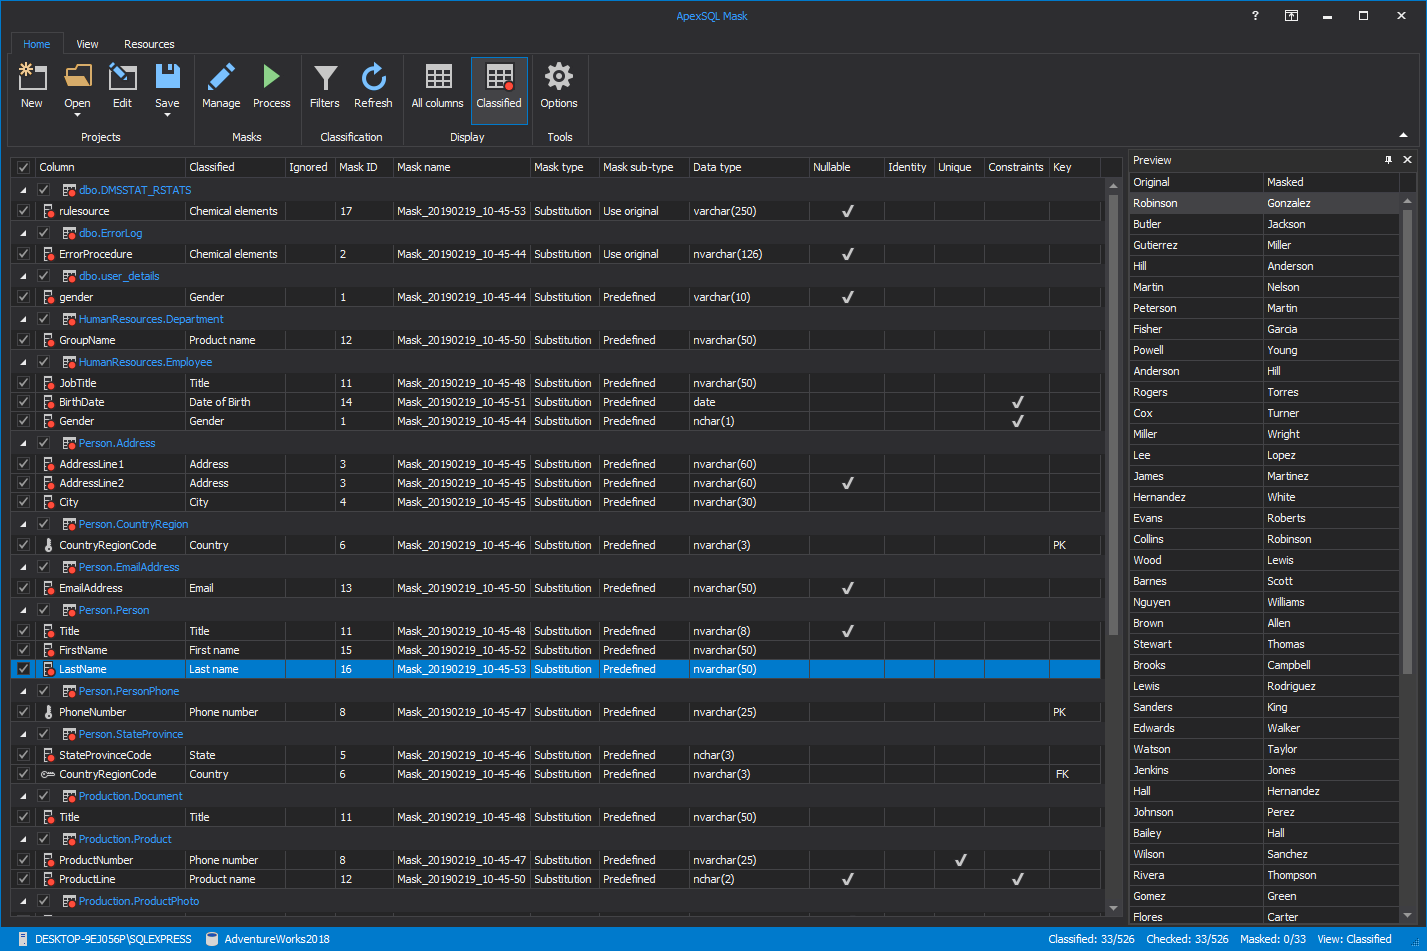
When Connect to SQL Server is setup the main grid is shown with Classified columns:
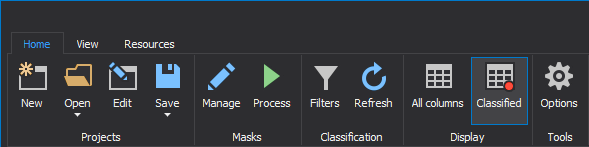
Navigation tabs
Three tabs are shown in the main grid of the application:
- Home tab – contains buttons for creating, opening or editing the existing project, managing masks process or classification filters and showing all or classified columns only:
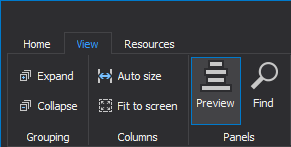
- View tab – contains options for grouping results in the grid, sizing columns in the main grid and panels for Preview and Find:
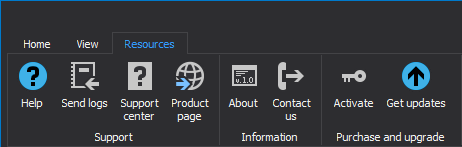
- Resources tab – contains the various informational, support, purchase and upgrade options
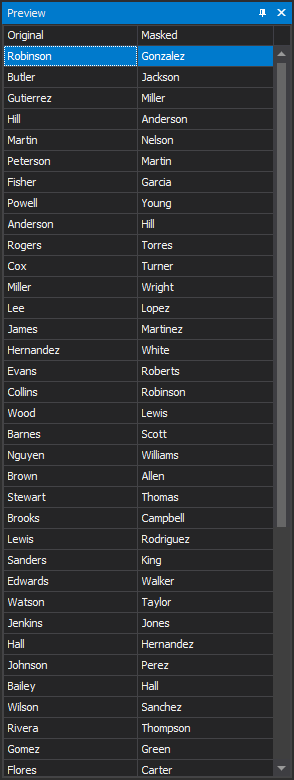
Before and after preview
The Preview panel is by default positioned on the right side in the main grid, showing Original and Masked data:
Managing masks
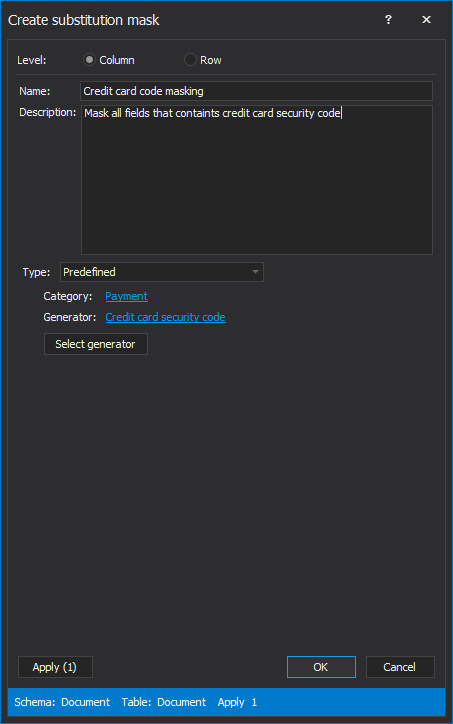
To create a Substitution or Redaction mask under the Home tab use Manage button and Manage masks window will be open:
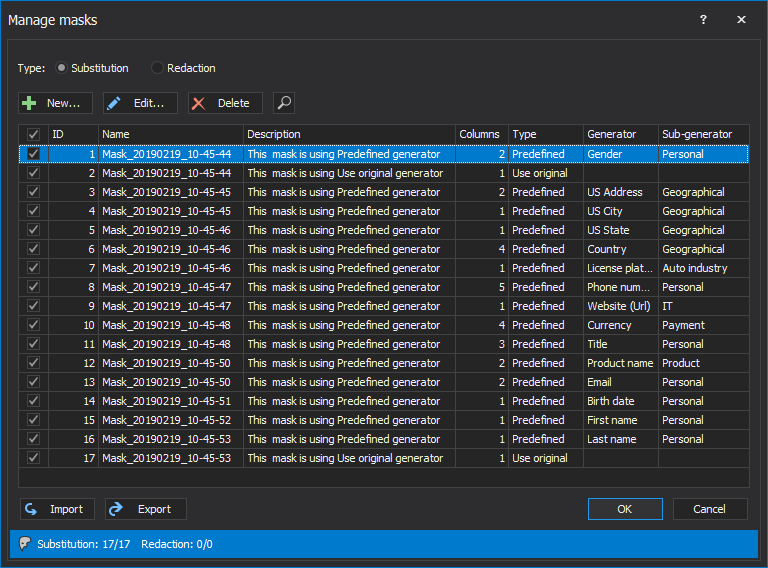
Choosing the New button opens a window to create a new mask. Substitution mask can be created on column or row level, when using column, it can be applied to the one or more columns:
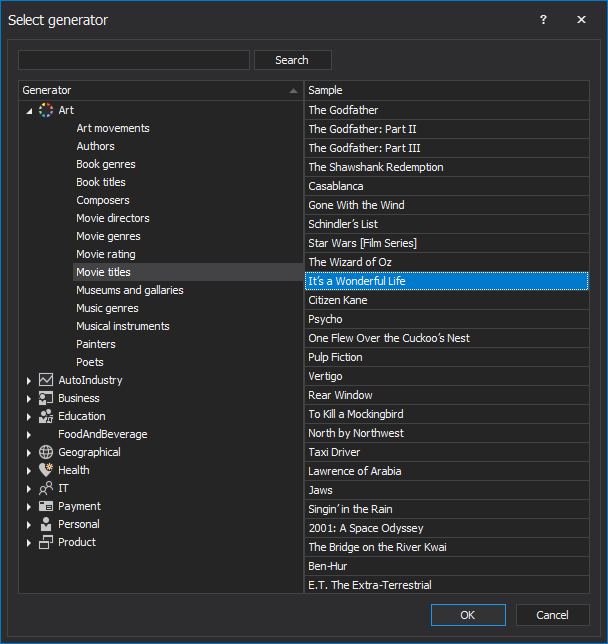
Generators
There are more than 200 predefined generators where are included different fields such as Art, Education, Payment and more:
Sensitive data classification filters
Currently there are 58 Built-in data classification filters and they can be opened from the Home tab, using Filters button:
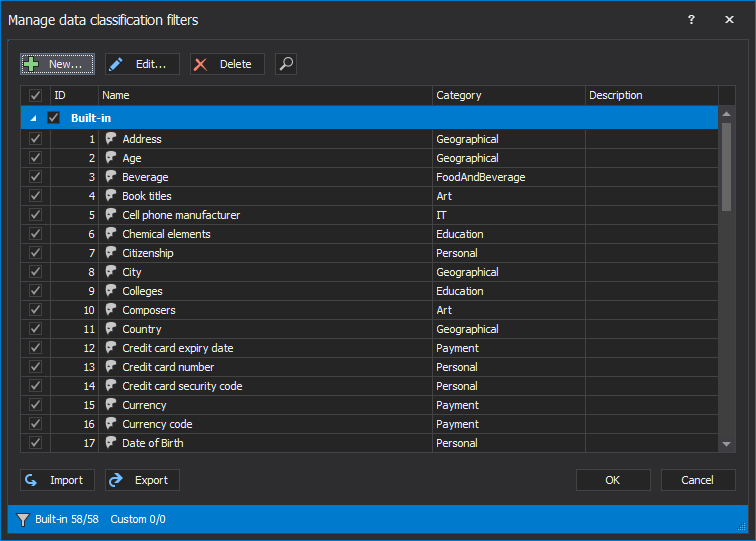
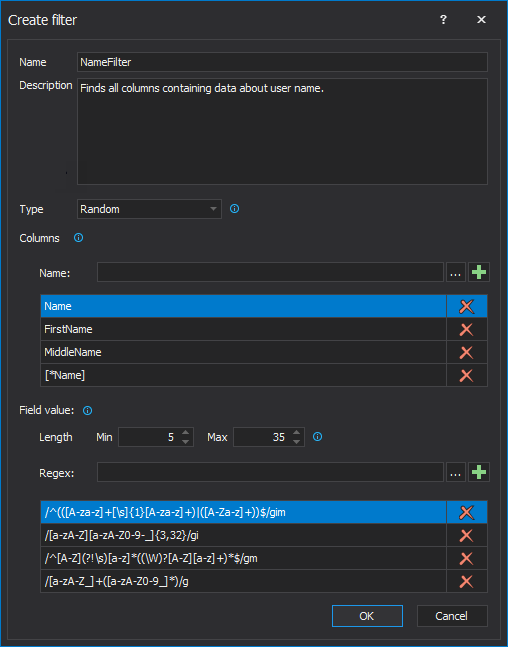
Also for creating custom filters and adding to the list use the New button from the Manage data classification filters window:
Automation
Save as automation script can be used to create on of two types of scripts, Batch and PowerShell which can be used later for automation with various options:

Processing a database
Once when everything is setup for masking, there is the decision branch to Update the database or to Create a script for masking the database. Job summary is included where shows the summary of affected and implemented masks, details and warnings:
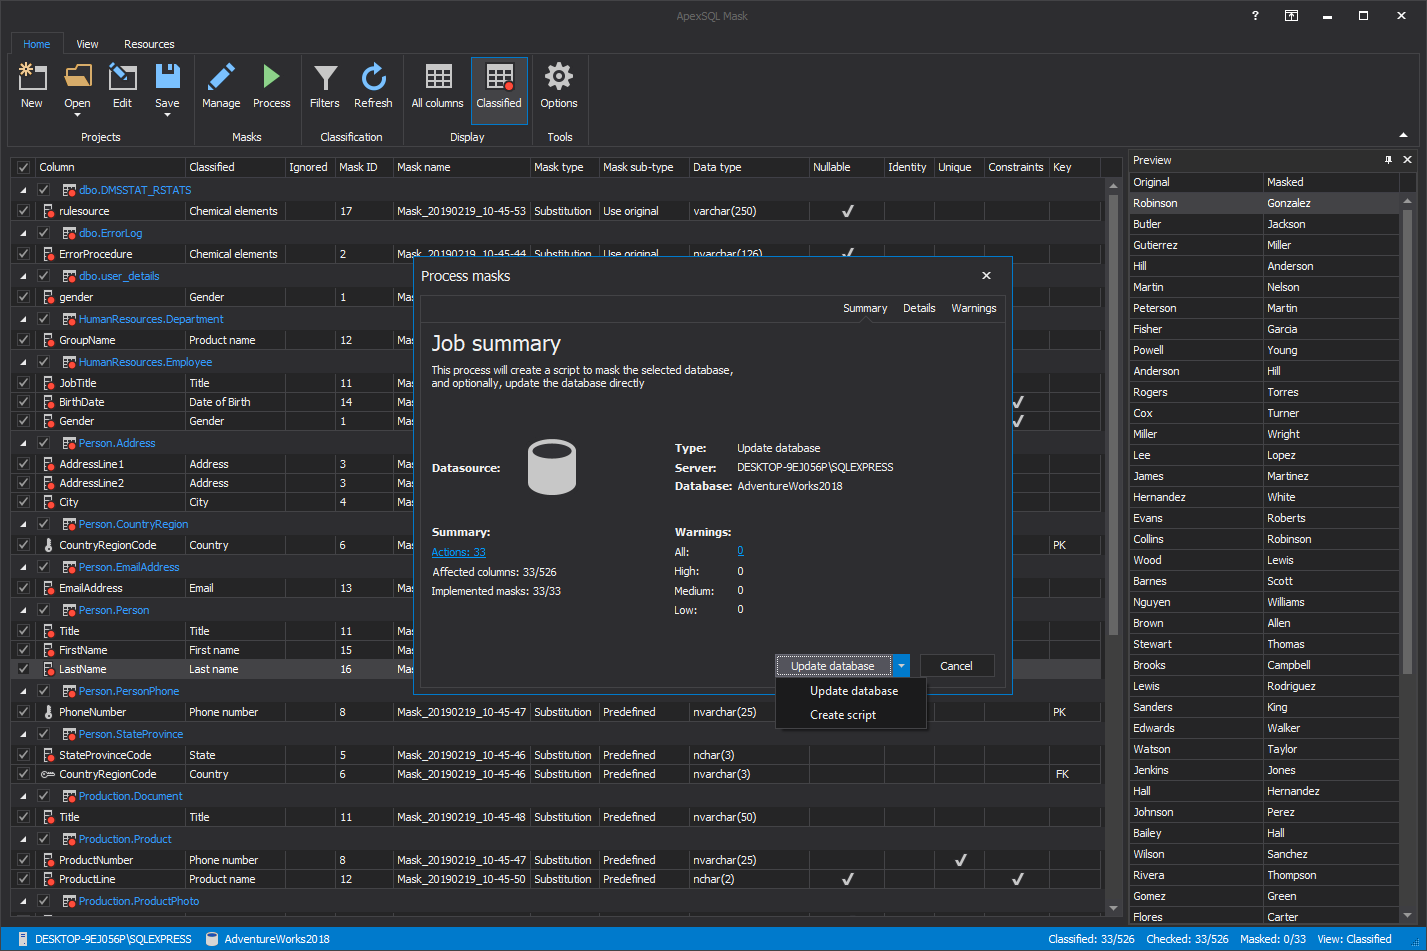
Using Update database option in the Process masks window the application overwrites the current database and shows the results at the end:
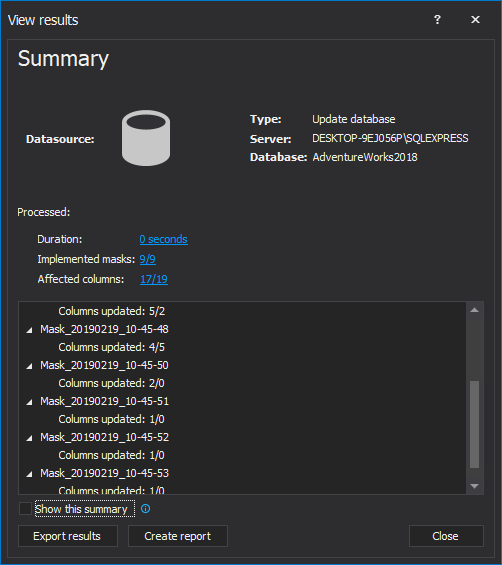
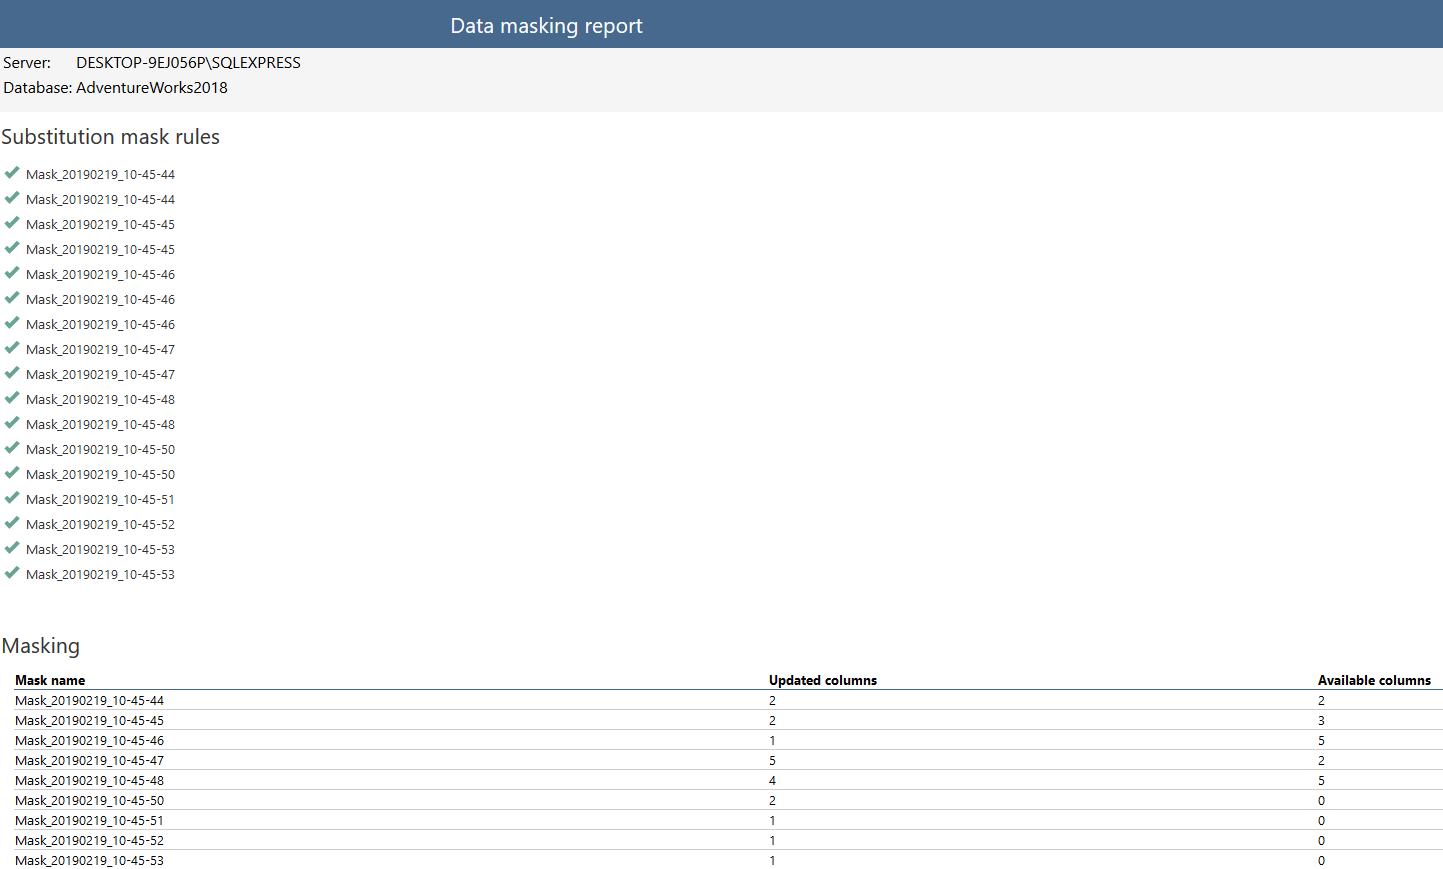
Viewing results
In the View results window results can be exported or report can be created:
Software information and updates
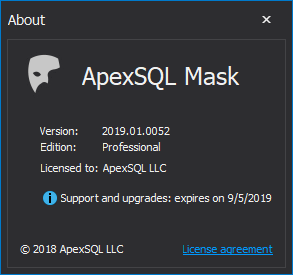
To check the details about the version, edition and expiration date, use About button from the Resources tab:
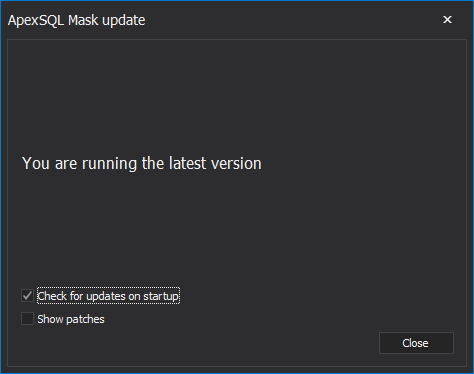
Using Get updates button from the Resources tab will show if the application is up to date or there is a newer version for download:
February 27, 2019


