


Installation
The ApexSQL Model installation wizard is a simple 3-step task.
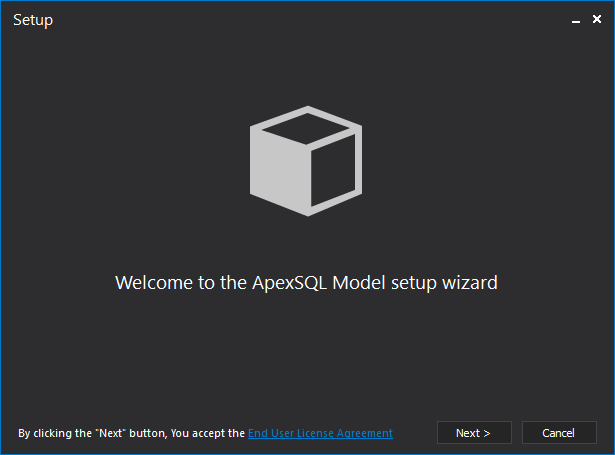
The first step of installation is welcome screen of the ApexSQL Model wizard:
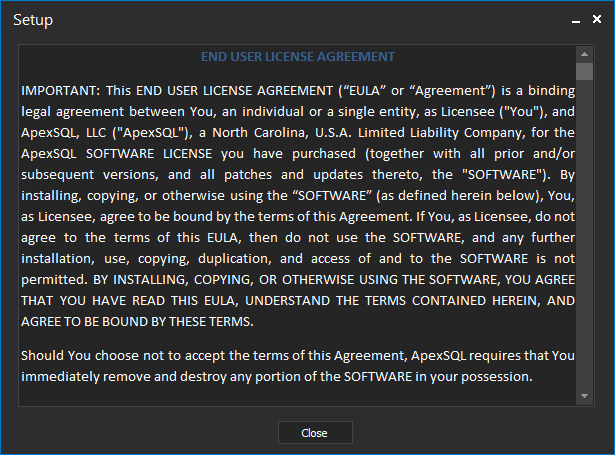
In this step, users can review the ApexSQL EULA:
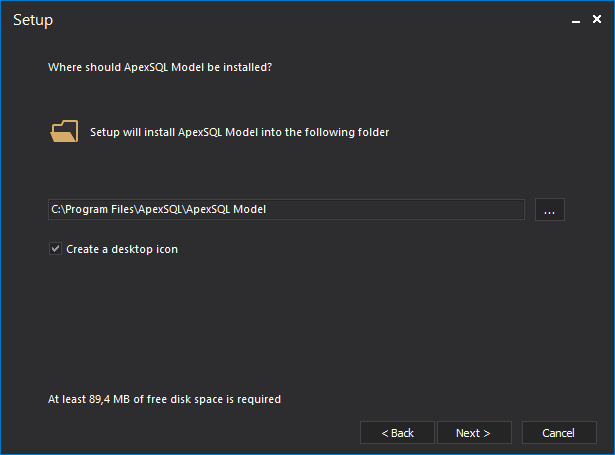
The next installation step allows users to choose installation folder and option for creating a desktop icon:
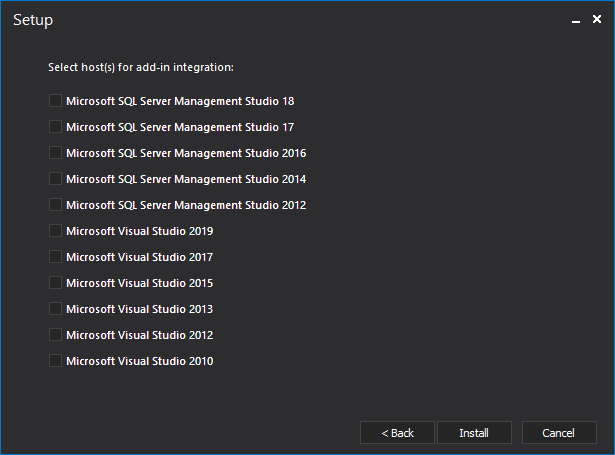
In the next installation step, the user will be given the option to select one or more hosts e.g. SSMS for add-in integration:
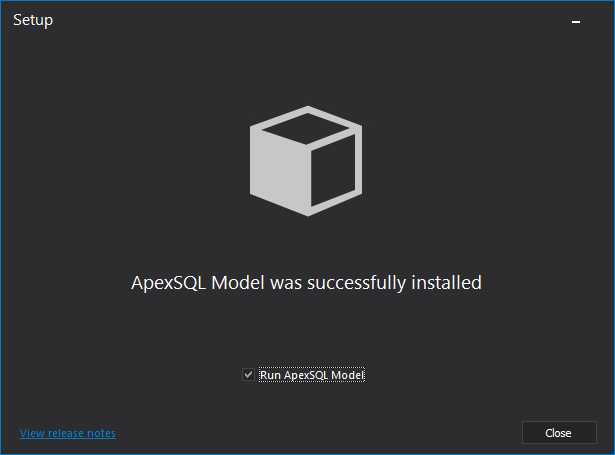
The final step confirms finishing of the installation and allows users to directly run ApexSQL Model from here:
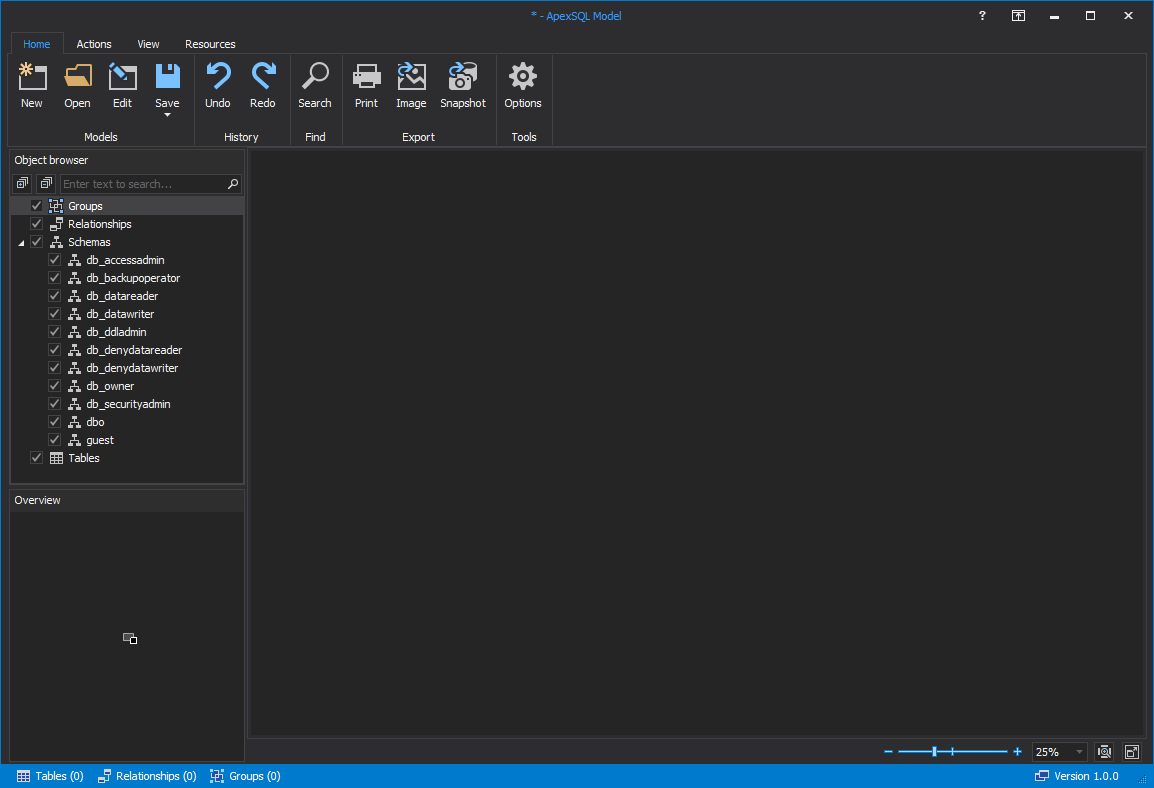
The ApexSQL Model main menu consists of the following four tabs: Home, Actions, View and Resources.
The Home tab contains all the options related to audit tasks and options are grouped into the organizational categories: Models, History, Find, Export and Tools which allows users to manipulate modeling sessions, model diagram searching, exporting model diagrams, and managing tool options:

The Actions tab consists of 3 sections: Add, Engineer and External.
Under the Add section, there are options for adding objects within the model diagram, such as tables, relationships, schemas and notes:

The Engineer section contains the options that are used for forward and reverse engineering, such as creating database from model, creating script of objects on diagram, updating database from model and creating model from database:

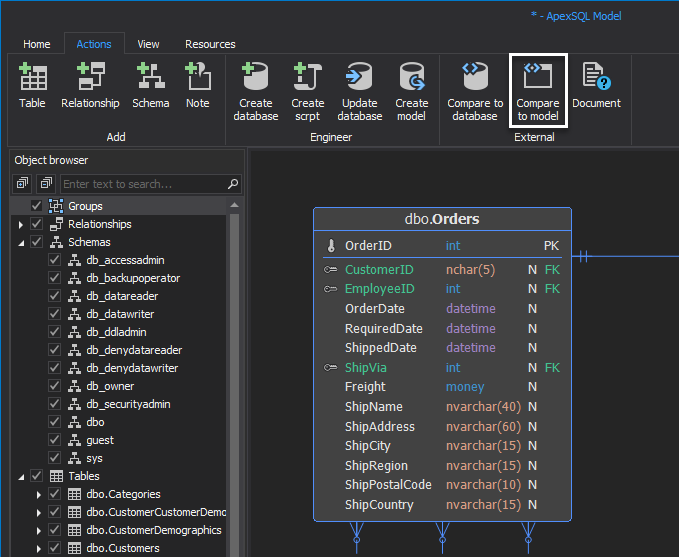
The External functions offers users comparing and documenting options, such as compare model to a database, compare model to a snapshot and document model diagram. ApexSQL Diff is using for comparing, while ApexSQL Doc is using for documenting model diagrams:

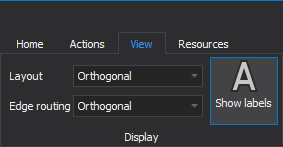
Under the View tab, Display and Show sections are located.
The Display section contains Layout (Orthogonal, Compact orthogonal, Direct orthogonal, Circular, Hierarchical, Tree) and Edge routing (Orthogonal, Polyline, Channel, Organic) options. Also, there is a Show labels option for showing or hiding dependencies types:
The Show section contains options for showing or hiding browser and overview panels:

The fourth and final panel Resources includes options which allow users to get in touch with ApexSQL Support teams and to handle service and support related tasks:

Main window
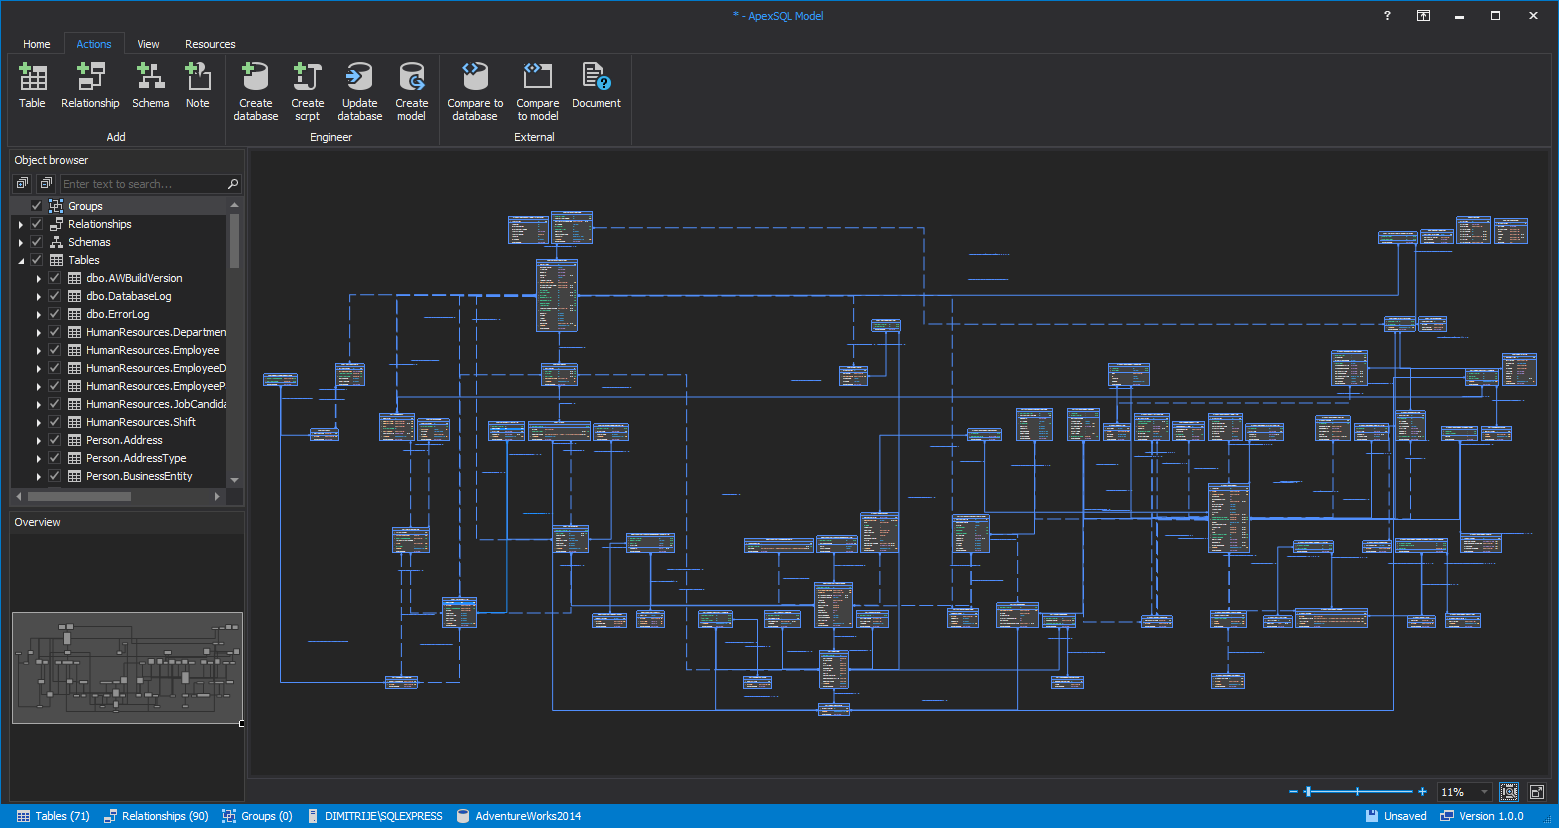
The main window of ApexSQL Model is shown when the application is started:
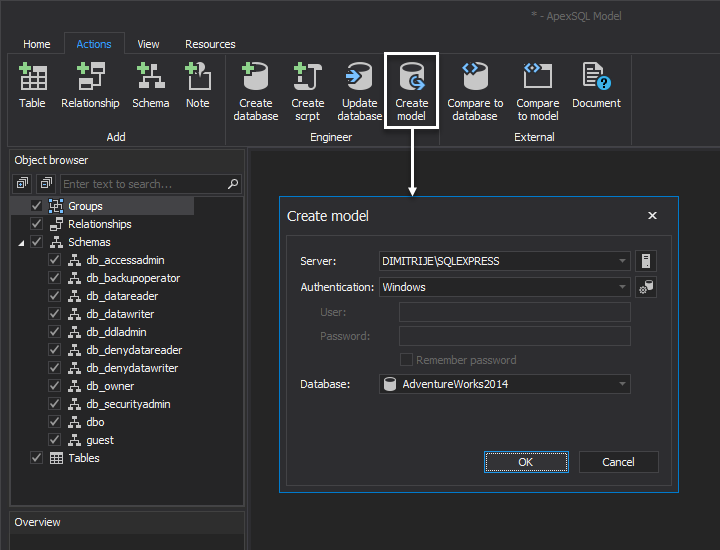
To create model from database, click on the Create model button under the Actions tab. The Create model dialog with SQL Server connection options will be shown, where the desired database needs to be selected for reverse engineering:
When the selected database is connected and loaded, the data model diagram will be shown in the main window:
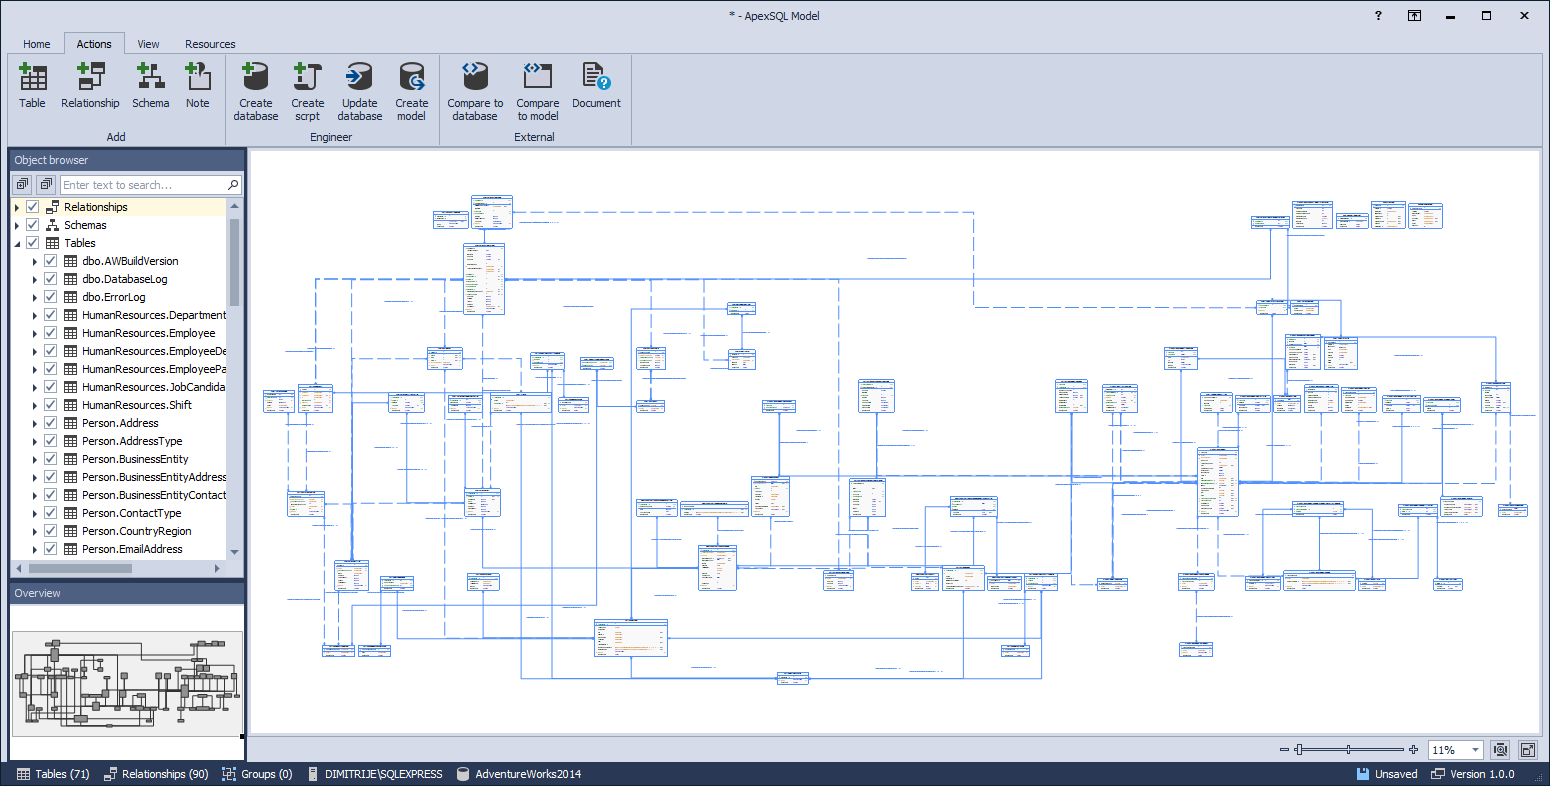
And here is the look of the filter setup in Blue theme:
Model level options
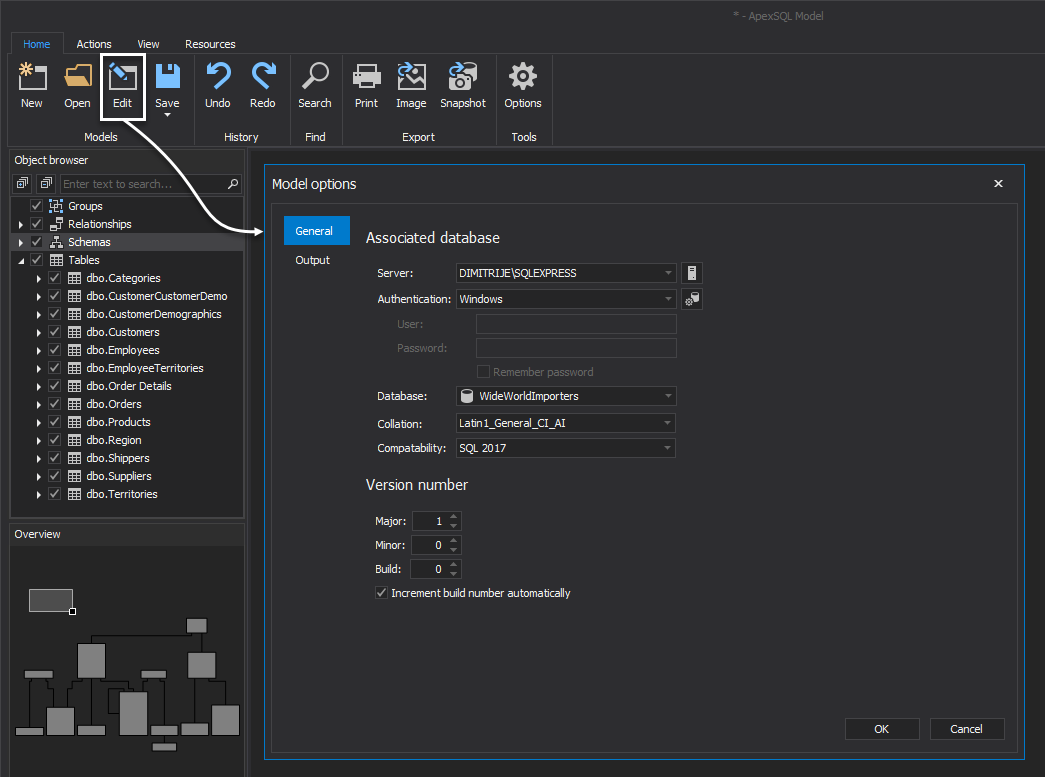
The ApexSQL Model offers users editing project level options. These are options that are model specific and can be changed independent of the application options. Click on the Edit button under the Home tab and the Model options dialog will appear:
The file locations and templates of the model script can be predefined. Also, location for the Rollback and backup file can be selected:
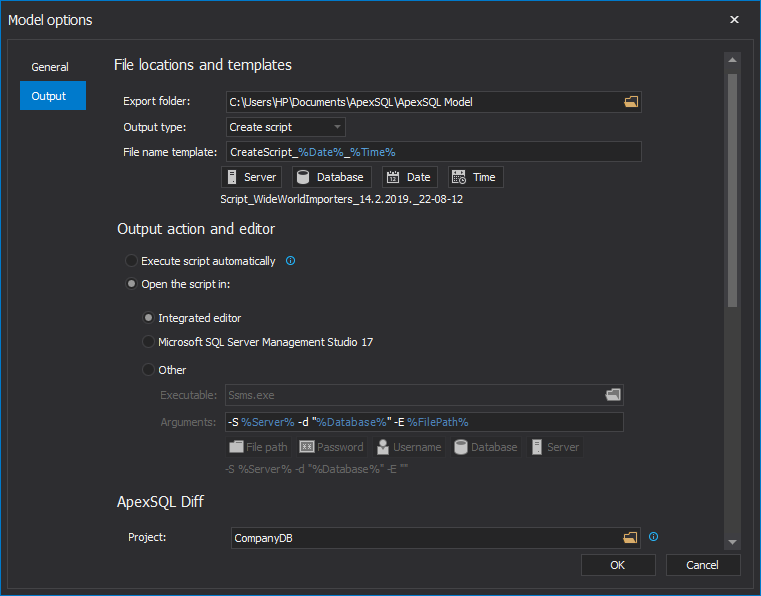
The ApexSQL Diff project file which will be used for updating database and creating sync script can be edited. Also, the ApexSQL Diff CLI switches that will be used for updating database can be specified:
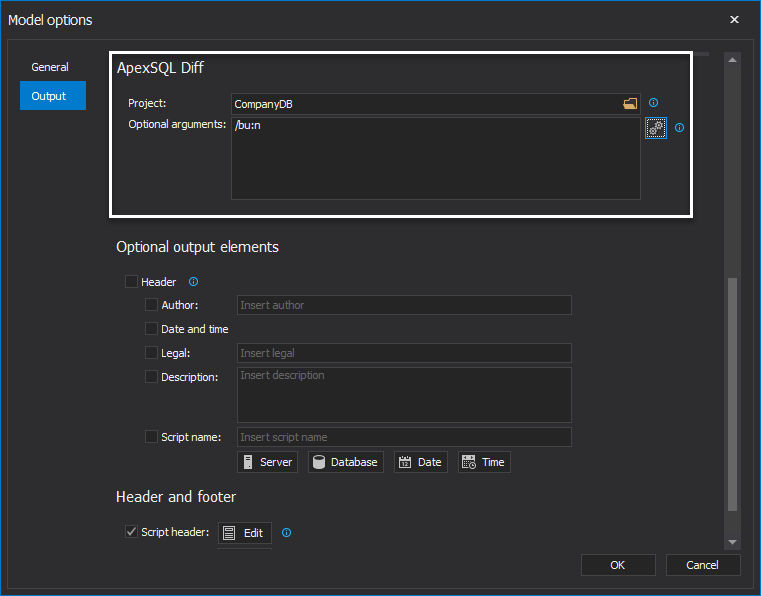
The script header can be customized and added:
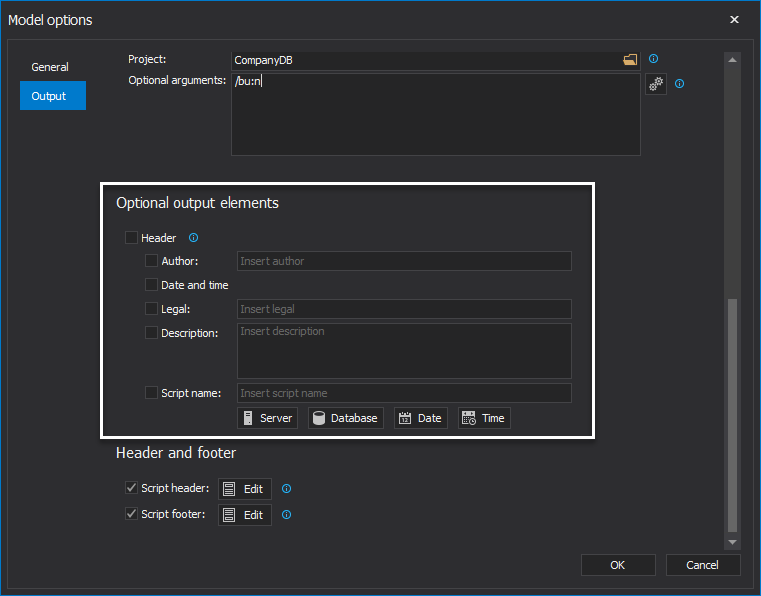
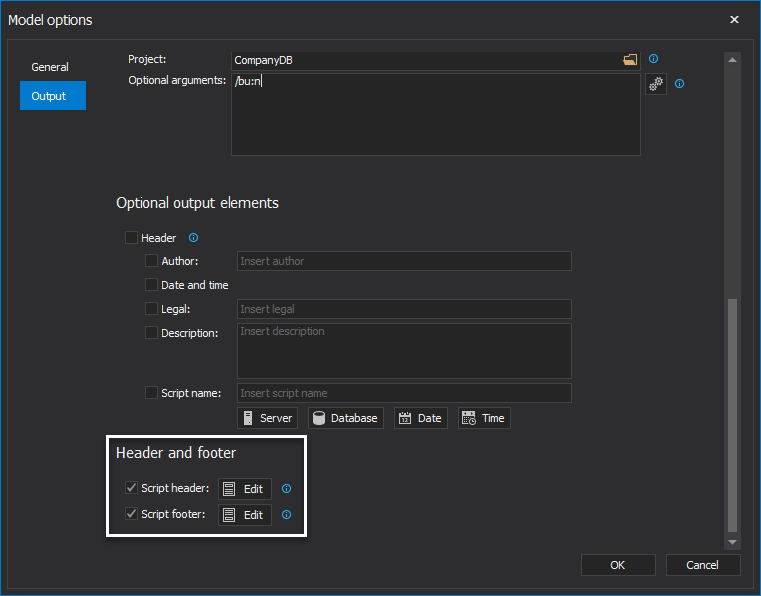
The script header and the script footer can be customized under the header and footer option:
Engineering
To create a database from a model, click on the Create database button in the Actions tab. The Create database window will be shown where database script can be opened or executed for the existing model:

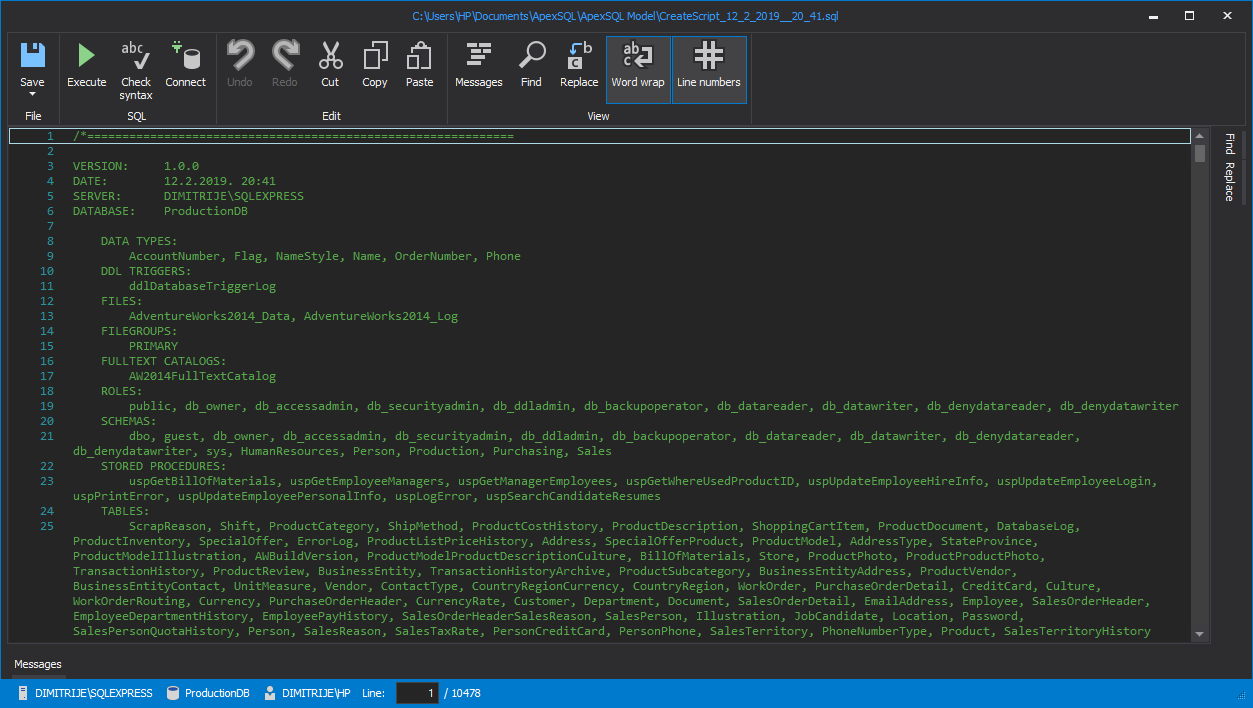
When the SQL Server connection parameters and the new database name are specified, click the Open script button and the SQL script for creating the new database will be opened in the integrated script editor of ApexSQL Model. The script can be viewed, updated and executed to create the new database:
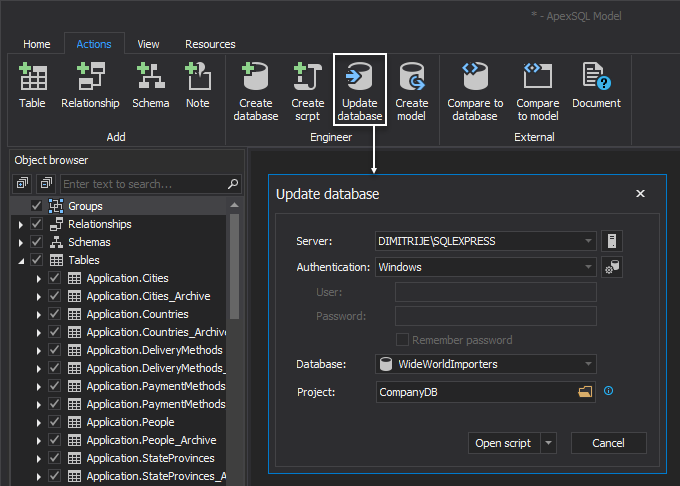
To update a database from a model, open the model that needs to be updated, then click on the Update database button in the Actions tab. The Update database window will be shown where database script can be opened or executed with changes for the existing model:
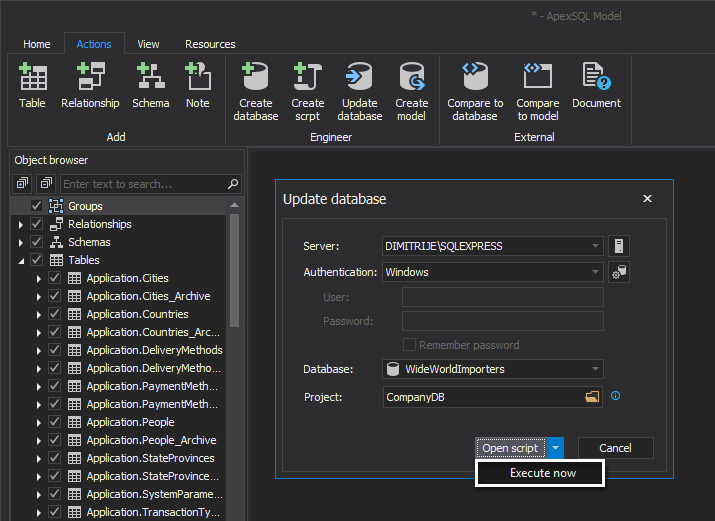
Click on the Execute button and database script will be executed with changes for the existing model:
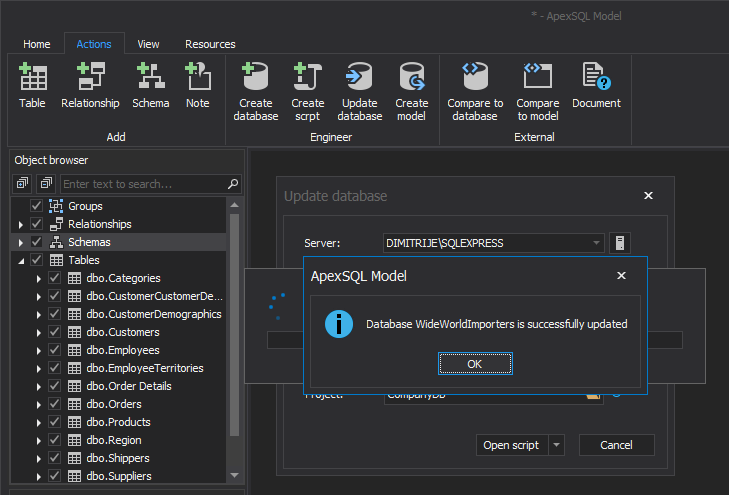
After executing database script, database will be sucsesfully updated:
Features
ApexSQL Model offers a variety of features via integration with other ApexSQL tools e.g. ApexSQL Diff.
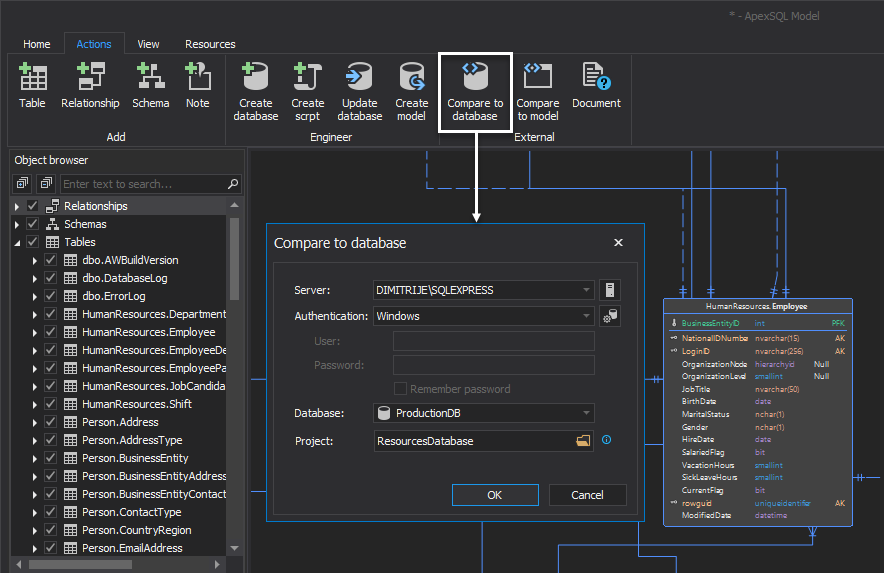
To compare a model to a database, click on the Compare to database button in the Actions tab. Compare to database window will be shown. Then click the OK button and ApexSQL Diff will be opened with loaded model (saved as a snapshot) as source and selected database as a Target destination:
To compare a model to another model, click on the Compare to model button in the Actions tab. After selecting a model file for comparison with the current model, both models will be saved as a snapshots. ApexSQL Diff will be opened with current model (saved snapshot) loaded as source and selected model (saved snapshot) as a Target:
The existing model can be documented by integrating ApexSQL Doc. Click on the Document button in the Actions tab. The model will be saved as snapshot and ApexSQL Doc will be opened with loaded model (saved as a snapshot) ready for the documentation process:

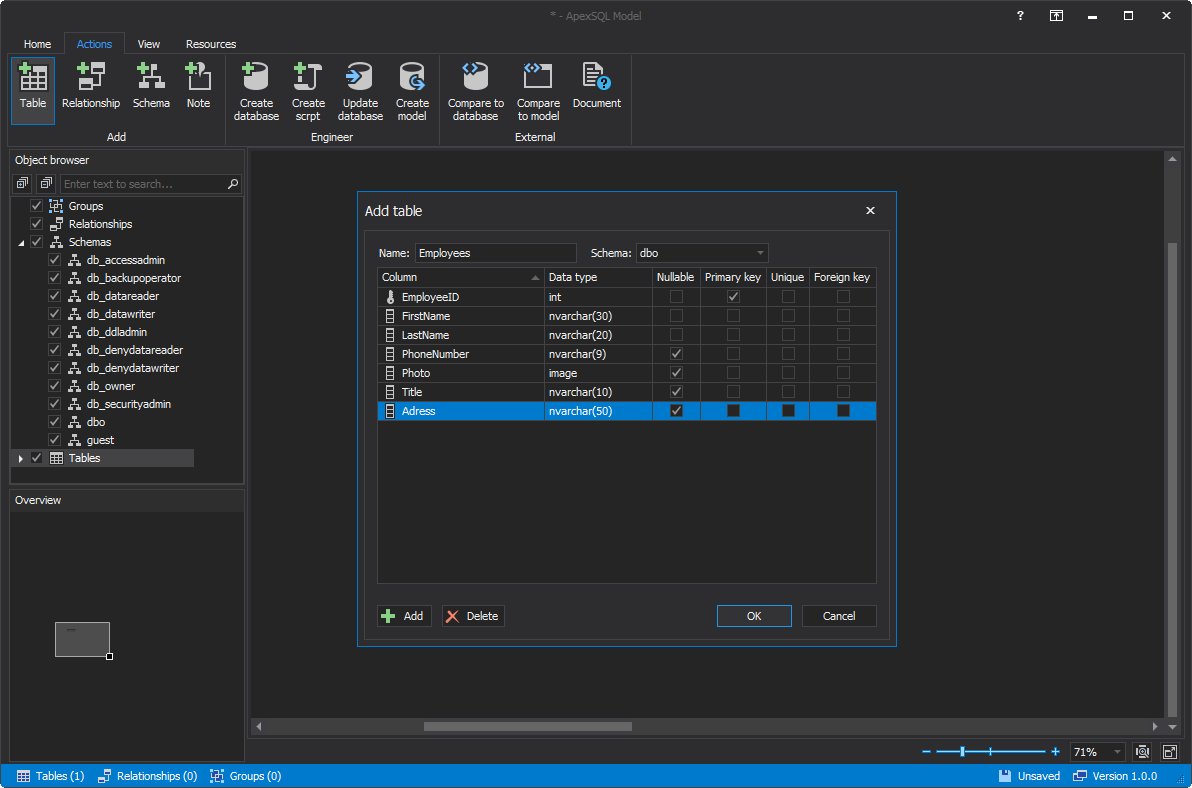
To create a new table, click on the Table button in the Actions tab. The Add table window will be opened, where the columns of the created table need to be specified and the table schema selected:
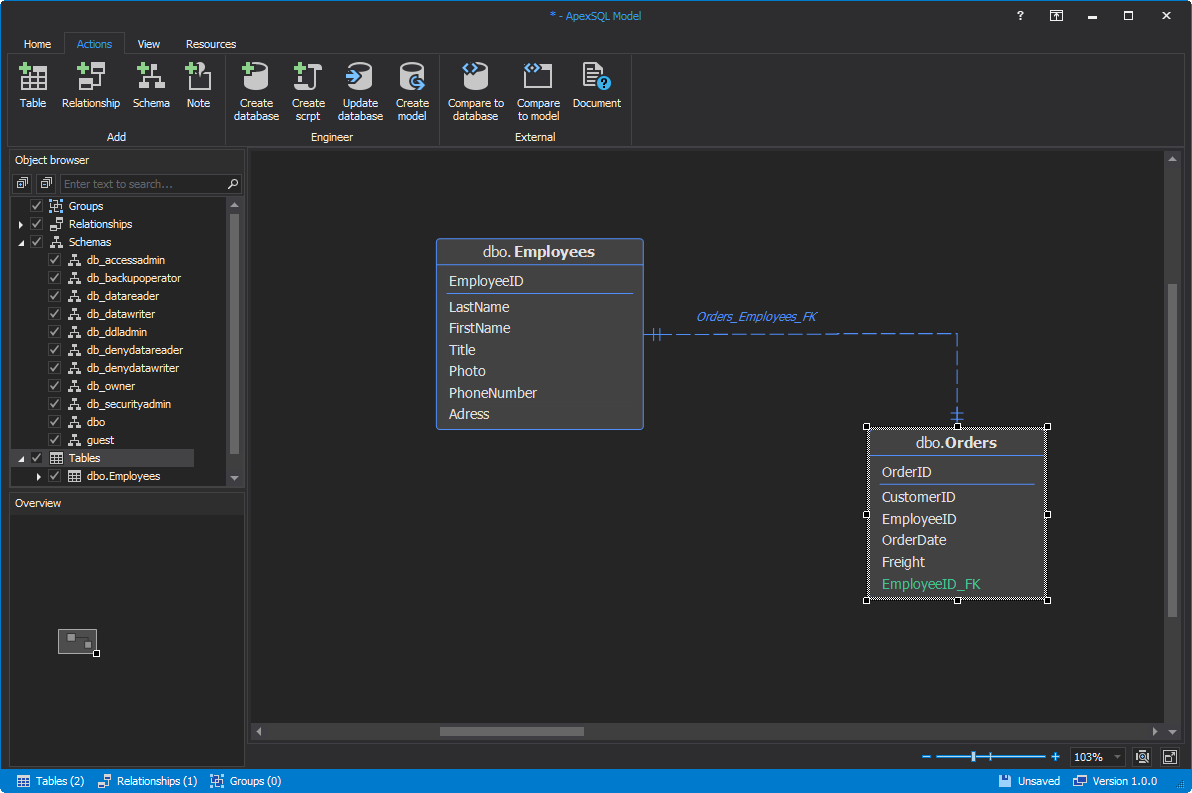
Click on the Relationship button from the Action tab, then click and drag between tables for which relationship needs to be formed:
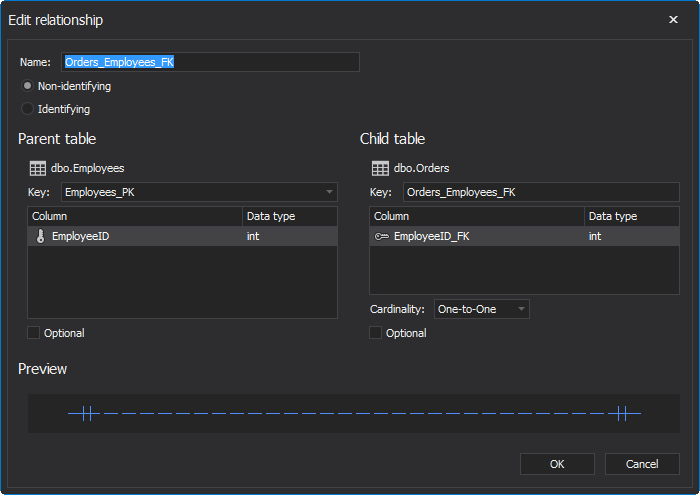
Double-click on the relationship, and the Edit relationship window will be opened. Optional relationship details can be changed such as relationship type, cardinality and optional table:
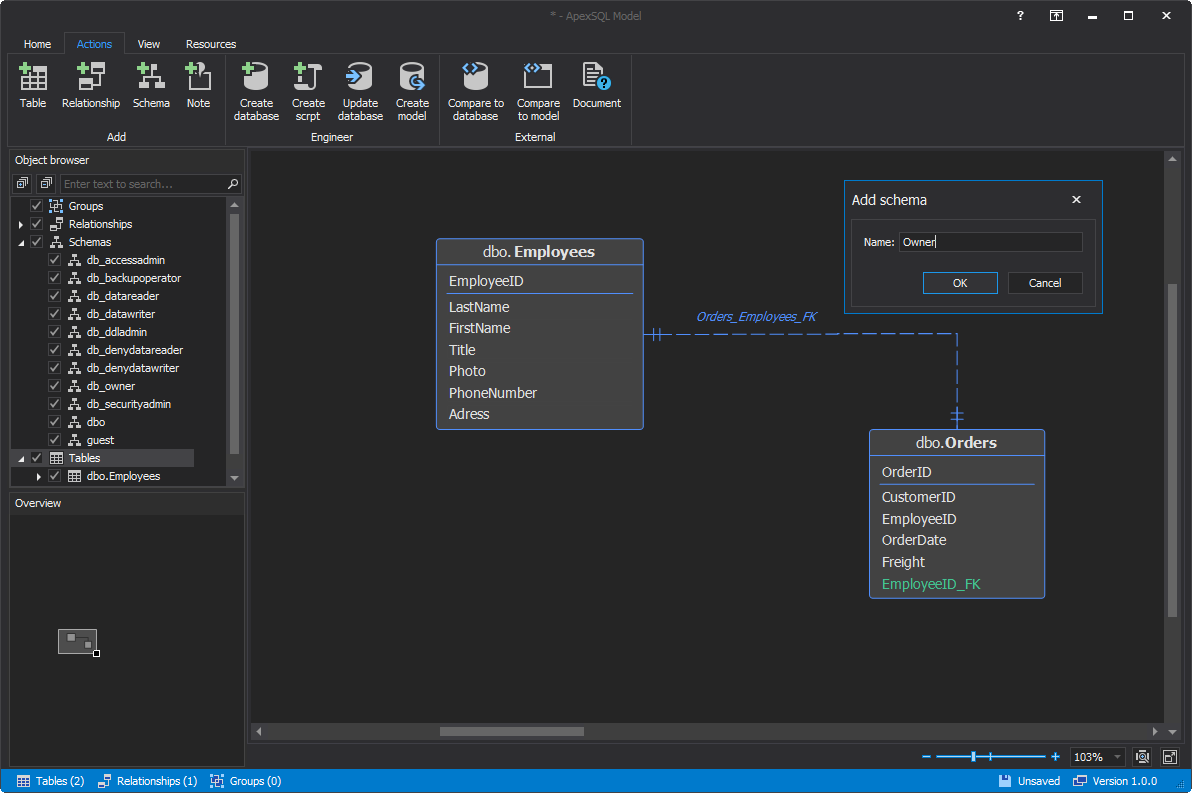
Click on the Schema button in the Actions tab to add a new to schema and specify its name:
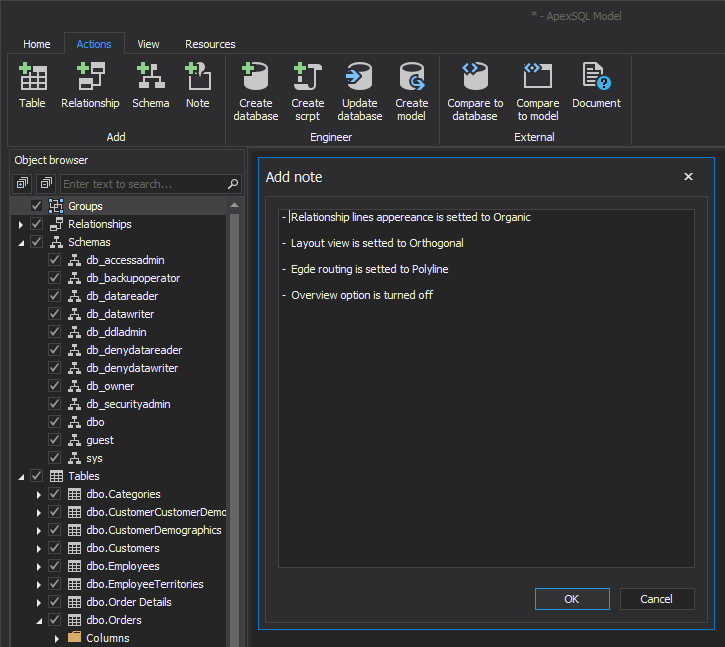
ApexSQL Model offers users adding notes to the database model. Click on the button Note in the Actions tab in the main ribbon. Notes can be entered, saved and placed anywhere on the model. Also, notes can be added by right-click on the empty space on a model diagram and choosing the Add note option:
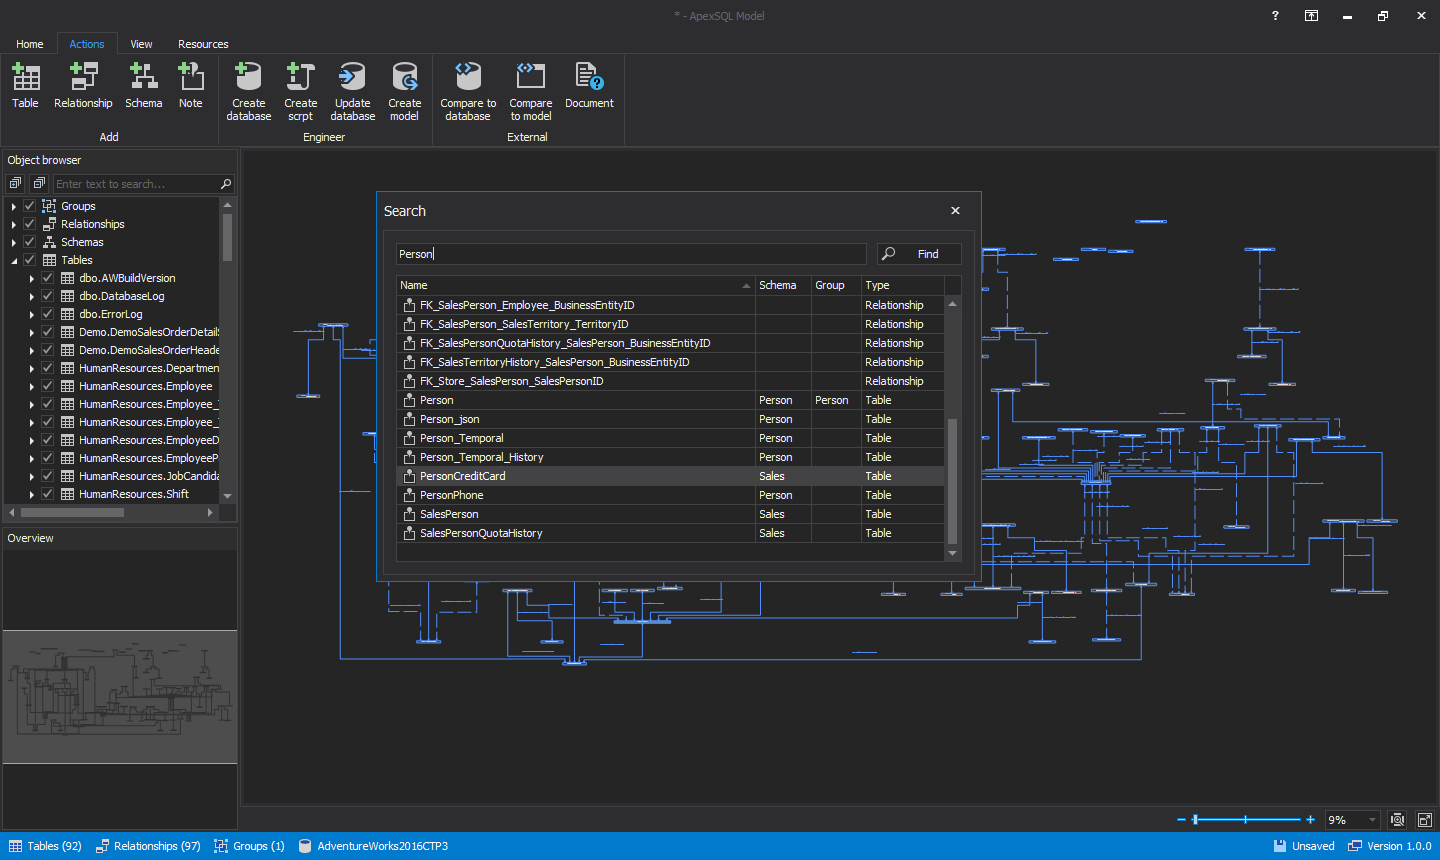
Click on the Search button in the Home tab, to search for tables and relationships on the existing model:
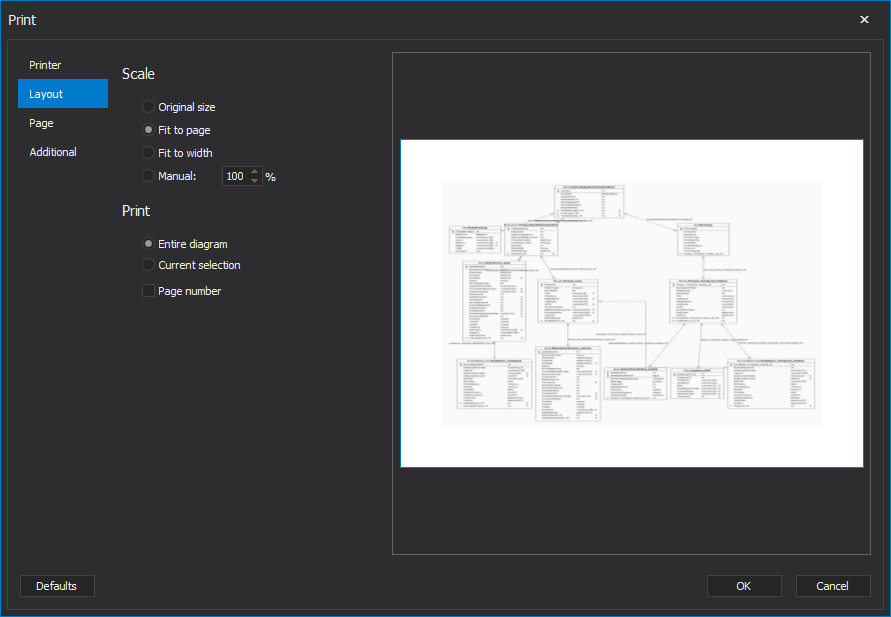
The model diagram can be printed. Click on the Print button in the Home tab. In the Printer tab, the default printer can be changed. Also, Printer friendly and Display group name options can be used:

In the Layout, Scaling and other Print options can be changed:
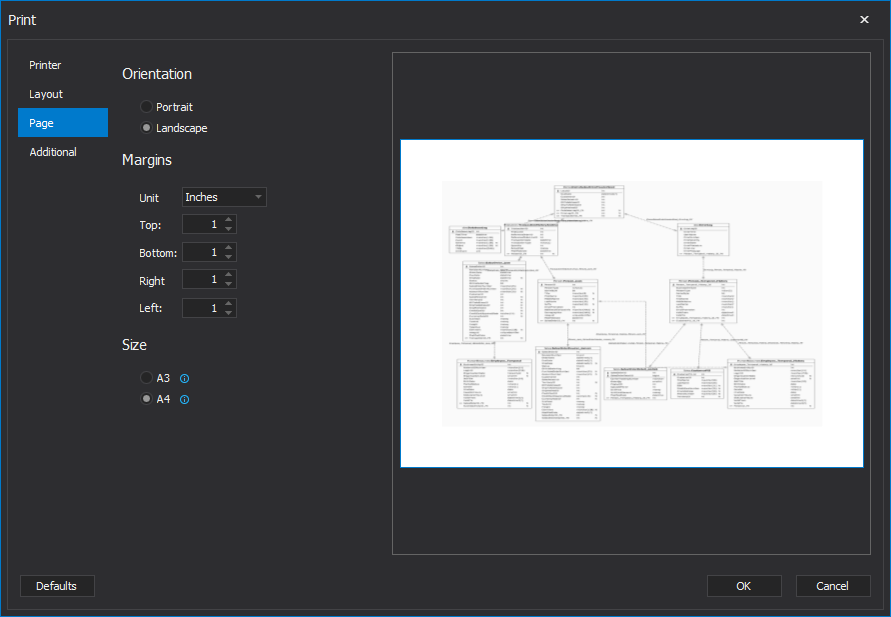
In the Page tab, Orientation, Margins and Size options can be changed:
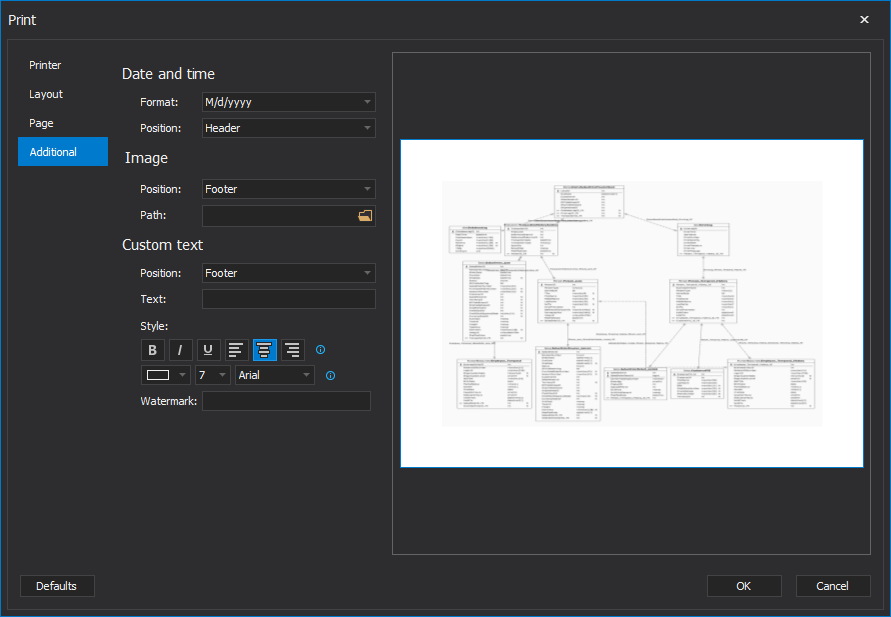
In the Additional tab, various text options including watermark can be changed:
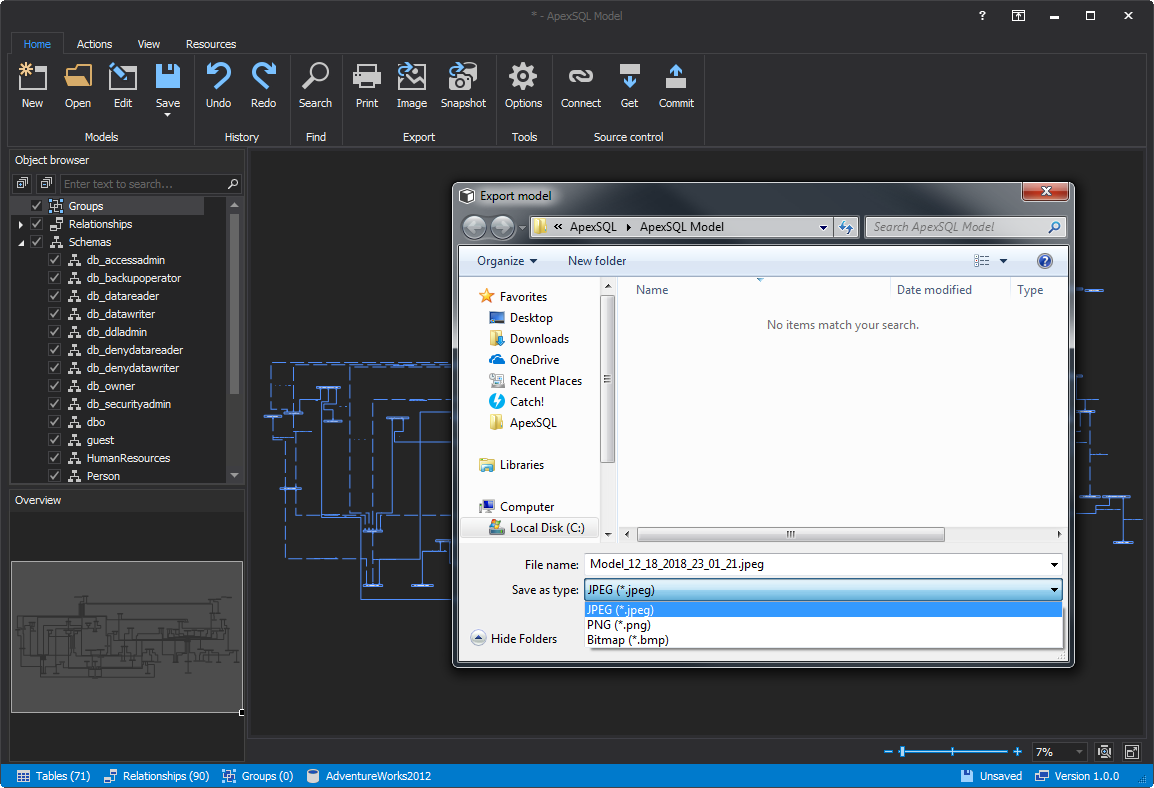
Click on the Image button under the Home tab to export a model into an image. A model can be exported into JPEG, PNG and Bitmap image files:
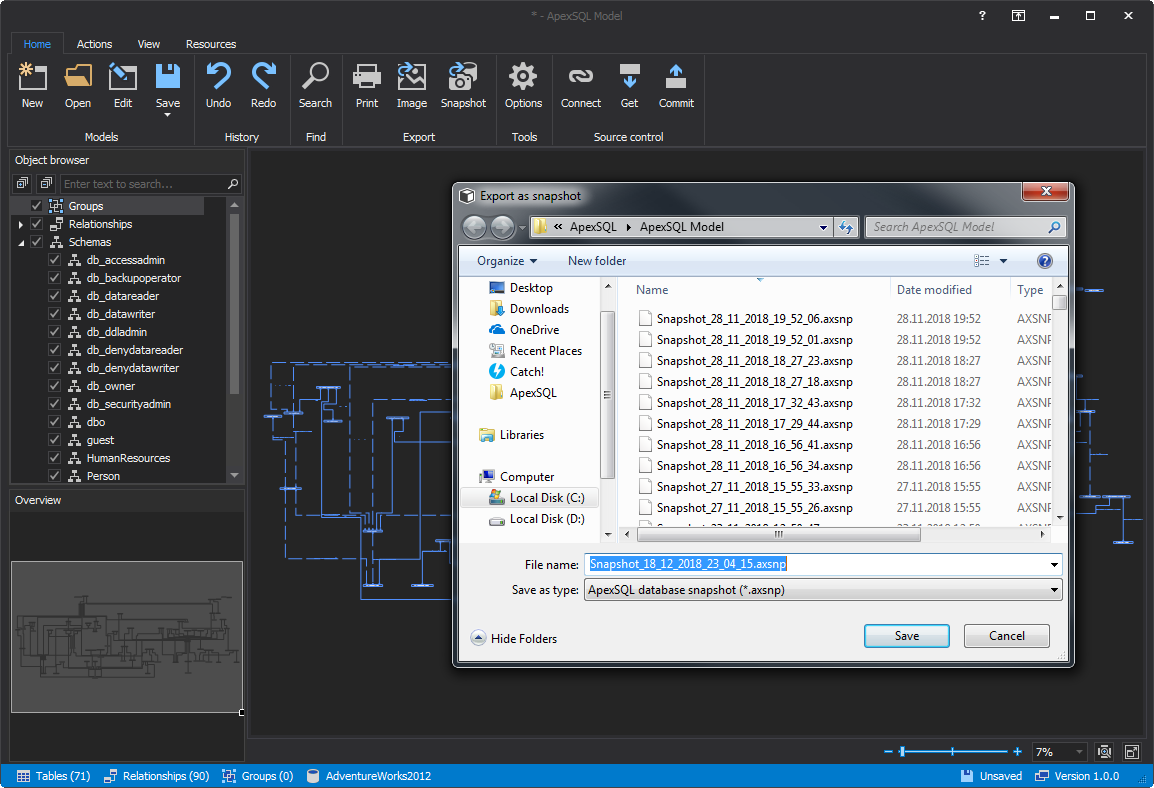
Click on the Snapshot button in the Home tab to export a model into snapshot which can be used later by other ApexSQL applications:
Application options
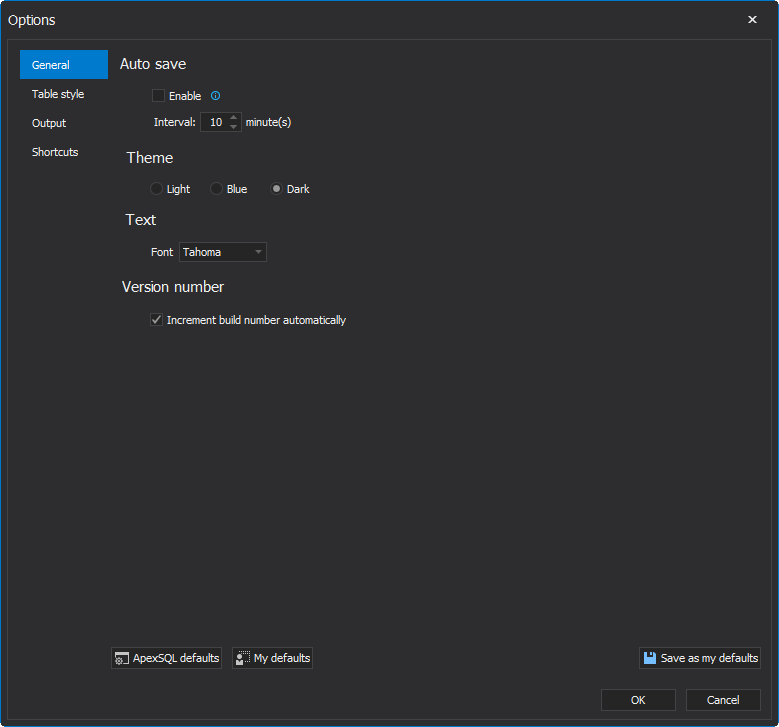
Click on the Options button in the Home tab to change General, Table style, Output and Shortcuts options. In the General tab, Auto save, Theme, Text and Version number options can be changed:
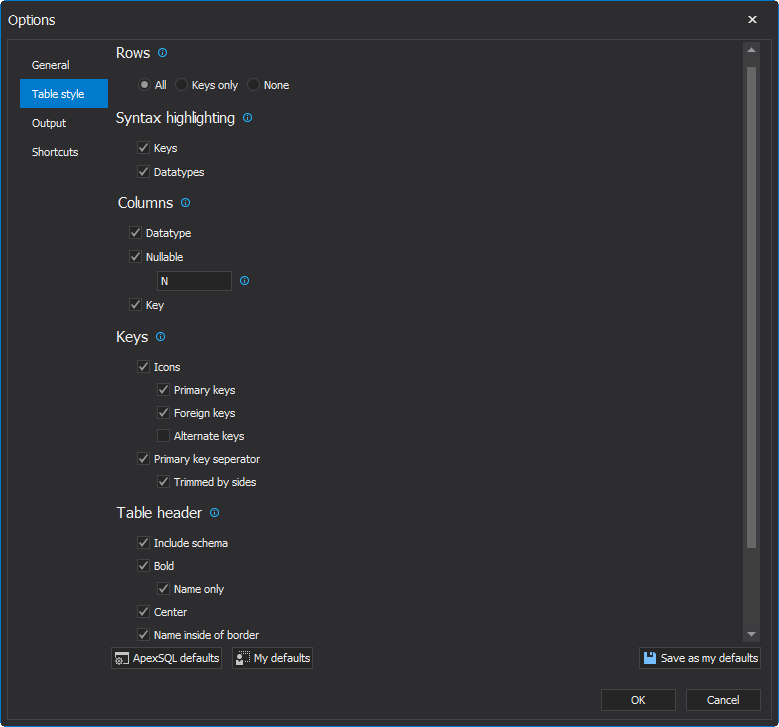
In the Table style tab, Rows, Syntax highlighting, Keys, Table header and Grouping style options can be changed:
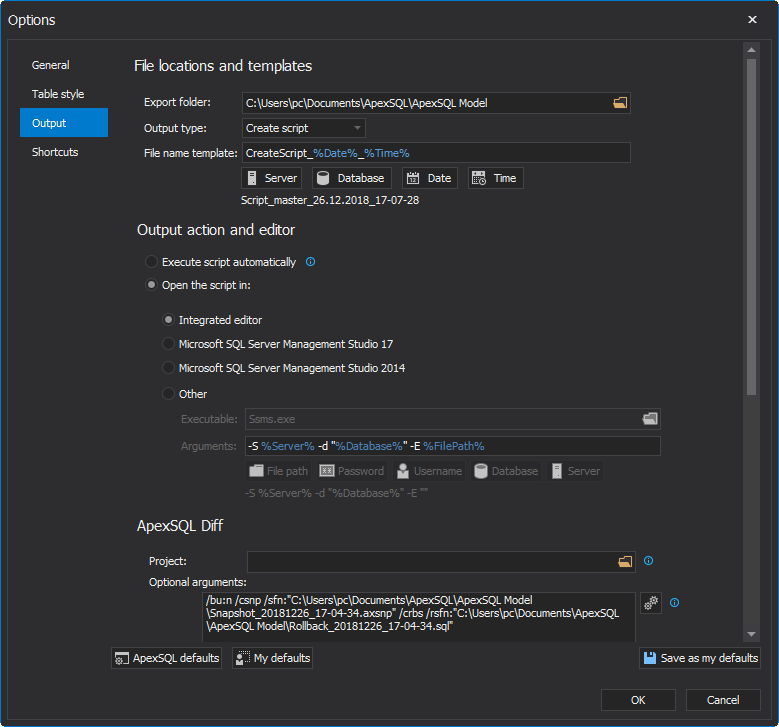
In the Output tab, File locations, Output action and editor, ApexSQL Diff project, Optional output elements and Header and footer options can be changed:
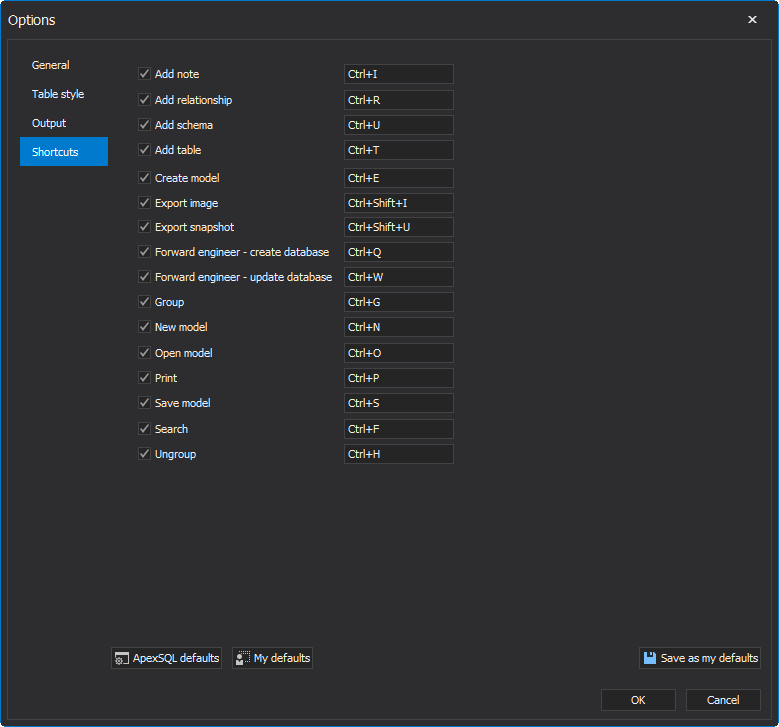
In the Shortcuts tab, application shortcuts can be pre-defined:
Resources
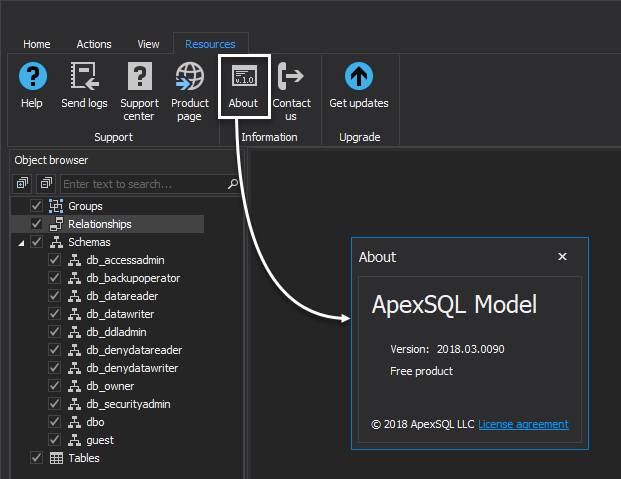
Click on the About button under the Resources tab to show the details of the application version:
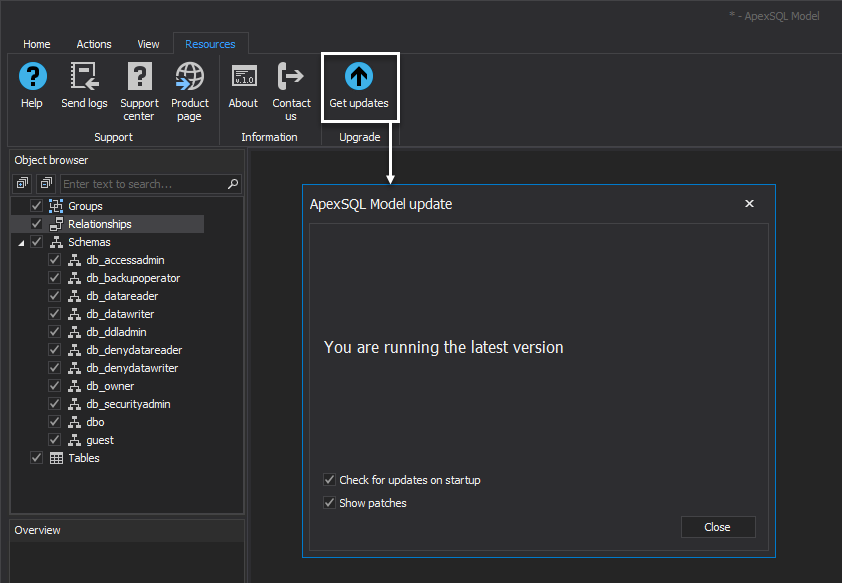
Under the Get updates window, ApexSQL Model offers user enables for the latest available version of the tool, possibility for checking for updates on start and available patches. Click on the Get updates button under the Resources tab, and ApexSQL Model update window will appear:
May 25, 2018


