Installation
The ApexSQL Model installation wizard is simple and contains only three steps to finish the installation.
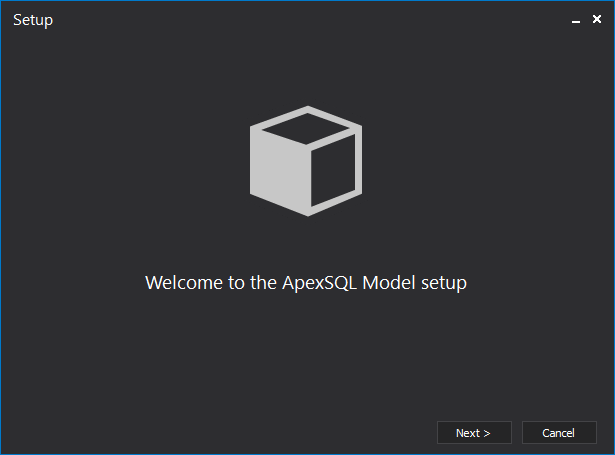
The ApexSQL Model welcome screen will be shown in the first step of the installation:
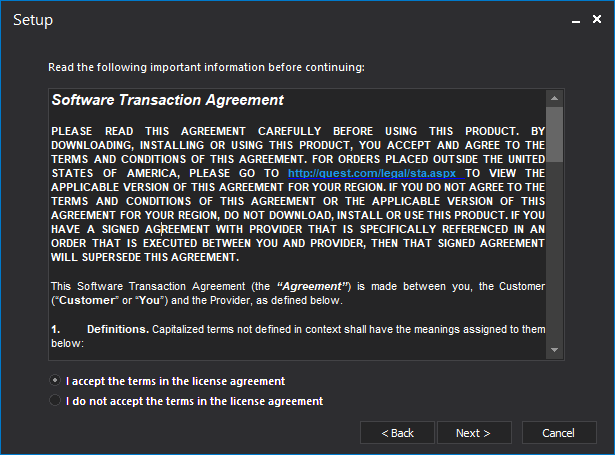
The Software Transaction Agreement can be review in the next step:
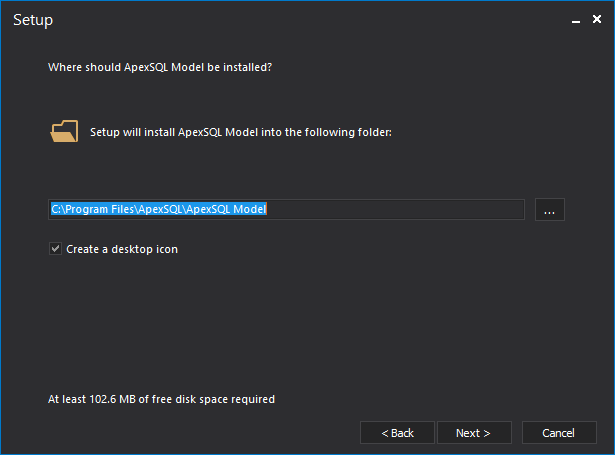
The next step allows user to choose in which folder ApexSQL Model should be installed and whether or not to create a desktop icon:
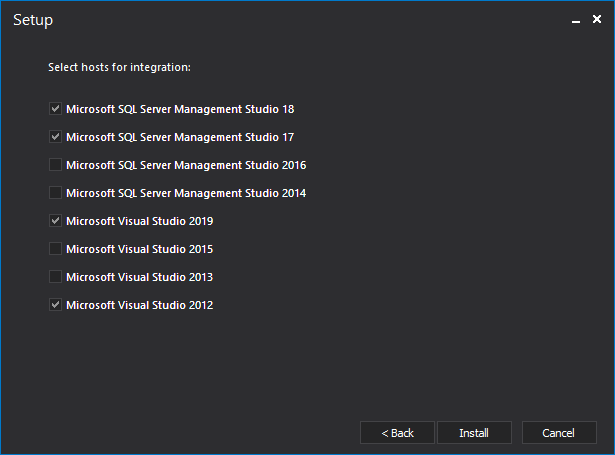
The next step allows user to choose in which of SQL Server Management Studio or Visual Studio hosts to integrate ApexSQL Model (only installed SQL Server Management Studio and Visual Studio versions will be available):
In the last step of the installation, the user can choose whether or not to run the ApexSQL Model. This step confirms that installation is successfully done:
The ApexSQL Model main menu contains the following four tabs:
- Home
- Actions
- View
- Resources
In the Home tab we can find the following options:
- New – creates a new model
- Open – opens an existing model
- Edit – used to edit model options
- Save – saves the current model
In the Actions tab we can find three sections:
- Add
- Engineer
- External
The Add section contains the following functions:
- Table – is used to create a new table on the diagram
- Relationship – adds new relationship between tables
- Schema – adds a new schema
- Note – adds a new note on the diagram
The Engineer section contains the following functions:
- Create database – is used to create a database from the model
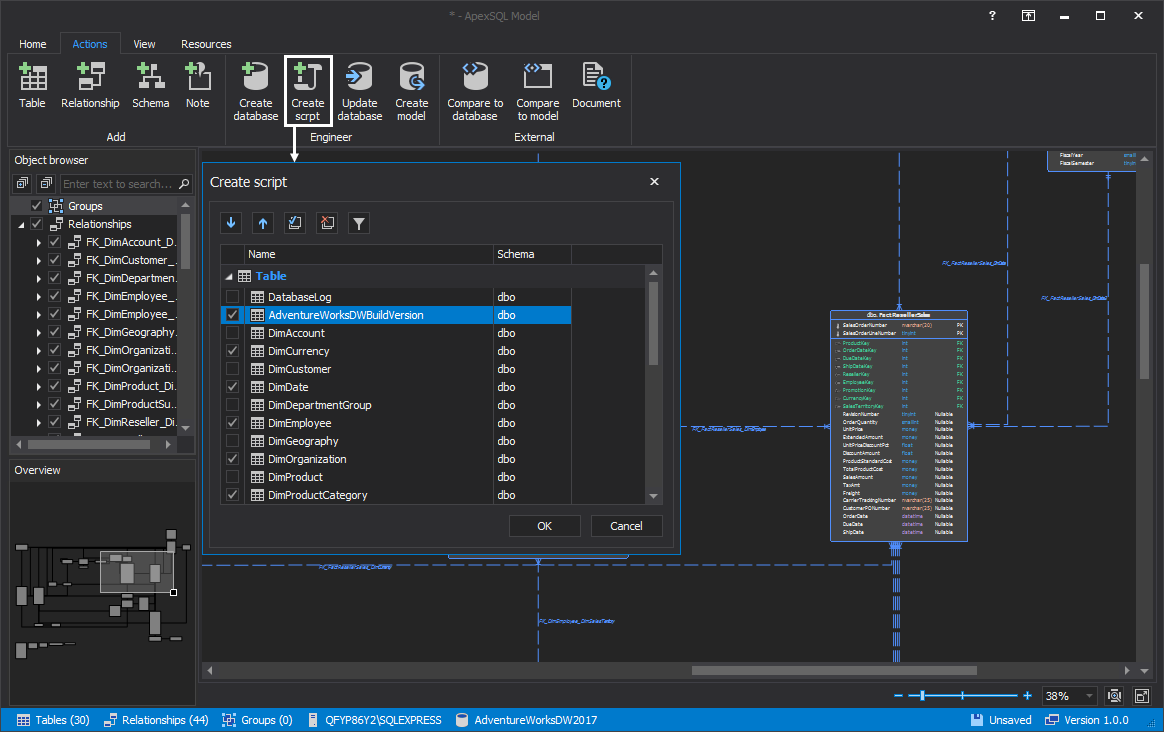
- Create script – is used to create a script of objects on the diagram
- Update database – is used to update the database from the model
- Create Model – is used to create a model from the database
The External section contains the following functions:
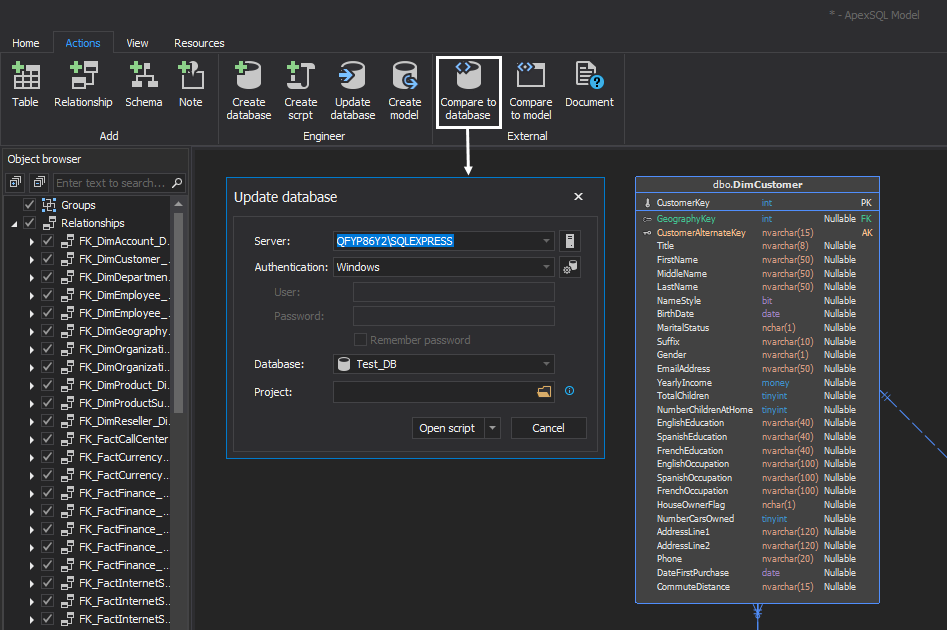
- Compare to database – is used to compare model to a database using ApexSQL Diff
- Compare to model – is used to compare model to a snapshot using ApexSQL Diff
- Document – documents a model using ApexSQL Doc
In the View tab we can find three sections:
- Display
- Find
- Show panels
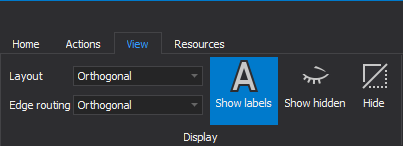
The Display section contains Layout (Orthogonal, Compact orthogonal, Direct orthogonal, Circular, Hierarchical, Tree) and Edge routing (Orthogonal, Polyline, Channel, Organic) options. Also, there is a Show labels option for showing or hiding dependencies types, Show hidden objects and Hide selected objects:
Buttons for hiding or showing Object browser and Overview panels can be found in the Show panels section:

The Resources tab is the fourth and final panel which includes options that allow users to get in contact with the Quest support team and to handle support and services:
Main window
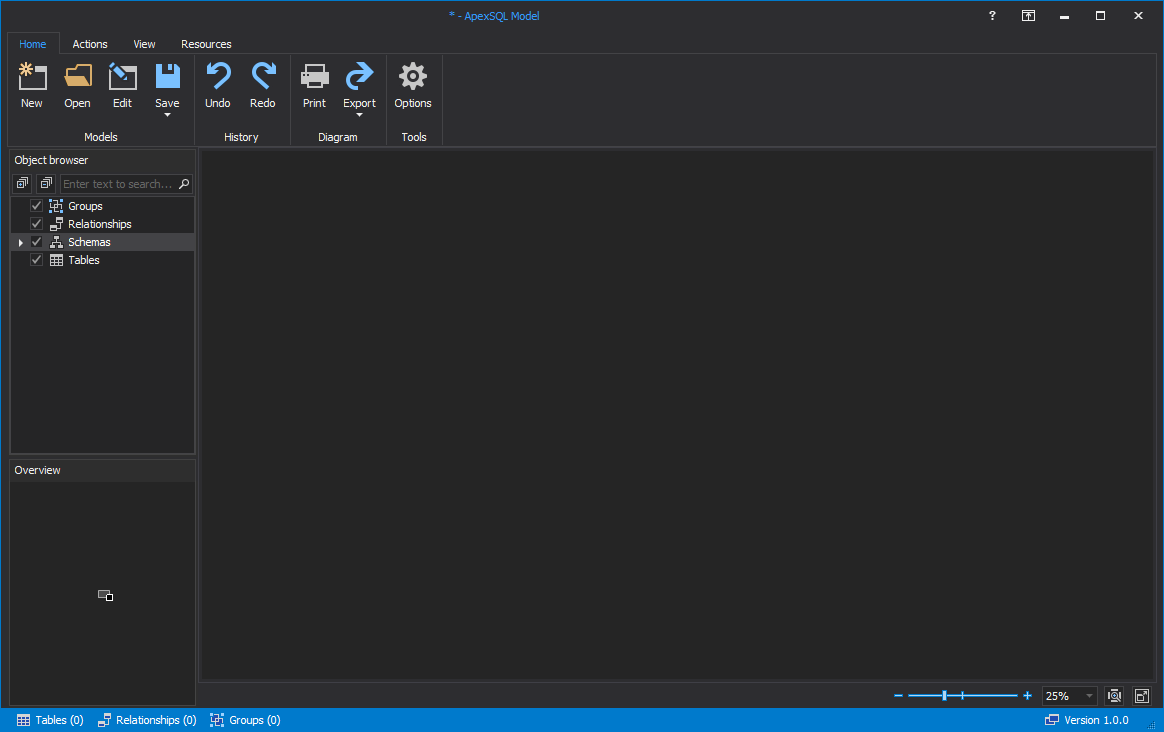
When ApexSQL Model is started, the main window will be shown:
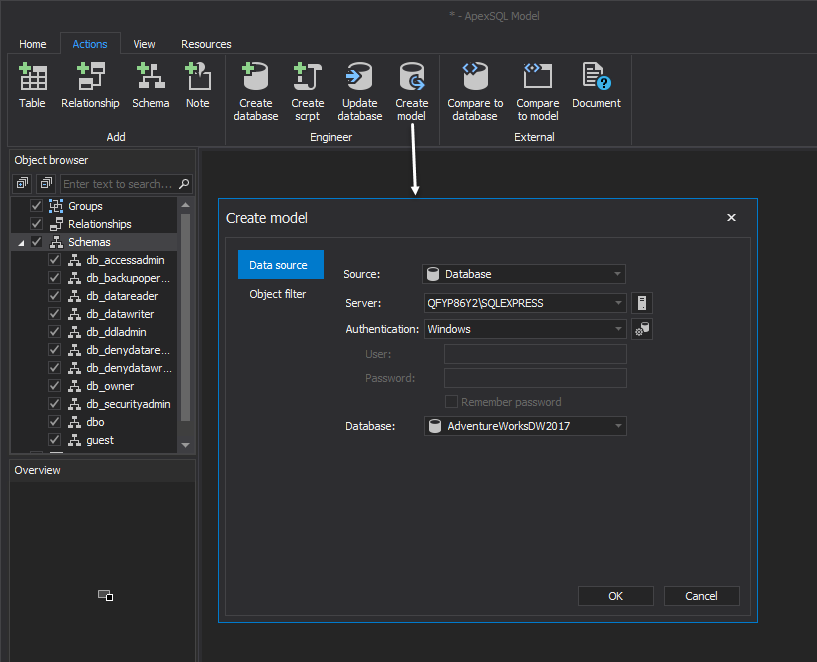
Crate model button is used to Create a model from a database. When the Create model button is used, the dialog SQL Server connection and other options will appear:
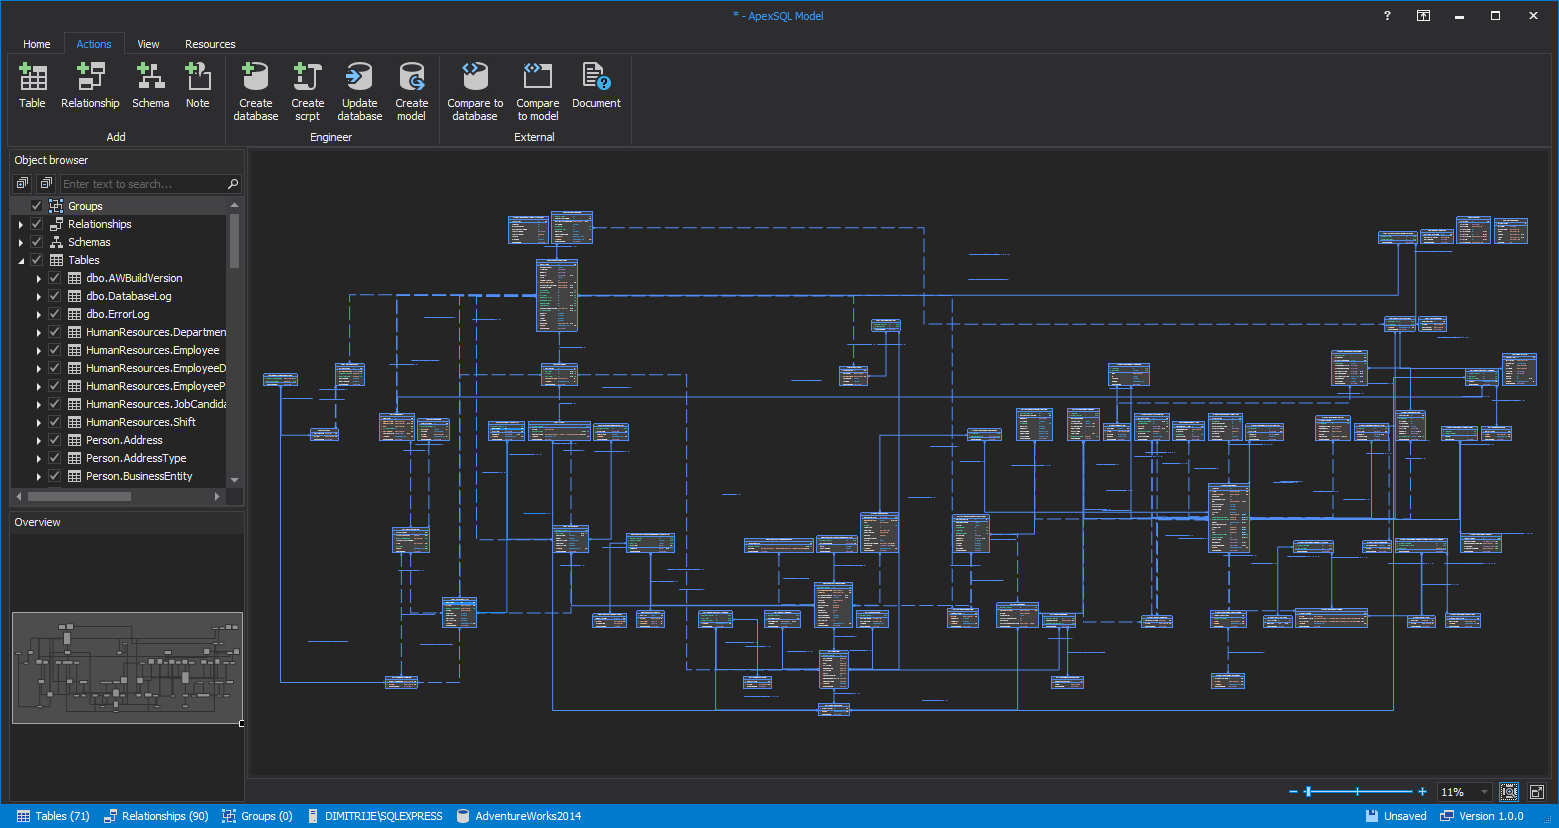
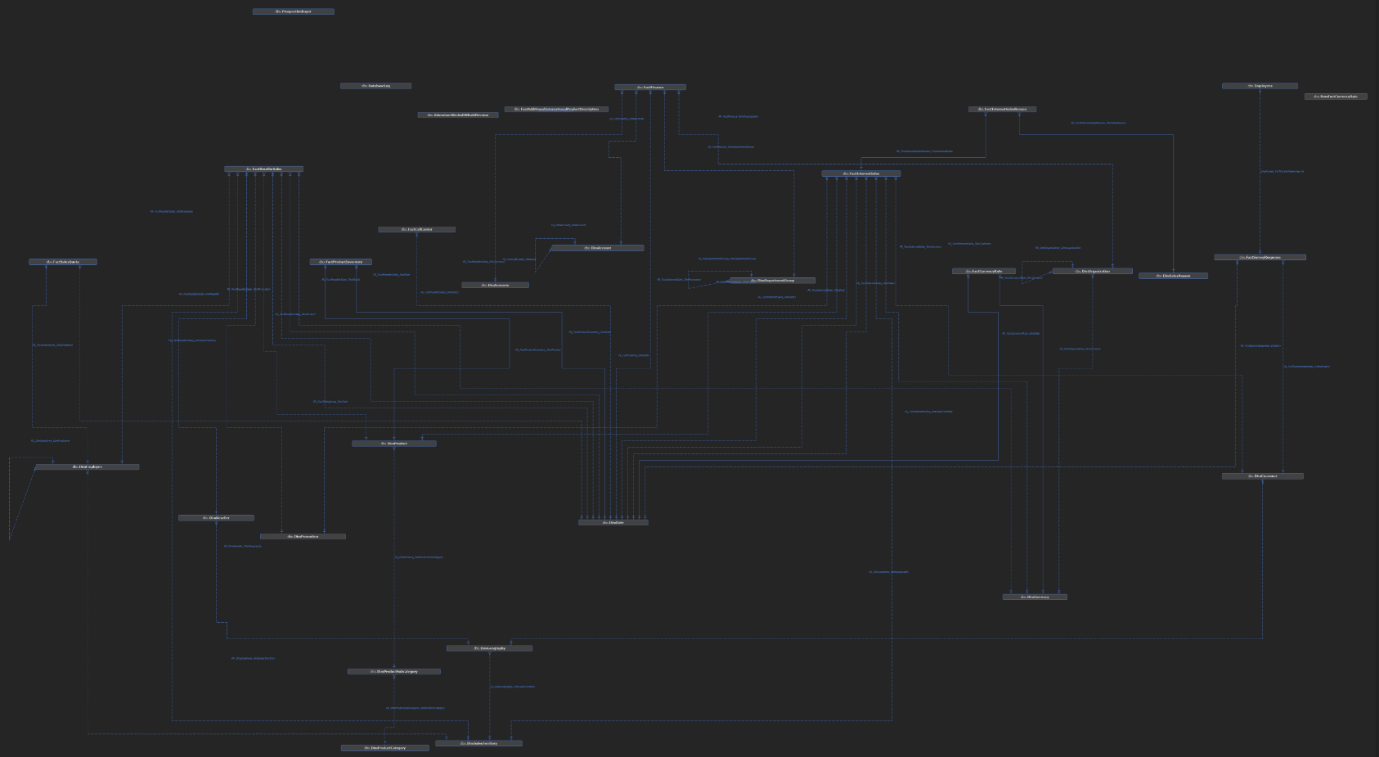
The data model diagram is shown when the selected database is imported:
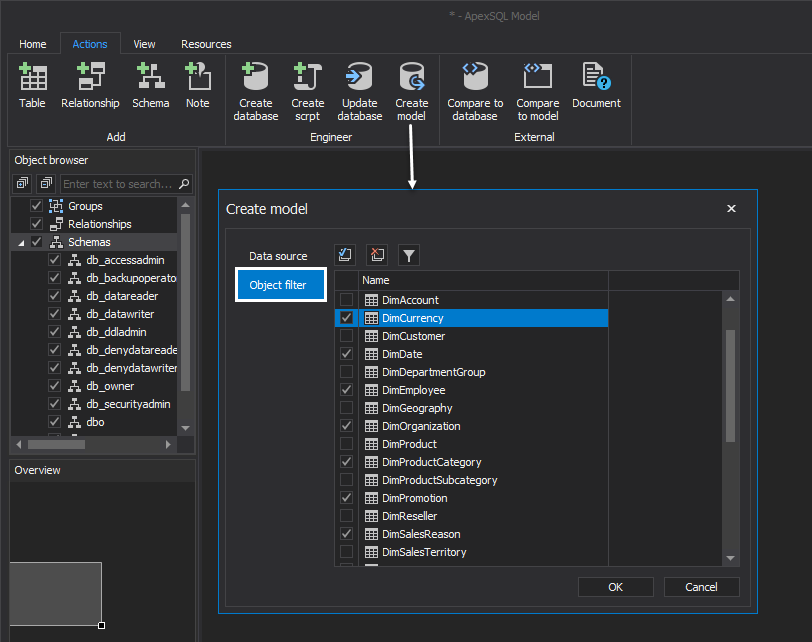
From the Object filter tab, only selected object will be loaded:
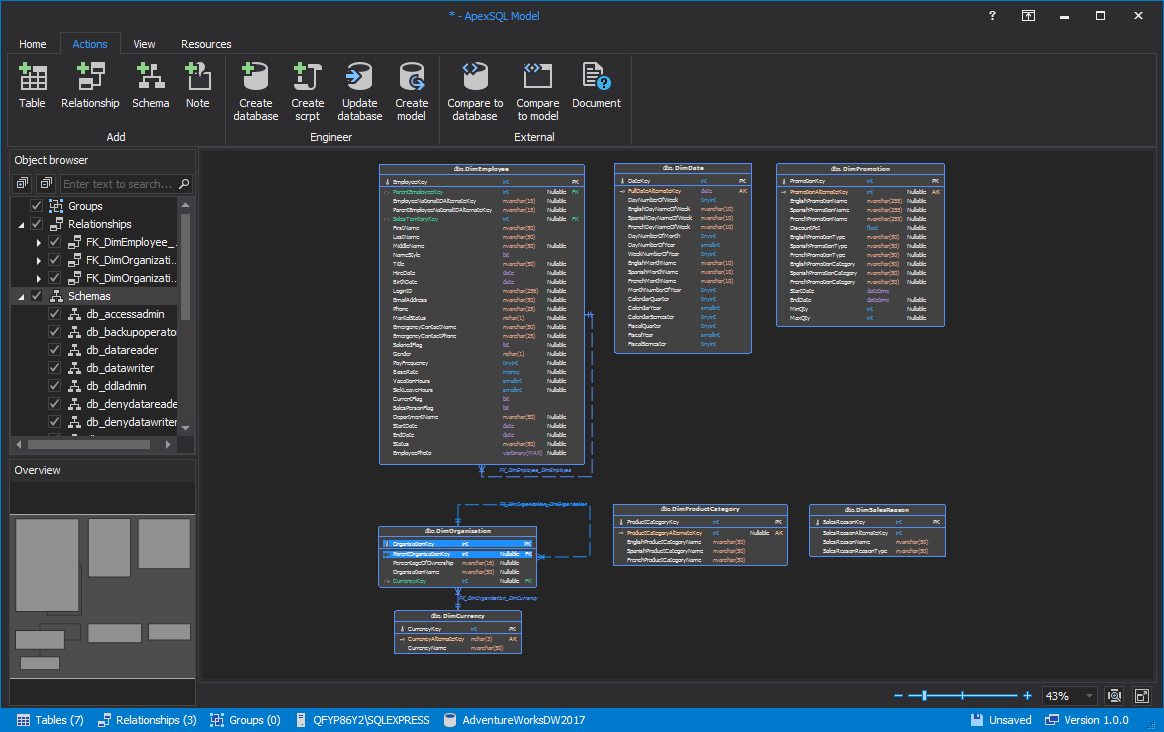
Only selected objects are loaded and shown on the main diagram:
Model level options
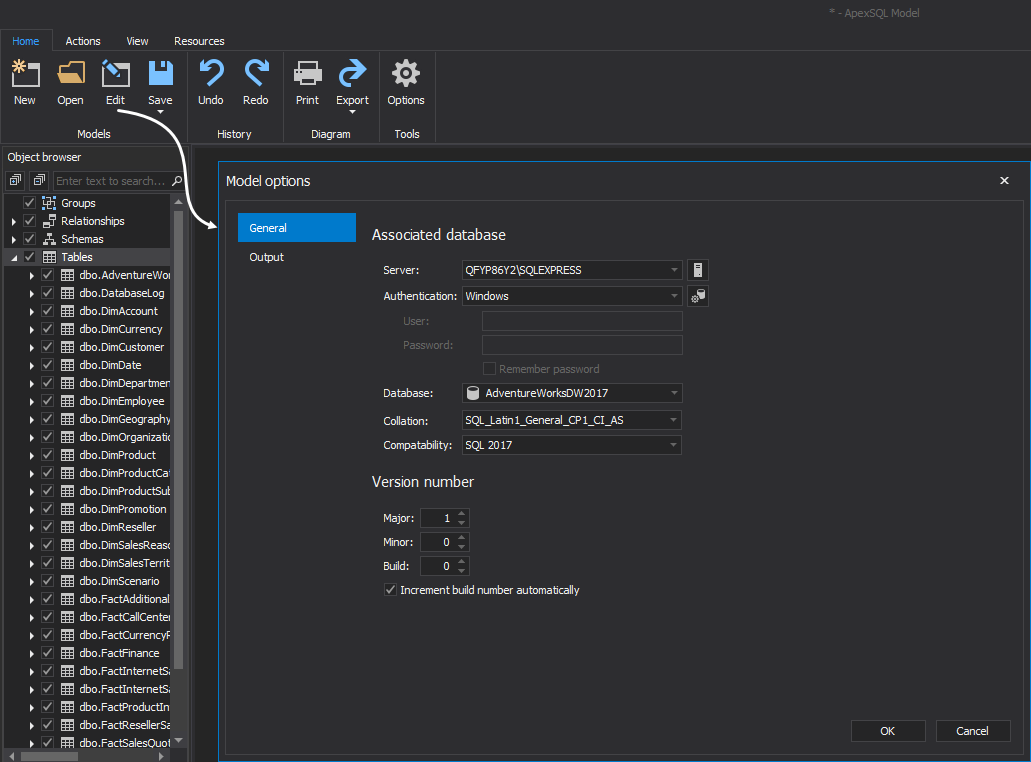
The Model options window will appear when the Edit button under the Home tab is clicked. The Model window contains two tabs General and Output which allow users to edit options on project level:
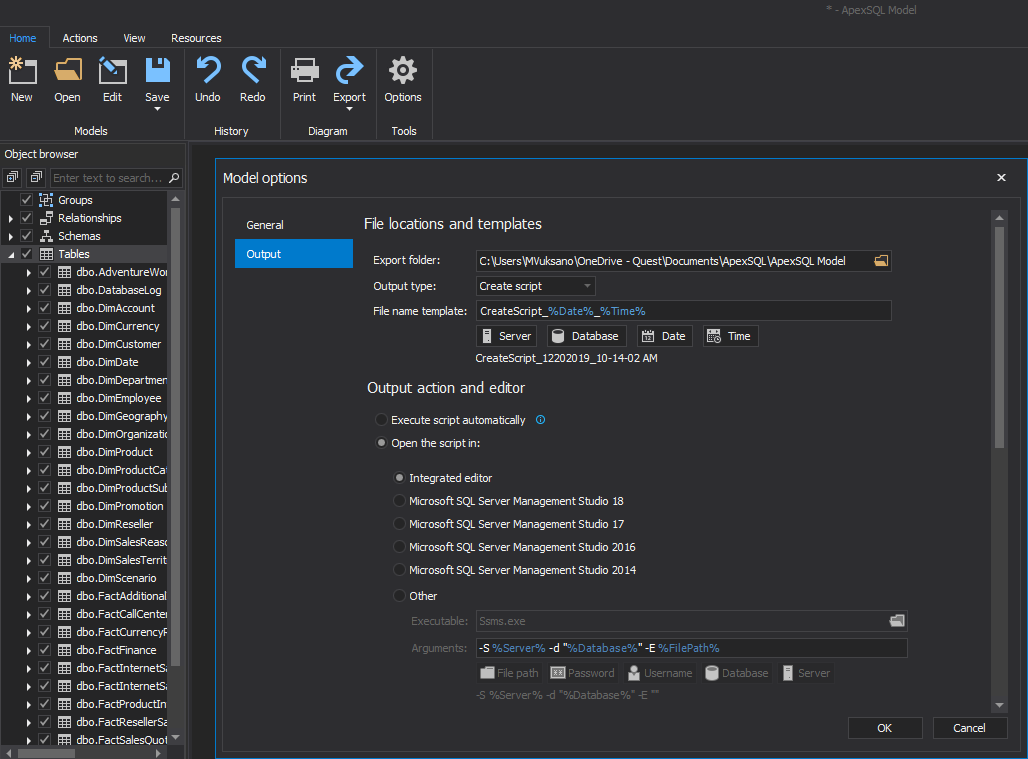
Location of the rollback and backup file can be selected; also, the templates of the model script and file locations can be defined:
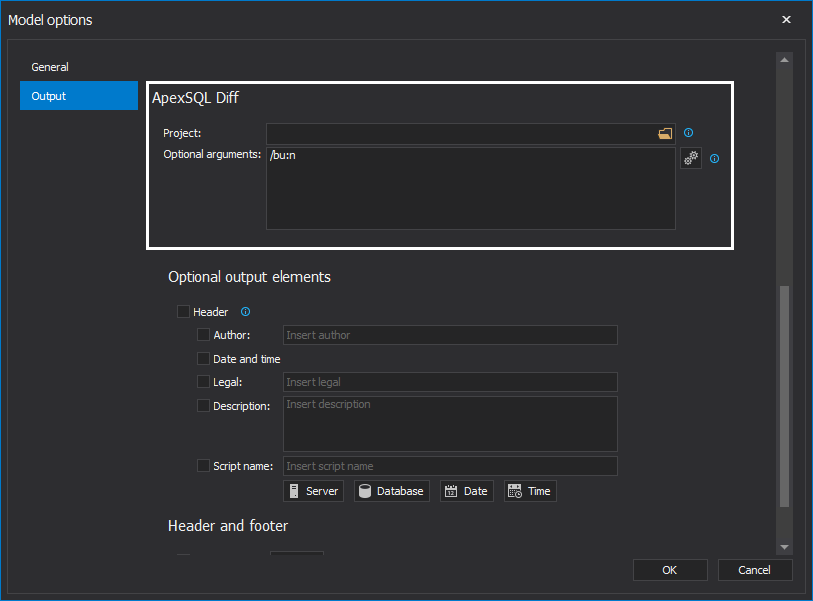
The ApexSQL Diff project file which will be used for creating a sync script, updating the database and allows customization of the selected database. Also, the ApexSQL Diff CLI switches can be specified to update a database:
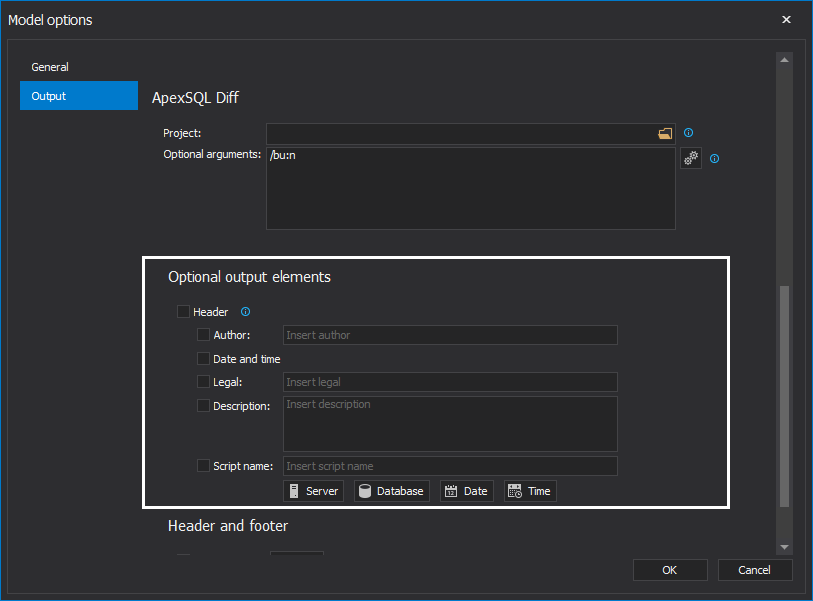
The header of the script can be customized and added:
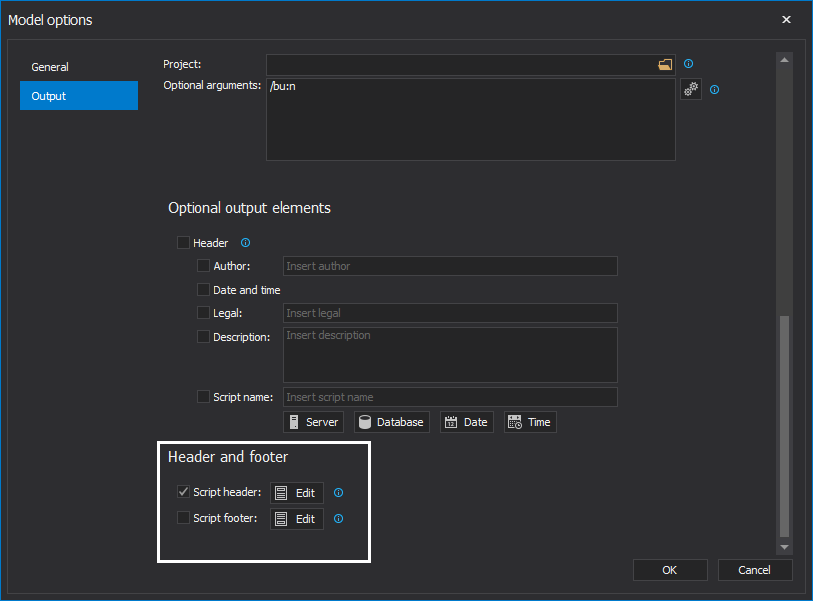
Under the header and footer options customize script header and footer:
Engineering
To create database click on the Create database button under the Actions tab. Create database window will appear:
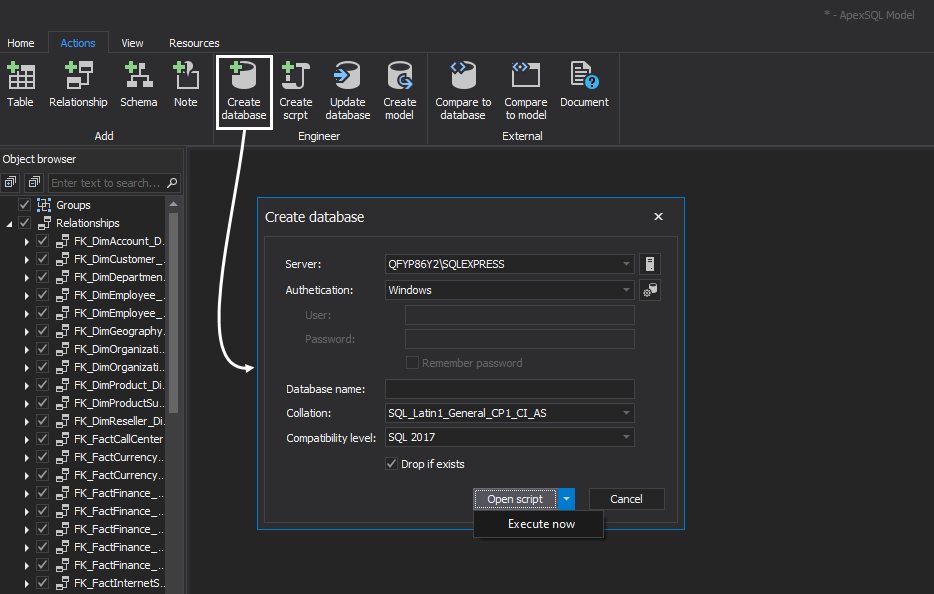
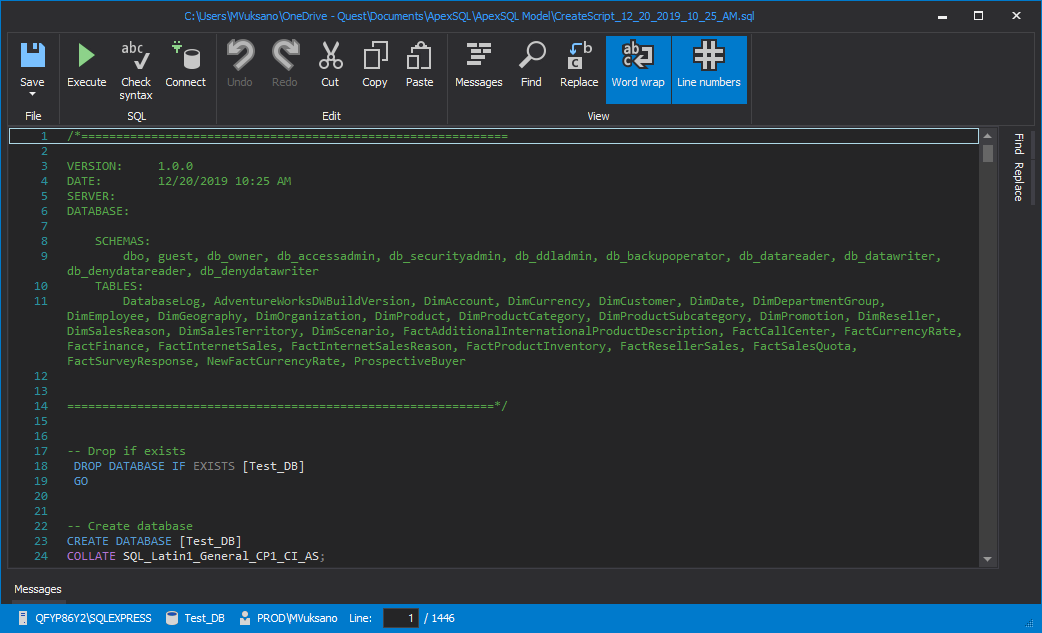
When the Open script button is clicked, by default, the integrated script editor will be opened. Now the script can be executed, updated or viewed:
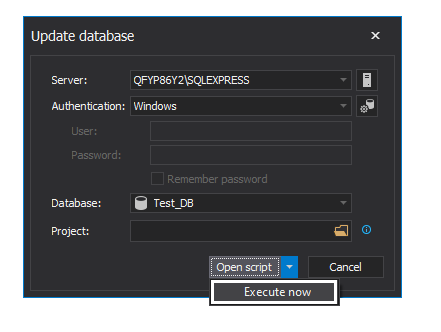
Update database button is used to update a database from the current model. When the button is clicked the Update database window will appear. Here we can choose which of the database we want to update:
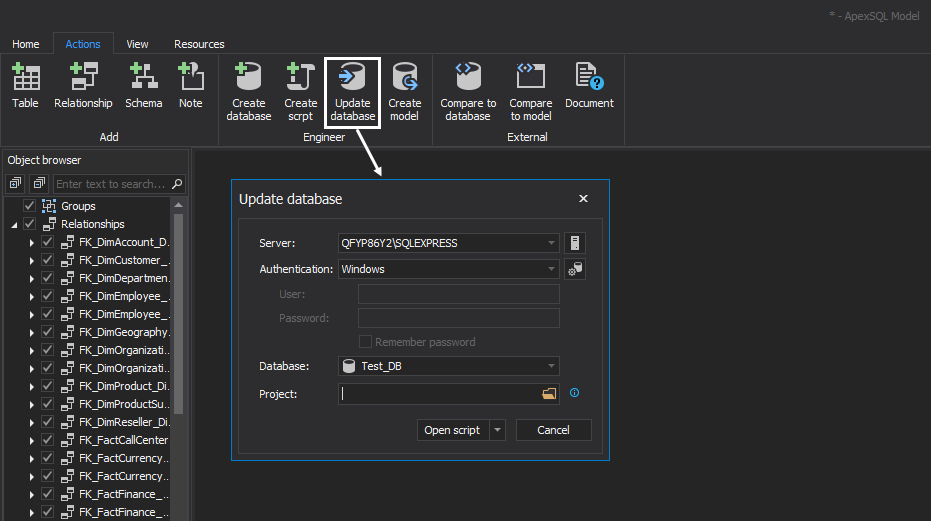
Execute now button will automatically update the chosen database without showing a SQL script:
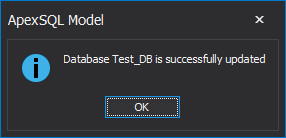
The database will be updated, and the message will be shown:
Features
When ApexSQL Diff is installed locally, it allows users to use Compare to database and Compare to model features.
Compare to database is used to compare database with another database:
Compare to model button is used to compare a current model with another model:

The Document button allows us to document the current model using the ApexSQL Doc tool (to use this feature ApexSQL Doc must be installed locally):

Add table window will appear when the Table button is clicked from the Actions tab. Now the newly created table will be added into the model:
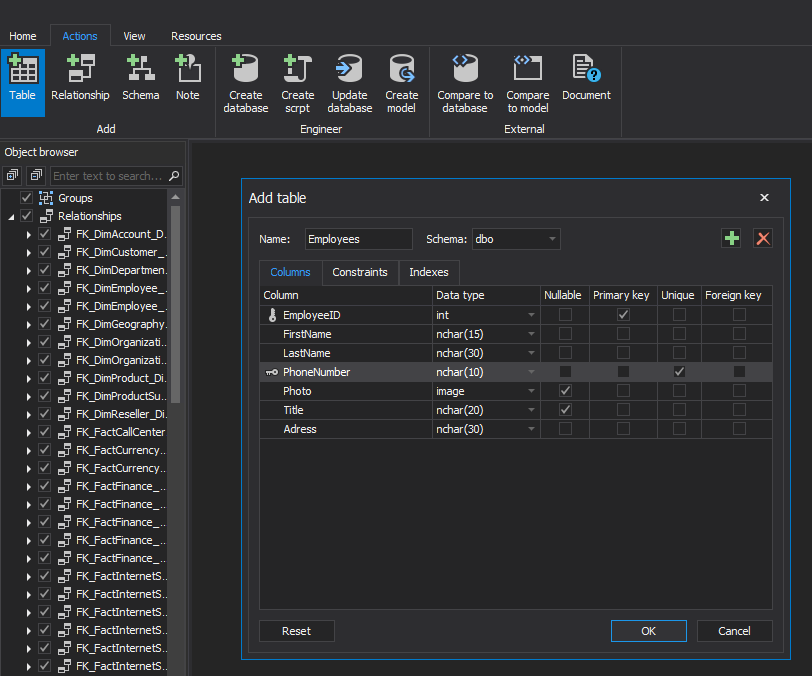
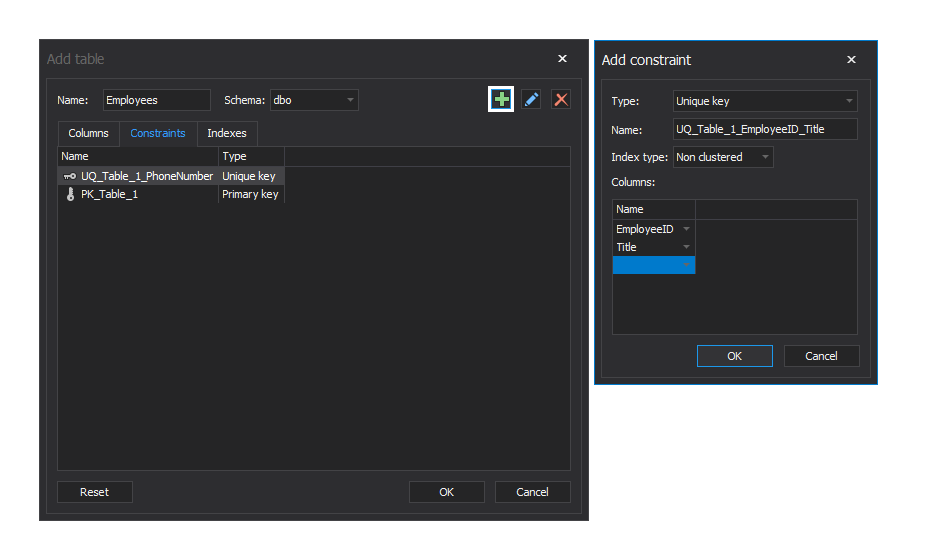
The constraints can be added when tables are created. By clicking on the  button, the Add constraint window will appear:
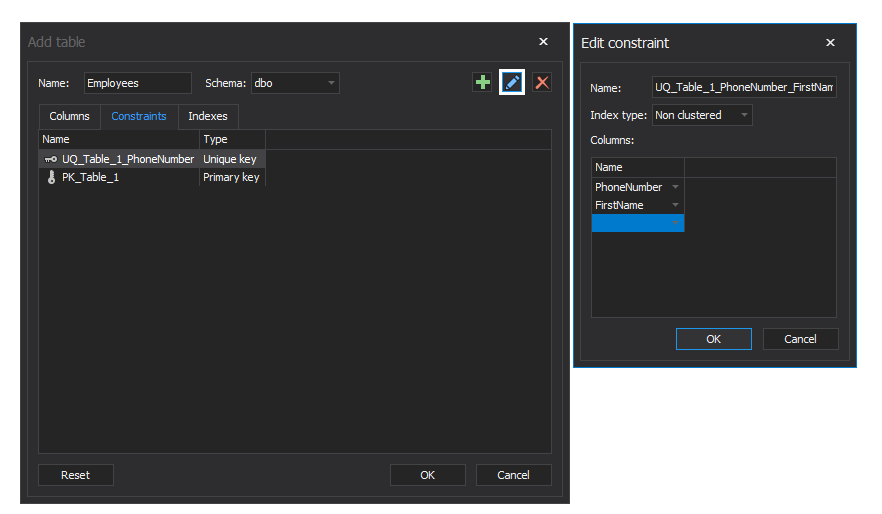
The constraints can be edited by clicking on the  button and the Edit constraint window will appear:
The constraints can be deleted by clicking on the  button.
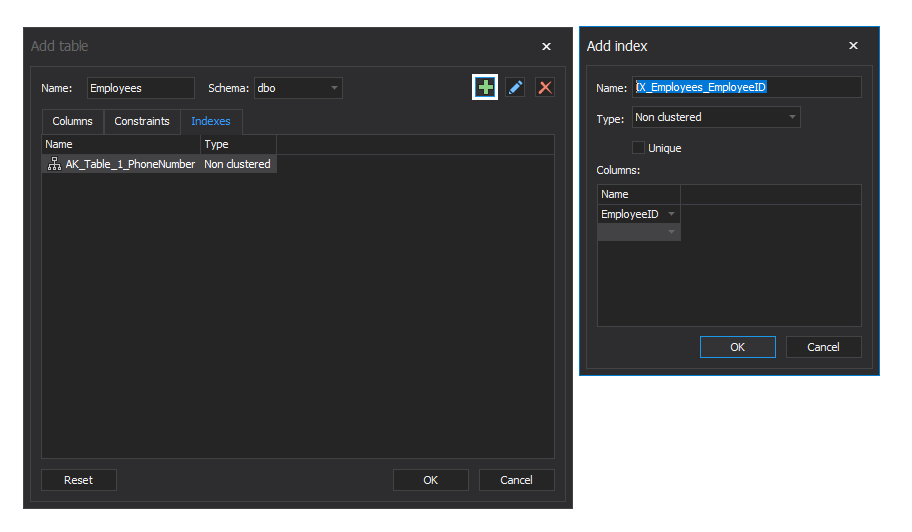
For the indexes is the same process as for the constraints. An index can be added when the table is created by clicking on the  button and Add index window will appear:
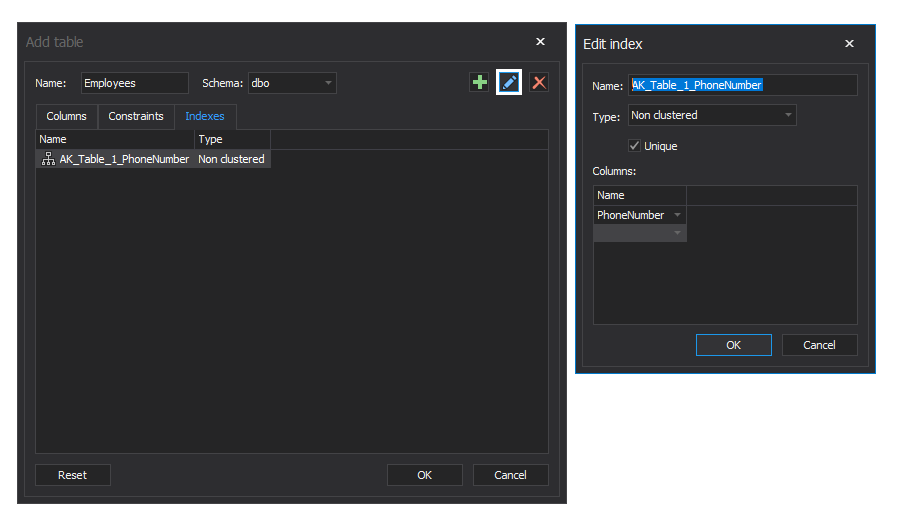
The index can be edited by clicking on the  button. The Edit index window will appear:
The indexes can be deleted by clicking on the  button.
The Relationship button is used to create a new relationship between tables:
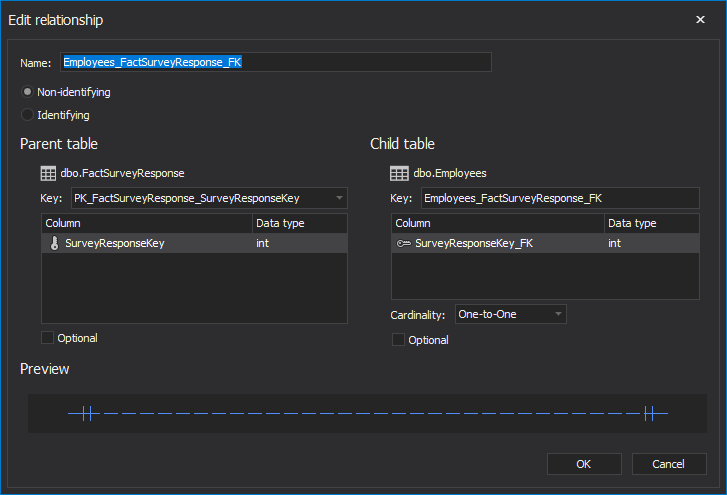
The Edit relationship window will be opened when double-click on the relationship from the main diagram is registered. Relationship type, cardinality, and optional table can be changed:
To add new a schema, click the Schema button in the Actions tab then a name can be specified:
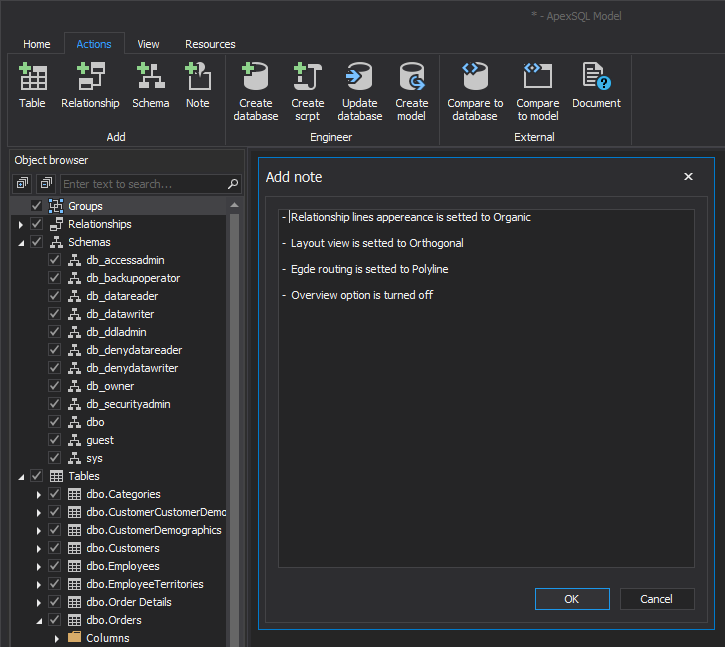
A note can be added by clicking the Note button from the Actions section or right-click anywhere on the empty space in the main diagram:
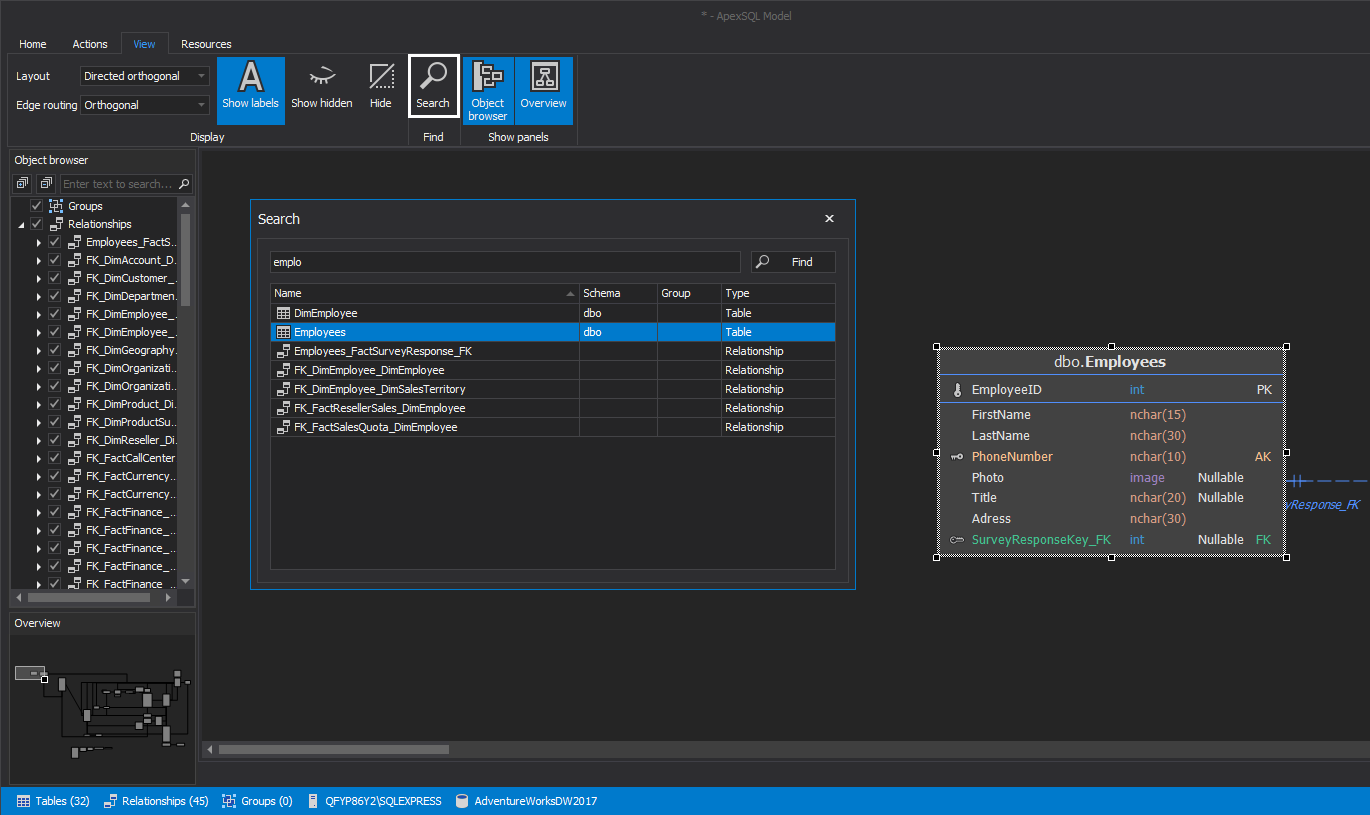
The Search button is used to search tables and relationships on the existing model, double click on the name of the chosen object, this will automatically find positions of that object on the main diagram:
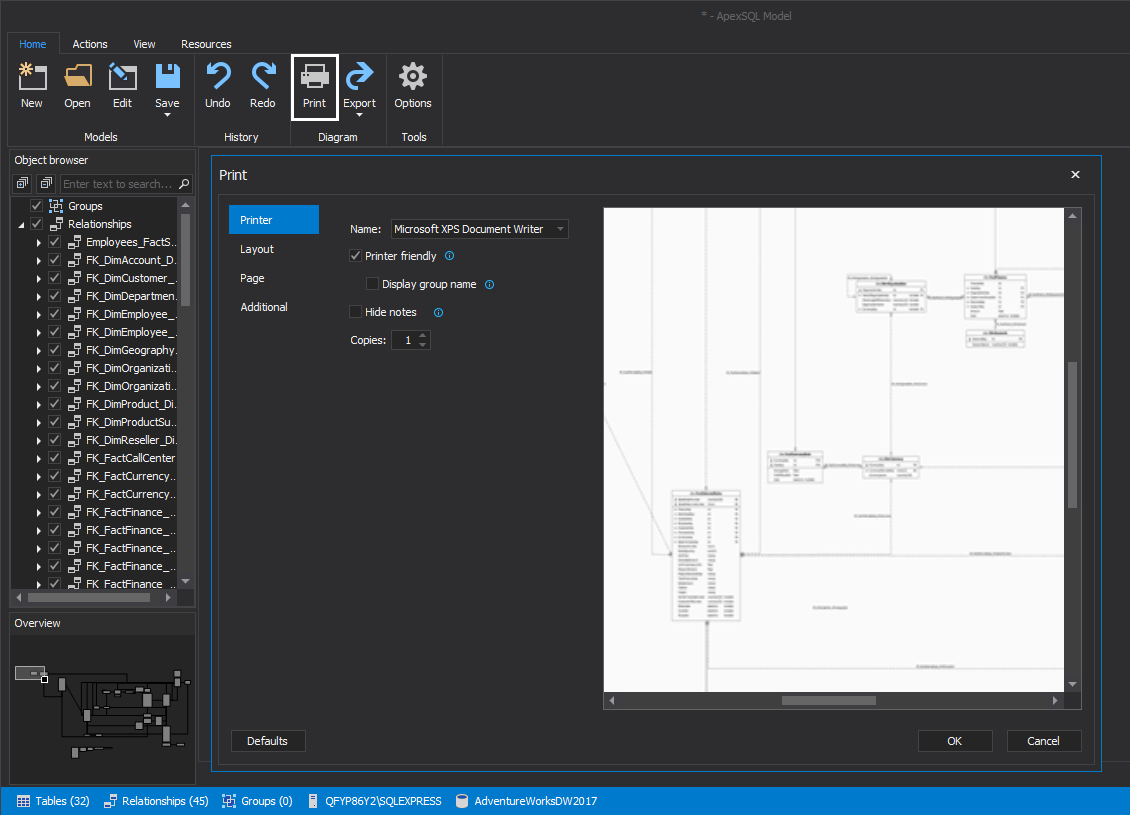
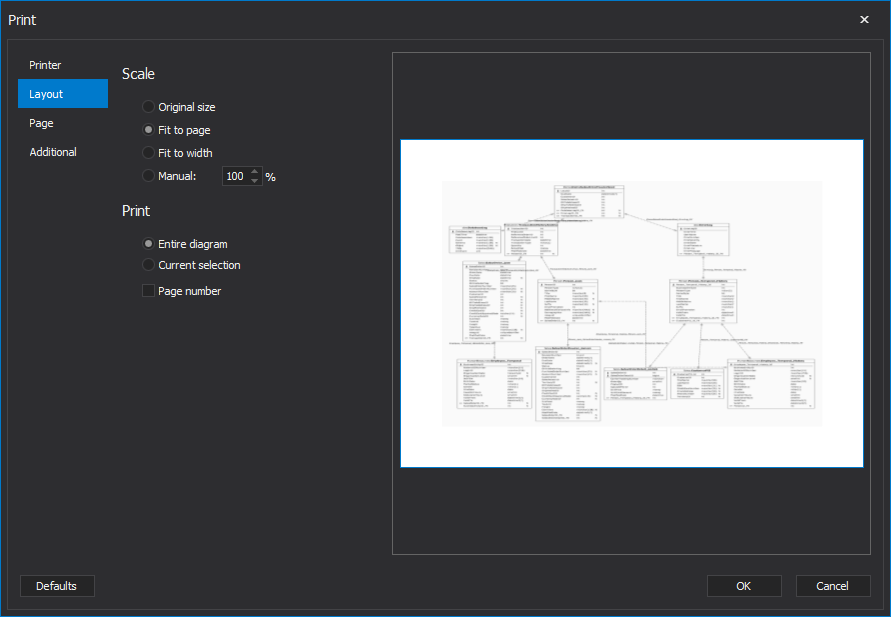
The Print button is used to print the current model from the diagram:
Under the Layout tab, the Scale and other Print options can be predefined:
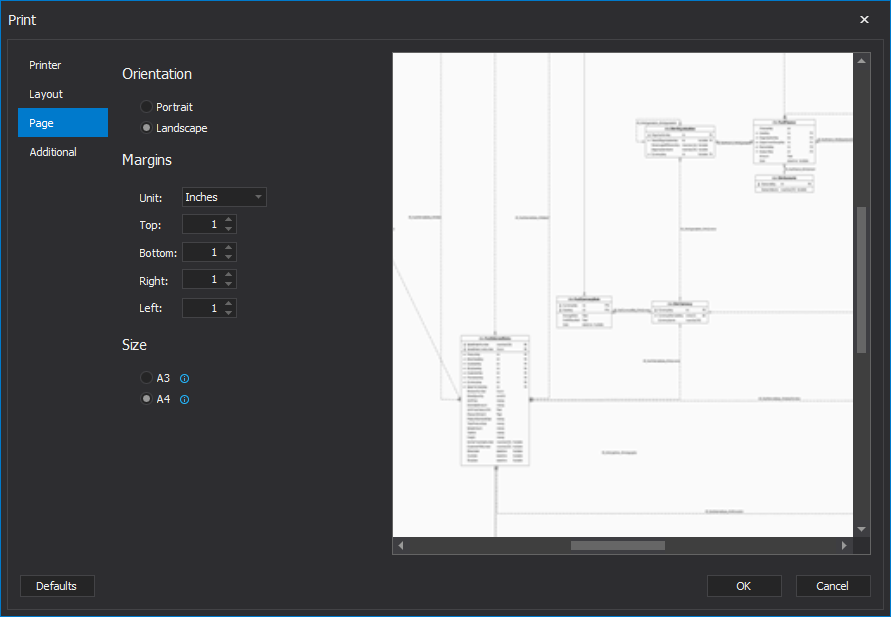
Under the Page tab, Orientation, Margins and Size options can be defined:
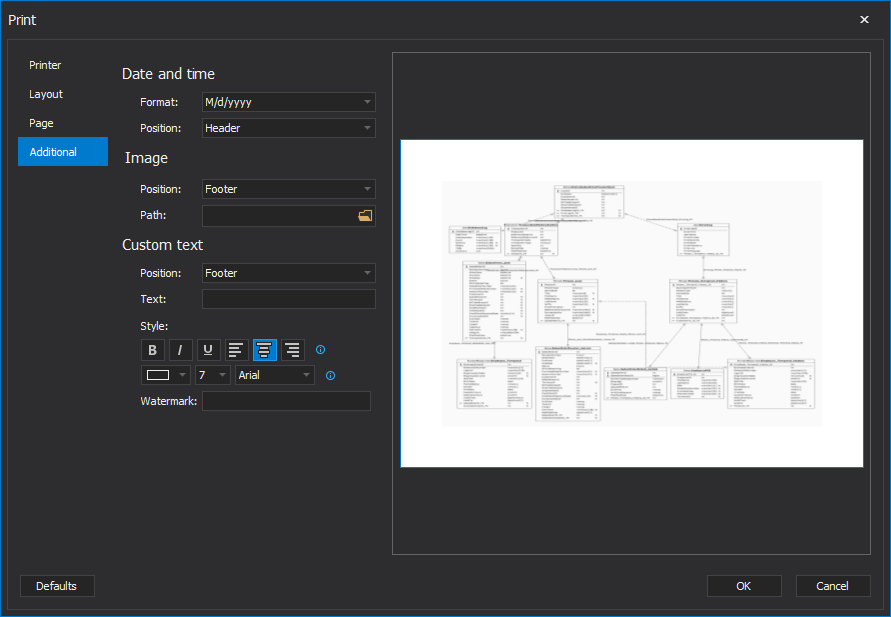
Under the Additional tab, Date and time, Image and Custom text can be defined:
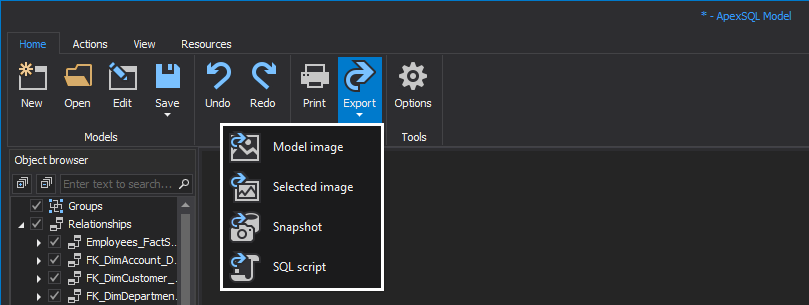
All export options are grouped under one Export button in the Home tab:
The same options can be found in the right-click context menu:
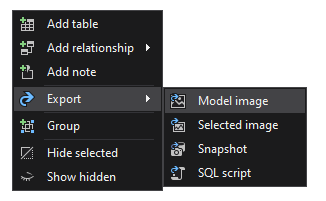
Export model as an image. The current model from the diagram can be exported into PNG, JPG and Bitmap image files:
Selected image (export selected tables as an image):
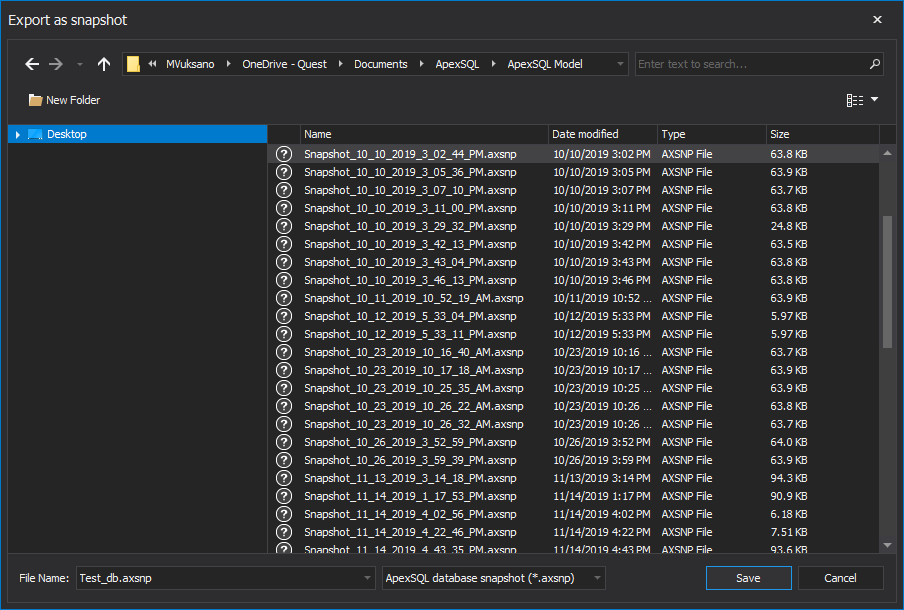
Export Snapshot (export models as a snapshot): This feature allows us to quickly save the current state of the model, so if something goes wrong saved snapshot can be easily loaded. Also, it is easy to send snapshot to another user. Snapshots can be used later by other ApexSQL applications:
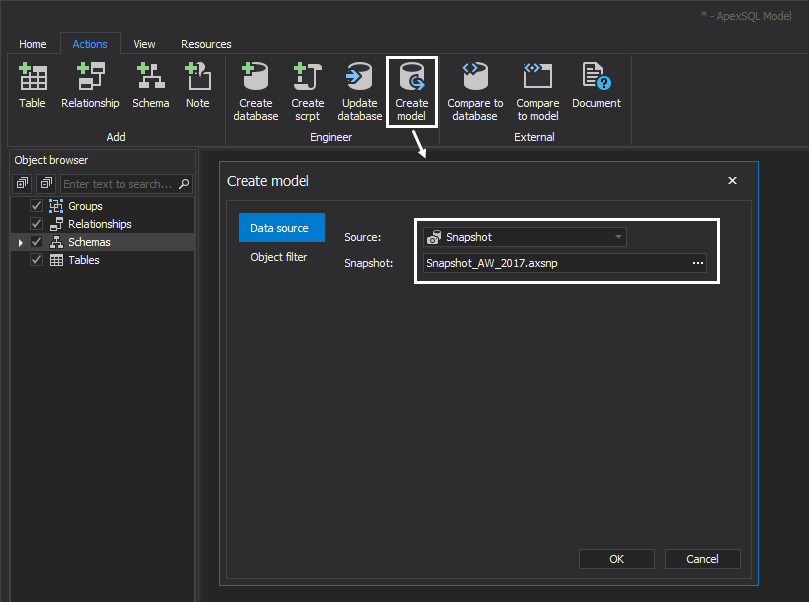
To load a saved snapshot, click on the Create model from the Actions ribbon tab and from the Sources chose Snapshot:
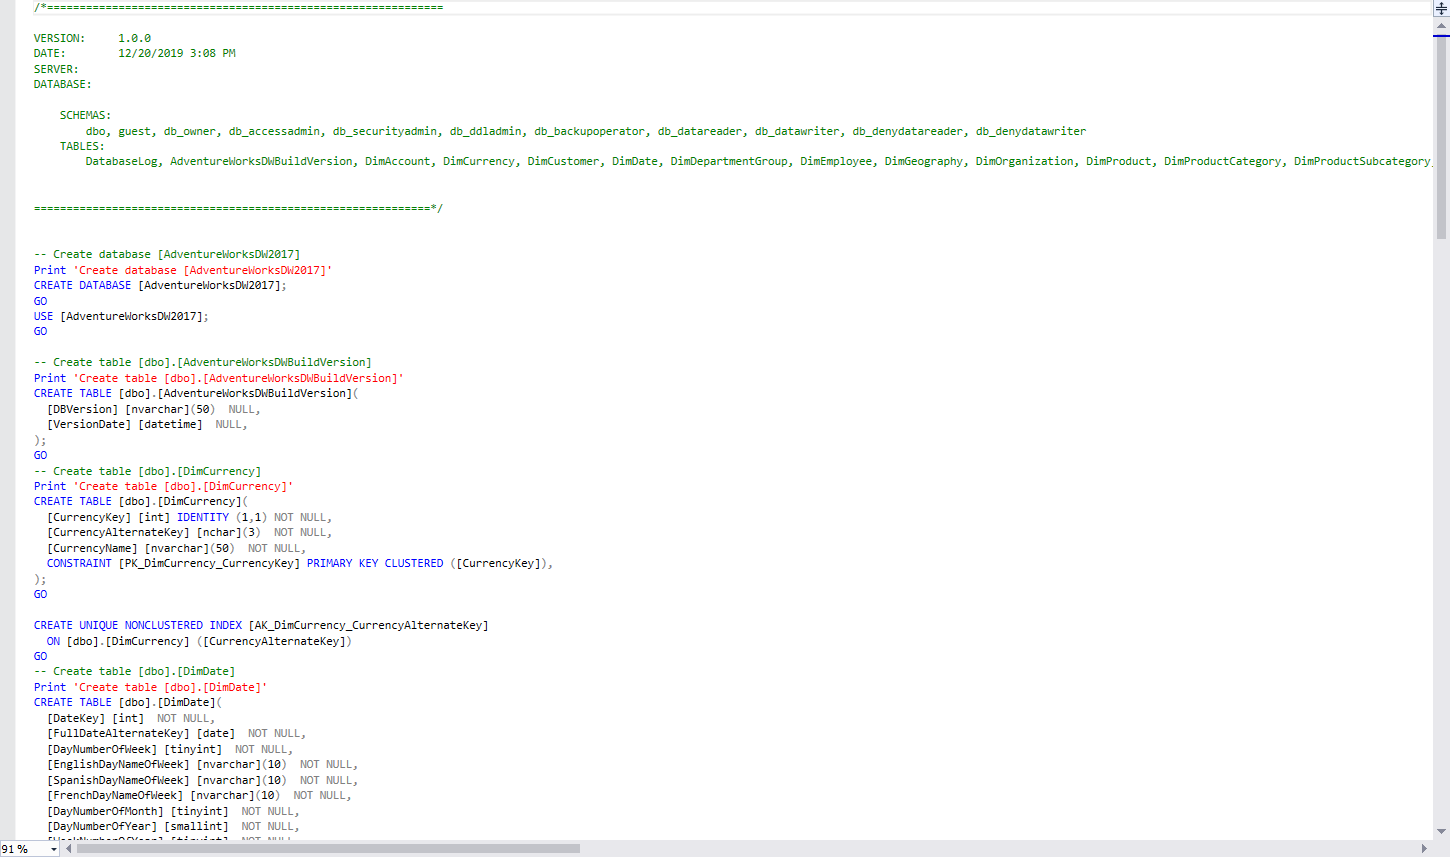
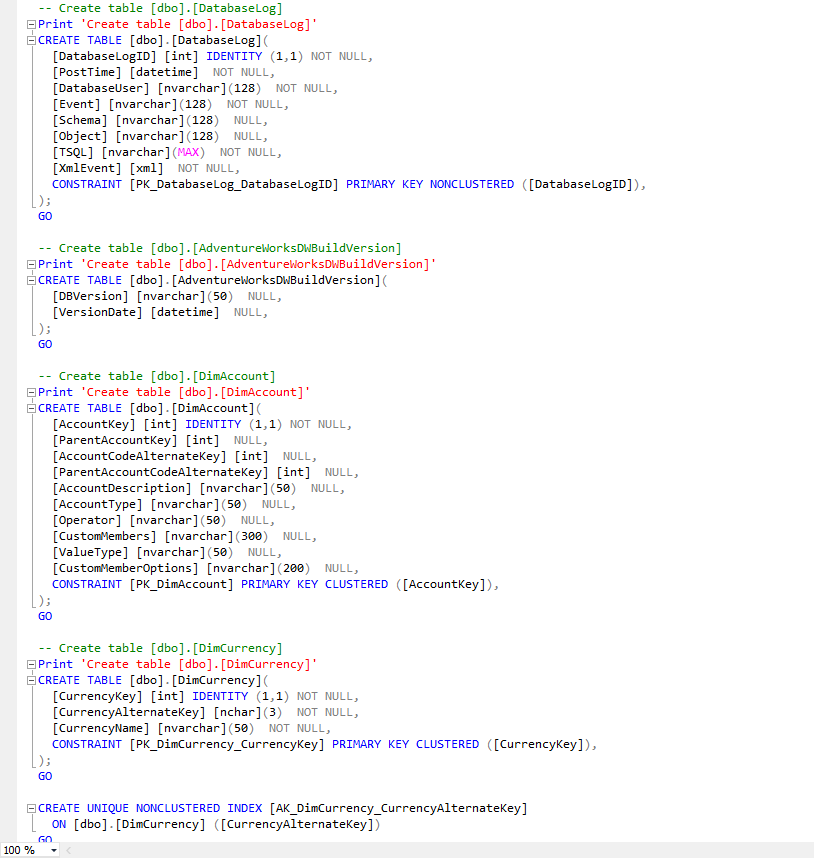
Export SQL script exports model as a SQL script. Created script will be opened with SQL Server Management Studio:
Create script from the Action ribbon tab is similar like a previous example, but here we can chose which tables we want to add into SQL script.
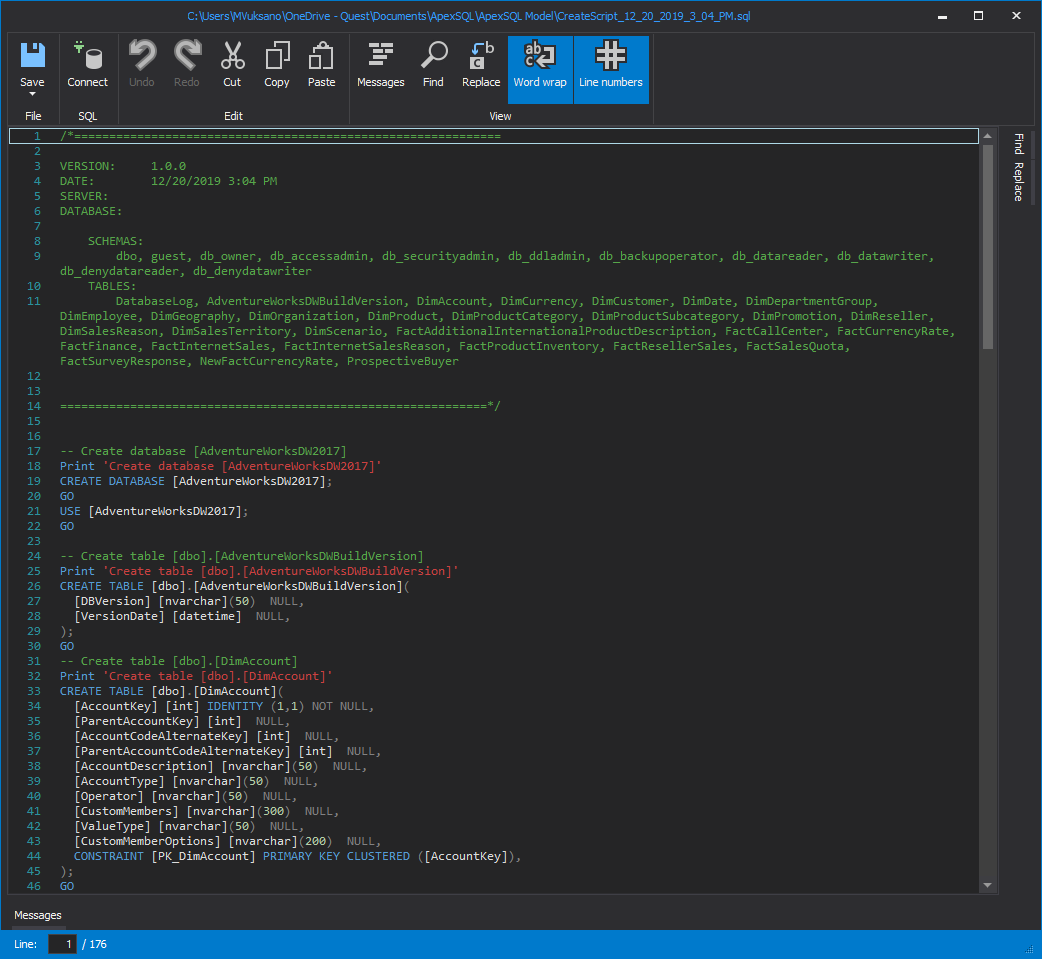
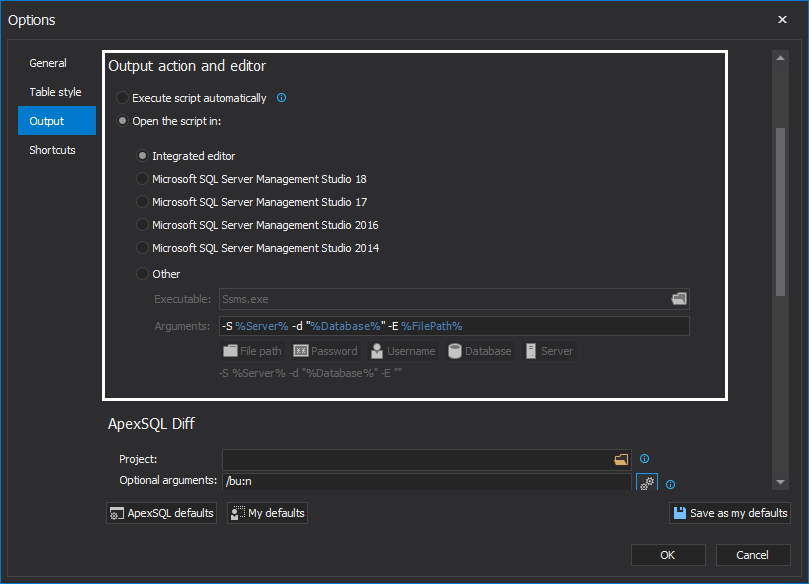
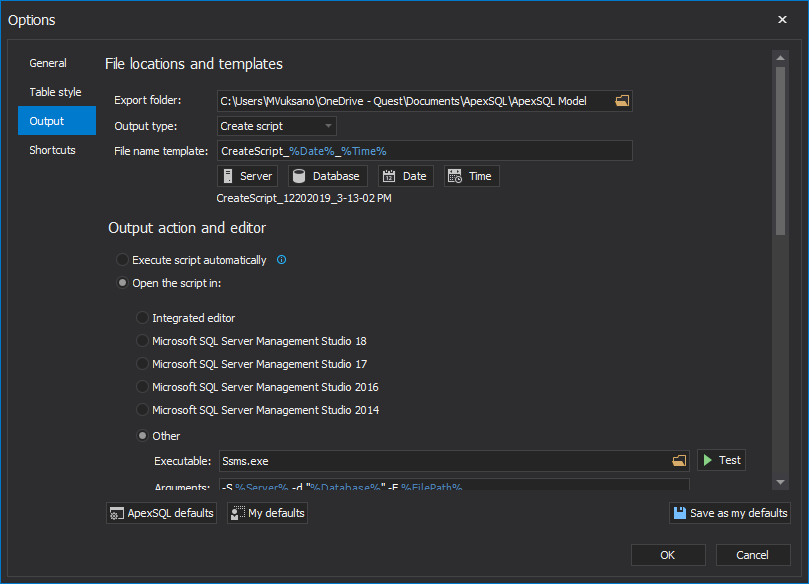
The SQL script can be opened with Integrated editor and SQL Server Management Studio. Output action and editor can be found in the Output tab from the Options window:
Integrated editor example:
SQL Server Management Studio example:
Application options
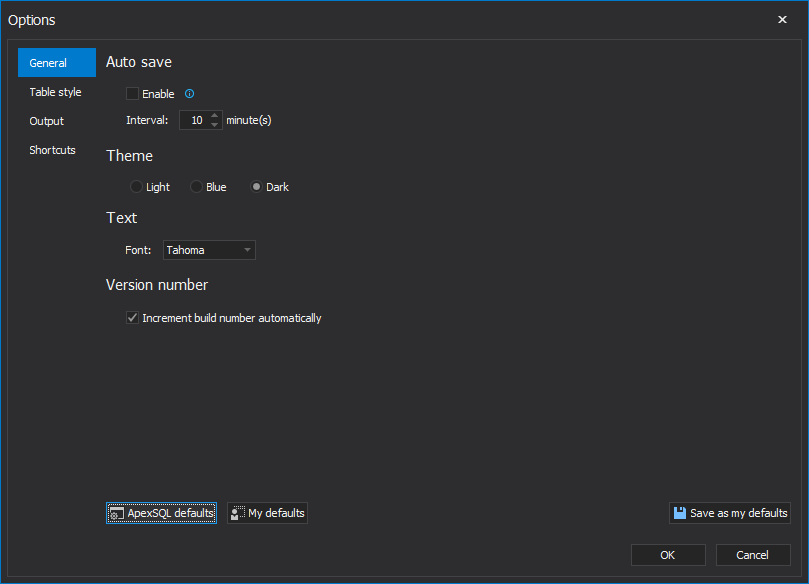
The General tab from the Options window contains Auto save, Theme, Text and Version number options. All these options can be defined:
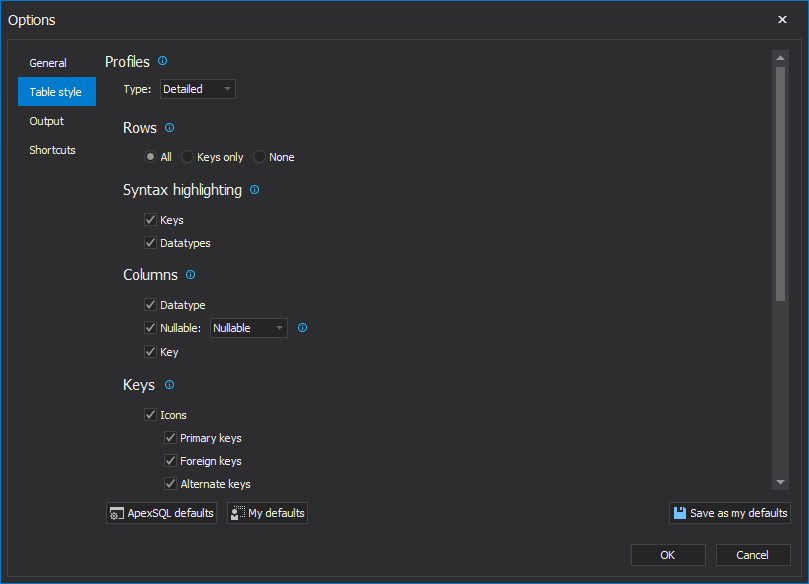
Under the Table style tab Profiles, Rows, Syntax highlighting, Columns, Keys, Header and Grouping options can be defined:
Under the Output tab, File locations and templates, Output action and editor, ApexSQL Diff project, Optional output elements and Header and footer options can be defined:
Under the Shortcuts tab, application shortcuts can be defined:

Resources
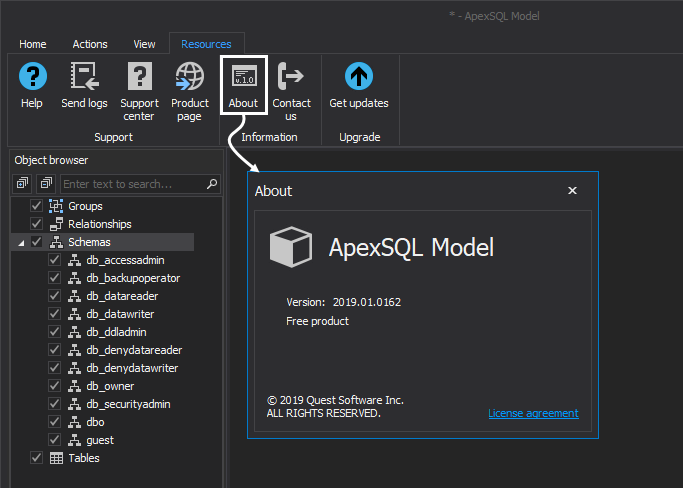
By clicking on the About button, the user can see the details of the application version:
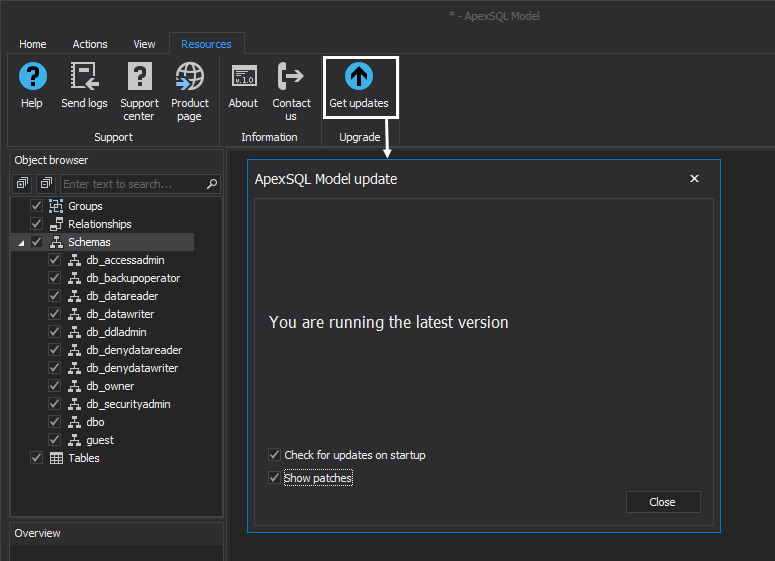
Get updates button is used to update the ApexSQL Model with the newest published version (if available):
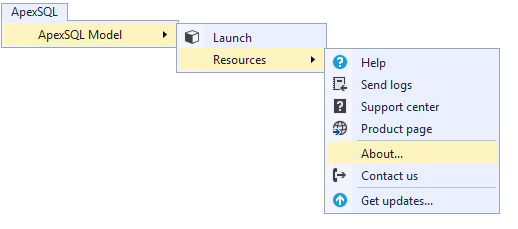
ApexSQL Model can be integrated into SQL Server Management Studio. The main menu of ApexSQL Model add-in for SQL Server Management Studio:
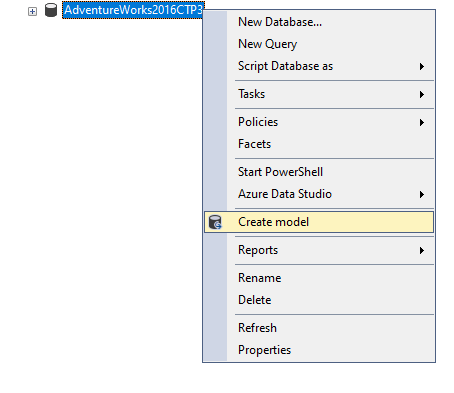
Crating model from SQL Server Management Studio can be easily done with a right-click on desired databases in Object Explorer | Create model:
December 31, 2019


